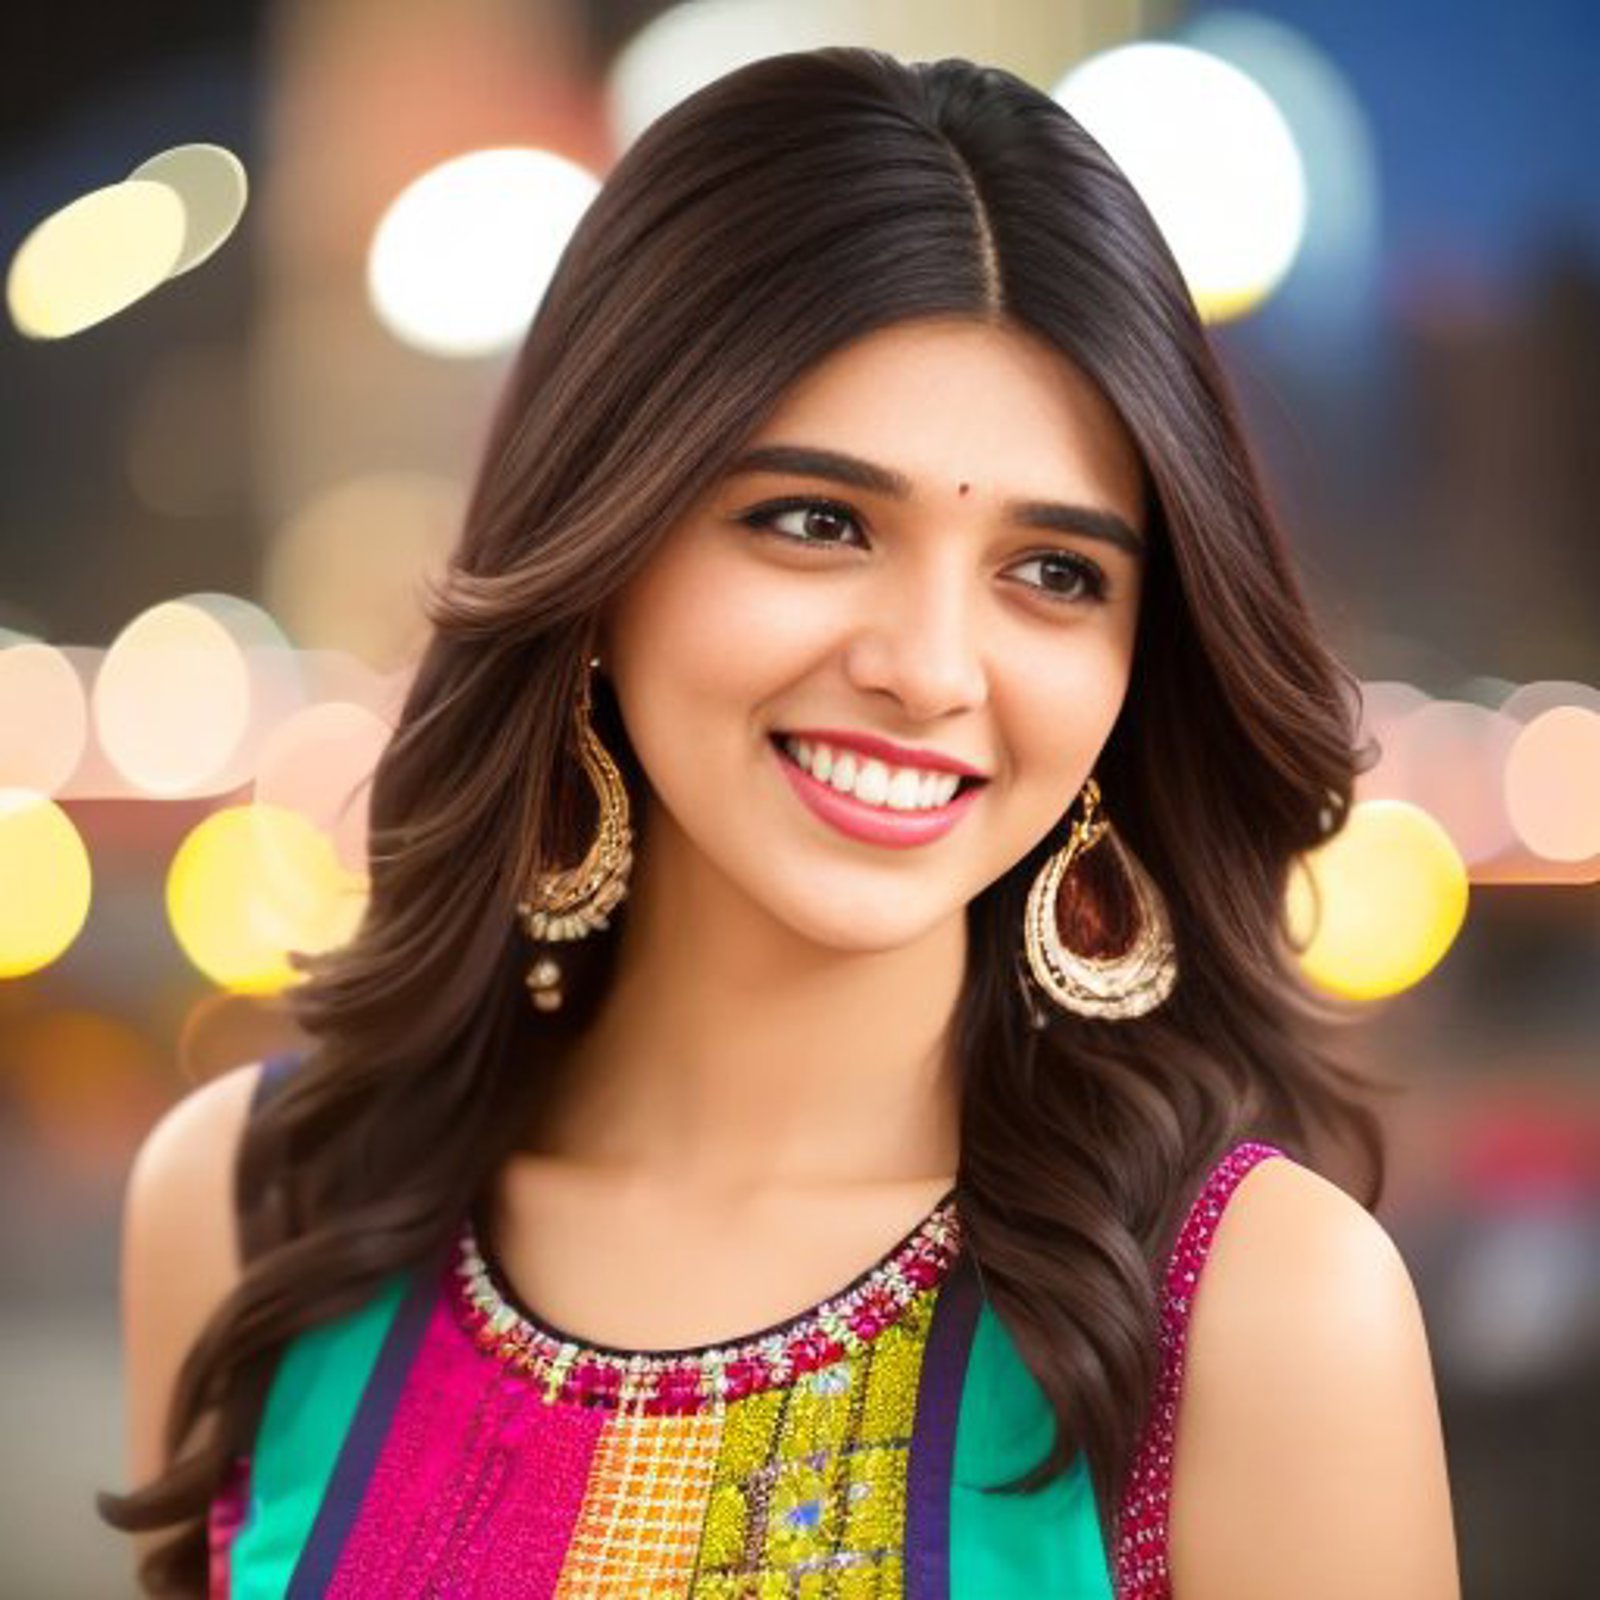
[Edits 6/24 - Cover image and outputs updated with images that in line with this site's updated guidelines.]
[Edits 7/1 - Link to Lycoris/LoCon Tutorial added]
Shameless Self Promotion
This tutorial focuses on LoRA training. If you want to understand how to train a LyCORIS/LoCon, please read my other tutorial: https://civitai.com/articles/908/tutorial-lycorislocon-training-using-kohyass
Main Tutorial
Putting together this tutorial for a few reasons: I see a lot of folks follow a particular YT video, that goes through the steps, but is either glossing over some important settings, or is just wrong. Second, I have learned a lot by trial and error, and think my learning can benefit others. Third, this is as much a guide for me to come back to, when I have one of my eventual brain-freezes. ;-)
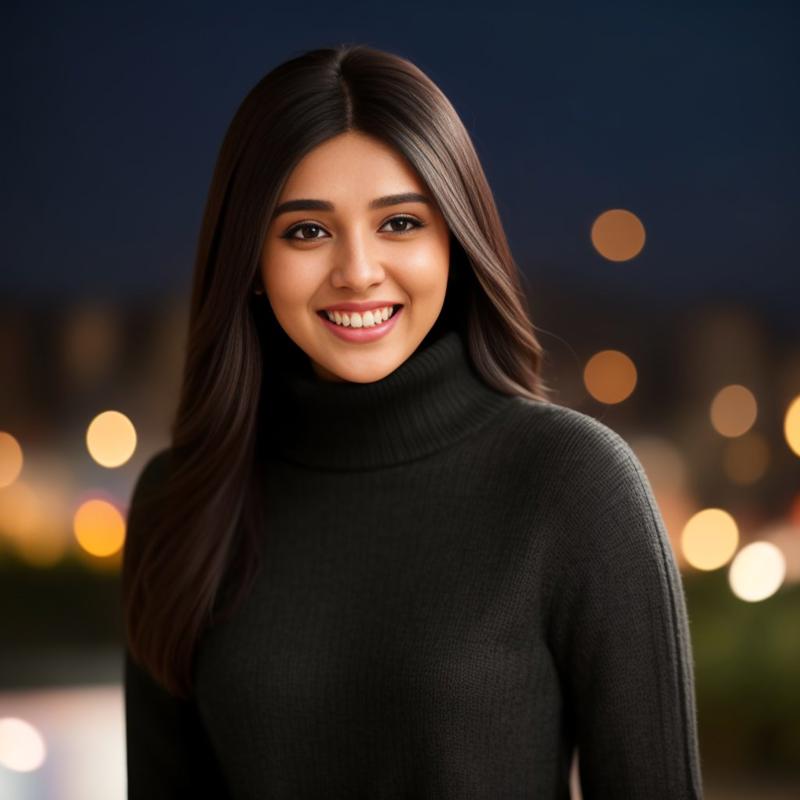
If you're interested only in the final result, having been drawn in by just the pretty girl in the picture, no judgment. ;)
Here's you go: https://civitai.com/models/87675/pranali-rathod
For the purposes of this Tutorial, I'm going to use a data-set provided by one of my followers. The subject is "Pranali Rathod", an Indian actress. In laying out my process, I'm also going to call out my learnings and myths.
Without much ado, let's get into it.
I use this repo on Linux: https://github.com/bmaltais/kohya_ss since it is well documented and frequently updated. Am running this on a local instance on a desktop with an AMD CPU and a 3060 (non-TI) which has 12GB of VRAM.
Learning 1: Your VRAM matters more than anything else. You could have 64GB of RAM, but your learning and generation speed will suffer if you have 6GB of VRAM. Also, NVIDIA GPUs work far better than AMD GPUs. I swapped out my 6600XT which is newer, and better at running games, for a much older 3060 for my SD/ Kohya processes.
(Note: Repos and scripts change often, so this stuff works as of June 2023)
Step 1: Selecting images
Myth: More = better.
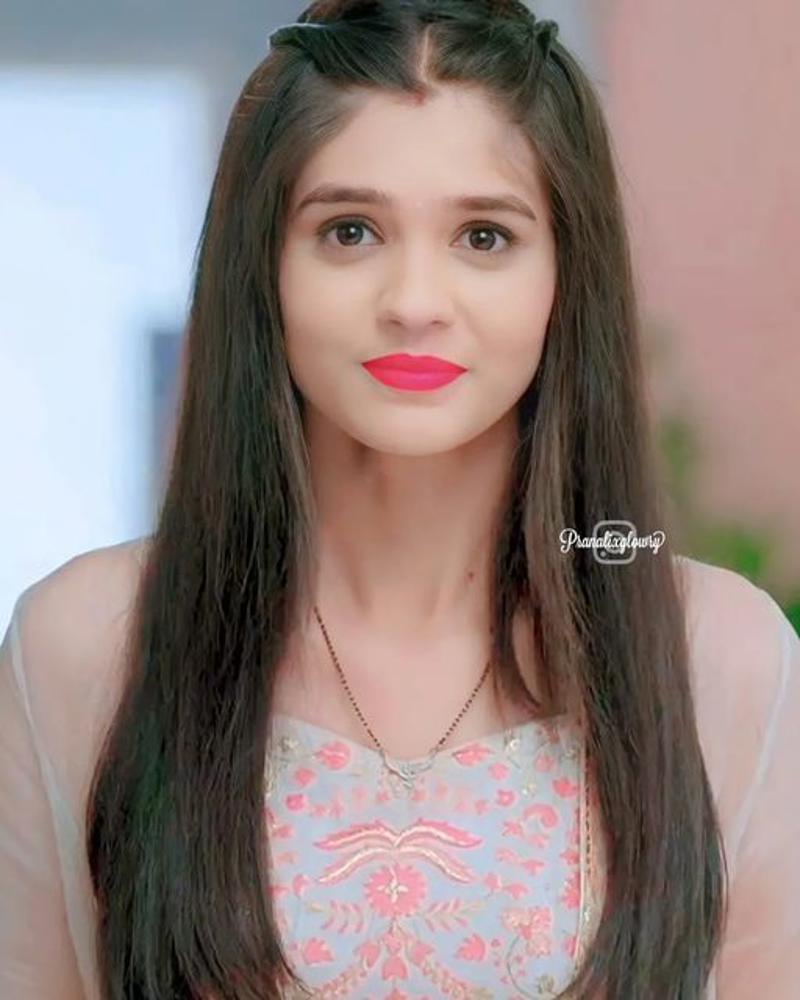
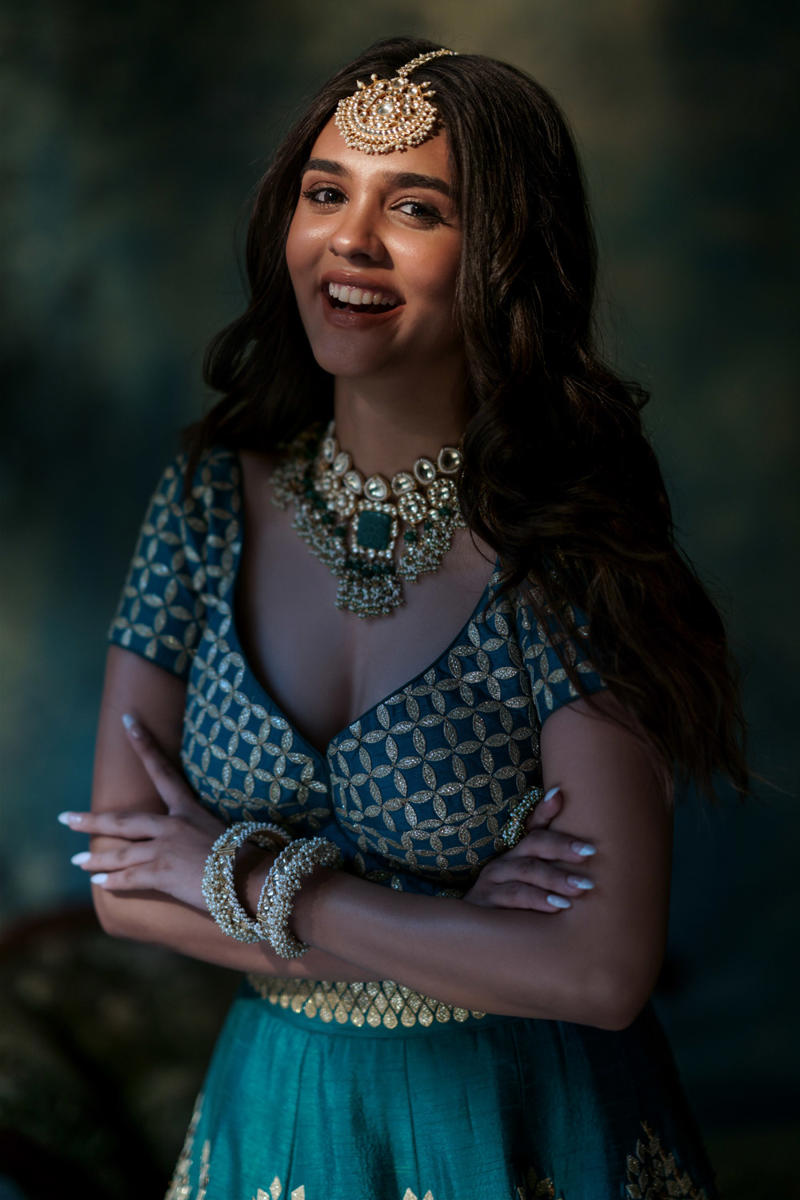
The data set that my follower sent me has 40+ images. However, I am discarding many of these. Examples of discarded images, and reasons:
Discarded image 1: Too saturated which will affect final LoRA tones, and a logo, which the LoRA will learn.
Discarded image 2: Dark; Shadow on face; from same photoshoot as some other learning images - which would lead to the training being skewed to produce similar clothes, jewelry, etc.
Things to prioritize in selecting images:
Decent resolution
Uniqueness of poses
Varied clothing and colors
At or higher resolution than 512x512. If your images are smaller than that, upscale them before using for training.
Myth: Pictures need to be cropped to square resolution. Kohya does not require this to be done.
[EDIT 6/11/23 - Training images used uploaded in structure zip attachment]
Step 2: Folder Setup
Kohya is quite finicky about folder setup, so this is an important step.
I set up the following folders for any training:
img: This is where the actual image folder (see sub-bullet) will go:
Under image, create a subfolder with following format: nn_triggerword class. The format is very important, including the underscore and space. What these mean:
nn - number of repetitions. I usually use between 25-100. Fewer the images, higher the n. In our case I'll use nn=25.
triggerword - This trigger word will need to be mentioned in your prompt, along with the LoRA tag, for the LoRA to be applied correctly. Choose something unique that the prompt will not interpret as something else. Especially important if it's a celebrity that is likely to already be in the learning data (e.g., jennifer aniston). In our case we'll use 'pranalira' (note the 'ra' at the end)
class - This is the broader class of things that your training object represents. This should broadly be in line with the kind of regularization images you use. In our case we'll use 'woman'
Our folder name, for this training, therefore is: '25_pranalira woman'
Place the images you will be training on, in this folder. After pruning, I have 37 images in the folder.
Do not put anything else in the folder img folder
Learning: If you want to train a LoRA on multiple concepts, each invoked by their own trigger words, then you can add more folders to the img folder in the same format of 'nn_triggerword class'. So for example if we wanted to train this LoRA with images of another girl named 'Manali Rathod', then you could create another folder called '25_manalira woman' and place training images of Manali Rathod in that folder. This is how I have created my 'Multi Sharma' LoRA, with 5 different celebs. See here: https://civitai.com/models/71568/multi-sharma
model: This is where your final LoRA will be placed.
If you choose to create sample images, this is also where the sample images will be placed.
log: This is an optional folder, where the training metrics are logged.
reg: This is where regularization images are placed. This is optional, but highly recommended. I have found a big difference in terms of the quality of the LoRA output when I used regularization images.
Create a subfolder with the following format: n_class where:
n - number of repetitions. I usually set this to 1
'class' should be the same as the one used in the naming of your image folder.
Our folder name for for placing the regularization images is 1_woman
There are various ways to get to regularization images. I used a pre-made set from this link: https://huggingface.co/datasets/ProGamerGov/StableDiffusion-v1-5-Regularization-Images/tree/main
In the 1_woman folder, place at least (number of repeats in the img folder x number of images). In our case this is 37*25 = 925 images
[EDIT 6/11/23 - Folder Structure Uploaded in zip file]
Step 3: Captioning
Time to fire up Kohya. Like I mentioned, I use the GUI, so I'll accordingly be referring to the tabs and fields in that repo.
In the GUI - go to Utilities Tab > Captioning > BLIP Captioning
Learning/ Warning: While WD14 produces nicer tags, it is more geared towards anime. It produces tags like 1girl, which if used in prompts with photorealistic models, generates... ermm... disturbing imagery.
My typical settings for BLIP Captioning:
Prefix: I typically add the triggerword, with a comma and space. In our case 'pranalira, '
Batchsize: Stay at 1-2, unless you have a GPU with a bunch of VRAM, in which case you can go to 5-8.
Use beam search: Selected
Number of beams: This is a way of producing more coherent 'sentence-like' captions. I typically set at between 10-15.
Min length: Set this to about 25, otherwise the captions are really light.
Select the folder with your training images and press 'Caption Images'.
Check the terminal window for progress. Be patient. It could take a few minutes, especially if it needs to download the language model.
Step 4: Training
Switch to the 'Dreambooth LoRA' tab.
Learning: MAKE SURE YOU'RE IN THE RIGHT TAB. I have often wondered why my training is showing 'out of memory' only to find that I'm in the Dreambooth tab, instead of the Dreambooth LoRA tab. They all look similar, so double check!
Learning: While you can train on any model of your choice, I have found that training on the base stable-diffusion-v1-5 model from runwayml (the default), produces the most translatable results that can be implemented on other models that are derivatives.
Dreambooth LoRA > Source Model tab
I have trained all my LoRAs on SD1.5. The v2 and the v_parameterization check boxes pertain to SD2.0 and beyond. So leave them unchecked, unless you are training on SD2.0+.
Dreambooth LoRA > Folders tab
Select the folders that we created in step 2. Be careful to:
for Image folder: Select the 'img' folder, not the 'nn_triggerword class' folder
for Regularisation folder: Select the 'reg' folder, not the 'n_class' folder
Model name: I typically set this to the triggerword, but it doesn't matter since we'll be using a triggerword. If it's a new version, I'll add 'v2', 'v3' etc. In our case I'll set it to 'pranalira'
Dreambooth LoRA > Training Parameters tab
There are a lot of different options here. I'm going to touch on a few that I do tweak to get better output. If you're interested in the details of what a lot of these options mean, you can nerd out with this excellent guide: https://rentry.co/59xed3
Training batch size: Retain at 1, unless you have enough VRAM. On my 3060, I can push to 2 or 3, but not beyond. This determines how many images it can process at the same time, in parallel.
Caption Extension: put txt since recently Kohya started throwing up a warning that the pictures are uncaptioned.
Mixed Precision: Set to fp16, unless you have a 30xx or 40xx GPU. I wil run will fp16 for this tutorial, since, for some unfathomable reason my Linux based Kohya won't support bf16, even though my Windows based Kohya does.
Save Precision: fp16, with same caveats as for Mixed Precision above.
Cache Latents: Uncheck - adds quite a bit of time, especially if using regularization images.
Learning rate, Text Encoder learning rate, Unet learning rate: Leave defaults (0.0001, 0.00005, and 0.0001 respectively), unless you really know what you're doing. More details on these in the link above.
Optimizer: Try using AdamW8bit, if possible, otherwise AdamW.
Learning: For some reason, AdamW8bit and bf16 don't work on my Linux installation of Kohya. I get a CUDA setup error. It works beautifully on Windows.
Network Rank: Set to between 96-128
Learning: While setting this to a higher number makes the LoRA larger, it does allow it to be more expressive. Think of this setting as how 'creative' we are allowing the AI to be.
For our purposes, being set to 96.
Network Alpha: Set to ~half of the Network Rank
Learning: This is the yang to the Network Rank yin. This is the 'brake' on the creativity of the AI.
For our purposes, being set to 48
Keep enable buckets checked, since our images are not of the same size.
Advanced Options:
Shuffle caption: Check
Noise offset: 0.1
Rate of Caption Dropout: 0.1
Sample images config:
Sample every n steps: 25 or 50.
Sample prompts: I typically use the format: 'triggerword, a photo of a class'
In our case 'pranalira, a photo of a woman'
[Edit 6/13]
Advanced options (these are optional), but may help:
Under 'Advanced Configuration':
Save every N steps: You can set this to 250-500. This way, as you watch the sample images, if you see that the model is over-training (saturated images, artifacts, etc.) you can use the version of the model that was created at the steps before the model was overtrained. These versions of the model are saved in the same 'model' directory.
You're Finally Worthy!
Take a deep breathe, and press 'Train Model'.
Learning: Keep a watch on the 'Samples' folder under Model, so see how the learning is progressing. It will start with some images that look nothing like the object, but slowly will converge.
On my 3060, the model creation took about 15 min, with a batch size of 2.
Step 5: Save your settings
Assuming all went well - Save the settings that worked using the 'Dreambooth LoRA > Configuration File dropdown on the top of the page. This will create json file that you can load the next time, and change relevant settings (e.g., folders, name of the model, etc.) rather than having to remember all the settings. The .json of the settings I used is in the attachments.
Step 6: Using the LoRA
Copy the model file (it will have '.safetensors' extension) from your model folder into the sd> models> Lora folder and then use the trigger word in your prompt.
Learning: While defining your prompt, try using the trigger word in different places - how much weight it has in defining the final output
Learning: Try different samplers. In my recent LoRAs, I find that DDIM is really good at producing at least the smaller image, which can then be resized in img2img using a different sampler
Learning: If your output is oversaturated, you overbaked the LoRA. Either restart with fewer repetitions, or drop the CFG. Alternatively drop the weight of the LoRA.
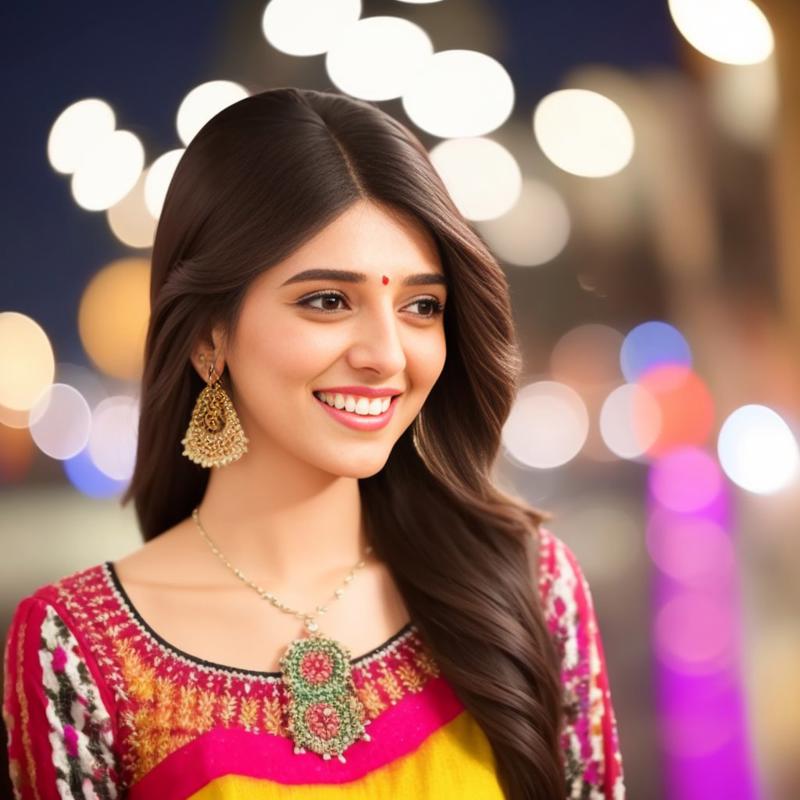
Outputs:
Happy Creating!
Comments and questions are welcome!


