


What is Flux AI and ControlNet?
With Flux, you can generate stunning images from text prompts, descriptions, or even other inputs like images. It integrates seamlessly with ComfyUI, a powerful yet user-friendly workspace. Whether you're a seasoned expert or a beginner without a technical background, Flux makes creativity accessible to everyone.
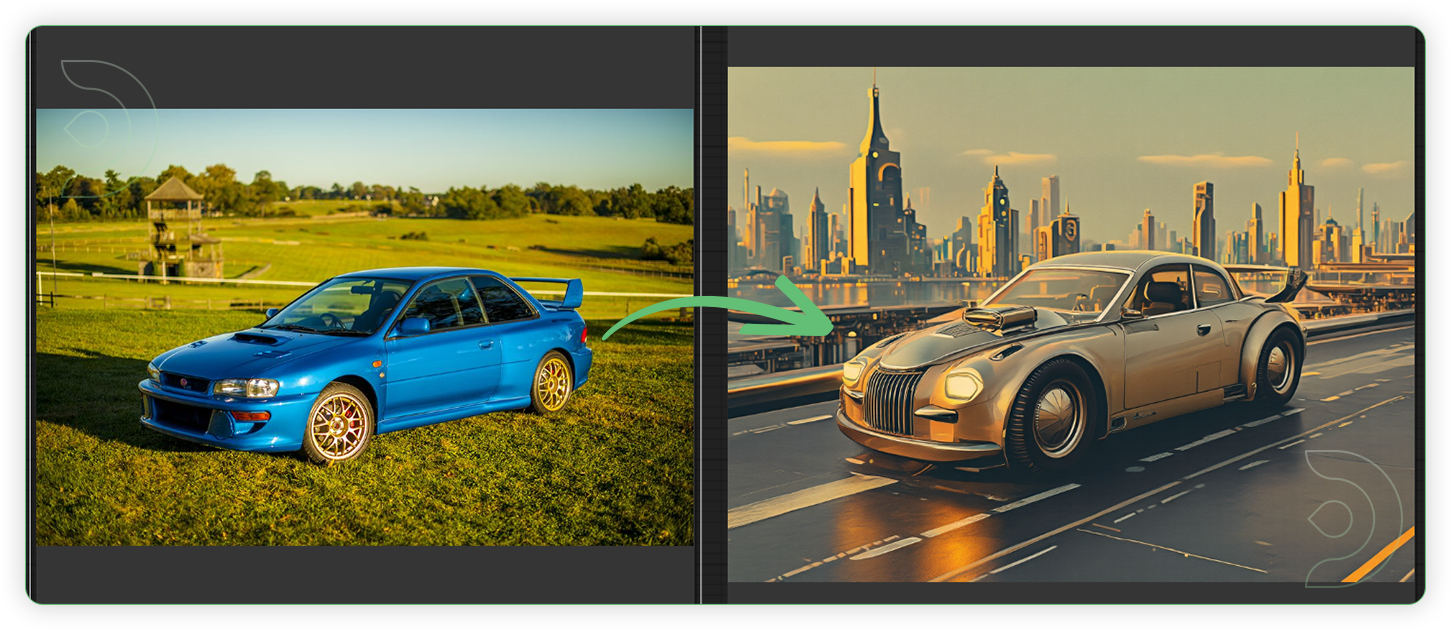
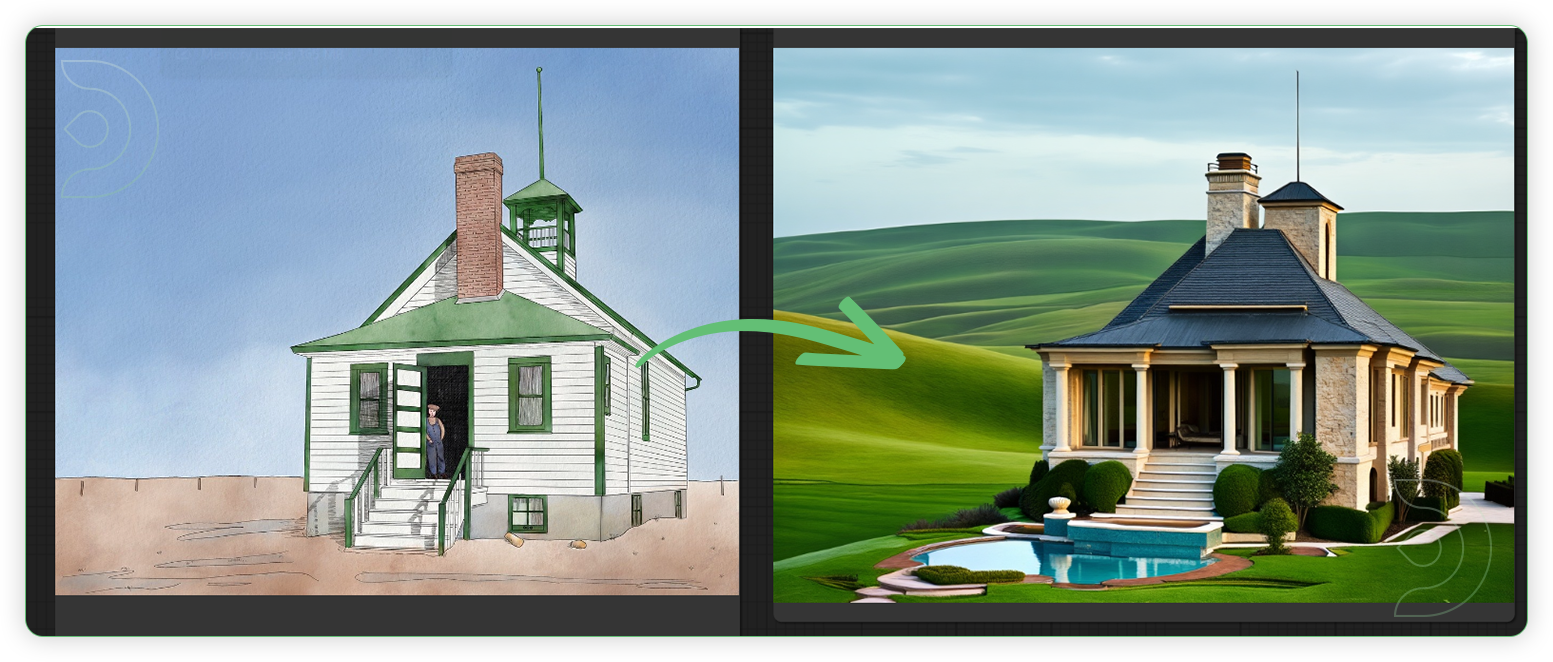
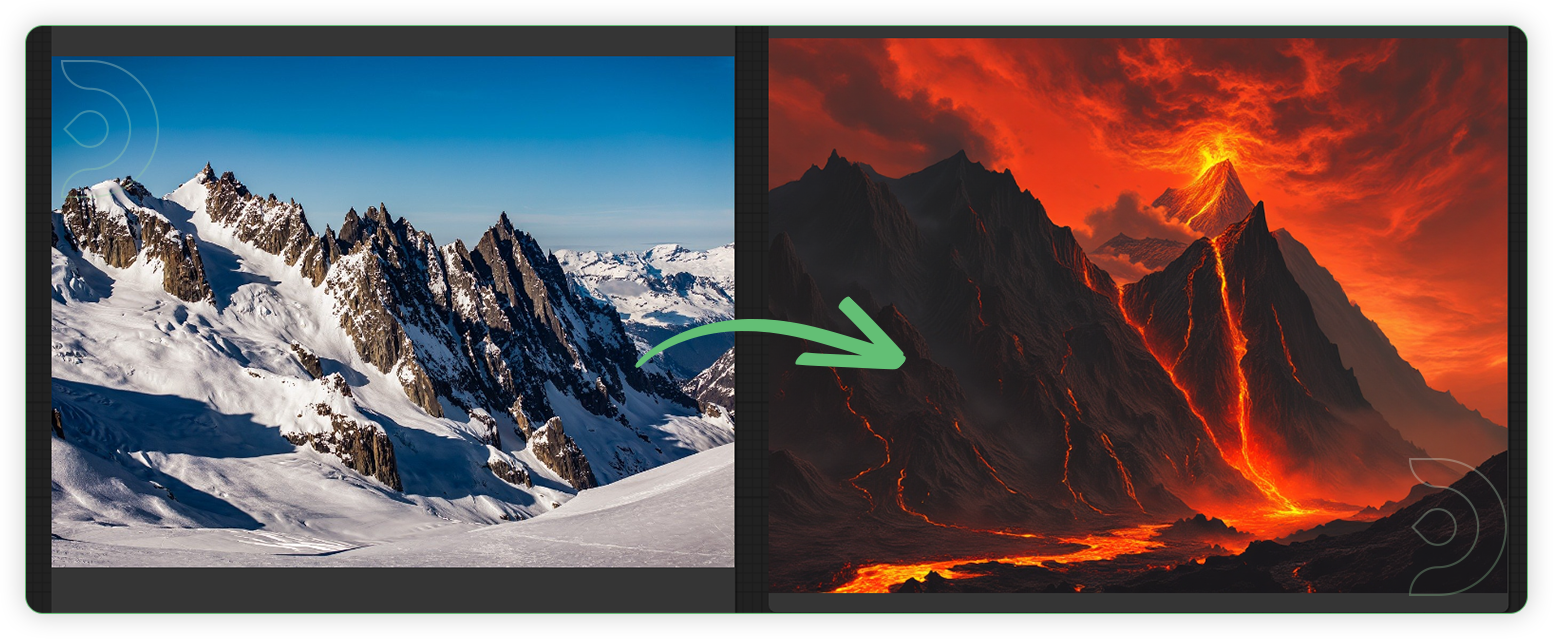
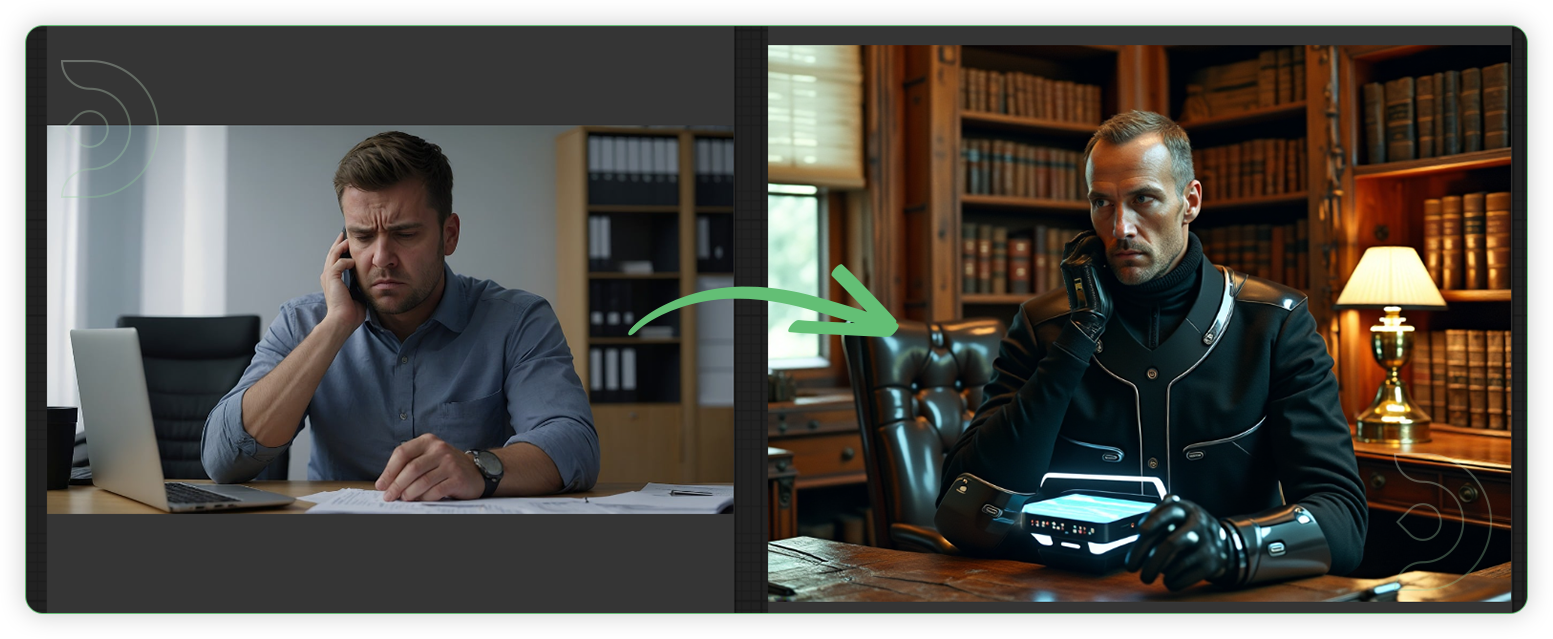
ControlNet is a tool for controlling the precise composition of AI images. Using its model, you can provide an additional control image to condition and control your image generation. It can generate detailed photos, illustrations and assets or change existing images.
Intro to Flux AI ControlNet Model
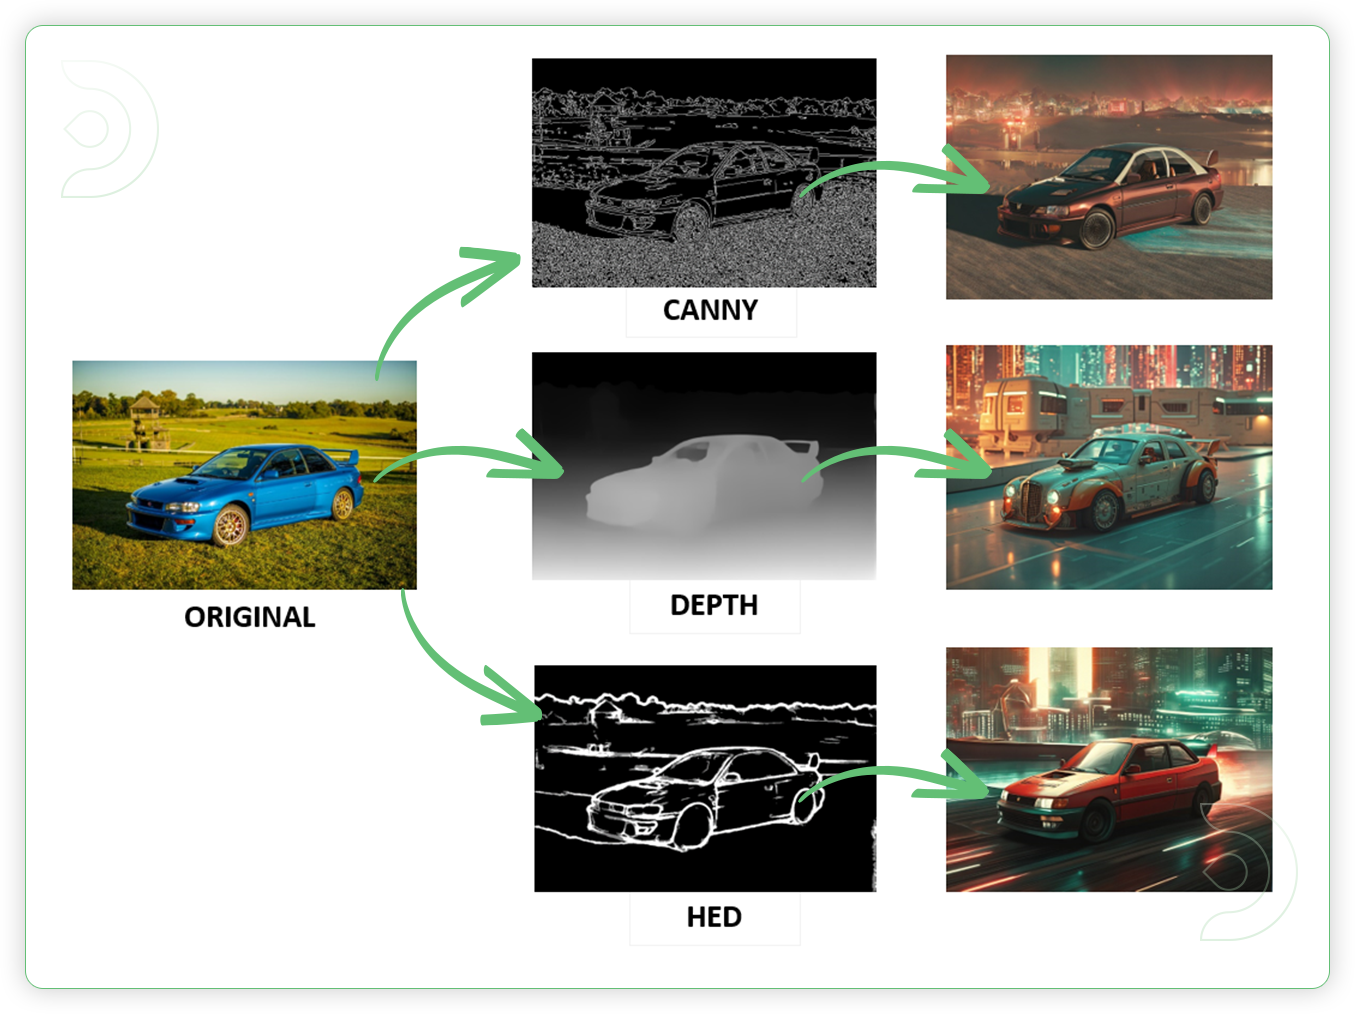
Recently XLab, InstantX, Shakker Labs and MistoAI have released ControlNets for Flux. In this guide, we'll use XLab's ControlNet models because of their quality and generation speed. XLab's collection supports 3 models for now: Canny, Depth and HED. Each ControlNet is trained on 1024x1024 resolution and works optimally for this resolution.
How to Use Flux AI with ControlNet model
Installation guide
ThinkDiffusion_Flux_ControlNet
ThinkDiffusion_Flux_ControlNet.json
💡
Download the workflow and drag & drop it into your ComfyUI window, whether locally or on ThinkDiffusion. If you're using ThinkDiffusion, it's necessary to use at minimum the Turbo 24gb machine, but we do recommend the Ultra 48gb machine.
Custom Nodes
If there are red nodes in the workflow, it means that the workflow lacks the certain required nodes. Install the custom nodes in order for the workflow to work.
Go to ComfyUI Manager > Click Install Missing Custom Nodes
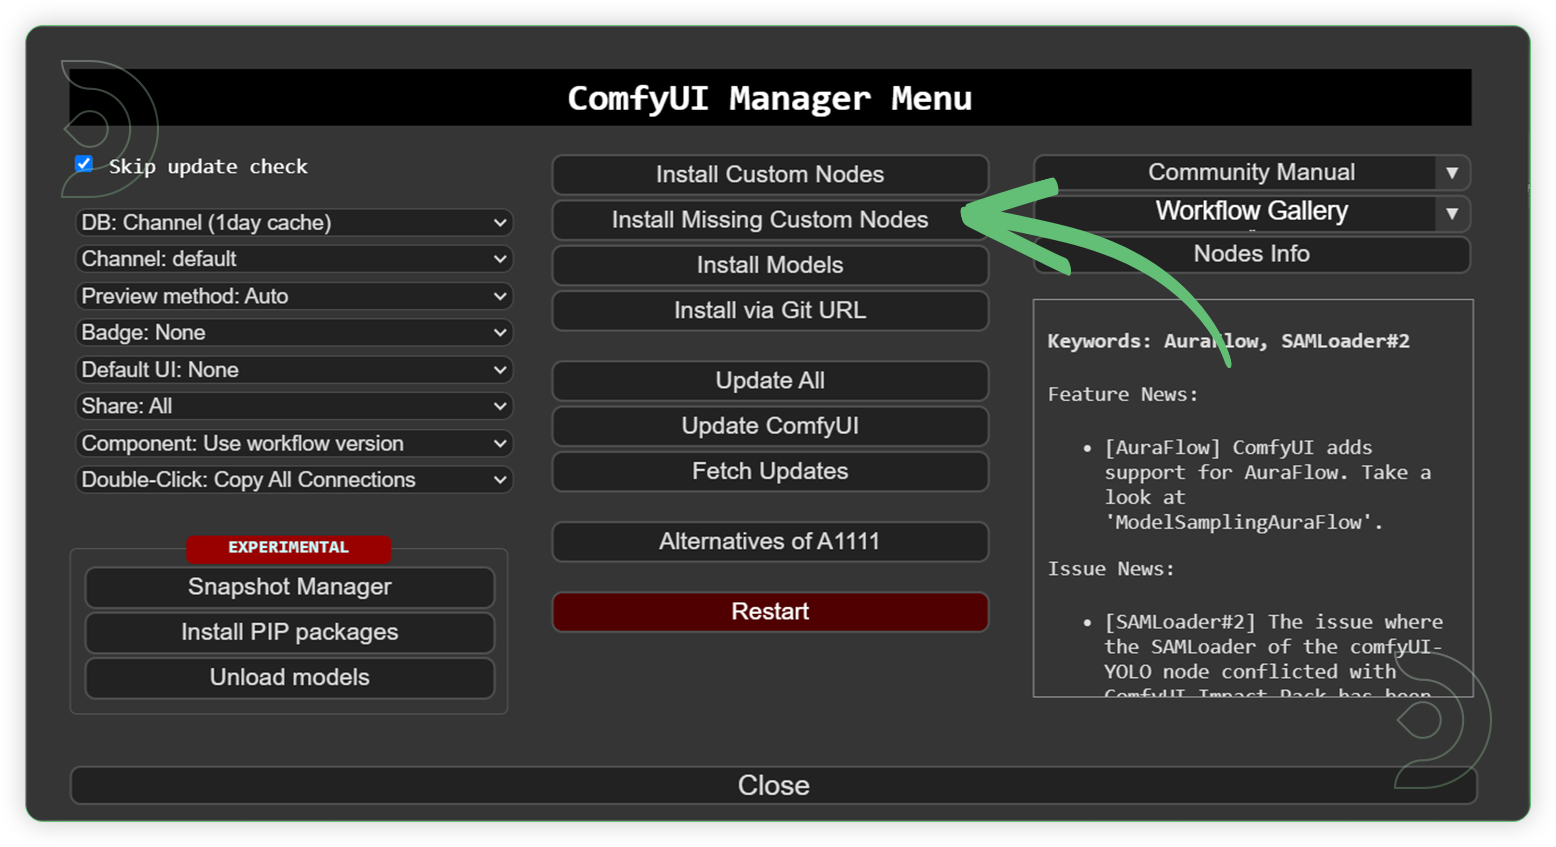
Check the list below if there's a list of custom nodes that needs to be installed and click install.

Models
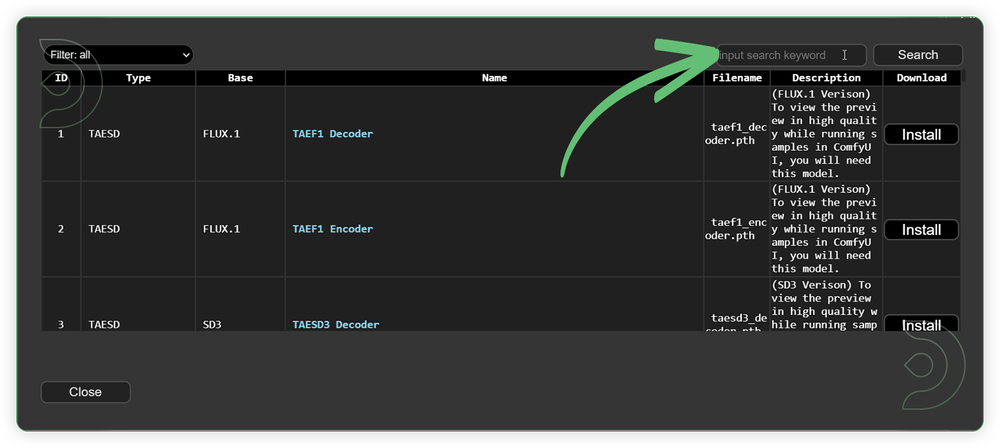
Download the recommended models (see list below) using the ComfyUI manager and go to Install models. Refresh or restart the machine after the files have downloaded.
Go to ComfyUI Manager > Click Install Models

When you find the exact model that you're looking for, click install and make sure to press refresh when you are finished.
Model Path Source
Use the model path source if you prefer to install the models using model's link address and paste into ThinkDiffusion MyFiles using upload URL.
Model NameModel Link Addressflux1-dev.safetensors
📋 Copy Path
flux1-schnell.safetensors
📋 Copy Path
flux1-dev-fp8.safetensors
📋 Copy Path
flux1-schnell-fp8.safetensors
📋 Copy Path
ae.safetensors
📋 Copy Path
t5xxl_fp8_e4m3fn.safetensors
📋 Copy Path
t5xxl_fp16.safetensors
📋 Copy Path
clip_l.safetensors
📋 Copy Path
flux-canny-controlnet-v3.safetensors
📋 Copy Path
flux-depth-controlnet-v3.safetensors
📋 Copy Path
flux-hed-controlnet-v3.safetensors
📋 Copy Path
Guide Table for Upload
Recommended Models
Node’s Value Name
Node
ThinkDiffusion Upload File Directory
flux1-dev.safetensors
unet_name
Load Diffusion Model
…/comfyui/models/unet/
flux1-schnell.safetensors
unet_name
Load Diffusion Model
…/comfyui/models/unet/
flux1-dev-fp8.safetensors
unet_name
Load Diffusion Model
…/comfyui/models/unet/
flux1-schnell-fp8.safetensors
unet_name
Load Diffusion Model
…/comfyui/models/unet/
ae.safetensors
vae_name
Load VAE
…/comfyui/models/vae/
t5xxl_fp8_e4m3fn.safetensors
clip_name
DualClipLoader
…/comfyui/models/clip/
t5xxl_fp16.safetensors
clip_name
DualClipLoader
…/comfyui/models/clip/
clip_l.safetensors
clip_name
DualClipLoader
…/comfyui/models/clip/
flux-canny-controlnet-v3.safetensors
controlnet_path
Load Flux Controlnet
…/comfyui/models/controlnet/
flux-depth-controlnet-v3.safetensors
controlnet_path
Load Flux Controlnet
…/comfyui/models/controlnet/
flux-hed-controlnet-v3.safetensors
controlnet_path
Load Flux Controlnet
…/comfyui/models/controlnet/
Reminder
💡
Refresh or restart the machine after uploading the files in ThinkDiffusion My Files.
💡
If you have downloaded the ae.sft model, just rename it to ae.safetensors. They were just the same though different name from other sources.
💡
You can upload models by copying the link address of download button/icon from Civitai or Huggingface and paste into the Upload section of ThinkDiffusion My Files using the copied URL.
Step-by-step Flux Controlnet image generation
Now that the hard work is out of the way, let's get creative. Follow the steps from top to bottom.
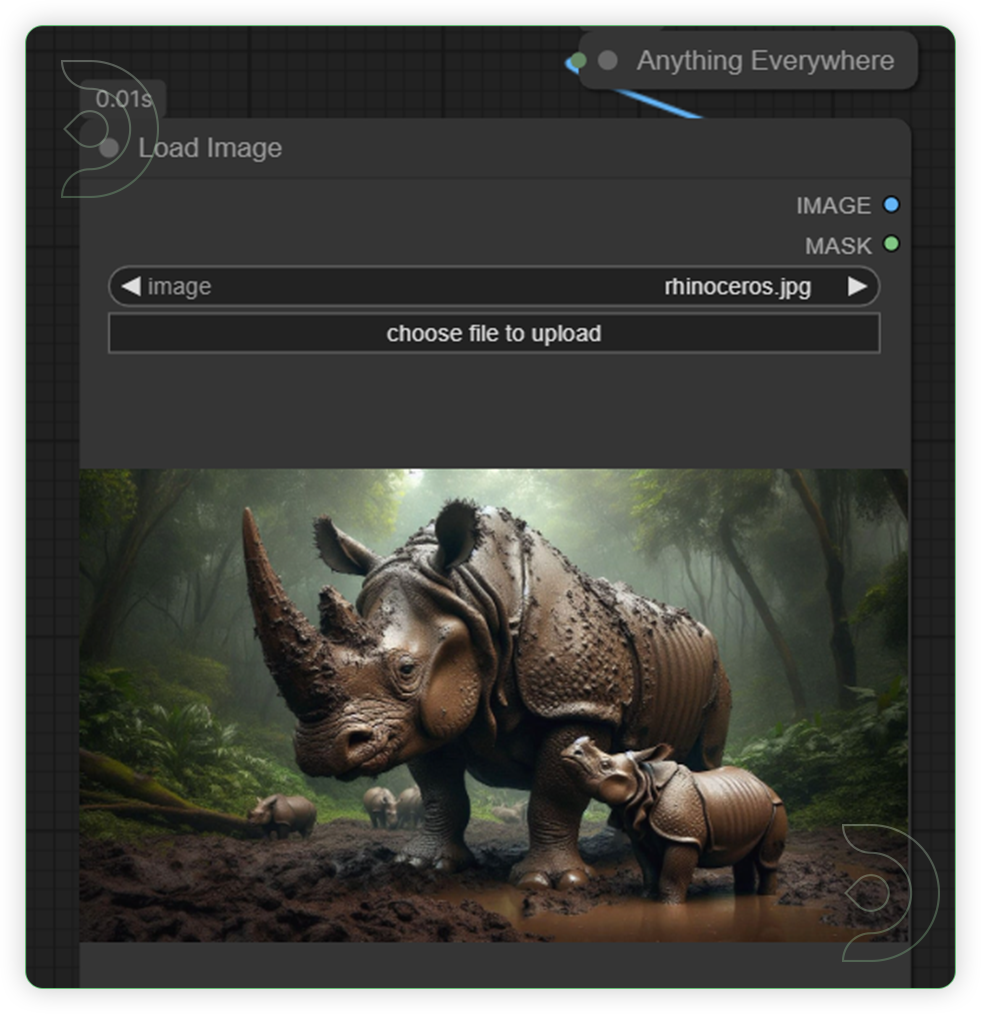
StepsDefault NodesLoad an Image
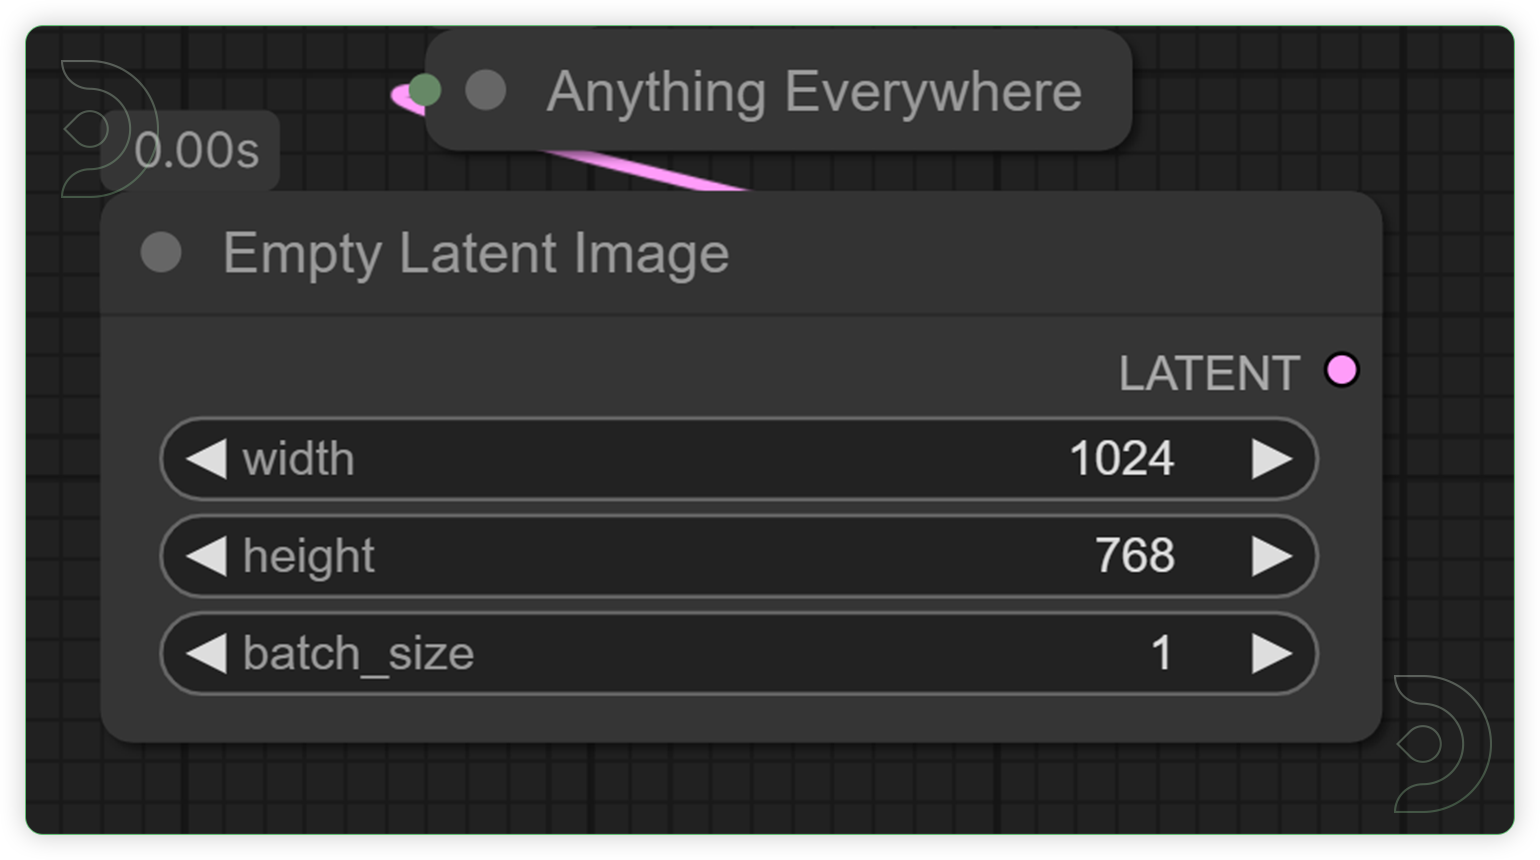
Set your desired image size
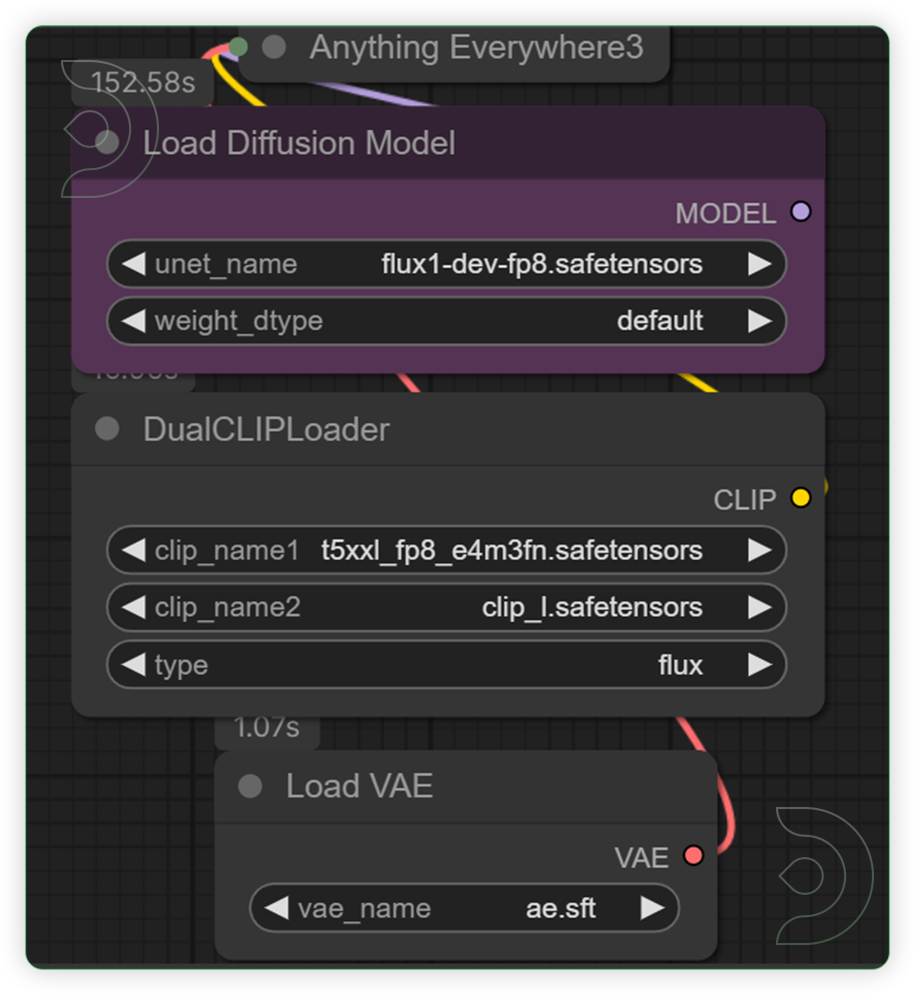
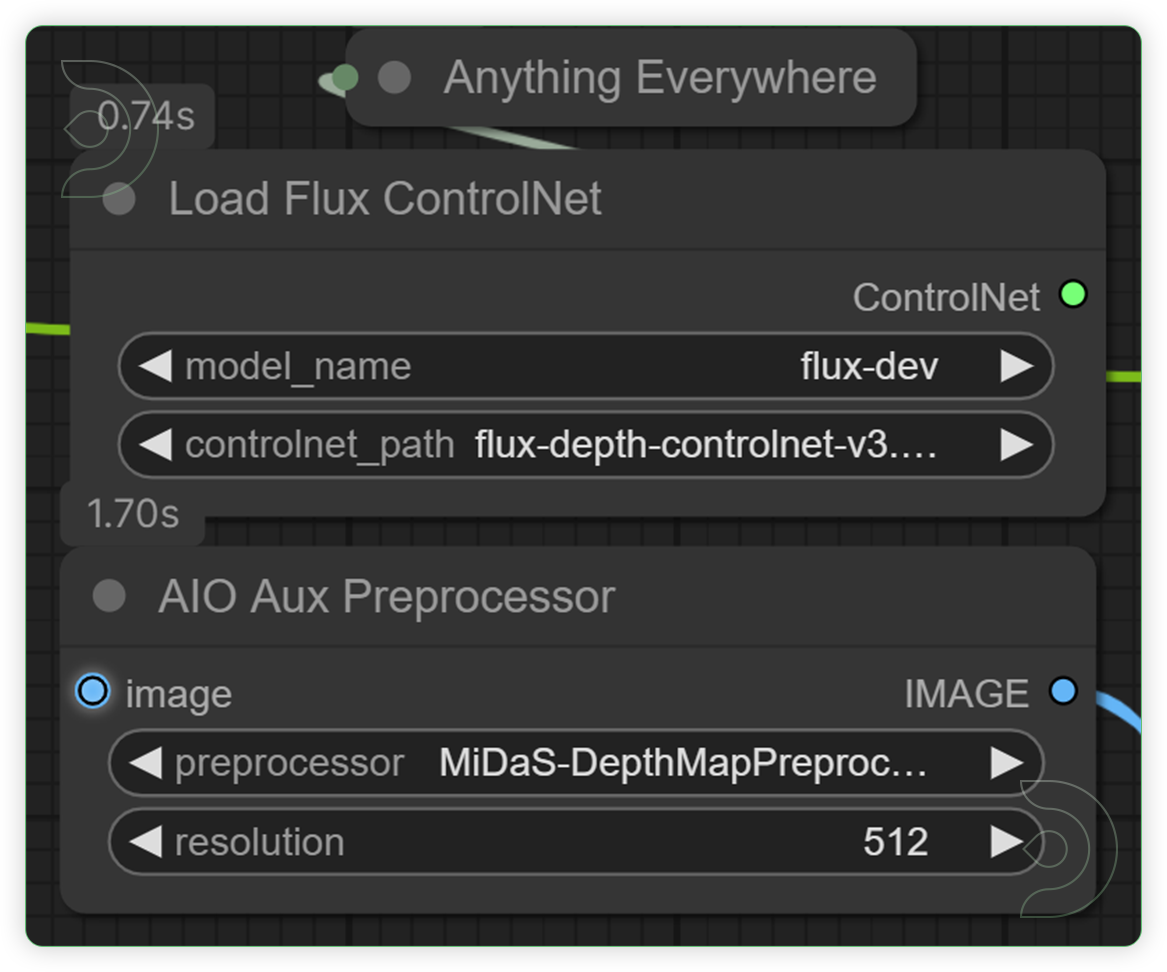
Set the correct models as seen on the image.
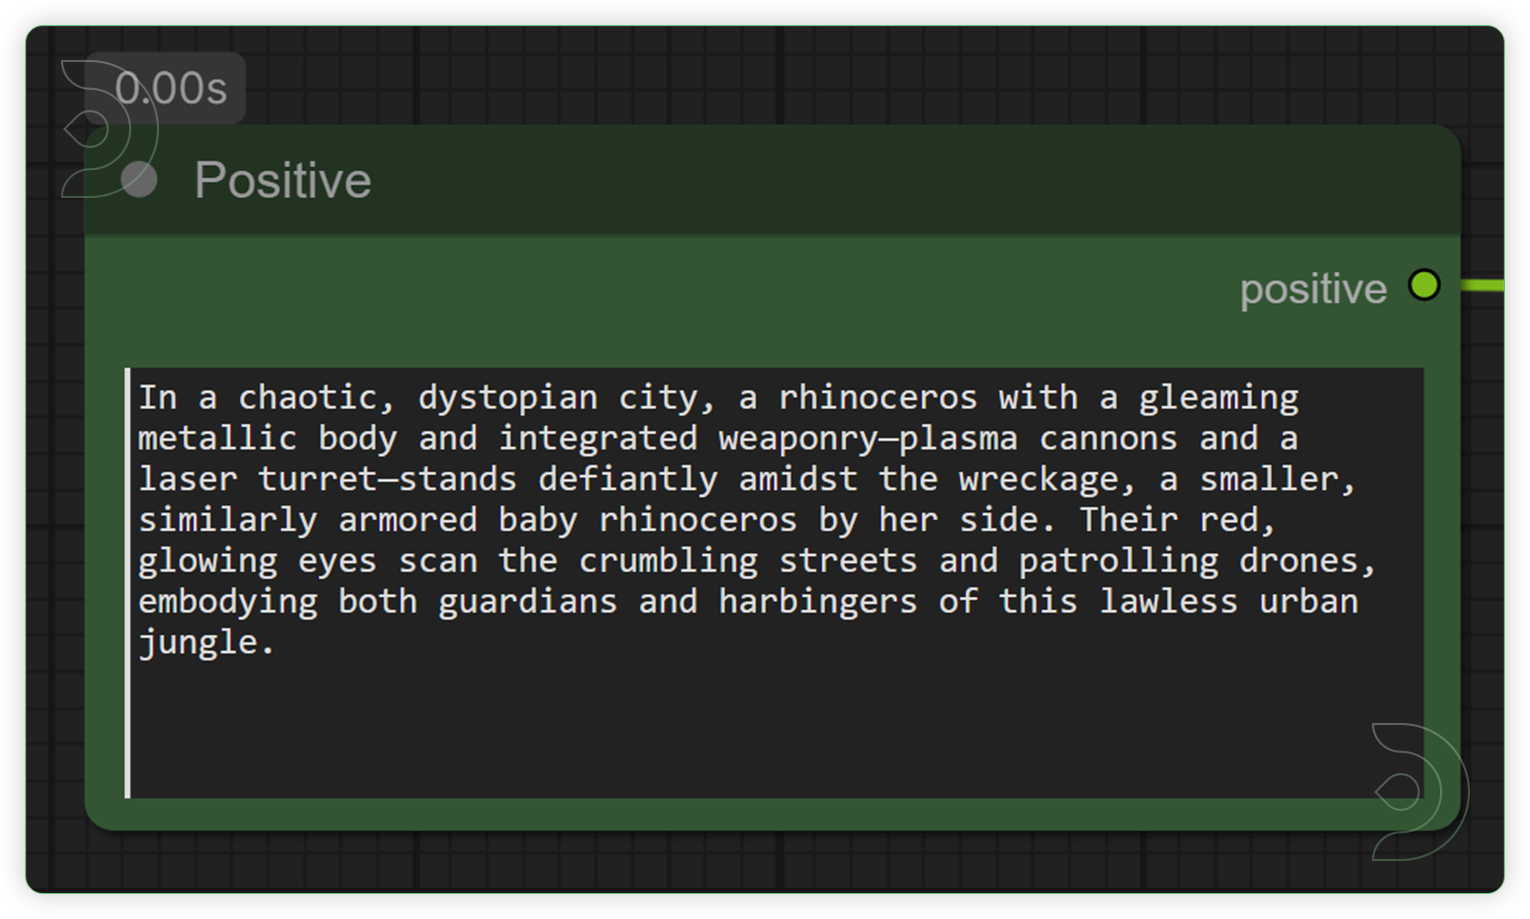
Write a good prompt which describes what the outcome will be.
Set a ControlNet and equivalent preprocessor model as seen in the image.
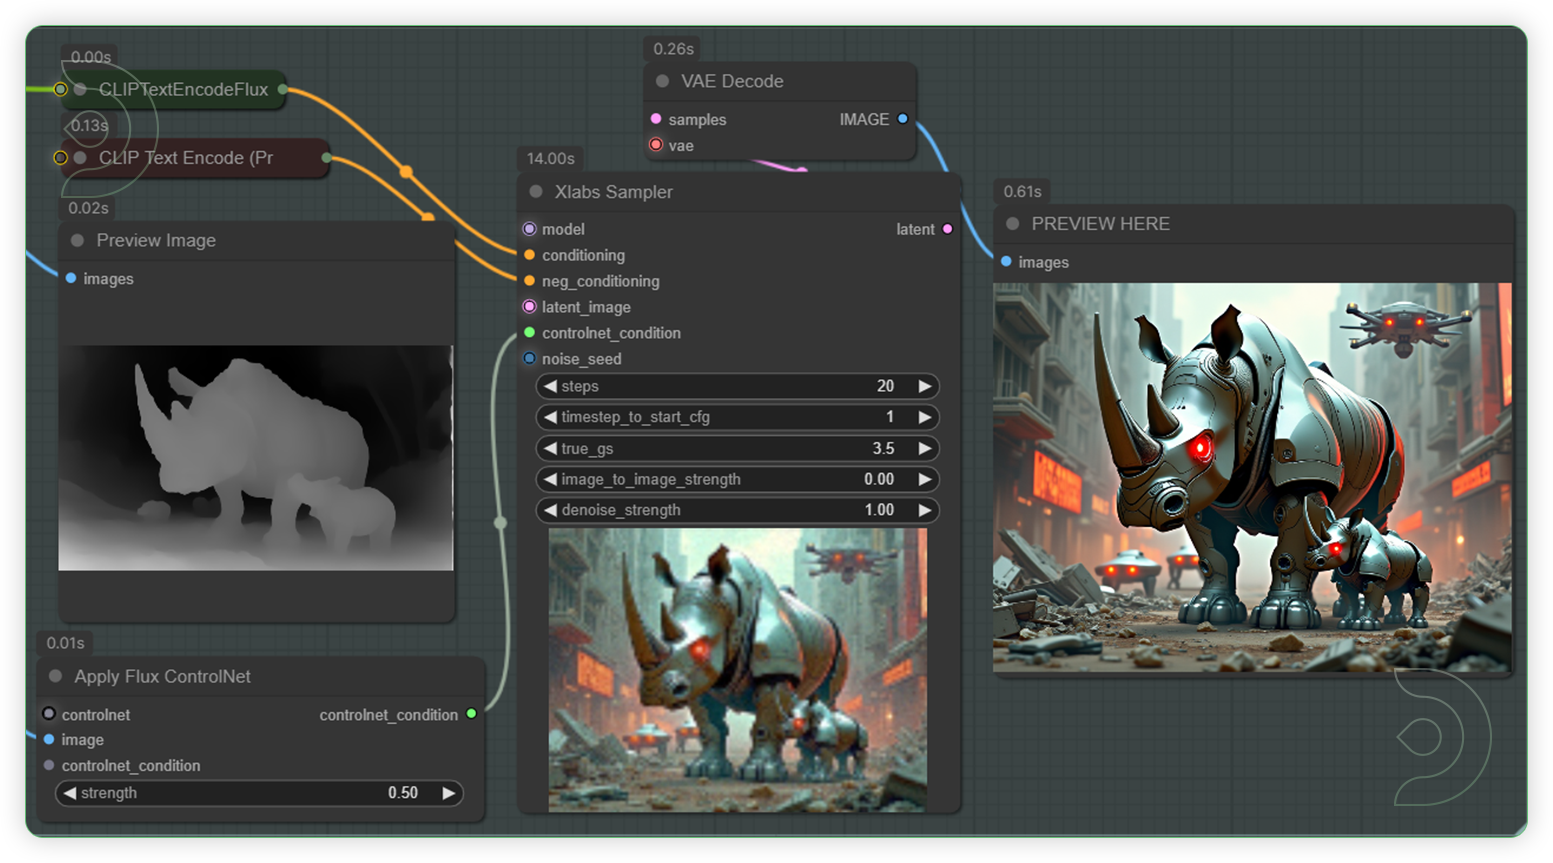
Set the desired settings as seen on the image. A preview after generation porcess will appear in this area. Finally, run the queue prompt.
Quick Tips
💡
fp8 degrades the quality a bit so if you have the resources to run the full fp16 version it's recommended.
💡
If you have less than 32GB of System RAM, use the t5xxl_fp8_e4m3fn text encoder instead of the t5xxl_fp16 version.
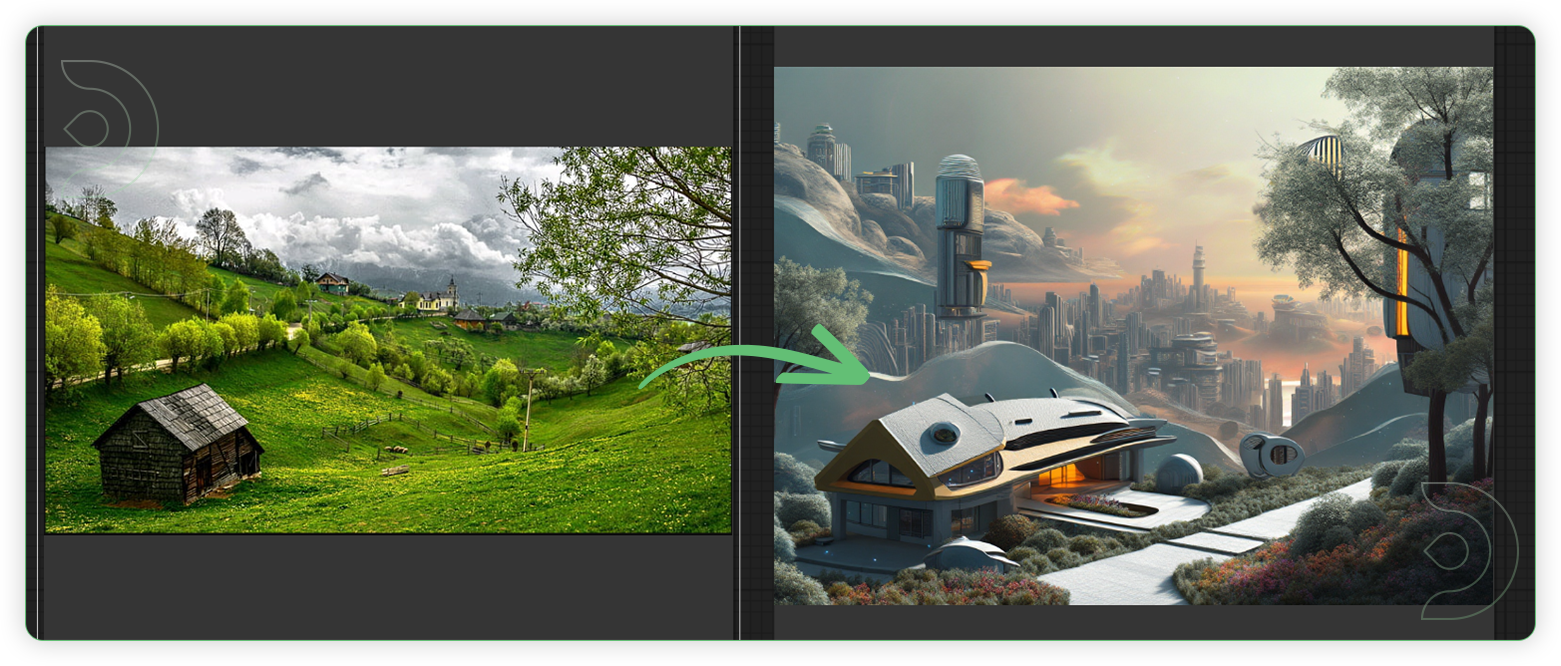
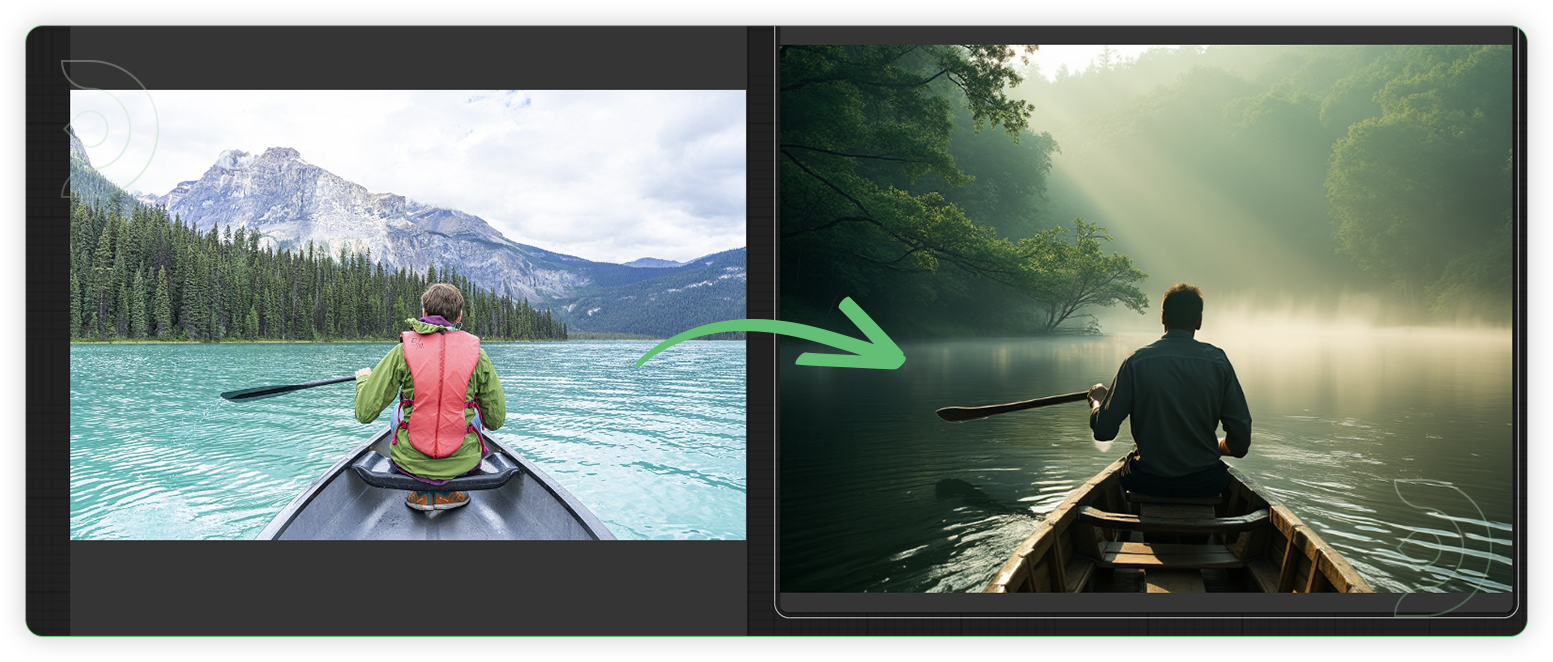
Flux AI ControlNet Examples
Original article can be found here: https://learn.thinkdiffusion.com/flux-with-controlnet-quick-guide/