Motivation
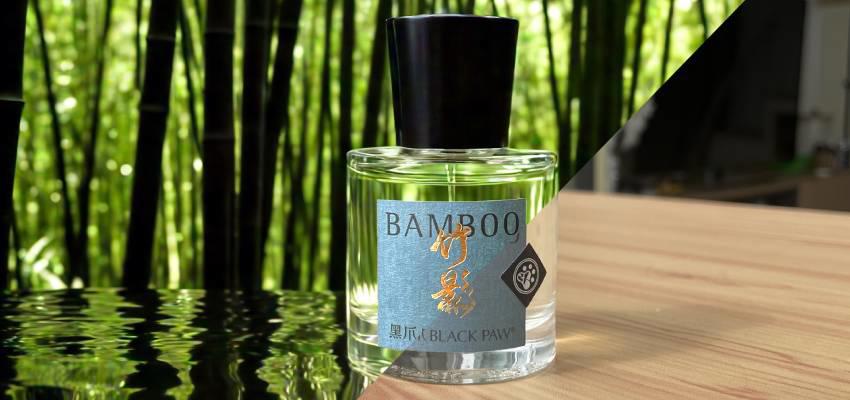
One of my main focus since I started to learn Stable Diffusion has always been making commercial visuals for products. I tried many approaches, and I finally arrived with some satisfying results. I've long been benefited by the community and I couldn't do it without the community, and I always want to contribute. So, today I want to share my experience on creating product visuals with Stable Diffusion, I hope this article will help people with similar interest.
Keep the authenticity
The key challenge when it comes to make visuals for product, is to keep the product's authenticity during generation. Unlike generating random stuffs, you want the product to look exactly as a photo shot, there should be no change in the product's shape or color. The following are the best practice for keep the product real.
Keep the shape
The best practice is to use canny and depth zoe together for maximum control over the product's shape. If you only use one of them, SD might misinterpret what it's supposed to draw, you could get a square cap but your product has a round cap, for example.
Keep the color/texture
You should always describe the color and texture of your product as best as possible in the prompt, but it's not guaranteed that SD will get the them right, because of "keyword bleeding". In such case, you should use a real photo of your product and use it as latent for img2img, that way you maximum the chance of getting the color and texture correct.
Keep the details
Due to the nature of stable diffusion model, if your subject is very small in the frame, you will most likely to lose its details, this is also why you get scrambled face when you are making a full body portrait, because there's no enough space in the latent space for SD to draw on.
The best way I found to keep the product's details is to fill the entire frame with your product. What about the background, you may ask, well you put it to the second step, which I will explain later.
Leave your text/logo to photoshop
If you feed your photo as latent in img2img, drop your hope for keeping any text or logo intact in the outputs. Any text or drawing on your product will 100% come out as distorted, for the same reason I mentioned above, there's no enough space in the latent space for them. This is just not the right job for SD, you should add your text or logo back on in photoshop after the generation.
A two-step approach
The failed approach that wasted most of my time is probably trying to make the image in one go, the approach may feel intuitive, but it gets you nowhere. You mask out your product, put it on a white background, feed it to SD and you start to generate, that is NOT going to work. It doesn't work for several reasons. First as I mentioned above, the product itself won't get enough details when you squeeze it inside a 1 megapixel image. Secondly, keep in mind that ControlNet's influence is on the whole image, so it not only the shape of your product is fixed but the background is fixed as well.
I could write an entire chapter on why the approach won't work, but for now let's focus on what actually works.
Step 1 Beautify the product
This is the part where I think a lot of paid AI product image service lacks, all they focus on is just generate a background for you, and leaving the product untouched. If you upload products shot on your phone, your amateur photo will look like pasted on the generated background. So, before you make the background, you should make your product look like it's shot with professional photography equipment.
Image preparation
Take a photo of your product, open a new canvas in photoshop or any similar software you like, the ratio of the canvas should fit your product as much as possible. For example, if your product is a lipstick which is tall, then you should have a vertical rectangle as canvas, this is for perserving the maximum pixel space for the product. Straighten up any curved line caused by lens distortion in photoshop, then you can use the photo as an input for generation.
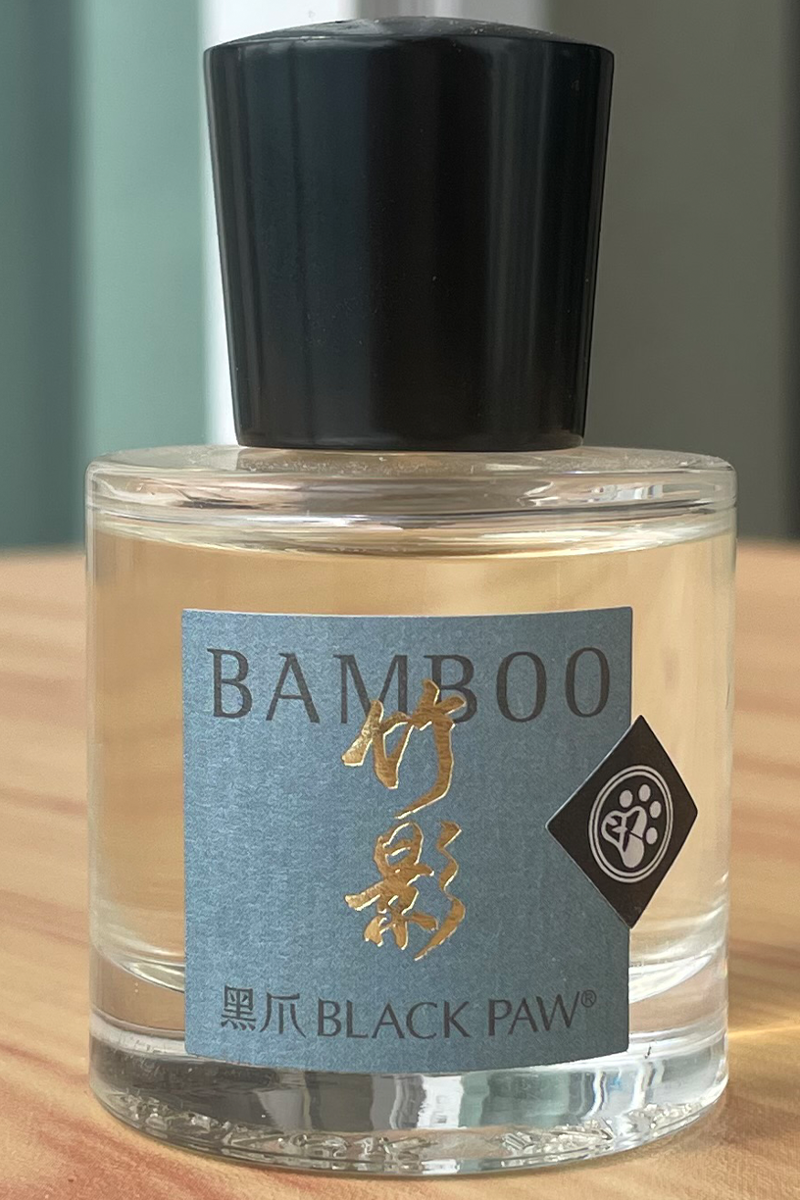
(Example: use a 3:2 portrait canvas for a perfume bottle)
Remove background
Use SAM or BirefNet or any background removal model to get rid of the background, and use the new image for ControlNet and img2img. That way the background will not influence the generation.
Prompting
Describe the color and texture of your product as detailed as possible. And add SOME but not detailed description about the background and lighting. This is important for aligning the lighting effect with the background generation. For example, I would prompt the bottle of perfume as:
High-end commercial advertising photograph. A glass perfume bottle, the bottle has a round reflective (black cap:1.2) and a round (translucent glass body:1.2) with a clear colorless fluid inside. The environment is set in a lush bamboo forest, natural lighting, shadow, best quality, award winning.Generating
Generate with ControlNet Canny and Depth, if SD couldn't get the color right, try use the photo as img2img input. Generate a pack of 5-10, pick the one you like the best. This is probably you are going to get. Use it for the next step.
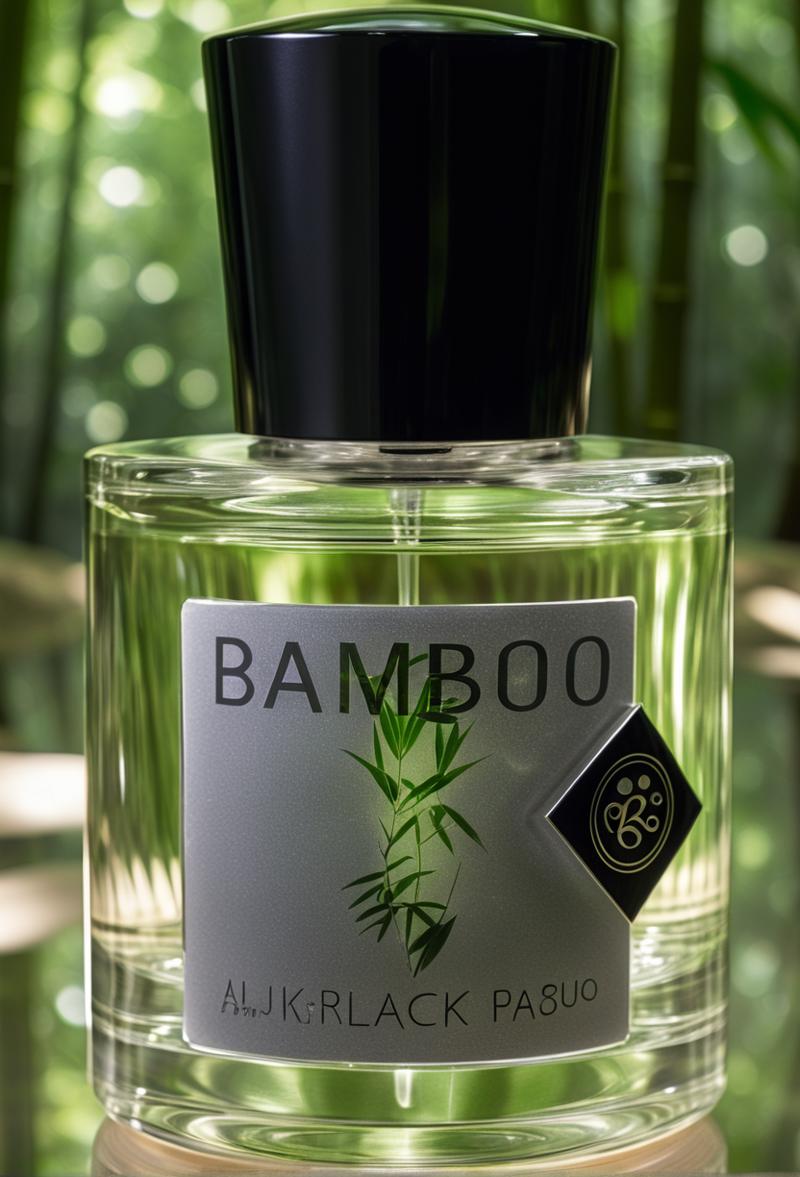
(Cherry-picked result, the label is scrambled, we will fix it later)
Step 2 Generate the background
Image preparation
Open photoshop, open a new canvas in the size of your final image, drop the image you just selected, and place it anywhere you want it to be.
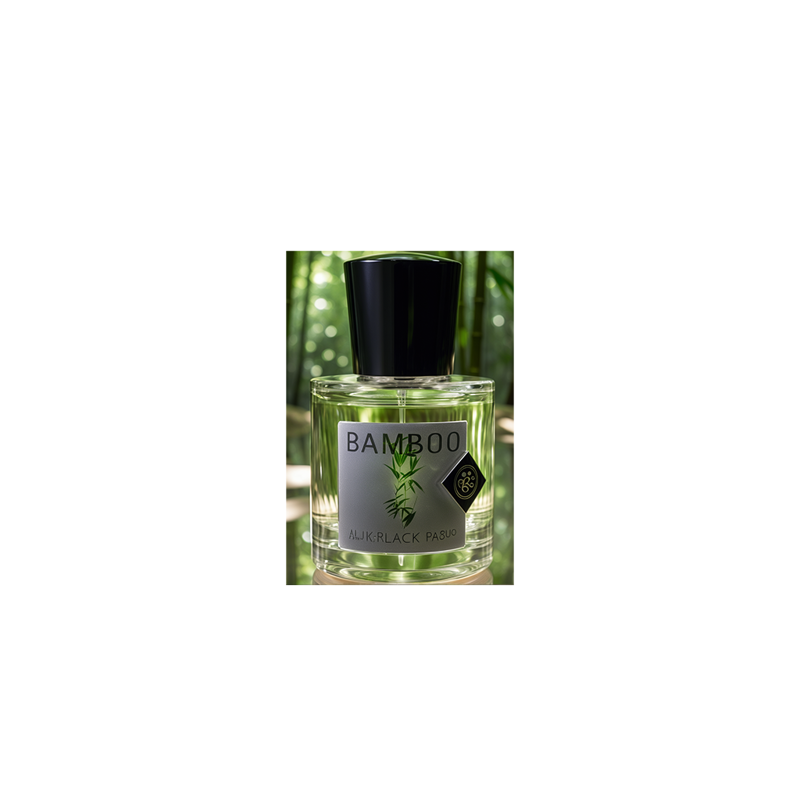
(Place your generated image on a white canvas)
Mask out the product
Again, use any background removal model to detect and mask out the product. Leave it untouch, and only generate the background.
Generate the background
Use a inpaint model or BrushNet to generate the background, use the prompt you used for beautifying the product, delete some details of the product, and add more details about the background, as now we are focusing on the background. For example:
High-end commercial advertising photograph. A glass perfume bottle, the bottle has a round reflective black cap and a round translucent glass body with a clear colorless fluid inside.
The environment is set in a lush bamboo forest, natural lighting, shadow, the bottle is placed on water.
Best quality, award winning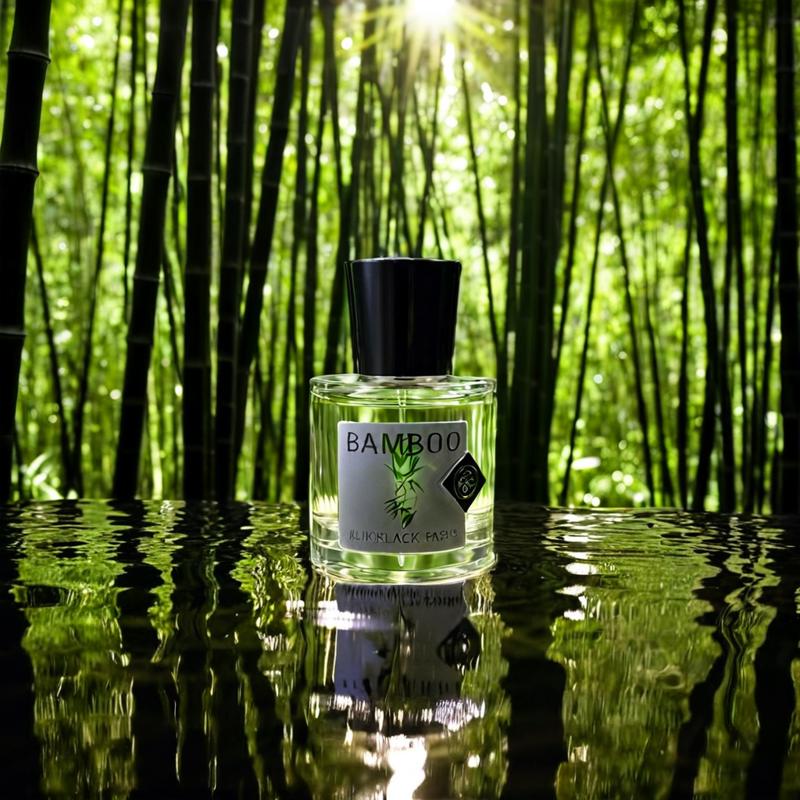
(Cherry-pick for the background output)
Retouch in photoshop.
Keep generating until getting something you like, once you made your selection, put it in photoshop and add the distorted details back on, such as any logo, text or intricate patterns adjust the brightness level to match with the environment.
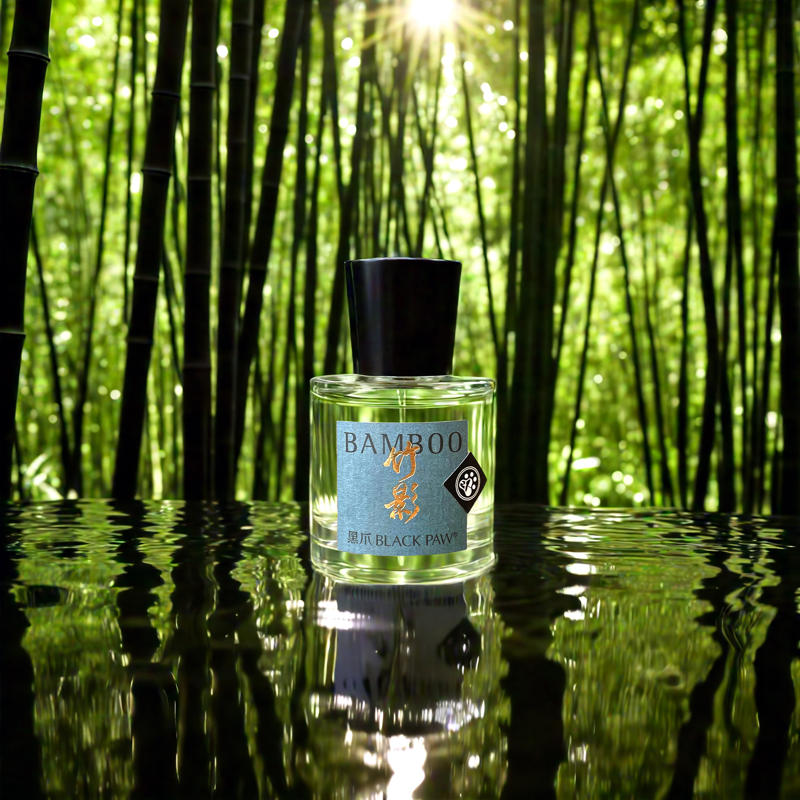
(Final result)
Outro
Thank you for reading this far. Leave any question in the comment section, and I'll answer them as soon as possible.

