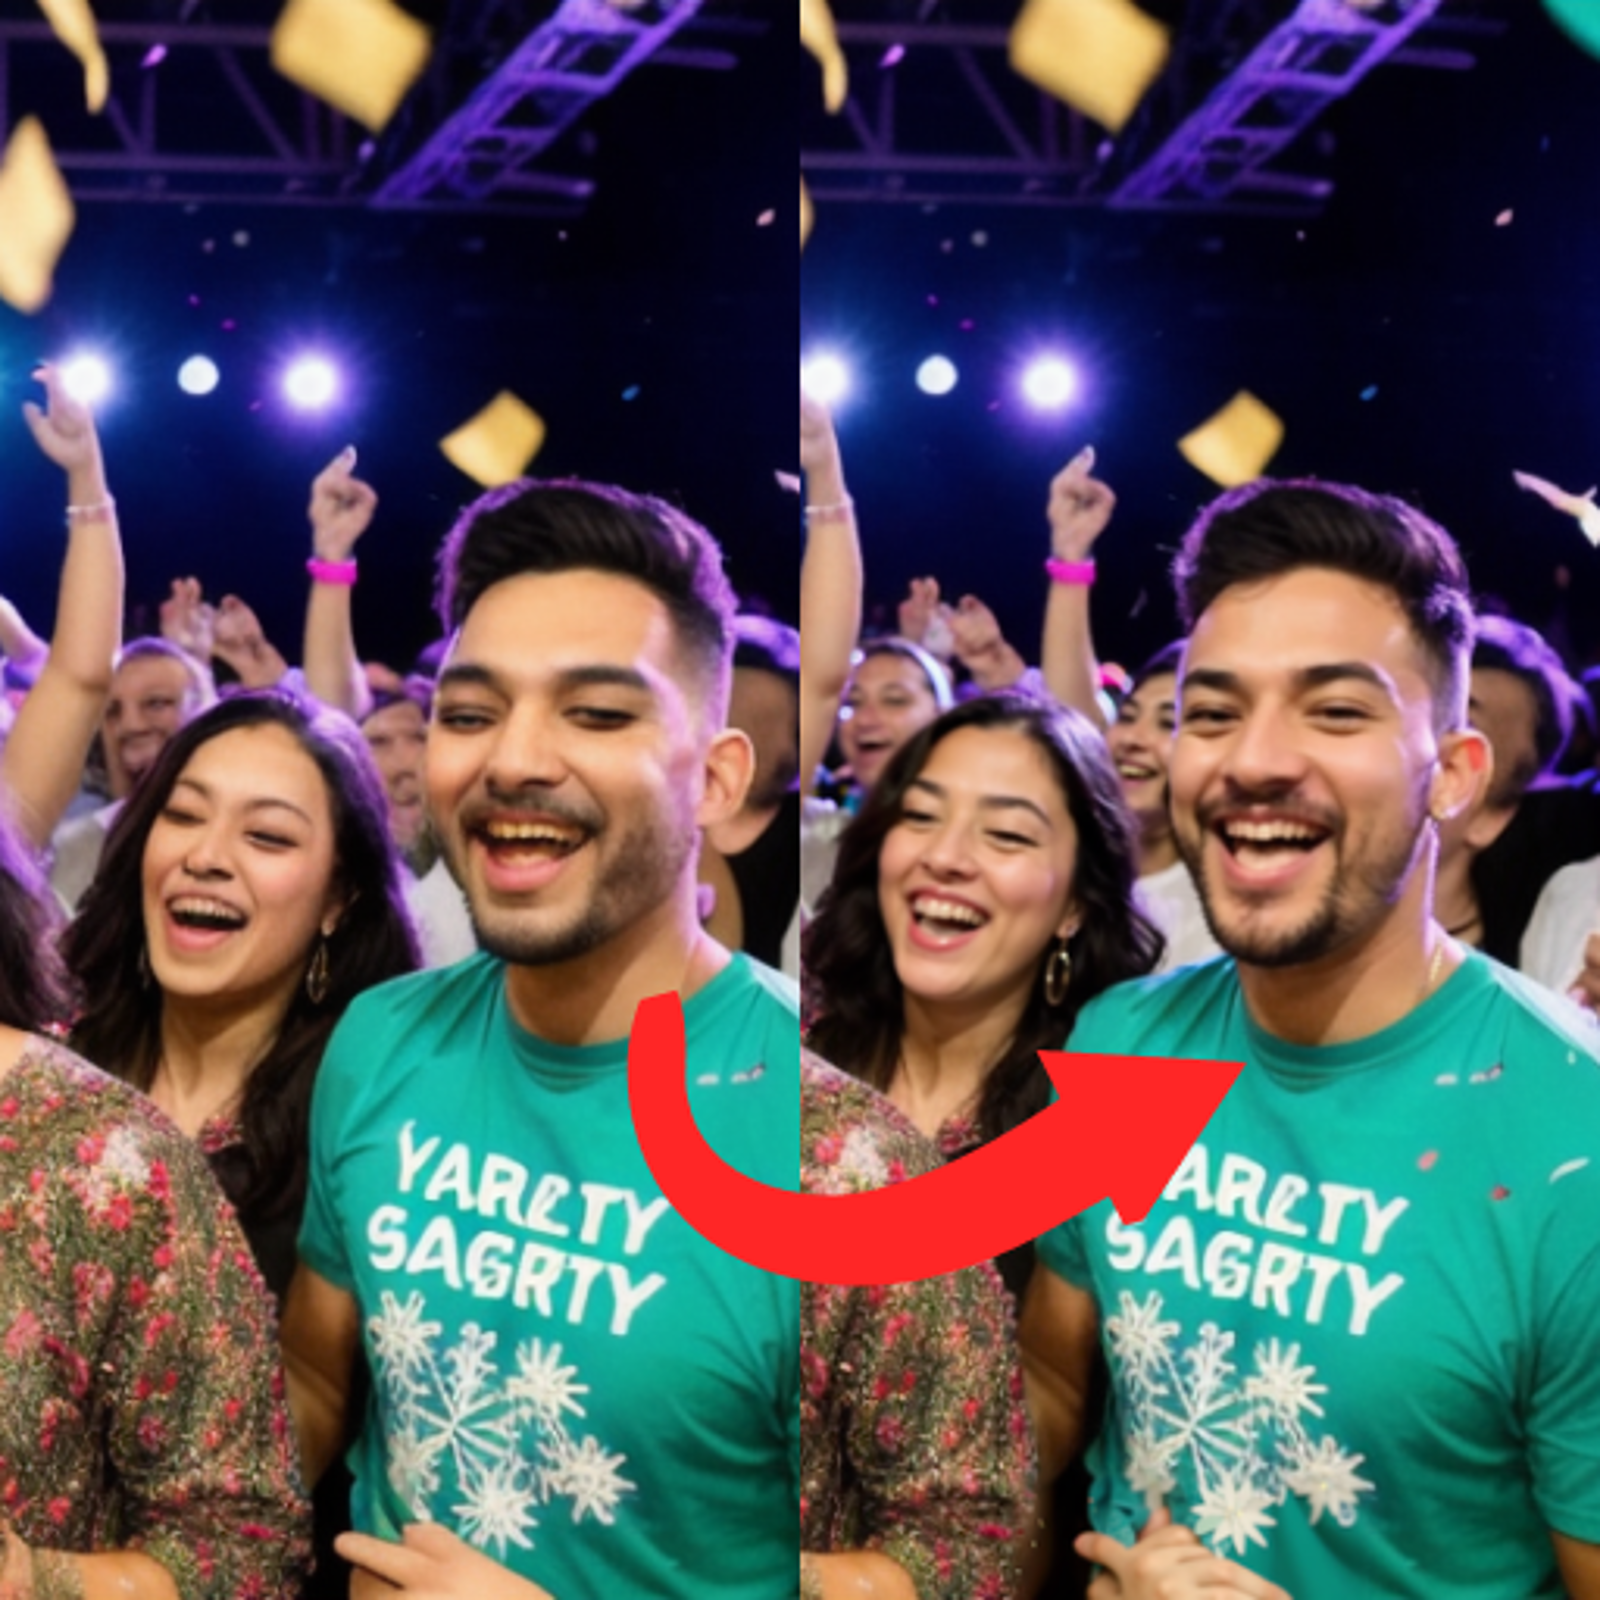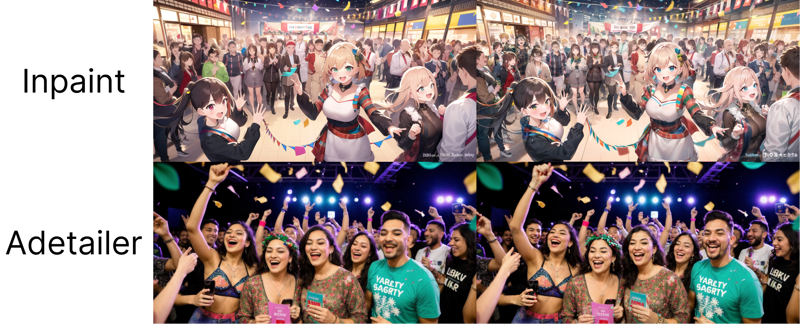
Hello everyone, today I want to show you how I created these two images and fixed the issue with the faces, one using inpaint and many hours of work, and the other using the adetailer plugin.
Let's start with the inpaint image. The base image and prompt were as follows:
/render <av3> 100 people, various ages and genders, joyous expressions, holding AI-generated images, YouTube logo, party decorations, confetti, indoor setting, large banner reading "100 Subscribers!", diverse clothing styles, bright and colorful, festive atmosphereNegative prompt: easynegativeSteps: 20, Sampler: DPM++ 2S a Karras, CFG scale: 7, Seed: 2378460665, Size: 1024x512, Model hash: 7f96a1a9ca, Model: AnythingV5_v5PrtRE, Clip skip: 2, Version: v1.2.1And here is the result:
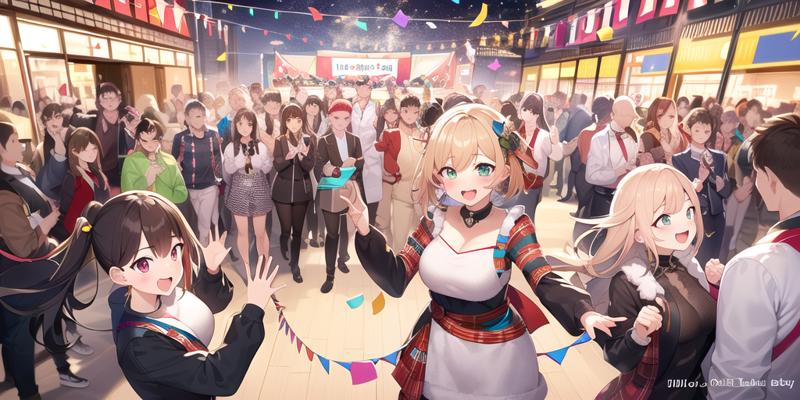
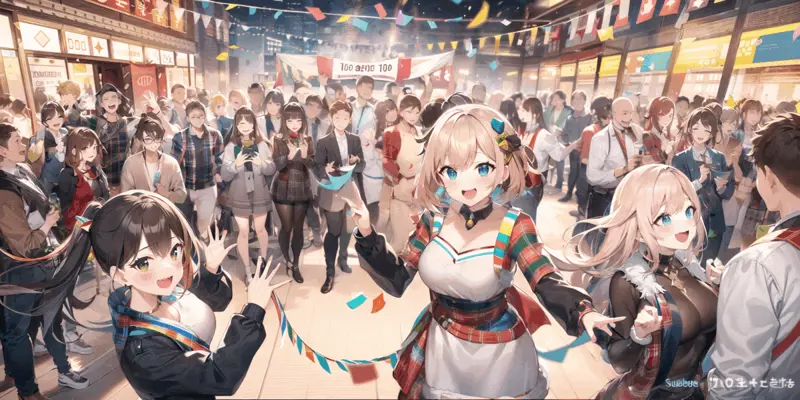
It's not a bad result, but the faces in the background are a recurring problem. Ideally, inpaint should be applied to each face individually. In my case, I first upscaled the image and then used inpaint, which is not the most appropriate way to fix the faces. The process should be done the other way around to save time.
In case you're wondering, the upscale was performed using the sd upscale plugin with the following result:
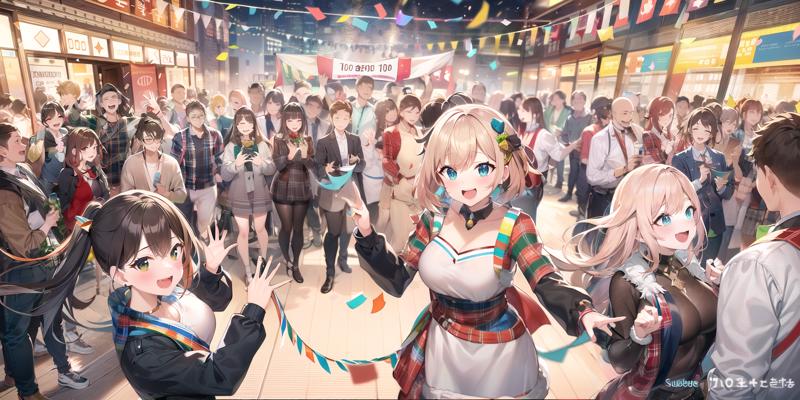
I used the following configuration:
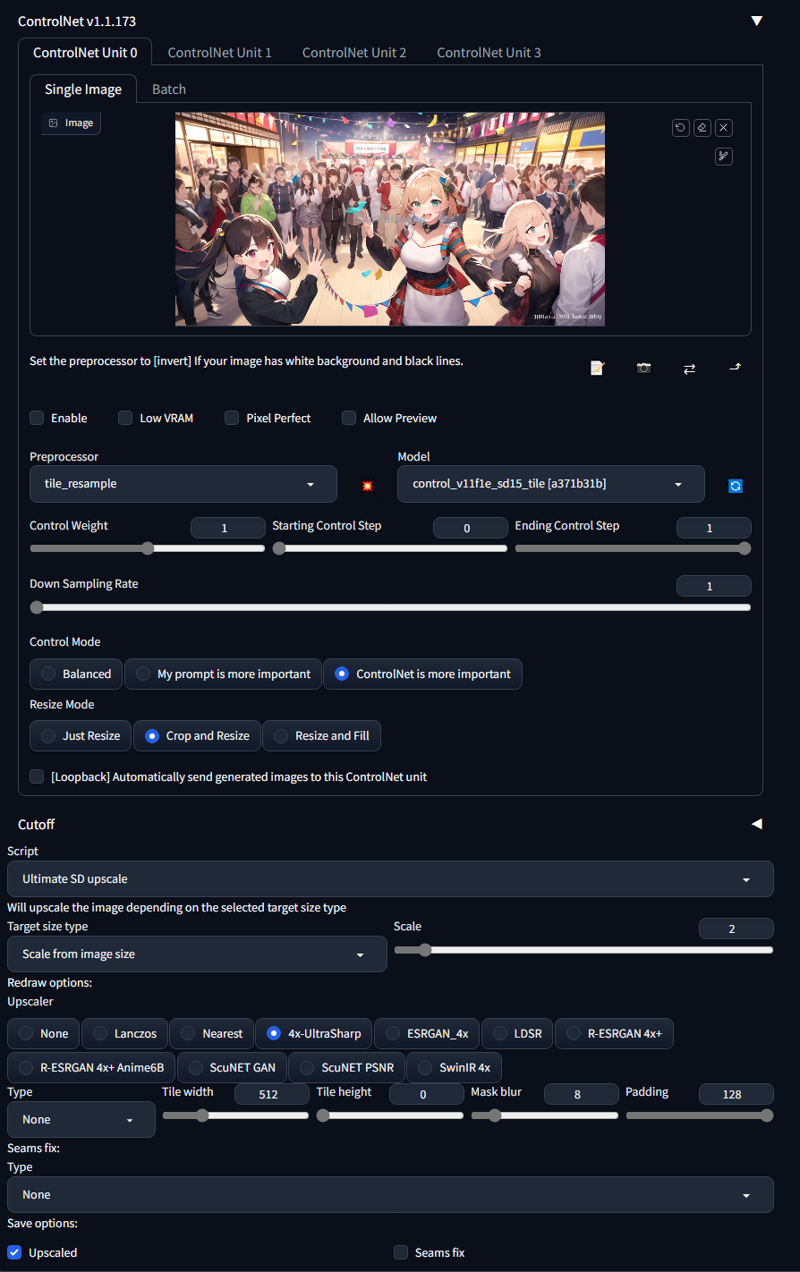
And the following prompt:
focused,perfect face,two eyes,happy Negative prompt: easynegativeThe process took a couple of hours, as I couldn't dedicate more time due to time constraints. But here, I'll show you the step-by-step changes in the image. Pay attention to the background, the left side of the blonde boy, and the other people.
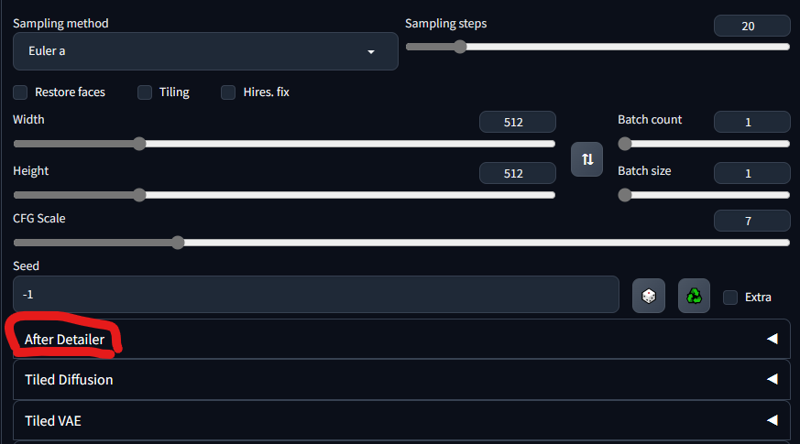
Now let's move on to the adetailer plugin. The installation of this plugin is quite simple. Just search for it in the automatic extensions and add it. Once installed and restarted, an additional tab will appear in your image creation, like this:
Then, enter the prompt and configure it as follows:
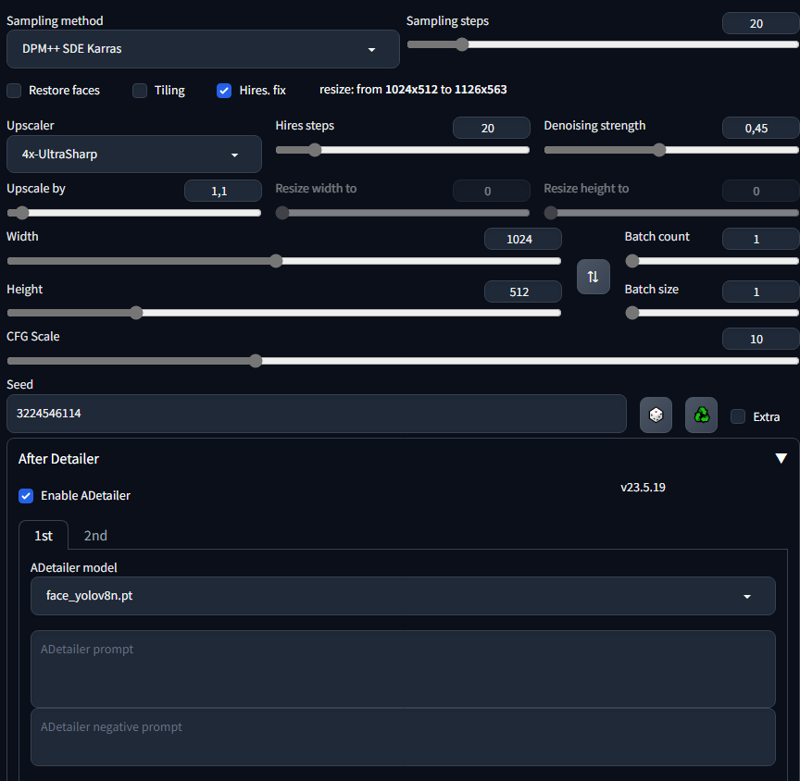
It has several models; I haven't tried them all, but most of them work with anime or real people. Additionally, the extra settings in this program help to define the area where the editing will take place and the extent of the image editing. I still need to understand how these configurations work in depth, so maybe I'll cover that in a future post. But before that, let me show you the before and after results:

An additional note is that the more people you include, the longer it will take to create the image because adetailer edits each recognized person. It also works for hands, but it requires more work from the extension, which can take extra time to create the images. However, it will give you cool results like this one.
Follow me in my Social Network
Support me: Kofi
