PolyPhaze | Generate reality @ PolyPhaze | Patreon
Creating consistent characters for your projects can be a real challenge, especially when you need them to remain visually cohesive across multiple poses, outfits, and styles. Many workflows out there can be time-consuming or lack flexibility, requiring constant regeneration of assets. But don’t worry—I’ve got you covered!
In this guide, I’ll show you a streamlined, efficient, and ethical process for creating reusable and fully customizable characters. This method combines 3D tools with AI workflows in ComfyUI, giving you ultimate creative control.
Step 1: Building the Base Model
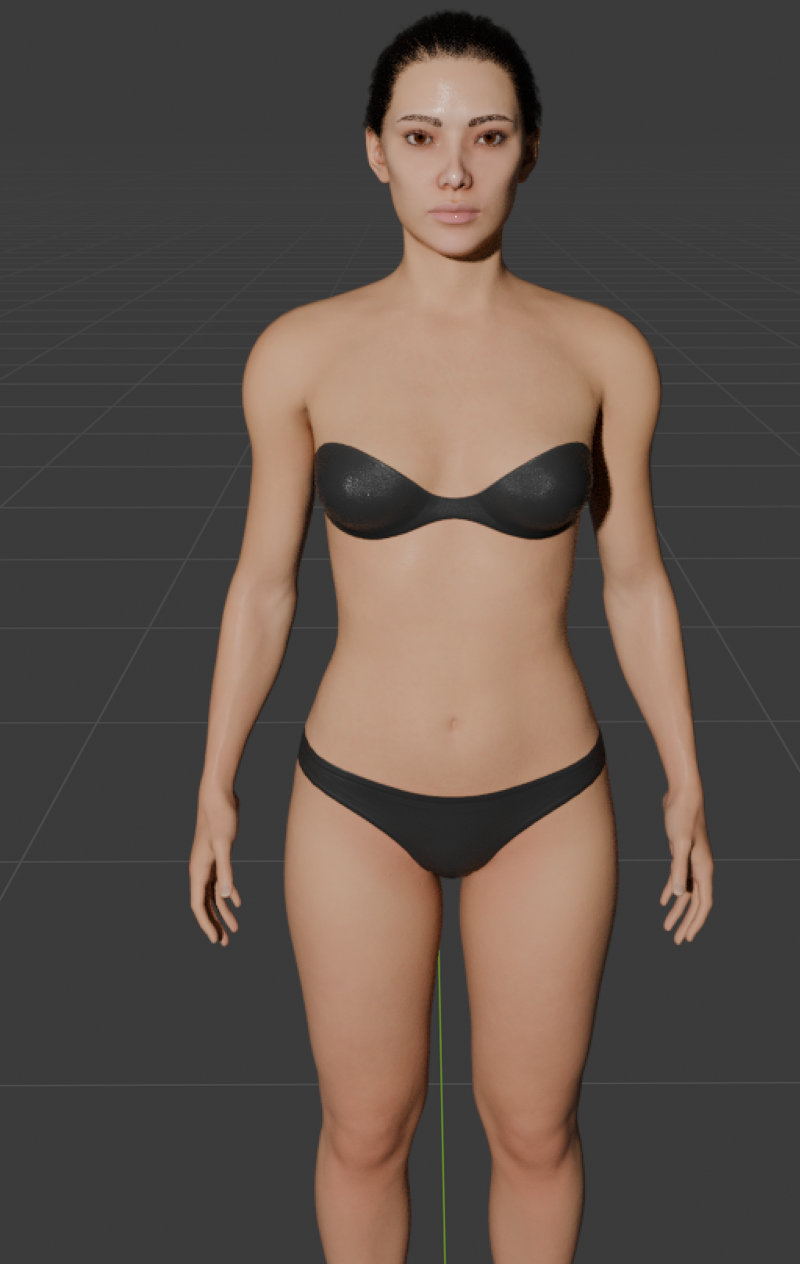
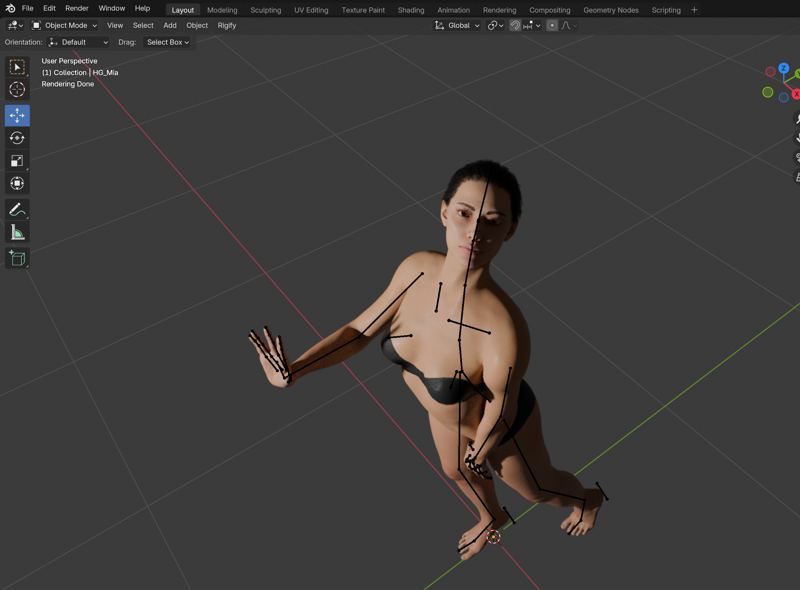
Start by designing your character in Blender with the HumGen Plugin. This tool is incredibly versatile, allowing you to fine-tune attributes like body shape, age, skin tone, height, hair, and clothing.
Want dynamic poses? Export your model to Mixamo for prebuilt animations or poses.
This ensures a solid, customizable base for your character that can evolve as needed.
Why Blender? It offers practical, ethical, and customizable options for creating 3D assets without relying on pre-existing images.

Step 2: Capturing and Extracting Poses
Once you have your 3D model, it’s time to extract poses and shapes using Canny or Depth Flux.1-dev models. These tools work similarly to ControlNet but offer enhanced capabilities:
Import your rendered images from Blender.
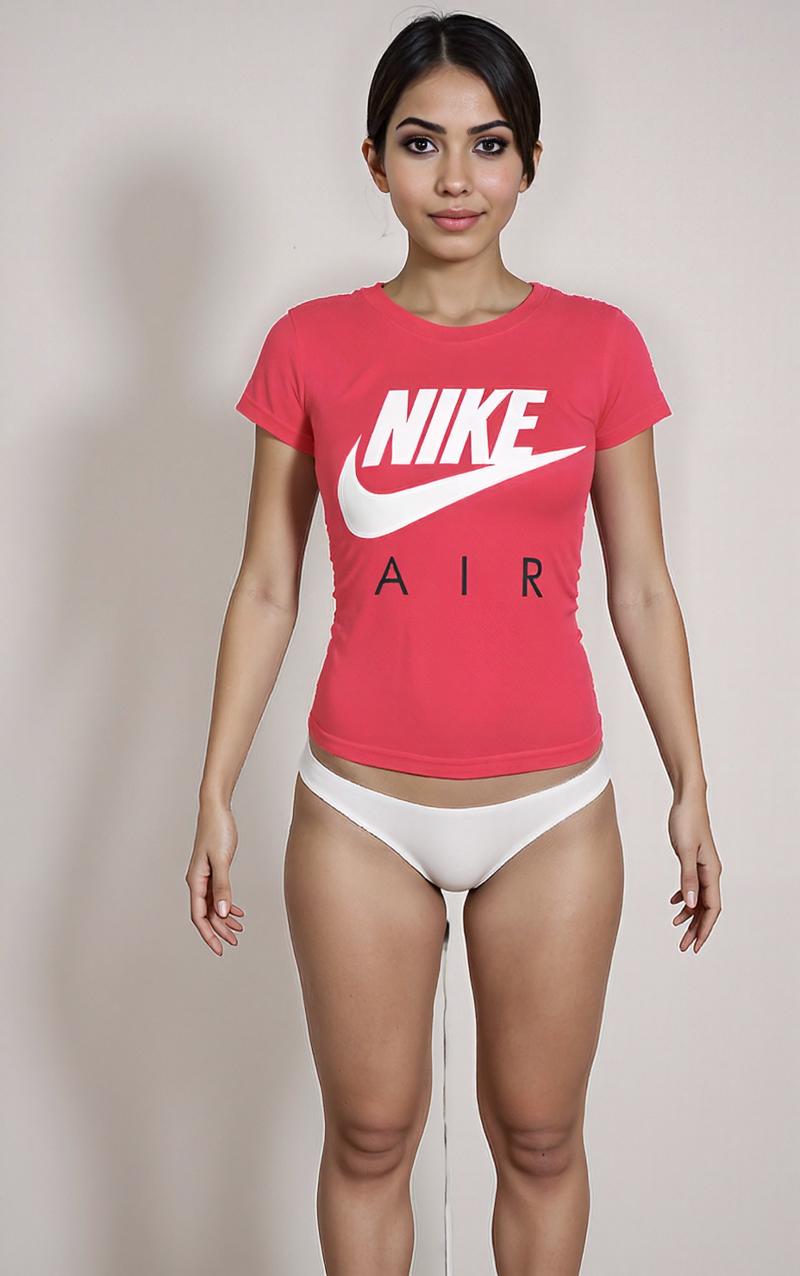
Extract the depth or edge maps to guide AI generation for consistent, lifelike poses.
This step bridges the gap between 3D assets and realistic AI-generated outputs, maintaining alignment across poses.

Step 3: Creating a Consistent Face
To ensure your character’s face remains recognizable across generations:
Use PULID Nodes or the Flux.1 Redux model for face consistency.
Fine-tune attributes in ComfyUI to lock down features like eyes, lips, and facial proportions.
The result? A character that looks identical in every scene, even with different lighting or expressions.

Step 4: Refining Skin and Adding Clothing
Now, refine the character’s skin texture and dress them up:
For hyper-realistic skin, use the Realistic Skin Sigma Noise Workflow (combining Lying Sigma and Daemon Detail nodes).
Add dynamic clothing through workflows like Fill Cloth Transfer to test and swap outfits seamlessly.
This step brings your character to life with stunning detail and customization options.

Step 5: Training a LoRA
To save time on future projects, train a LoRA (Low-Rank Adaptation) for your character.
Use your generated dataset with varied poses, outfits, and angles.
Set up a straightforward training process to make your character reusable across different projects.
This ensures your character is always ready to go, reducing redundancy and boosting efficiency.
Why This Workflow Works
This process combines the creative flexibility of 3D tools with the technical precision of AI workflows, offering the best of both worlds. Plus, it’s ethical—using Blender and other customizable tools means you’re not relying on scraped or unauthorized content.
Ready to Get Started?
Check out the video tutorial on my YouTube channel for a detailed walkthrough of each step. Don’t forget to like, subscribe, and support me on Patreon for exclusive workflows and advanced tutorials!
Resources Mentioned:
Have questions or tips to share? Let’s discuss in the comments below!

