Advanced Character Design in 3 Steps: A Comprehensive Guide
Creating a visually compelling character can often feel like an overwhelming task. With so many design elements to juggle—from accessories to clothing to proportions—how do you achieve that polished, high-end look without spending hours tweaking every tiny detail?
In this guide, we’ll break down advanced character design into three straightforward steps, designed to give you professional-level results. These techniques are powered by ComfyUI workflows and cutting-edge tools like Segment Anything, Fill and Redux models, and advanced masking workflows.
Whether you’re an artist, a designer, or simply someone experimenting with AI-generated art, this article will equip you with the techniques needed to craft unique, standout characters.
Step 1: Build the Foundation
The first step in creating any character is establishing a strong, adaptable foundation. This means focusing on simplicity and leaving room for future adjustments.
Workflow Overview:
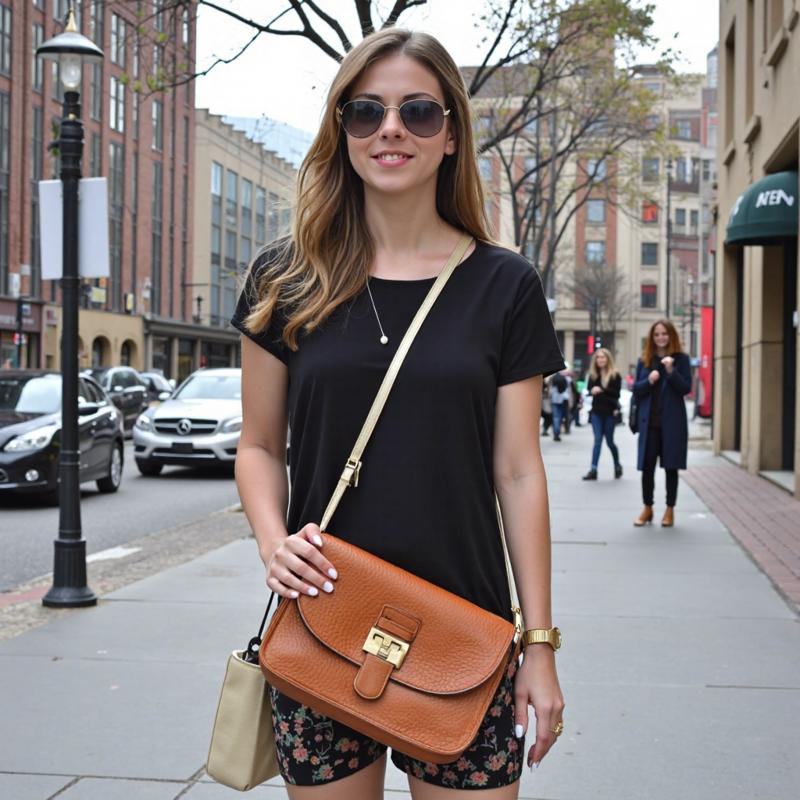
Begin with a clean slate by generating an image of a character in ComfyUI. For instance, let’s take the example of a young woman standing on a bustling city sidewalk.
Pay attention to small details like accessories that could serve as starting points for customization. In this case, a beige crossbody bag.
Key Tips:
Start simple: Simplicity at this stage avoids over-complication. A clean foundation offers the flexibility to adapt and customize later.
Highlight an accessory: Choose one element, like the crossbody bag, to draw focus. This ensures the design feels cohesive without overwhelming the character.
Example Output:

A character with a clean look, ready for customization. This foundation serves as the base for bolder changes in later steps.
Step 2: Seamlessly Replace Design Elements
Once you have a solid foundation, the next step is replacing key elements to better suit your design goals. Whether it’s accessories, textures, or props, the challenge lies in making these swaps feel natural.
Workflow Overview:
Use Segment Anything in ComfyUI to isolate specific areas of the image, such as the original beige bag.
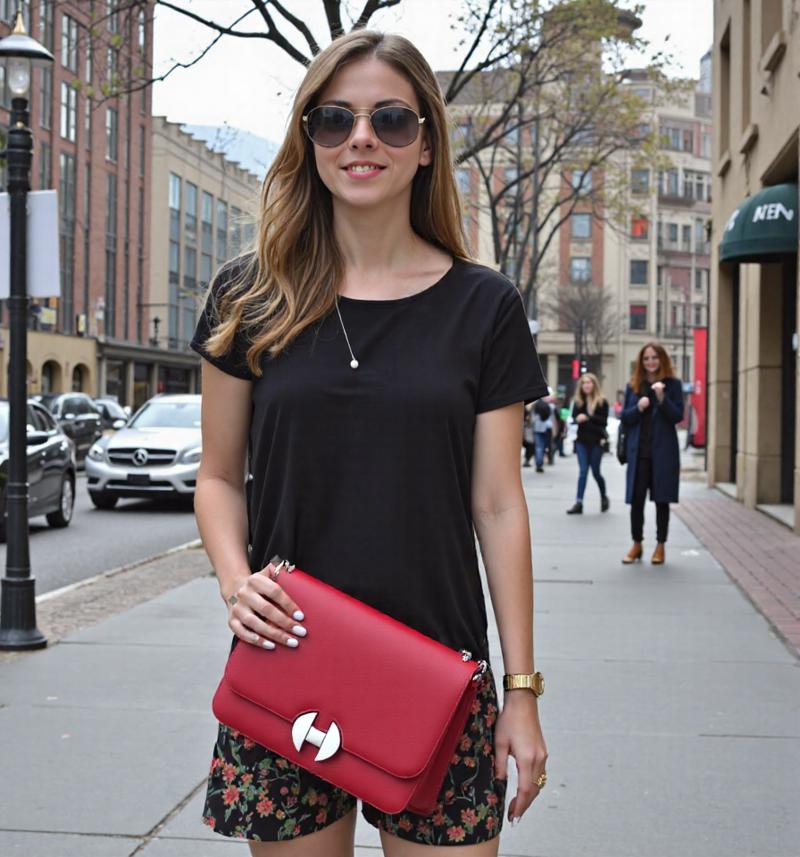
Introduce your new element (e.g., a bold red designer bag) and align it to the original using Fill and Redux models. This ensures textures, shadows, and lighting blend seamlessly with the rest of the image.
Key Tips:
Precision is key: Use masking workflows to ensure your replacement elements fit perfectly.
Match lighting and proportions: The new element should harmonize with the character and the scene.
Example Output:

Your character now features a striking red bag that completely transforms the visual impact of the design.
Step 3: Transform Clothing for a Polished Look
The final step is upgrading the character’s clothing to reflect personality, style, or context. This can include simple wardrobe changes or introducing luxury brands for a high-fashion aesthetic.
Workflow Overview:
Mask the clothing area using ComfyUI workflows.
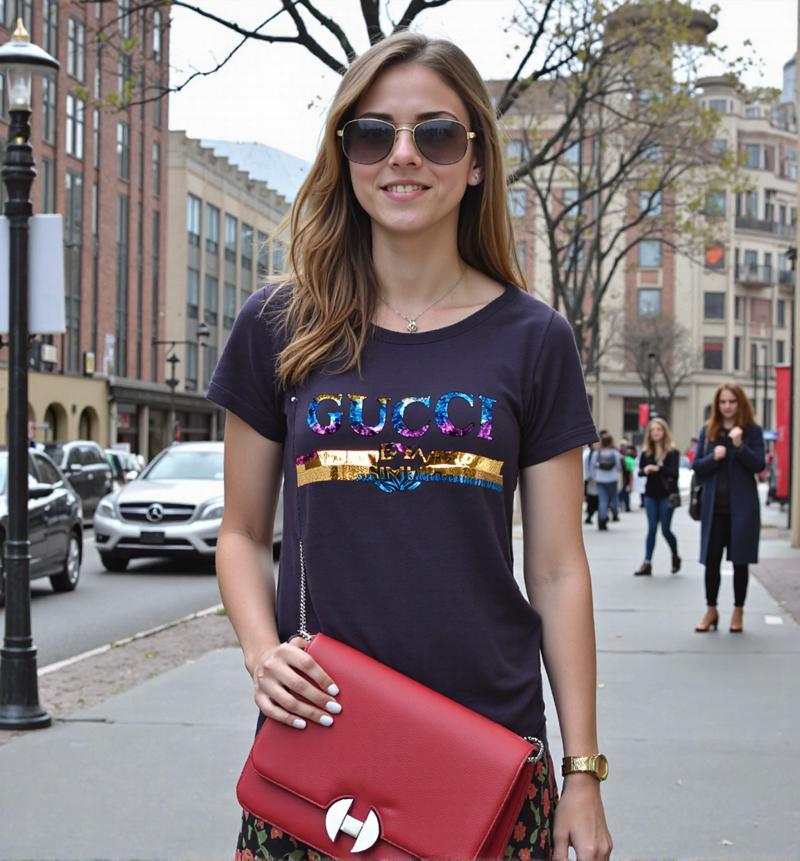
Replace the original design with a high-end texture or logo, such as a GUCCI t-shirt. Ensure textures and lighting match seamlessly by applying Fill and Redux models.
Key Tips:
Focus on proportions: Keep the new clothing’s size and alignment natural.
Elevate textures: Use high-quality assets to avoid flat or unrealistic results.
Example Output:

Your character now wears a GUCCI t-shirt, perfectly integrated with the design. Paired with the red bag, the character exudes sophistication and style.
Final Thoughts
In just three steps, you’ve transformed a simple base design into a professional-grade character that’s ready for any context or narrative. These workflows—focused on foundations, replacements, and transformations—are adaptable to any project, enabling endless creative possibilities.
Whether you’re designing for storytelling, advertising, or personal projects, mastering these techniques will elevate your character designs to new heights.
Want to see the full workflow in action? Visit our YouTube channel to watch the tutorial, or join my Patreon community to access exclusive tools, tips, and resources before they’re released to the public.
Got any questions or suggestions? Share your thoughts in the comments below, and don’t forget to upload your creations using these techniques!


