Introduction
This is fast how to use guide for the XL V2 inpaint workflow found HERE
New features 12/2025
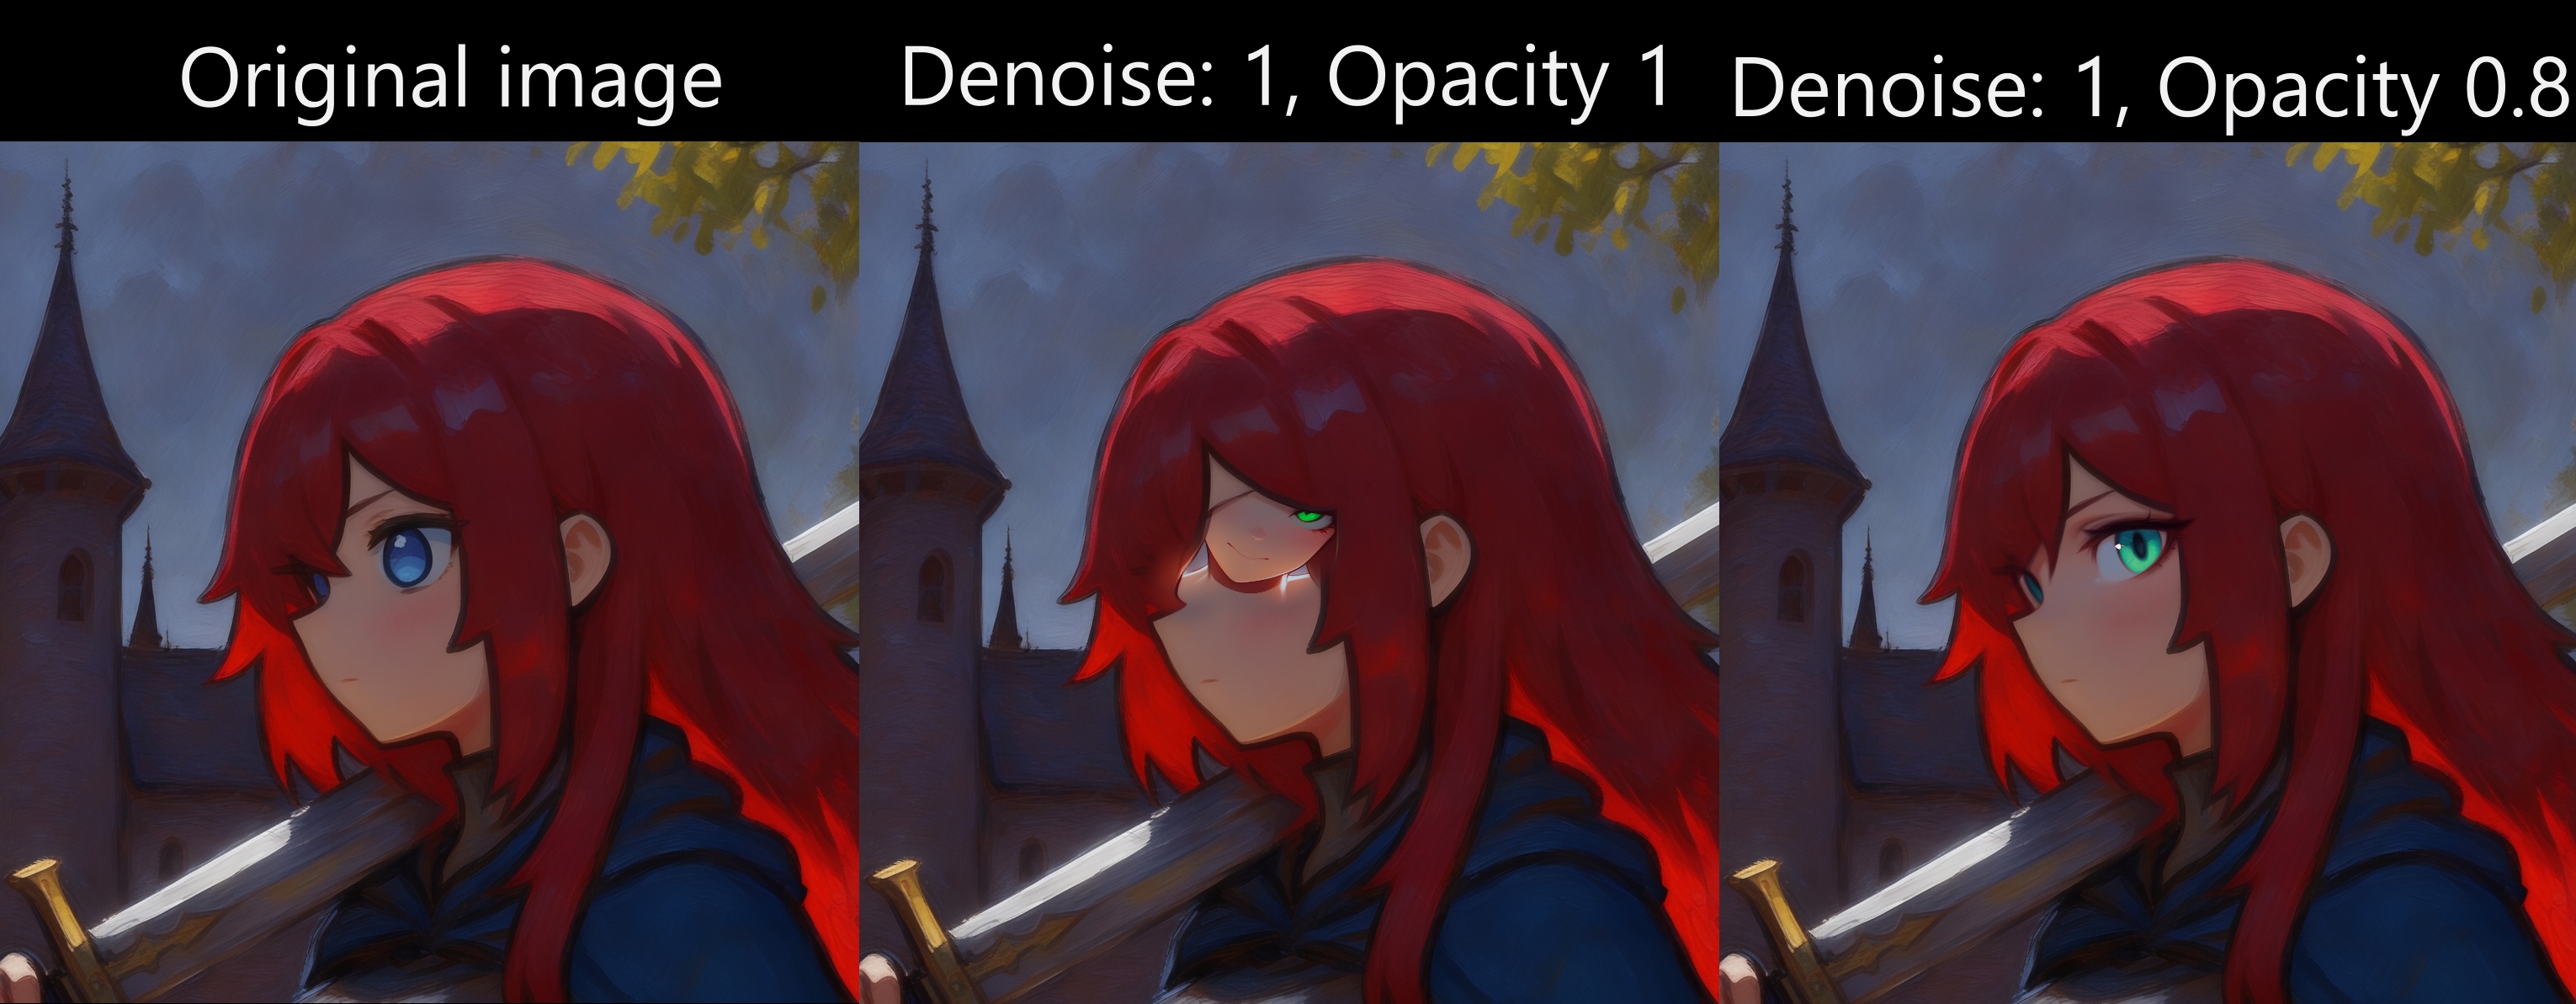
Mask opacity
Ability to change mask opacity. This is useful with the differential diffusion ability to use full mask range. You can possibly gain more control with this than just fiddling with denoise.
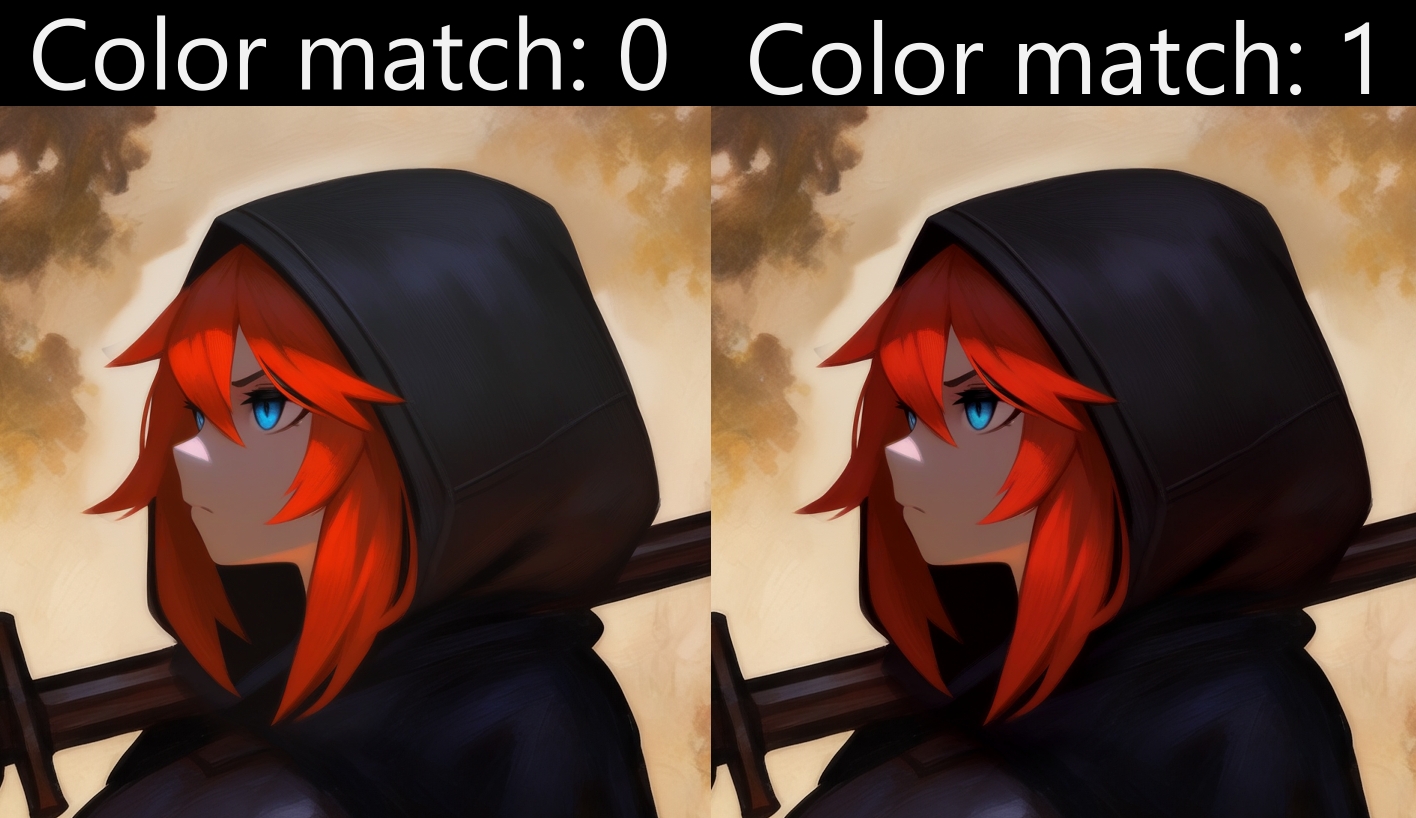
Colormatching
Ability to match the color to original image. This can be useful if VAE encode/decode changes the color.
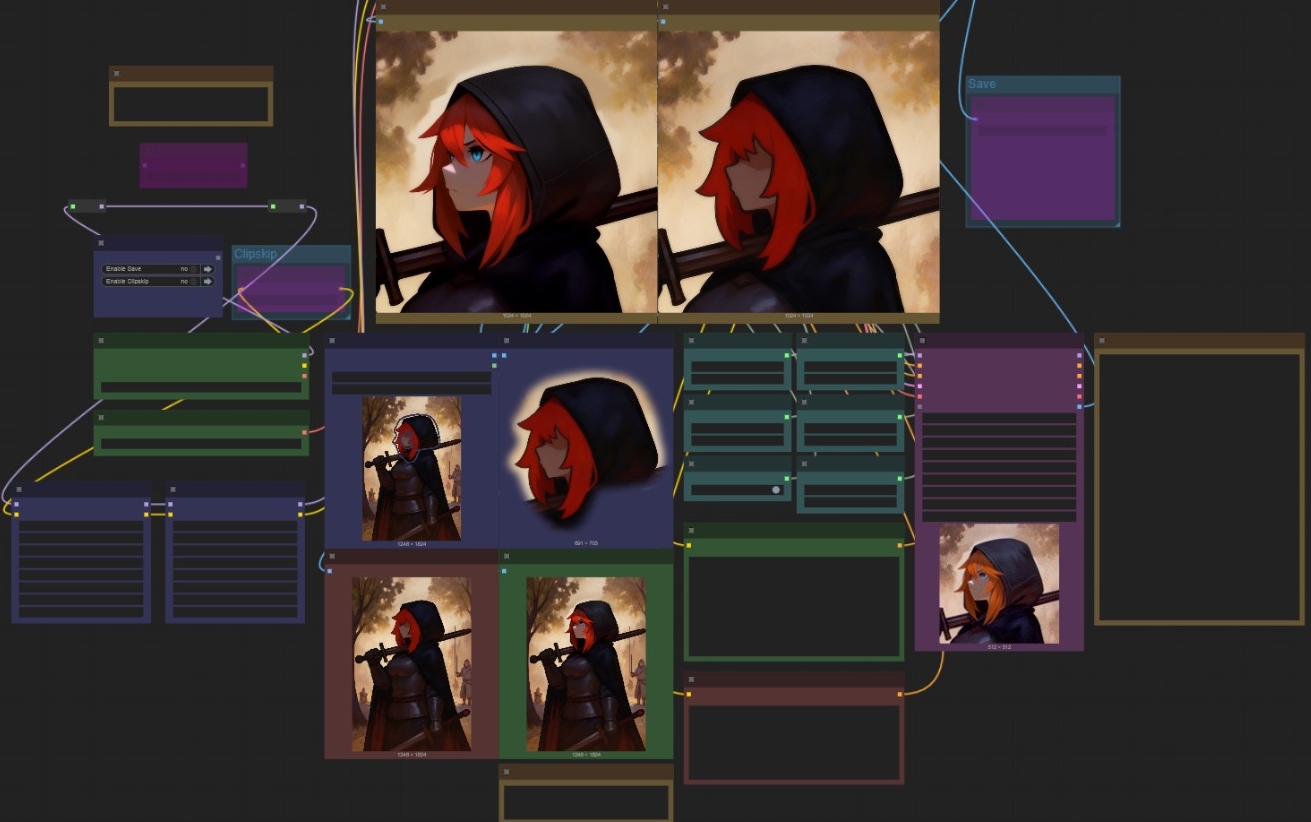
1. The workflow
I have always had this idea to recreate A1111 inpainting inside comfyui. Cut part of the image , inpaint it and paste back into original image without having any lines and bad blending.
I have not touched the inpaint workflow in a while and took a look for any new good improvements i could add. With the implementation of differential diffusion inside comfyui we can get closer to perfecting bad blending.
1.1 Nodes
All custom nodes should be able to be installed from comfyui manager. As long as you have up to date comfyui there should be no issues.
2. How to use
I have made the workflow a bit more user friendly and somewhat more pleasing to use. Hopefully.
I will be making foolproof step by step guide on how to use the workflow.

2.1 Loading image
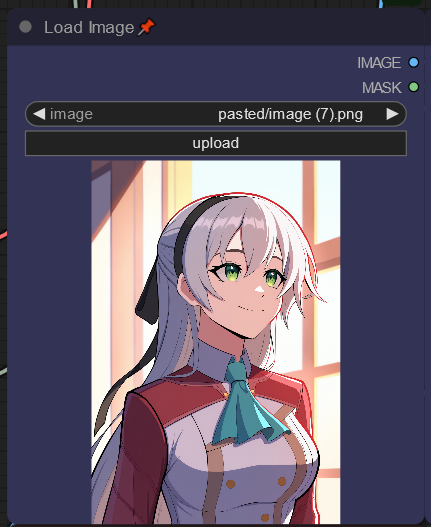
First thing we need is to load image we want to inpaint. It can be easily done by drag and dropping image inside the load image node.
2.1 Make a mask
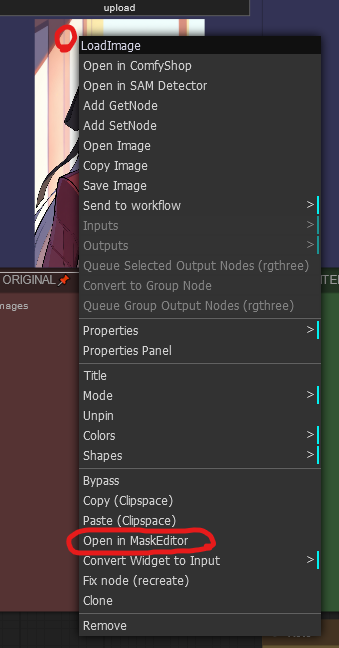
Right clicking on image and selecting "Open in mask editor" we can go into mask editor
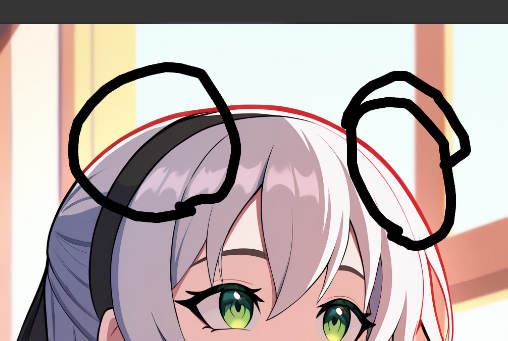
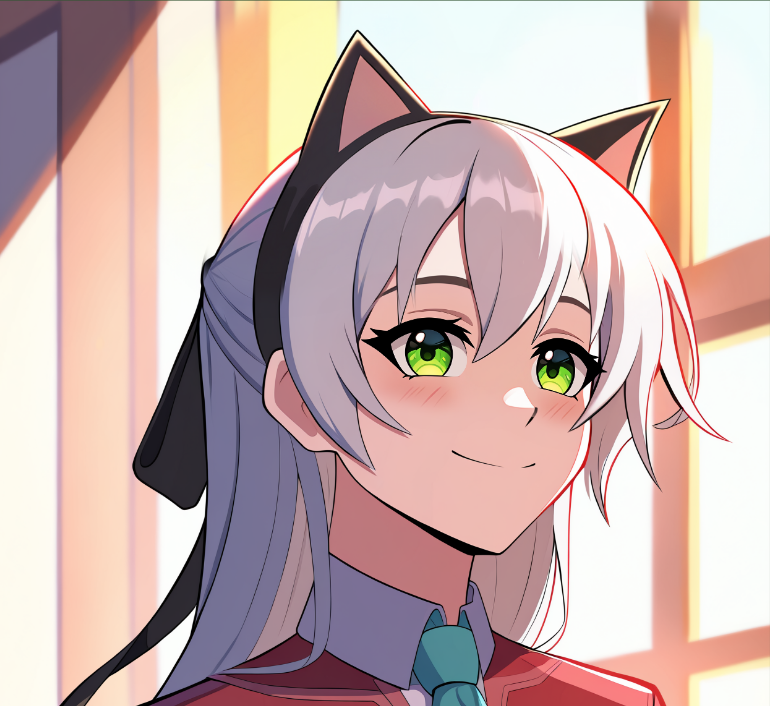
I am going to add cat ears. The workflow will fill closed circuits from the mask. So we can make area that it will fill.
After drawing mask save it.
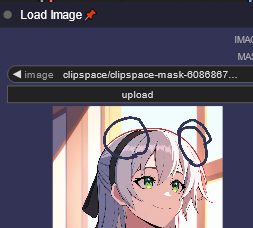
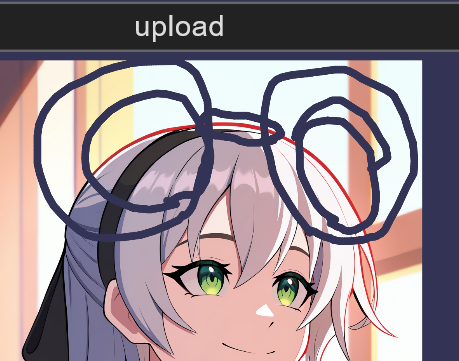
later Edit: I had to do some adjusting to the mask 〜( ̄▽ ̄〜)
2.2 Add lora
The original image used character lora by novowels so i will be adding the lora. Lora can be found HERE
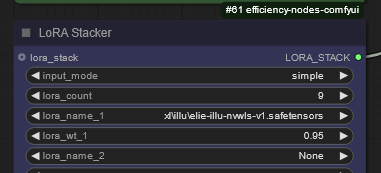
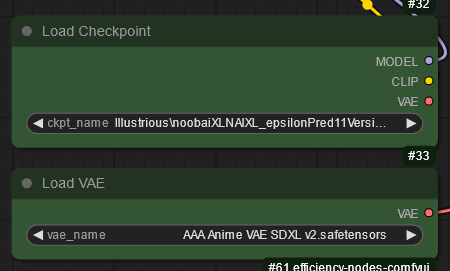
2.3 Select model and VAE
It is good idea to use same model and vae used on the original image. These were what i used on the original image.
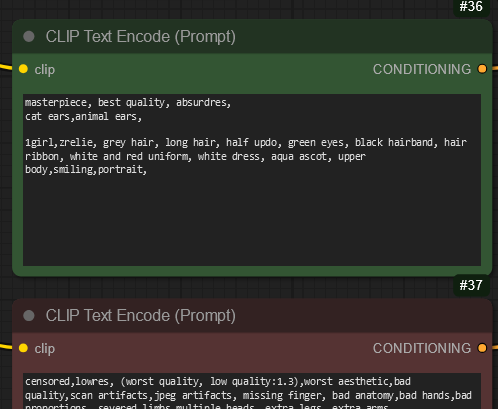
2.4 Add prompt
Add prompt for what you want.
2.5 Adjust settings
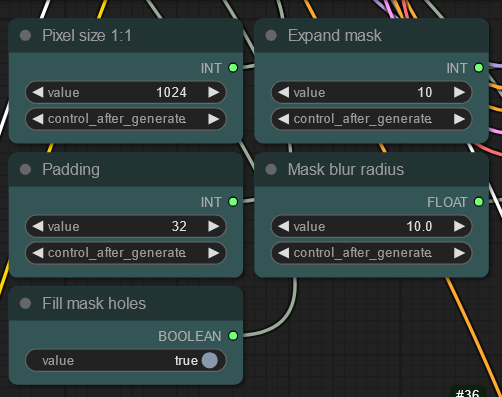
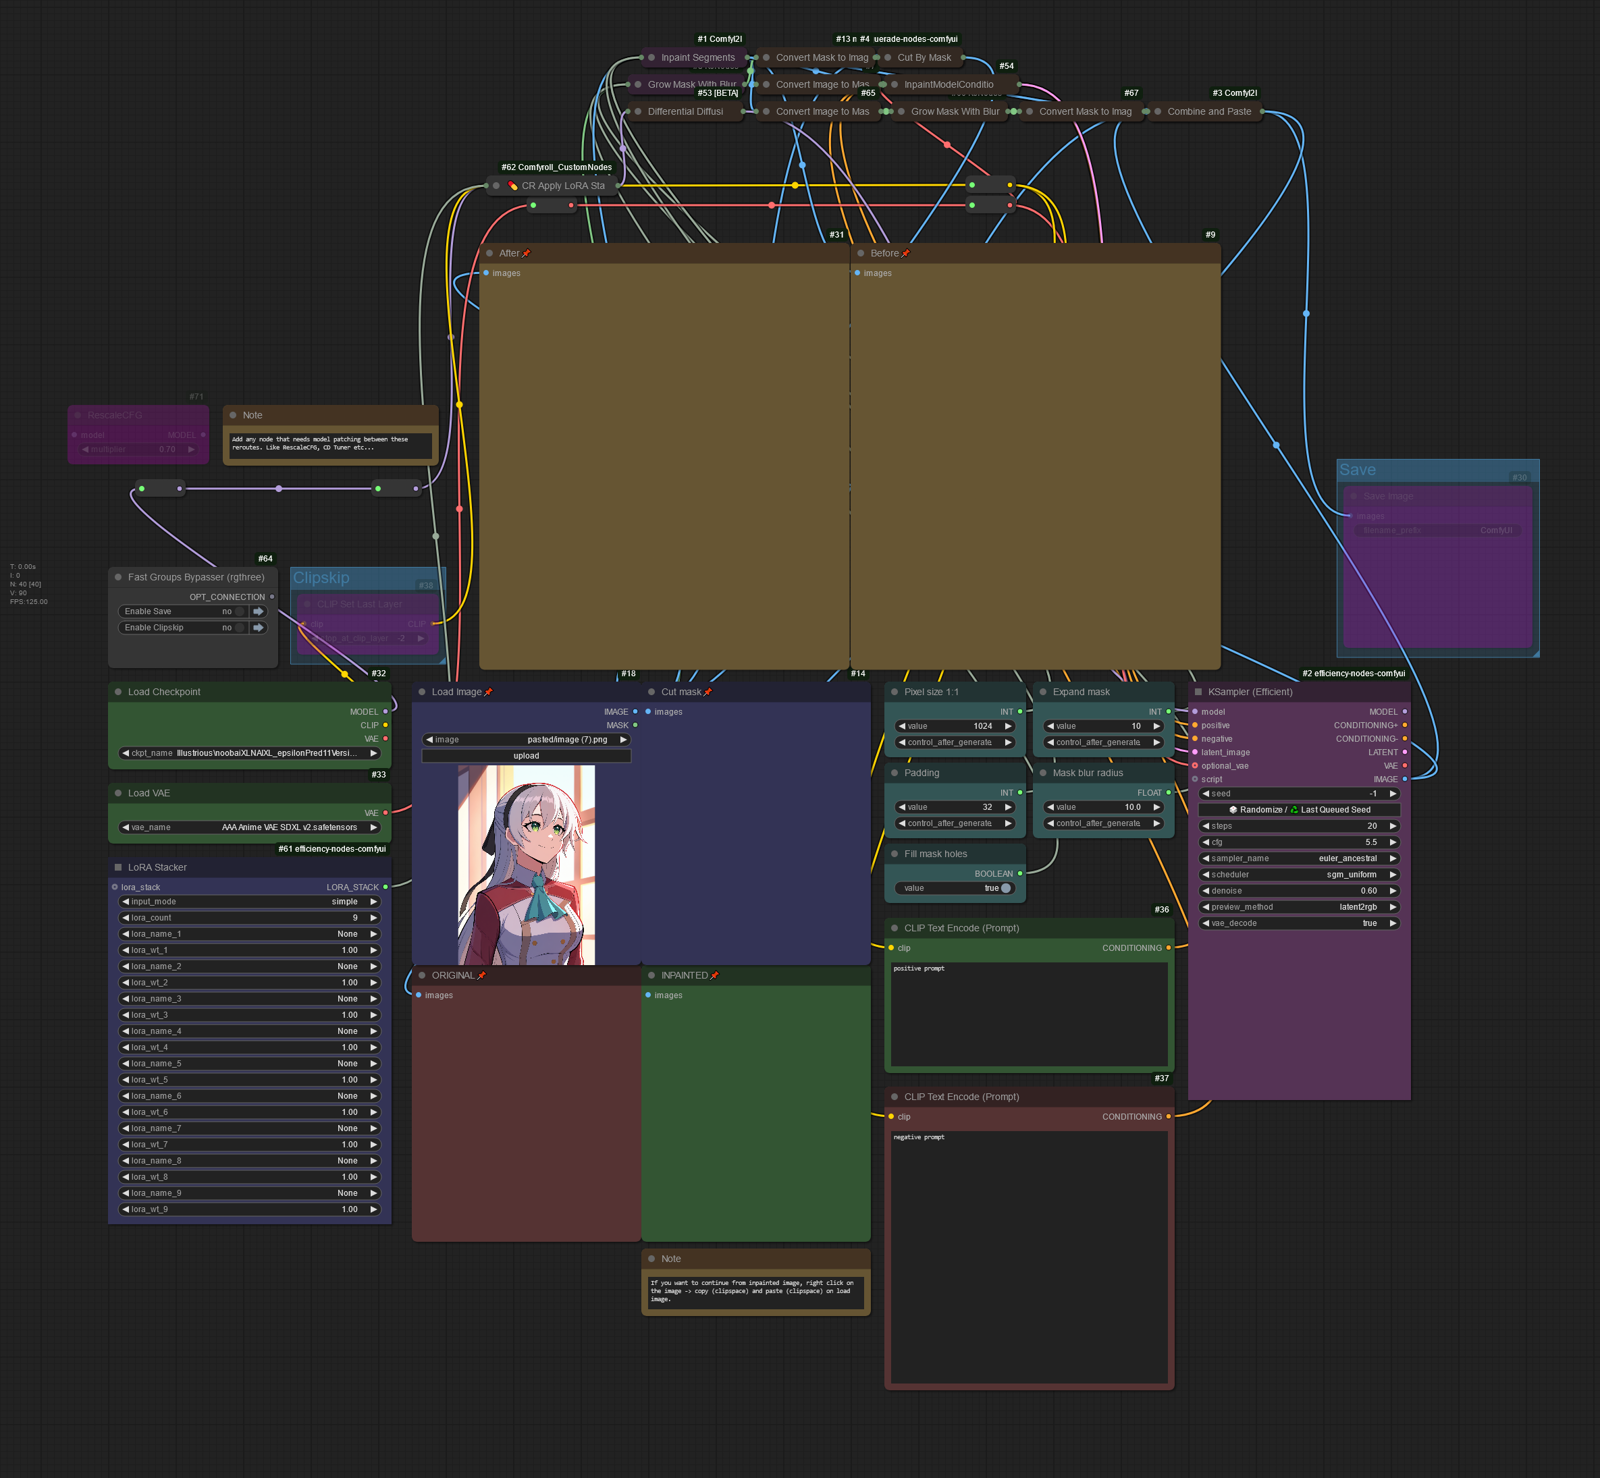
Pixel size is the size it will generate the image in. 1024 will generate 1024x1024.
Expand mask is how much the mask will expand from the original mask.
Padding is the area around the mask that that will not be inpainted but will be included in the generation.
Mask blur radius is amount of blur in the mask.
Fill mask holes When this is enabled, it will fill any fully circled masks.
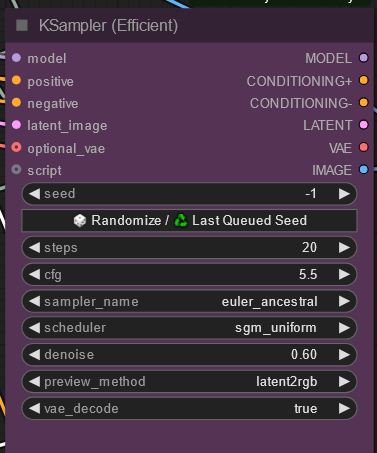
For generation settings having same sampler and scheduler as the original image will result in better results. Higher denoise = more image will change.
2.6 Generating
Generating will give several output images that are helpful.
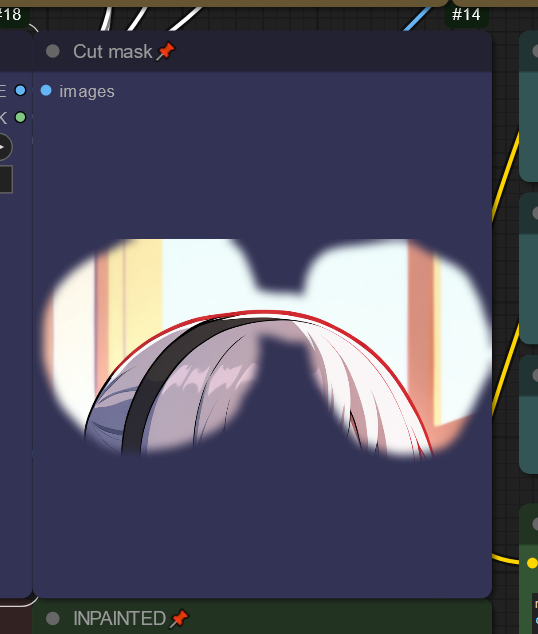
Cut mask will show how the masking looks like and what parts the inpainting will edit.
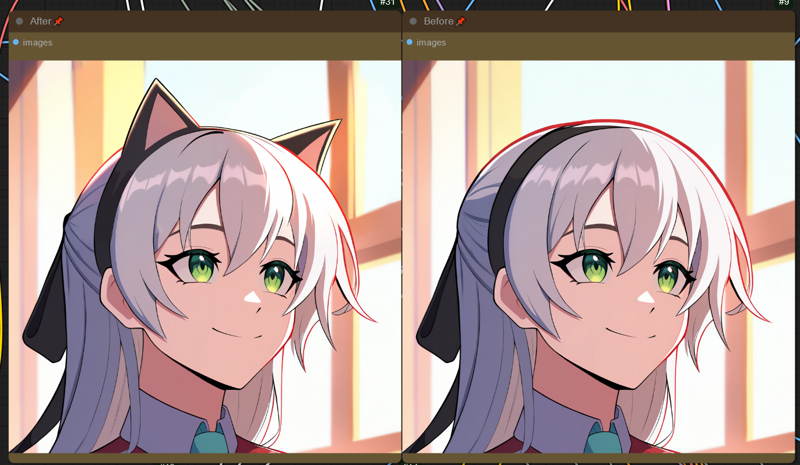
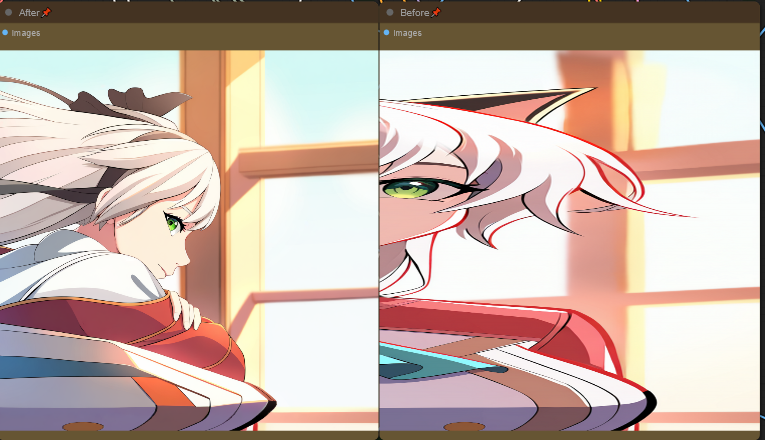
At the top we can see before and after of the cut area
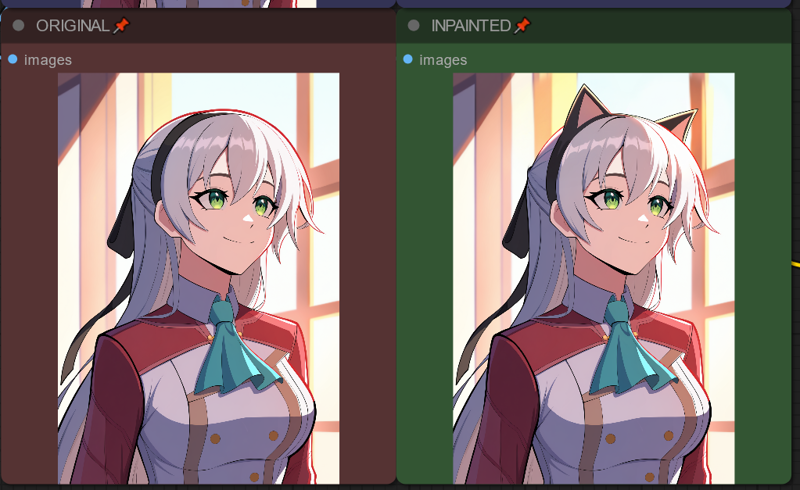
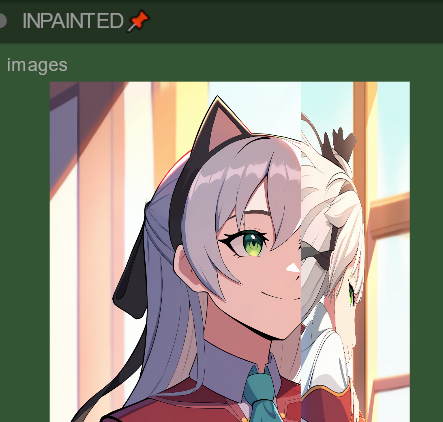
At the bottom we can see the full inpainted image.
2.7 Continuing inpainting from the inpainted image.
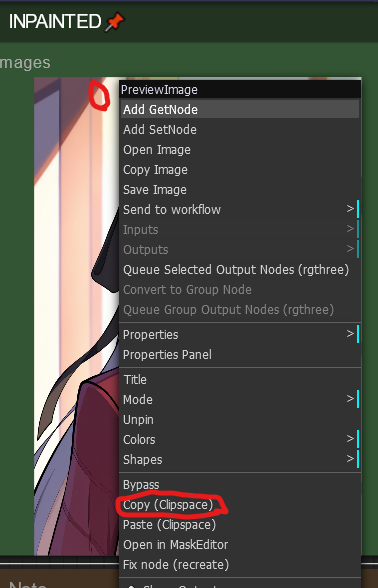
We can easily continue by right clicking on the inpainted image -> copy (clipspace) and then...
We go to Load image and paste (clipspace)
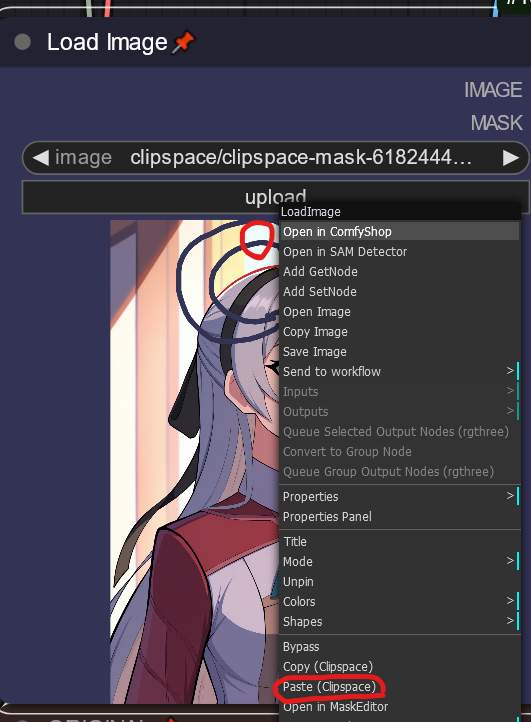
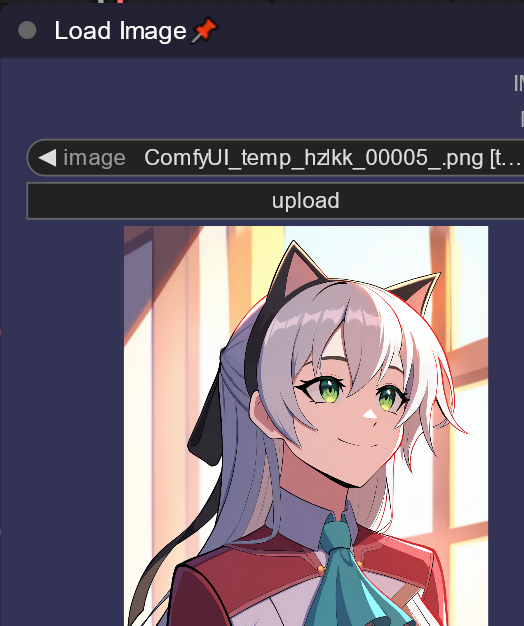
And the inpainted image is inserted into load image
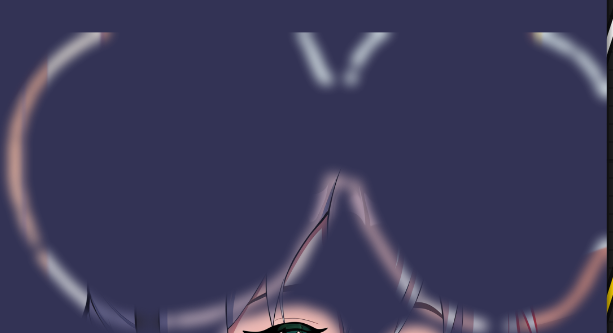
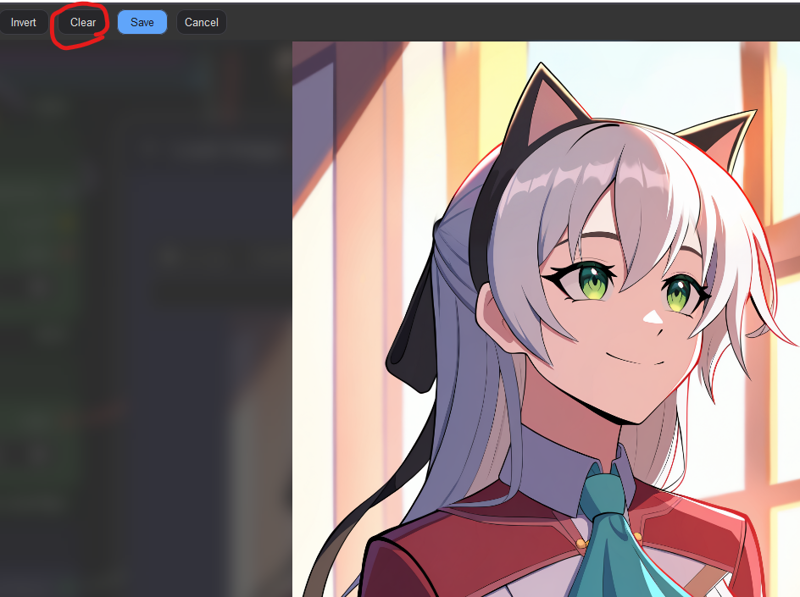
NOTE AFTER PASTING IMAGE, IT IS IMPORTANT TO PRESS CLEAR IN MASK EDITOR. Otherwise it will have "remnants" of the old mask for some reason.
Have fun
2.8 rest of the workflow
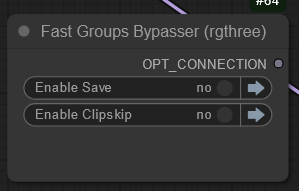
Bypasser node for disabling/enabling saving and clipskip. On comfyui you don't normally need to change clipskip for XL so it is on bypass.
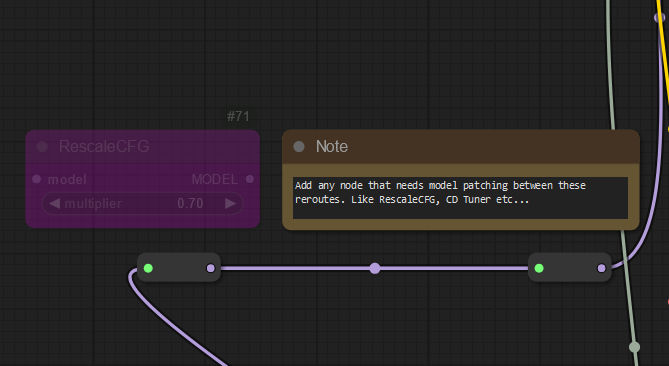
On top left there is easy access for adding extra patches for model.
Top part of the workflow can be ignored, unless you want to understand how it works.

3. Issues with the workflow
It needs to be able to cut 1:1 square from the image. If it forcefully cuts any other ratio, it will give WIDE results and will not be able to work correctly.
Feedback
Please drop feedback on here or the comment page of the workflow in HERE. (~ ̄▽ ̄)~


.jpeg)