Updated: Aug 3, 2025
toolDownload
1 variant available

46
112


🎥 WanVideo ComfyUI RunPod Setup Guide
This comprehensive guide will walk you through setting up and using the WanVideo ComfyUI environment on RunPod for AI video generation. Wan needs alot or vram to get outputs ata resonable speed. 48GB for $0.44 an hour is a pretty good deal IMO
Nothing to download from here. This is a Runpod Template with all the models and workflows added.
WAN 2.1 Video - ComfyUI Full - T2.0 - Running on CUDA 2.5
https://runpod.io/console/deploy?template=6k2saccgx8&ref=0eayrc3z
## UPDATE
20/03/25
Notice a Pytorch Bug on using Community Cloud GPUs.
EDIT: Its with just the 5090 cards with the blackwell architecture
19/03/25
'Error: 'NoneType' object is not callable fix'
I added a depth 0 to ComfyUI and implemented nodes to reduce the container size, but these changes introduced several bugs. I've since removed them, and everything should now work much better.
17/03/25
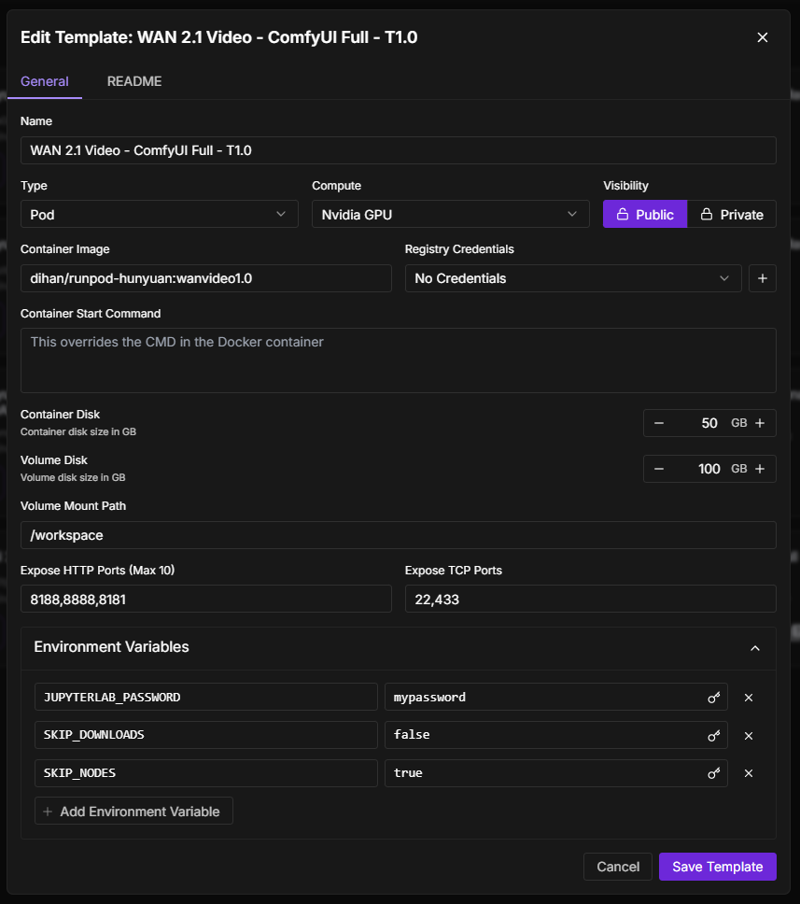
- Added environment variables to control setup behavior:
- `SKIP_DOWNLOADS=true`: Skip downloading models
- `SKIP_NODES=true`: Skip verification custom nodes (nodes are packaged into the container for faster build)🚀 Getting Started
Step 1: Deploying Your Pod
Sign up/login to RunPod
Navigate to "Deploy" → "Template"
Search for "WAN 2.1 Video - ComfyUI Full - T1.0" template
Select the hardware:
Recommended GPU: RTX A40 (minimum 48GB VRAM)
Storage: 60GB minimum (100GB recommended)
Filter GPU's above CUDA 2.4
Click "Deploy" to launch your pod
Step 2: Initial Setup
Once deployed, your pod will automatically:
Download all required models (takes ~10 minutes)
Install custom nodes
Set up the environment
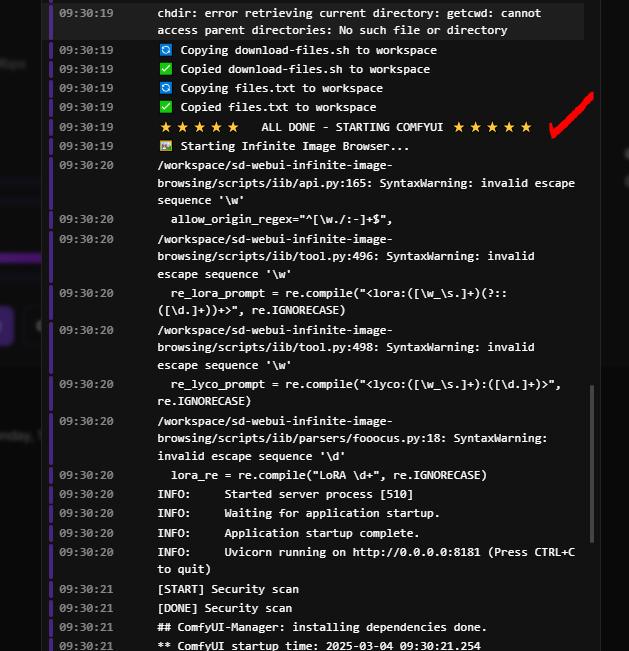
You'll see the following message when setup is complete:
⭐⭐⭐⭐⭐ ALL DONE - STARTING COMFYUI ⭐⭐⭐⭐⭐
Step 3: Accessing Your Environment
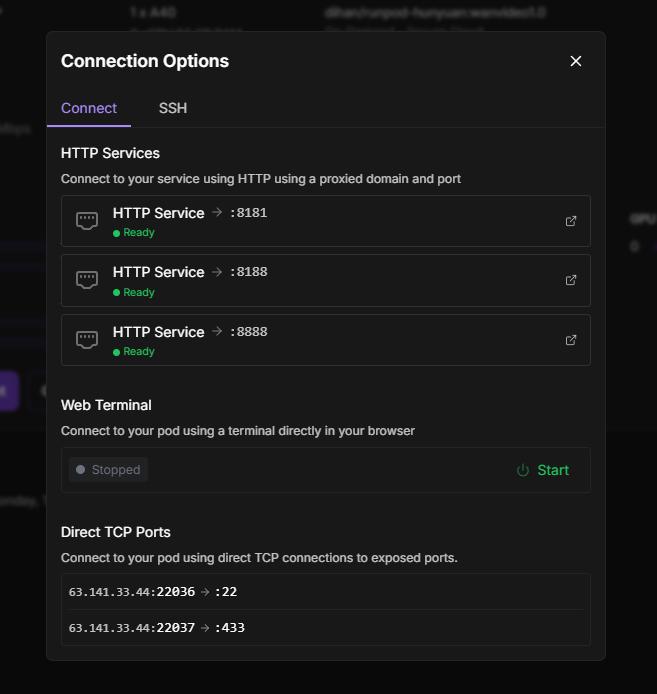
From your pod's detail page, access:
ComfyUI Interface:
Port 8188 (primary interface for creating videos)
Wait for this to turn green after setup completes
JupyterLab:
Port 8888 (available immediately, even during setup)
Use for file management, terminal access, and notebook interactions

Image Browser:
Port 8181 (for managing your output files)
View and organize generated videos and images
💾 Managing Models
Downloading Additional Models
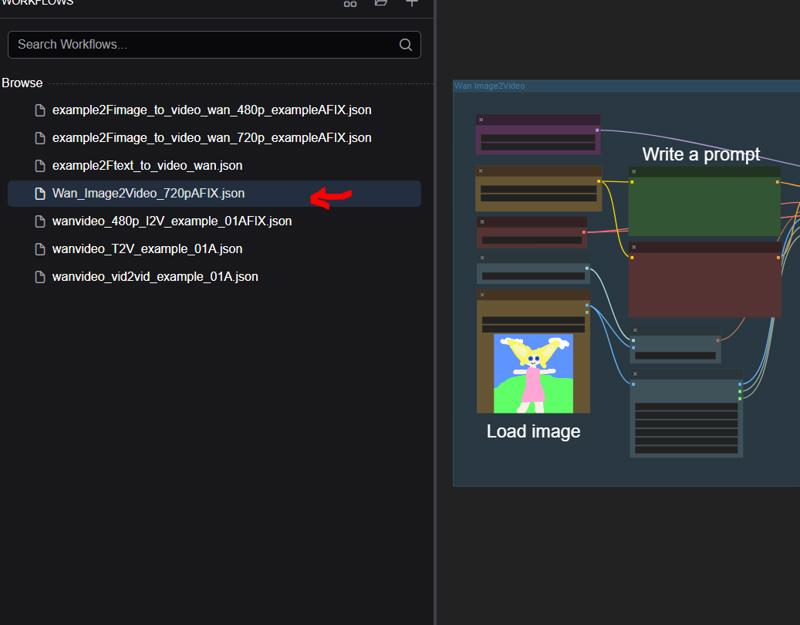
This will only download everything you need for Wan_Image2Video_720pAFIX.json workflow. If you want to use the other workflows run the ./download-files.sh from terminal and it will download all the models for Kajai's workflow.
Use the flexible model download system:
Edit the configuration file:
files.txt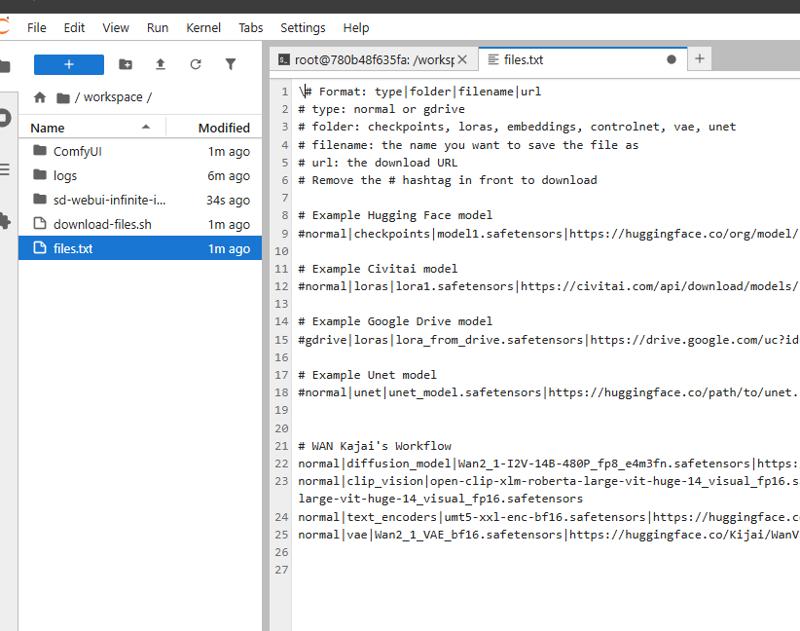
Add model entries using this format:
type|folder|filename|urlExamples:
normal|checkpoints|realistic_model.safetensors|https://huggingface.co/org/model/resolve/main/model.safetensors

gdrive|loras|animation_style.safetensors|https://drive.google.com/uc?id=your_file_id
Run the download script:
./download-files.sh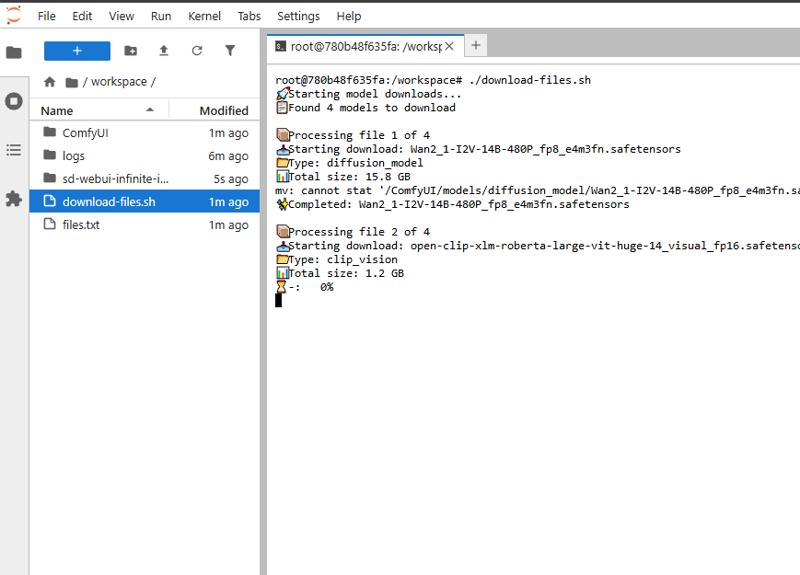
WAN 2.1 Models
https://huggingface.co/Kijai/WanVideo_comfy/tree/main
https://huggingface.co/Comfy-Org/Wan_2.1_ComfyUI_repackaged/tree/main/split_files
Pre-installed Models
The template comes with these key models:
Wan 2.1 Models:
Wan2_1-I2V-14B-720P_fp8_e4m3fn.safetensors(Base video model)wan_2.1_vae.safetensors(VAE)
Text Encoders:
umt5_xxl_fp16.safetensors(Advanced text encoder)
CLIP Vision:
clip_vision_h.safetensors(Enhanced vision model)
🎨 Using ComfyUI for Video Generation
Step 1: Load a Workflow
Access ComfyUI interface (port 8188)
Click on the folder icon in the top menu
Navigate to the default workflows folder
Select one of the pre-configured workflows
Step 2: Customize Your Generation
Modify text prompts to describe your desired video
Adjust settings:
CFG Scale: 7-9 recommended for quality (higher = more prompt adherence)
Steps: 25+ for better quality (more steps = more refinement)
Resolution: Start with 512x512 for tests, increase for final outputs
Frame count: Determines video length
Step 3: Generate and View Results
Click "Queue Prompt" to start generation
Monitor progress in the ComfyUI interface
When complete, view your video in the output panel
Access all outputs via the Image Browser (port 8181)
📊 Managing Your Files
Using JupyterLab
Access JupyterLab (port 8888)
The workspace folder contains:
/ComfyUI- Main application and modelsFiles for downloading additional models
Notebook for image/video browsing
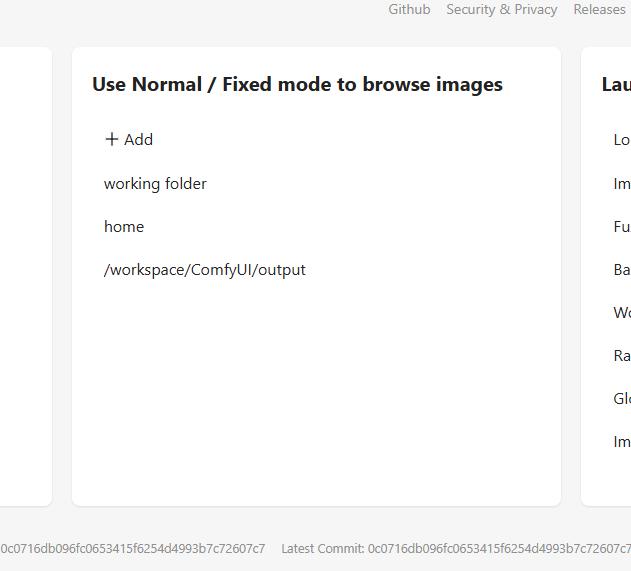
Using Image Browser
Access the browser interface (port 8181)
Browse your generated content by:
Creation date
Filename
Metadata
Right-click on items for additional options (download, delete, etc.)
🔧 Advanced Features
SSH Access
To enable SSH:
Set your
PUBLIC_KEYin the template settings before deploymentConnect using the command shown in your pod's connect options
Custom Nodes
The template includes these pre-installed node collections:
Workflow utilities (
cg-use-everywhere,ComfyUI-Manager)UI enhancements (
rgthree-comfy,was-node-suite-comfyui)Video-specific nodes (
ComfyUI-WanVideoWrapper,ComfyUI-VideoHelperSuite)Performance optimizers (
ComfyUI-Impact-Pack)
🛠️ Troubleshooting
If you encounter issues:
ComfyUI not starting:
Check JupyterLab terminal for logs
Ensure models downloaded correctly
Models not loading:
Verify files exist in
/ComfyUI/models/directoriesCheck file sizes to ensure complete downloads
Custom node problems:
Try reinstalling via ComfyUI Manager
Restart your pod if necessary
🎯 Tips for Best Results
Use detailed prompts with specific descriptions
Increase CFG and step count for higher quality videos
Save your successful workflows for future use
Monitor VRAM usage and adjust resolution accordingly
Use the Image Browser to organize and review your outputs
Need more help? Check the readme.md file in JupyterLab or reach out to the RunPod community!