Updated: Jul 11, 2025
toolDownload
1 variant available


The FLUX.1 [dev] Model is licensed by Black Forest Labs. Inc. under the FLUX.1 [dev] Non-Commercial License. Copyright Black Forest Labs. Inc.
IN NO EVENT SHALL BLACK FOREST LABS, INC. BE LIABLE FOR ANY CLAIM, DAMAGES OR OTHER LIABILITY, WHETHER IN AN ACTION OF CONTRACT, TORT OR OTHERWISE, ARISING FROM, OUT OF OR IN CONNECTION WITH USE OF THIS MODEL.
How to Use the Batch Watermark Remover Workflow in ComfyUI (Flux Kontext)
Removing watermarks from a large set of images can be time-consuming if done manually. Thankfully, with ComfyUI and the powerful Flux Kontext model, this process can be fully automated using a Batch Watermark Remover workflow that I created.
In this post, I'll walk you through how to use the workflow step-by-step so you can quickly remove watermarks from a folder full of images with just a few clicks.
🛠 Step-by-Step Instructions
1. Set the Model Paths
Before running the workflow, make sure to adjust the model file paths according to where the models are stored on your machine.
Refer to the screenshot below to see where to make these changes in the workflow.
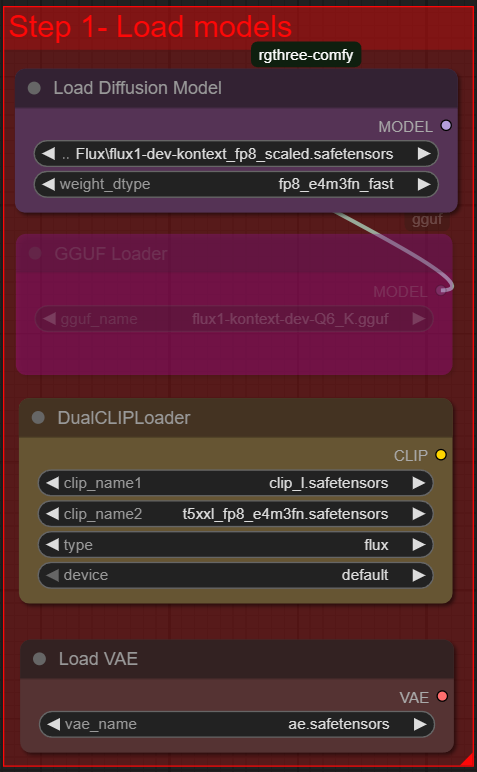
⚠️ If the paths are incorrect, the workflow will fail to load the models.
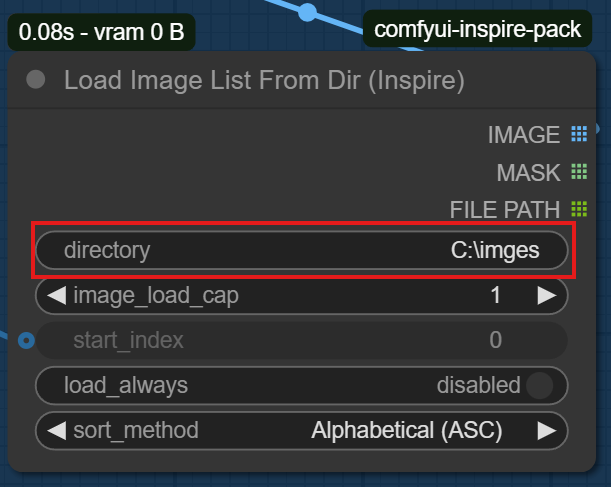
2. Enter the Folder Path of Your Images
Locate the node where you need to provide the input folder path. This should point to the directory containing all the images you want to process.
Make sure the path is correctly entered as shown in the screenshot below.
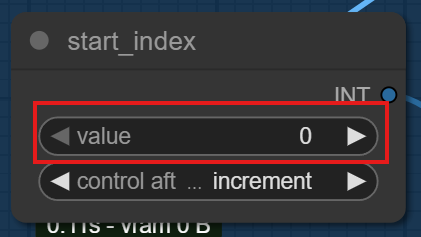
3. Set start_index to 0
Next, update the start_index value to 0. This ensures that the processing starts from the first image in your folder.
Check the screenshot to confirm you are editing the correct node.
4. Set batch count to the Number of Images
Finally, change the batch count value to match the exact number of images in your input folder.
This tells the workflow how many images to process in one batch.
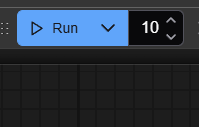
After setting this, simply click Run, and the watermark removal process will begin automatically.