Download
1 variant available


„VR we are“ 4.0 offers:
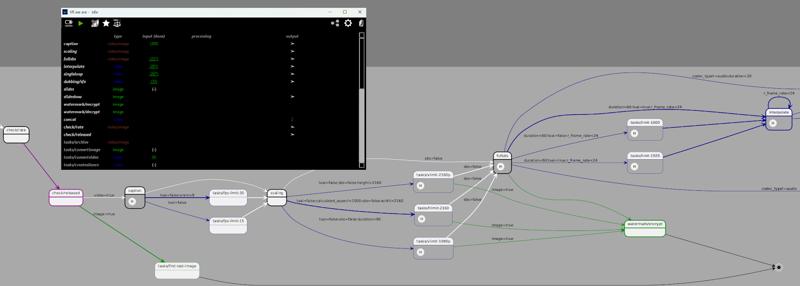
Python App to manage Image and Videos, simple Editor for trim and crop, optimized for AI Content creators, rating. (see Images)
A customizable pipeline with many stages to simplify your workflows, able to handle non-AI content, and supports other tools:
Convert to stereo 3D (SBS) - standalone CLI installation available (linux supported)
Topaz Video AI CLI support for scaling and interpolation. (Fallback: ComfyUI workflows)
Tag Videos with captions from translation using GoogleTrans and exiftool.
Several ComfyUI Custom nodes for workflows.
Pipeline Stage Overview (see manual for details):
 ... create more tasks based on templates!
Pipeline status and graphical overview:
Installation and Documentation
Installation can be done with the installer, in the installer folder of the zip. A user manual (PDF) is included under the docs folder.
If you just want to track what is going on, you can visit the roadmap-and-progress channel in our small discord . You can report issues or give feedback there, too.
The previous versions contain a lot of samples of VR content generation with VR we are.
Abstract overview
It's an immersive productivity and creativity software designed to support AI creators with tools and help people to bring the familiar multimedia content of videos and images into the world of a Virtual Reality (VR) environment, using Artificial Intelligence (AI) models on the local computer. Most of the processing can be done offline.
The following picture illustrates the building blocks of „VR we are“: 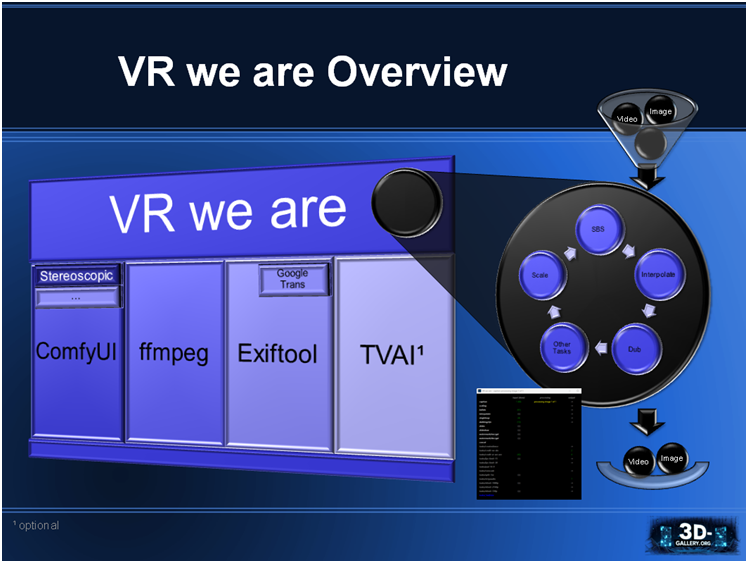
„VR we are“ is using other software as foundation:
ComfyUI is building foundational open source software for the visual AI space.
„VR we are“ uses it as distribution and execution platformStereoscopic is a custom node package for ComfyUI containing the „VR we are“ software. For the custom node I got help from iablunoshka, responsible for the high performance of the SBS converter and CLI. Our first tests had been made with the nodes of SamSeen.
FFmpeg is a command line tool providing a multimedia framework for video and image manipulation.
Exiftool is a command line tool for reading and editing multimedia meta information.
Google Trans is an optional service, requiring to be online, to translate text (into the own locale).
Topaz Video AI (TVAI) is an optional professional product, when available used. It offers a massive speed and quality boost on scaling and video interpolation (frame rate increase).
Git Bash (package), an application for Microsoft Windows environments, which provides an emulation layer for a Git command line experience, required to execute „VR we are“.
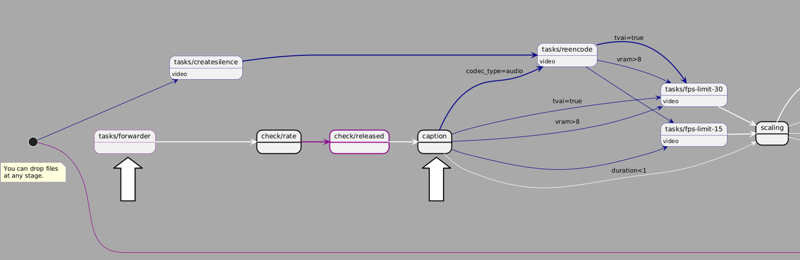
„VR we are“ waits for multimedia files to be placed in input funnels (file folders) for processing. Per default the files are processed in a non-linear pipeline, landing in output baskets (file folders). Pipelining though the stages can be customized or even completely turned off.
You can extend the tool by you own demand, since some stages can be created by users, based on predefined blueprints. This is very handy for tasks you have to do over and again, but are just straight forward, and maybe you want to integrate it at some place of your pipeline. Some img2img and vid2vid blueprints exist for simple ffmpeg tasks.
Autoforwarding Pipeline
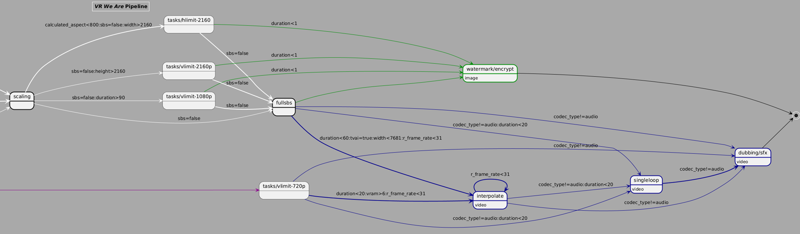
A chart id generated for your workflow, and if you customize it, it will be updated by an online service from plantuml. The following diagramm is a sample showing all stages participating in the pipeline. Click on it to enlarge:
ComfyUI Custom Node Library (extract)
In comfyui_stereoscopic several custom nodes are defined.
Convert to VR (ImageVRConverter)
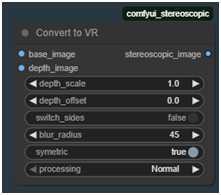 Explained in chapter 10.3.
Resolution Info
 Helper Nodes to get basic information from an image batch.
Strip XML
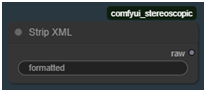 Internally used node to strip XML from string (Florence 2 problem).
Save Stripped UTF-8 File
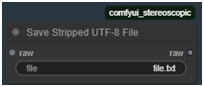 Internally used node to save raw text data.
Scale by Factor
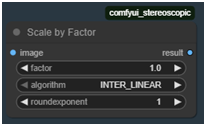 Scale up or down by factor and algorithm. Do nothing at factor 1.0.
ScaleToResolution
 Internally used node for creating depth maps, scales to specific resolution.
Calculate Dimensions 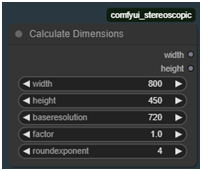 Node that helps to calculate dimensions of an image, keeping aspect and pixel amount (square of product of baseresolution and factor).
Strftime
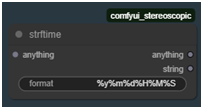 creates a formatted timestamp, guarded by the moment “anything” is done.
Save Audio (Simple)
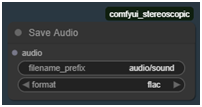 Saves audio to a flac file.
VRwearePause, VRwearePauseLatent
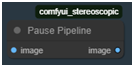 Blocks the workflow progress for image / latent image until pipeline is paused.
Load Image Advanced 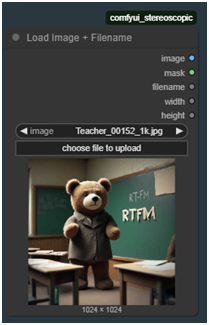 Loads an image from absolute filepath or selection of input image, showing preview, and give information about basename of image file, width and height.
Linear Fade
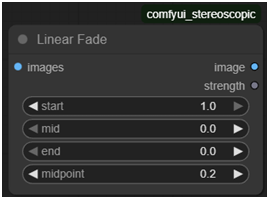 Control color correction strength of video over time, to avoid hard color cuts when extending a video sequence by a new chunk, usually appearing in First Image To Video Workflows. E.g. to be used after VAE Decode and before kjnodes Color Match hm-mvgd-hm, or Color Correct Batch. If you have scene changes you might want to set start to 0.0. To enforce keeping Colors set start and end to 1.0.
 Color Correct Batch
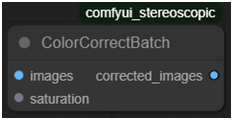 Color correct does image manipulation over time (for video). Currently only saturation is supported. It is to intended to be used after Linear Fade.
(c) 2025 Fortuna Cournot, https://www.3d-gallery.org