


 Hey y'all!
Take a character sheet, a character pose and a scene images to make a properly transformed character that is fused into the scene!
This workflow is used in conjunction with my Lazy Character Sheet Workflow. Currently, the Lazy Character Dummy Workflow has been incorporated into Version 2.0 of this workflow, so that workflow is now obsolete. It retains the ability to use external Character Dummy images, so you can still use it if you like. Only the character sheet is required for it to work.
Special thanks to tori29umai (on Twitter) for the charaBG and image2body loras, as well as vafipas663 for the enhancement lora and @DigitalPastel for workflows, models, and images I've used.
Video Tutorial has been requested and I shall oblige, but I need a few days. Cheers and thanks
VERSION 2.0
The workflow is heavily modified from thenormal Qwen Edit 2509 workflow, same models too.
It uses tori29umai's charaBG and image2body lora models
Additionally, it uses vafipas663's enhancement lora model.
The workflow is based on my previous Lazy Character Relight workflow.
Major Changes:
Incorporated Character Dummy workflow
Added Enhancement Group
Replaced the Layer Style RemBG node with one that DLs the models automatically
NOTES & CLEANUP
Input:
Character Sheet Image
Character Pose Image
Scene Image
Prompt (Needs minor modification describing lighting, shadows and reflections)
Position / Scale / Rotate the generated Dummy image into the scene
Output:
Character Fusion image
Character Fusion + Dummy + Sheet + Scene info image
Cropped Character Fusion image
Character Pose Input Image + Character Dummy Intermediate + Cropped Character Fusion comparison image
Models:
Diffusion Model:
LoRA;
Text Encoder:
Upscale Model (really, choose whatever you like):
VAE:
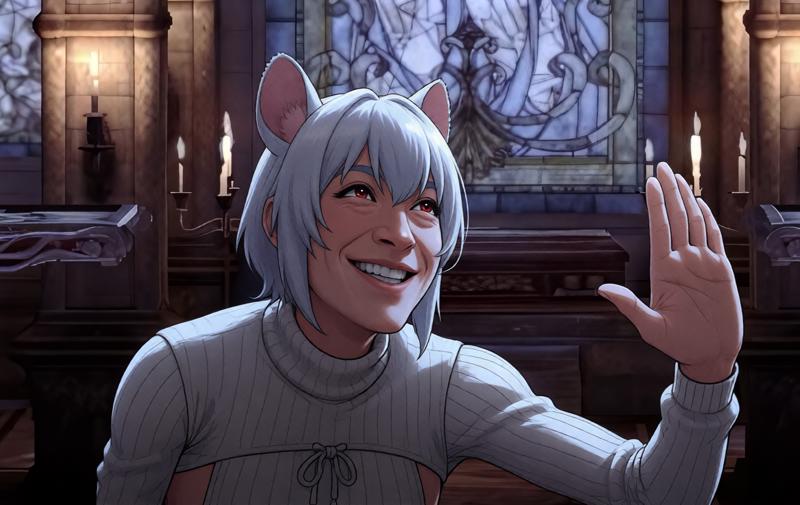 Note Brie's welcoming and trustworthy smile
Read below for some more info, skip the Version 1.0 stuff if you're using Version 2.0.
Version 1.0 is now obsolete.
=== Version 1.0 info starts here ===
VERSION 1.0
The workflow is based on the normal Qwen Edit 2509 workflow, same models too.
In addition, it uses tori29umai's charaBG lora model.
The workflow is based on my previous Lazy Character Relight workflow.
Input:
Character Sheet Image
Character Dummy Image
Scene Image
Prompt (Needs minor modification describing lighting, shadows and reflections)
Position / Scale / Rotate Dummy image into the scene
Output:
Character Fusion image
Character Fusion + Dummy + Sheet + Scene info image
Cropped Character Fusion image
Cropped Character Fusion + Character Dummy comparison image
Models:
Diffusion Model:
LoRA;
Text Encoder:
Upscale Model:
VAE:
RMGB (this goes here: \custom_nodes\ComfyUI_LayerStyle\RMBG-1.4\)
=== Version 1.0 info ends here ===
This workflow is heavy, complicated and has a lot of inputs. However, for a single scene, usually the Character Sheet image, Scene images, and prompt, do not change. The prompt doesn't change because usually the lighting conditions on the character does not change when switching pose image, which generates the dummy image.
What generally changes with each gen, is that you will need to reposition and rescale the dummy image in the scene each time the dummy image is changed. That's where I find I spend the most time, but even then, that's a few seconds at most. You'll need to run the workflow briefly to see the repositioned image.
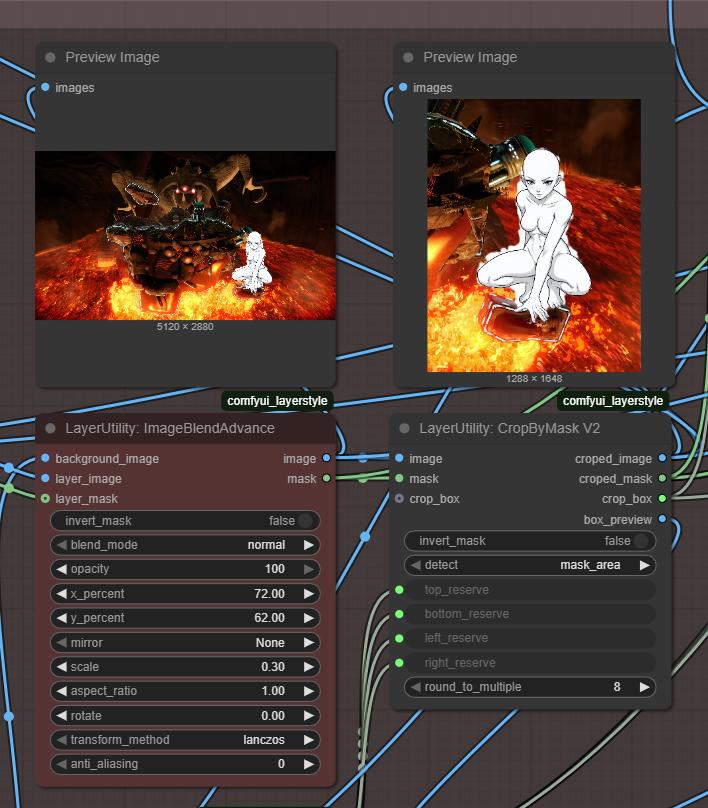
See below. The red node is where you position, scale and rotate the dummy within the scene. you can see the character in the full scene and the size of the cropped image.
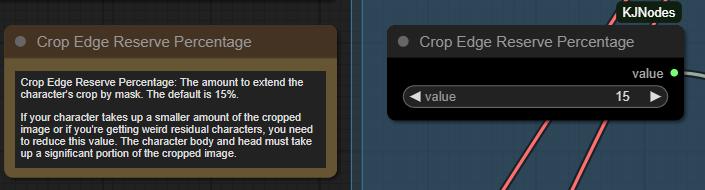
Another thing I find myself adjusting quite often is this, the crop edge reserve percentage. Which adjusts the amount of space around the dummy character image. You need the character's body + head to occupy a significant chunk of the cropped image, something like 50% of the image by area. If its too much or too little, quality suffers, and you will witness horrors.
The default is 15%, try adjusting to 5% or 25% to respectively increase or decrease the character's size in the cropped image.
Other things I will not emphasize, because those settings aren't touched as frequently, if ever. There are a STUPENDOUS of notes within the workflow, please read them when you encounter anything you don't understand. It's not necessary to read them all though.
For me, I'm going to use this to pose characters into scenes, which I will then crop later to use as keyframes for video generation. Or just make funny meme videos with character replacement. My goal is full control in character animation, but this would work just as well for comics / manga.
Anyhow, enjoy the workflow. Please post if you have any questions or suggestions!
Stay Cheesy Y'all!~
Brie Wensleydale