Download
1 variant available

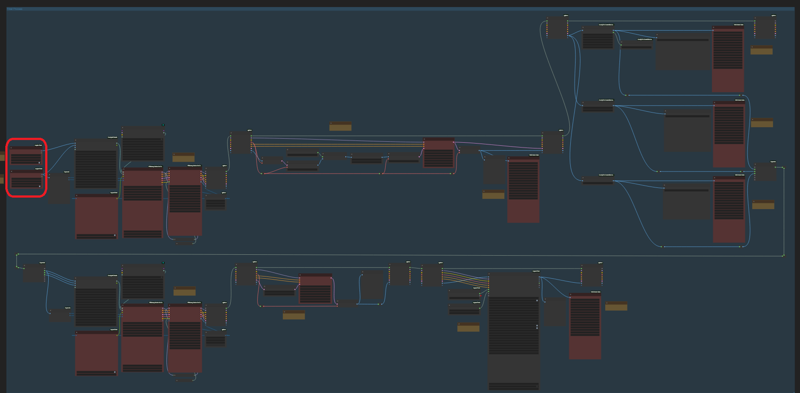
The workflow is designed to create bone skeleton, depth map and lineart file in 2 steps.
If you have images with nice pose, and you want to reproduce the pose by controlnet, this model is designed for you.
The workflow is designed to rebuild pose with "hand refiner" preprocesser, so the output file should be able to fix bad hand issue automatically in most cases. (Bad hands in original image is ok for this workflow)
Model Content:
Workflow in json format
Workflow in png file
Output example-15 poses
Workflow Input: Original pose images
Workflow Output:
Pose example images (naked & bald female in my case)
Bone skeleton images (for ControlNet Openpose)
Depth map images (for ControlNet Depth)
Realistic lineart images (for ControlNet Lineart)
Showcases (Example image created with ControlNet Openpose + Depth)
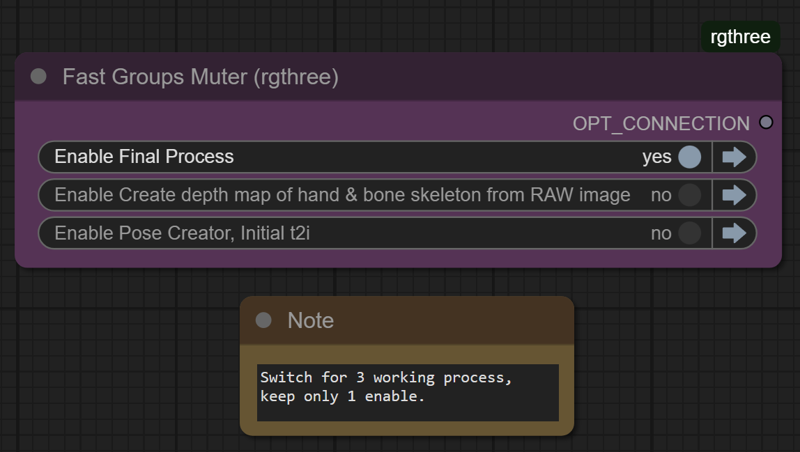
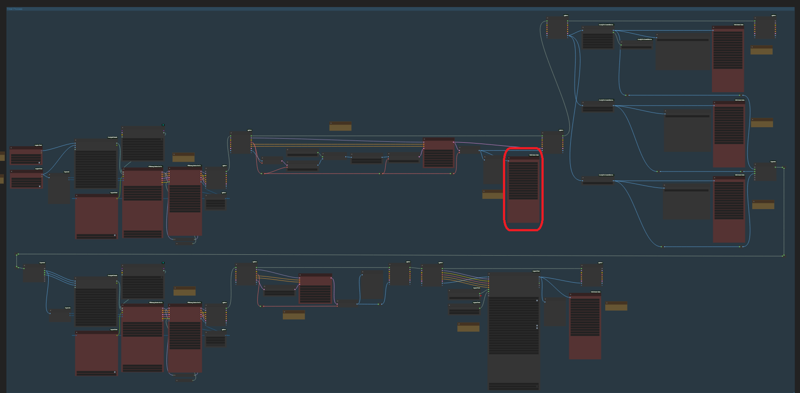
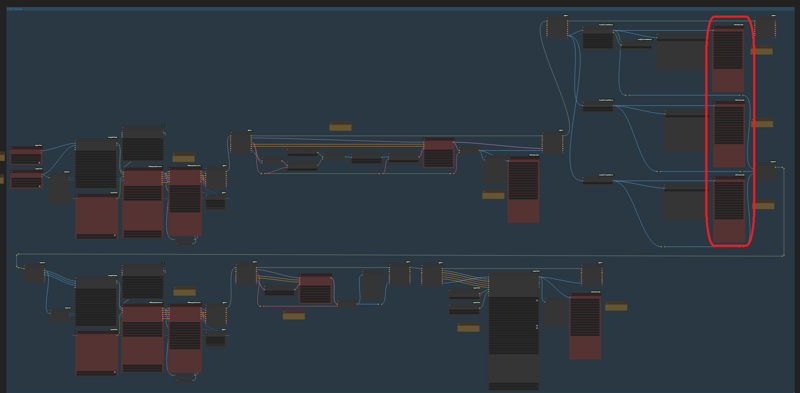
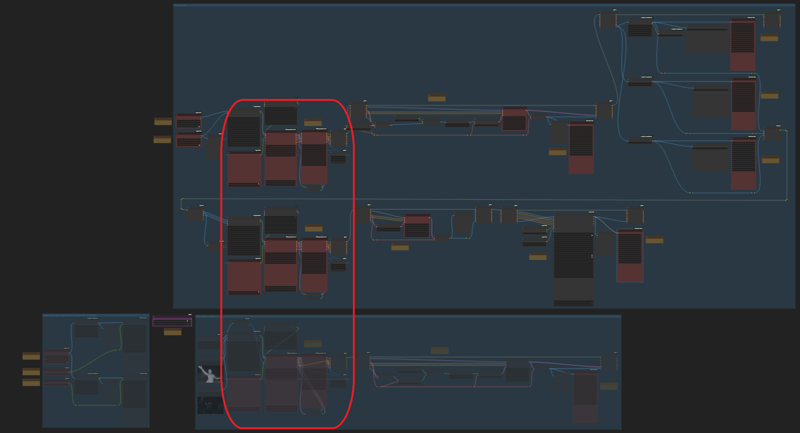
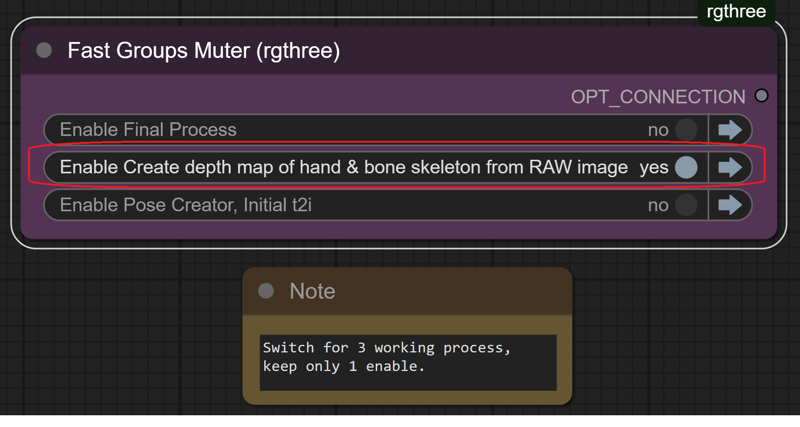
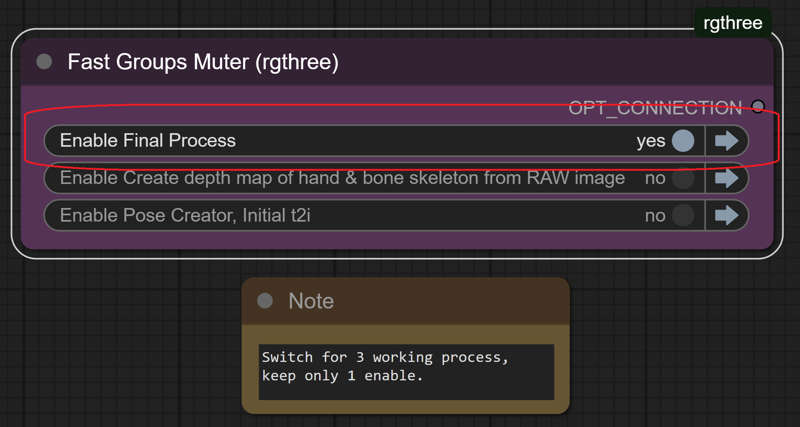
3 sub workflows with switch:
Pose creator, initial t2i (to generate pose via basic t2i workflow)
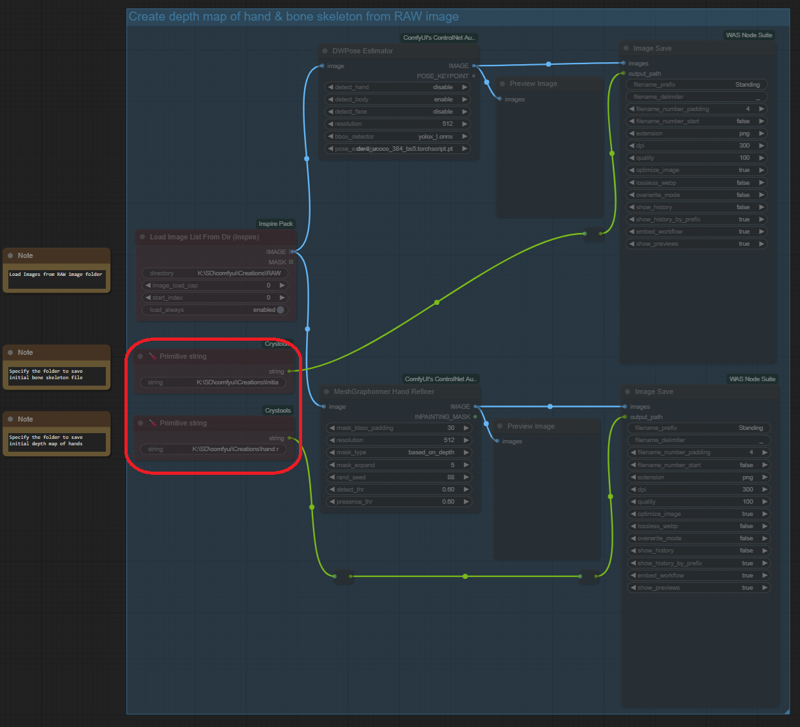
Create depth map of hand & bone skeleton from RAW image
Final Process (to generate the 5 output mentioned above)
How to use it:
Specify Image Output file folder at "Pose Creator, Initial t2i" workflow
-->The folder is the input folder of next workflow

Specify Image Input file folder at "Create map of hand & bone skeleton from RAW Image" workflow
-->Same folder of Image Output file folder at "Pose Creator, Initial t2i" workflow
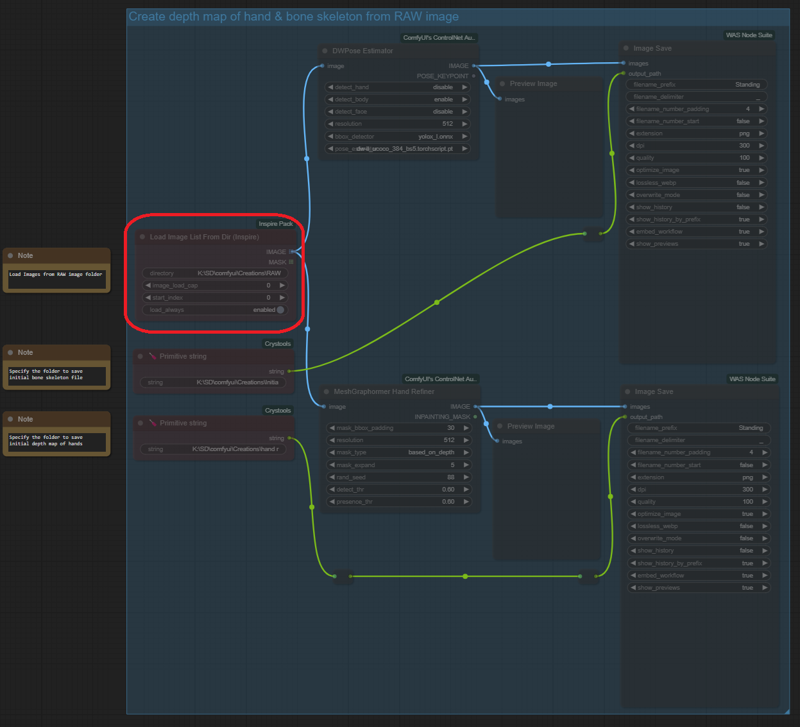
Specify Image Output file folder at "Create depth map of hand & bone skeleton from RAW Image" workflow
-->File folder for depth map of hand & bone skeleton shall be different
Specify Image Input file folder at "Final Process" workflow
-->Same folder of Image Output file folder at "Create depth map of hand & bone skeleton from RAW Image" workflow
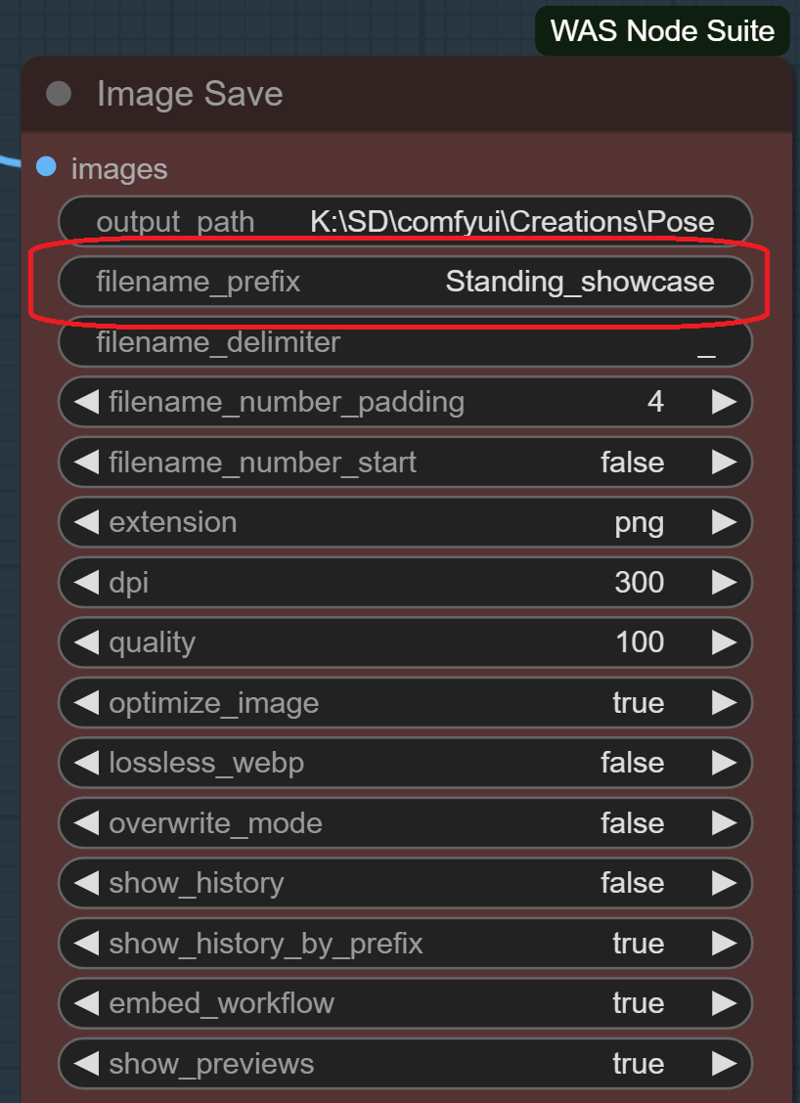
Specify Image Output file folder at "Final Process" workflow
--> including example, bone skeleton, depth map, lineart and showcase

Output Images Folder Example:
K:\SD\comfyui\Creations\RAW
K:\SD\comfyui\Creations\Initial bone skeleton
K:\SD\comfyui\Creations\RAW\hand refiner
K:\SD\comfyui\Creations\Pose\
(Final example, bone skeleton, depth map, lineart and showcase will all save to pose folder in my case)
Final output file naming format - (Pose_output type), for example:
Standing_example
Standing_bone_skeleton
Standing_depth_map
Standing_lineart
Standing_showcase
After input/output folder and output file naming is set, only regular t2i parameter left.
Once all setting is done, it's ready to run the workflow.
Let's said you have pose images in hand, just put them to Image Output file folder you created for "Pose Creator, Initial t2i" workflow
Enable "Create depth map of hand & bone skeleton from RAW Image" through the switch
Click "Queue Prompt"
After previous process is done, Enable "Final Process" through the switch
Click "Queue Prompt", and you get final result in "Pose" folder
Rename the "pose" folder, and delete "RAW", "Initial bone skeleton", "hand refiner" folder, then you are ready for next run
Note:
You don't need to create folder via explorer at first, the workflow can do it
The workflow is not user friendly, but should be easy to understand each step, and most important is it's easy to modify it to fit your needs
With 4060ti 16gb & 80G ram, the workflow spend about 40 minutes to finish the 15 poses in the zip file
The workflow cannot output bone skeleton file in .json format
In case the output image still has bad hand or other anatomy issue, then openpose editor extension in webui a1111 is what you need.
Size of original pose images can be different. For example, you can put 512*768/768*512 into "RAW" folder, and the workflow can work without changing the width/height ratio.