


Type | Workflows |
Stats | 687 |
Reviews | (55) |
Published | Sep 4, 2024 |
Base Model | |
Hash | AutoV2 9019B09562 |

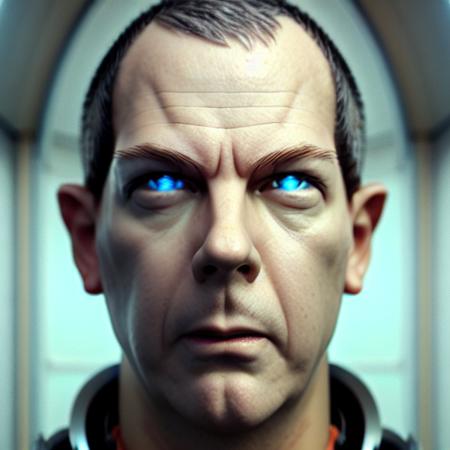
I am testing a new workflow that I plan to integrate in my Modular Workflow. It a sort of "upscaler/detailer" based on a Latent Noise Injection workflow (thanks to Matteo from Latent Vision and his video: https://youtu.be/ST_LXaWaY7g?si=2kbbEShngwJGYXvZ ). You can also add FLUX LoRA's, but some LoRA may need different settings in the Latent Noise Injection values.. so if you want to add LoRA's you will have to fine tune the Latent Injection settings.
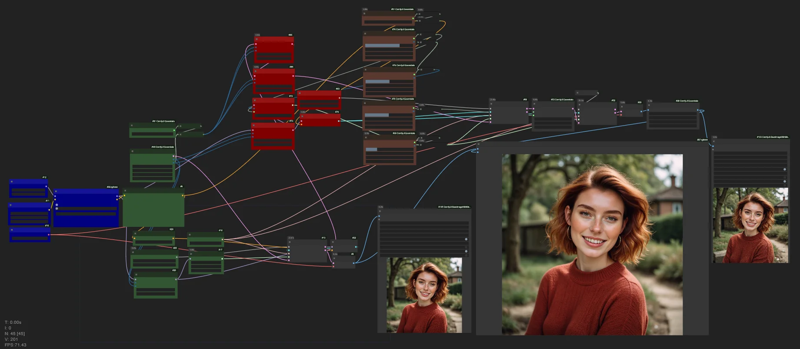
You start with a basic workflow for FLUX:
1) Blue nodes - load the model, set the prompt, image size, scheduler/sampler, Flux guidance, steps.. set the Latent Upscale (if you wanto to use it se a number no larger than 2.0. If you don't want to upscale set it to 1.0)
2) Brown nodes - adjust Latent Noise Injection settings. Leave the default values the first times to test the settings one by one.
3) You will generate two image, one is the normal FLUX image, the other is the one with Latent Injection applied. You can compare the two image with a slider-compare node.