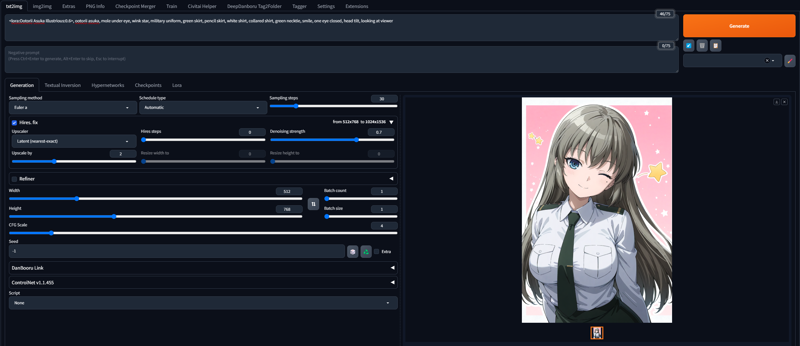
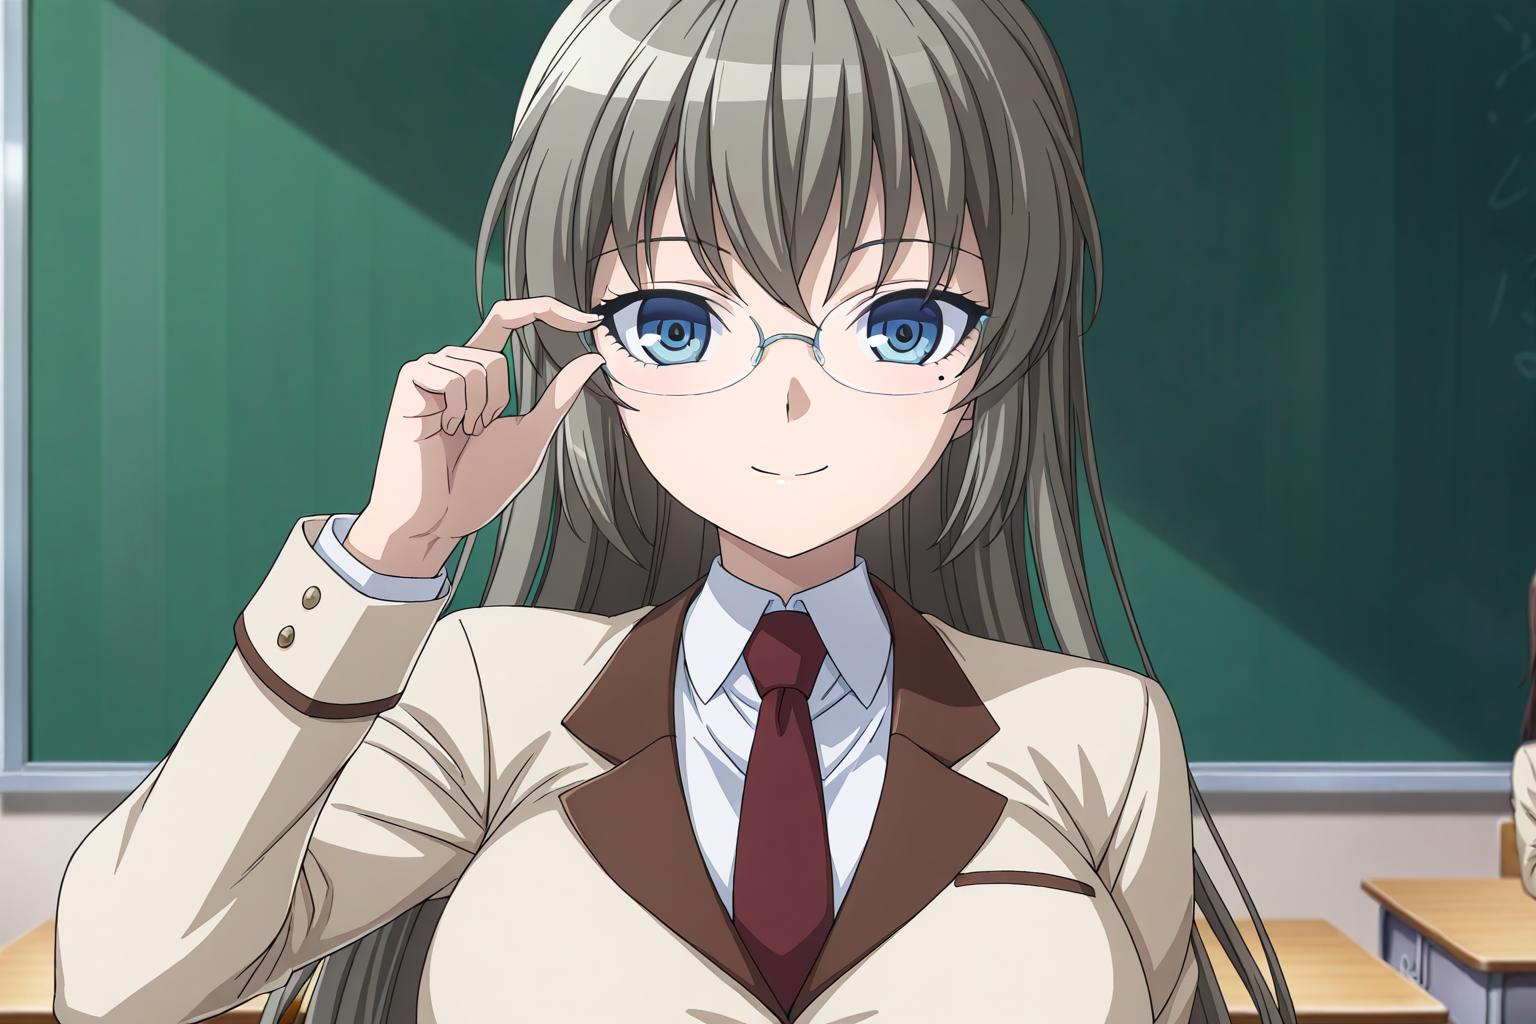
I have been asked several times to help people figure out how to make their LoRA. I always respond by saying, "I'm an open book," and help them from the ground up to figure out what they're doing. My method for LoRA creation is probably far from perfect, but I figure showing what I know will help others. My methods have changed and improved from my first LoRA—a simple Shantae (cringe & shiver)—to what is now more detailed and compatible LoRA. I tend to make anime LoRA, but I do deviate to other types, such as landscapes. If my work has shown to be a worthy example, let's begin.
1. Where to start?
So, once you have your idea—anything from clothing, characters, styles, concepts, landscapes, and so on—how do you begin? First is arguably the easiest part: simply collecting all of the images and examples of what your LoRA will entail. For the sake of this picture guide, I'll be using my Ootorii Asuka LoRA for my primary reference. Since this is an anime character, go-to references for her are screenshots from the anime itself and clips from the manga source material. Secondary sources would be art sites and galleries—I have a detailed guide for anime art sources here.
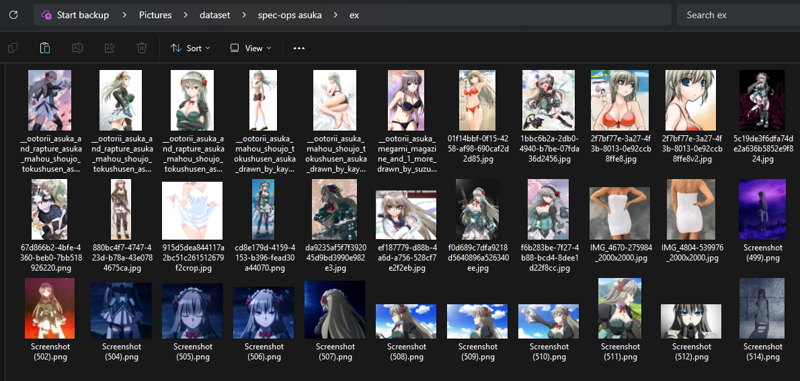
Now, when making a LoRA, I never try going in with less than 40 images minimum (when available or unnecessarily motivated, I often shatter this number [Asuka uses 510 images]). These images will try to include multiple angles and several zoom-ins of the head (my biggest pet peeve). But if you noticed, there are some strange images in my dataset.
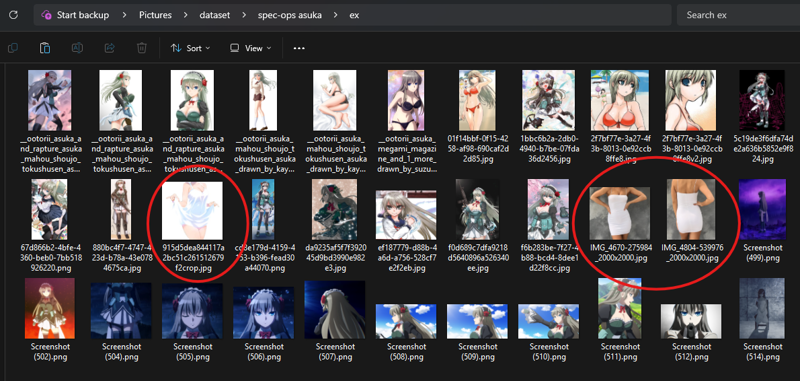
Sometimes you'll encounter situations for a particular garment if you're focused on anime characters. This is when you can expand your search and even try cosplayer forms, clothing stores, or other characters in similar outfits to help bridge these gaps in your dataset. For those who don't believe me:
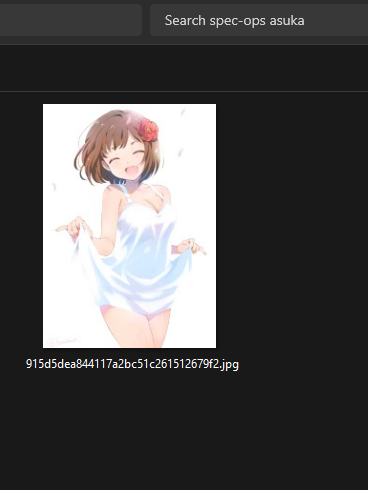
I've been asked about training duplicates in the dataset. My answer is no, but slight differences and crops I count as separate images and perfectly acceptable. In fact, for detailed parts of the character like the head or detailed clothing garments, I actually recommend making a crop and using it as well.
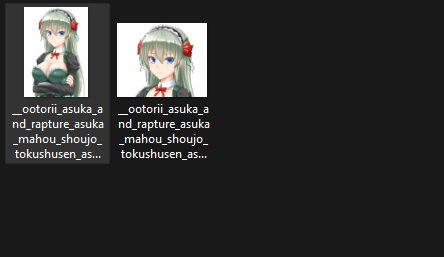
Once you have your data points—or at least everything you can—you can now clean and edit images. We're not at tagging yet.
NOTE - If you fall below at this point, that's when you can make a temporary LoRA to generate the character piece by piece and use it to reinforce your original dataset. My LoRA Chrissy (which I need to add more headshots for her eyes in my next update) is an example of this method. DO NOT TRY THIS METHOD IN YOU FIRST LORA!
2. Image Optimizing
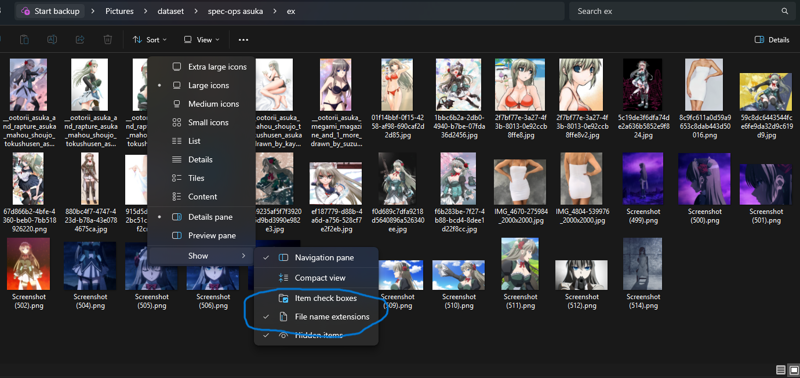
Image optimizing is the most commonly forgotten step, and if you have used a LoRA that didn’t do it, you can tell immediately. This step means to review your images, making sure they are compatible, mark-free, and of decent quality. When training, all images need to have no transparency, watermarks, or signatures, and they all should be either JPG or PNG. I have an article on this here, but for simplicity, just turn on file name extensions and make sure your images follow this rule.
Now, for the other problems, my frontal assault solutions are GIMP (a free art program on the Windows Store or downloadable online) and Experte (an in-browser picture cleaner). I already cleaned my dataset, but let’s say I missed a signature on her sleeve in a pic.
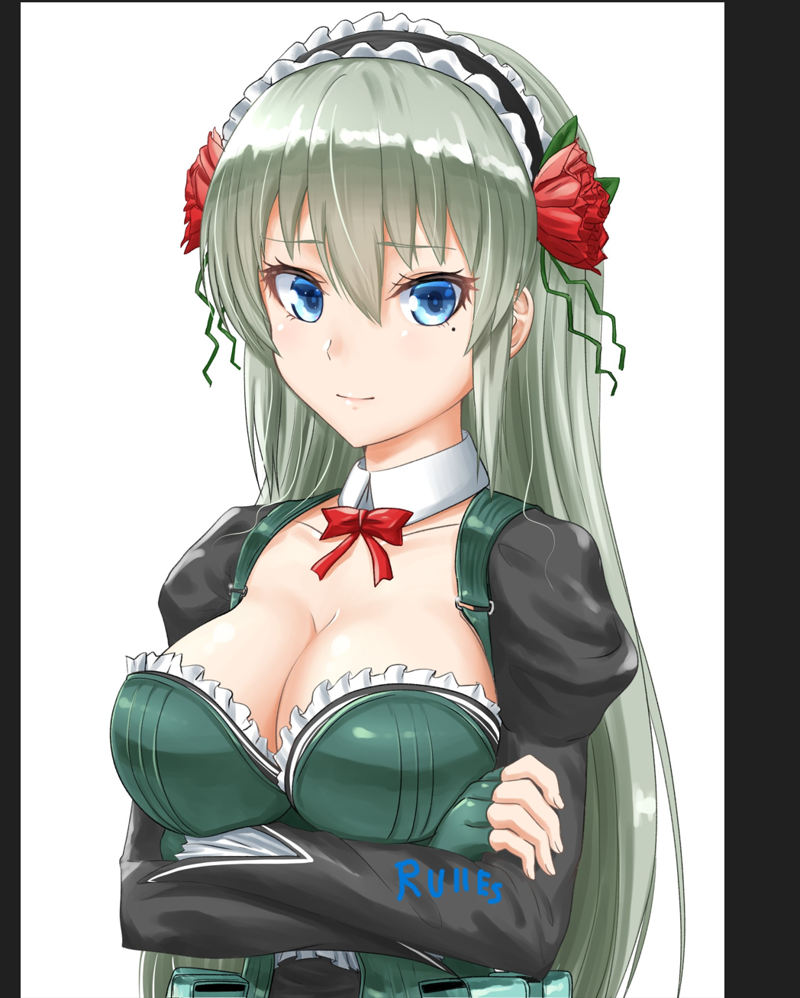
-I didn't make this pic; the artist is しおすな and can be found here.
Just drop the image in question into Experte (or any image cleaner like Photoshop or img-to-img Auto1111),
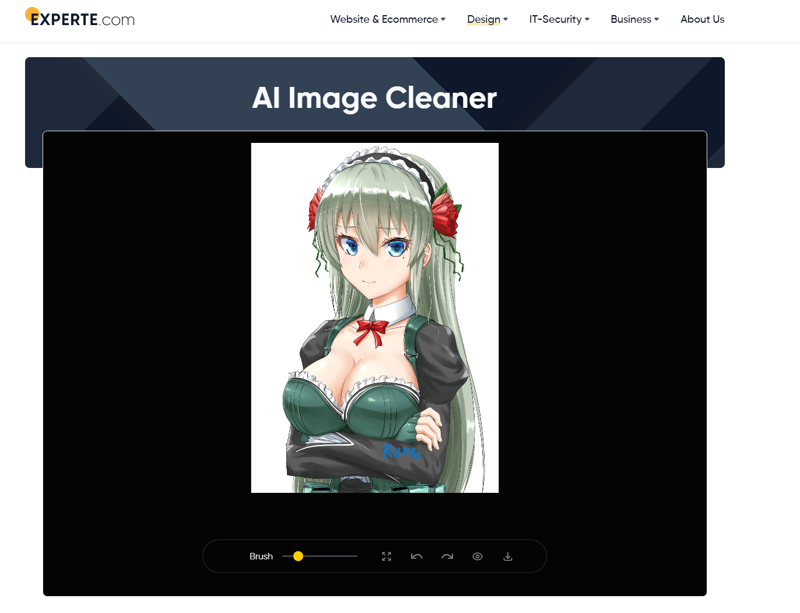
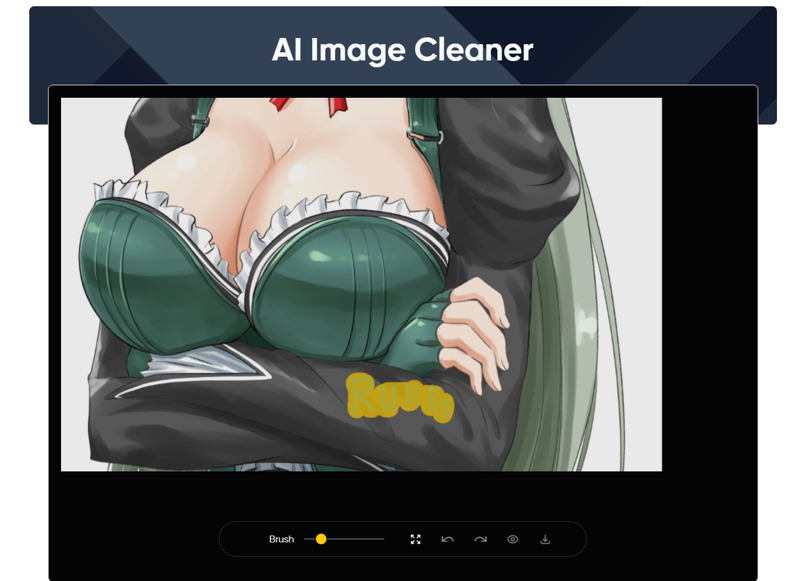
and then boom—gone.
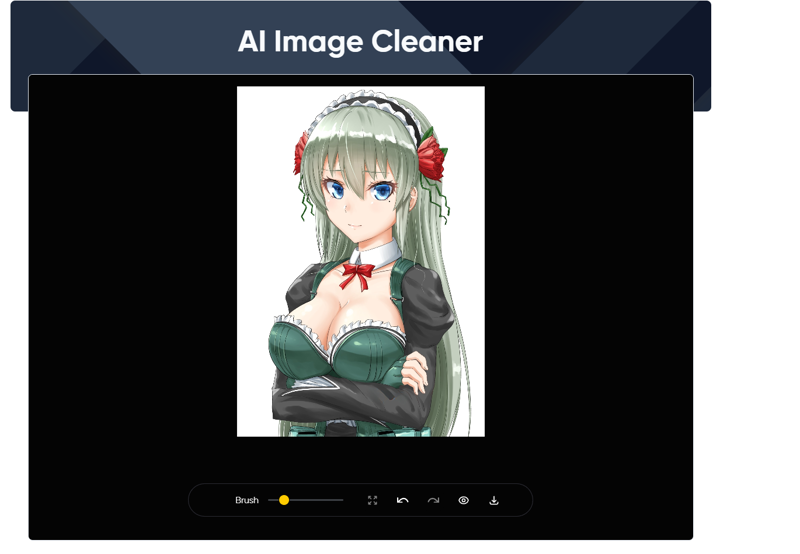
If it’s on white or a solid color, I would use GIMP. It’s normally faster, and sometimes you’ll have a lot of logos, signatures, Patreons, and copyrights to clean. For transparency, just open it up in GIMP:
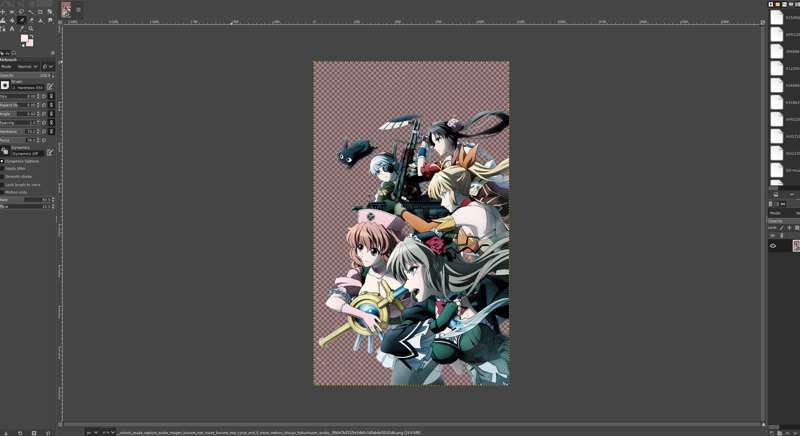
Add a new layer under the picture.

Then, with the new layer selected, take the paint bucket and fill it in.
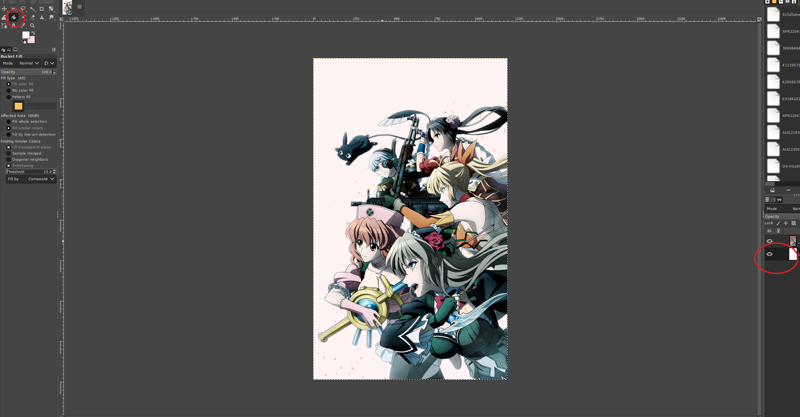
NOTE - I don’t recommend using pictures with multiple characters for character LoRA (for style, it’s fine), since it tends to mix the traits of both characters into the LoRA. This is just for example.
A final adjustment that rarely needs to be done is if an image is too small. Open up your Auto1111 and go to the Extras tab.

In there, all you need to do is put your small image in and set it to the 'R-ESRGAN 4x' upscaler, then click Generate. You'll lose minor details, but your image should now be big enough for Kohya datasets. I would only do this when necessary since you lose some detail in the process.

Now that you checked (and for my paranoia double check) that your dataset is mark free, compatible, and without transparency we can get to what's the most tedious part of LoRA creation, tagging.
3. Tagging....
Tagging is not an easy task, and it is done with a variety of methods from different creators. I have always used one method, though. My prompts always follow the Danbooru tag list, found here. For those who need a deeper explanation of tagging for prompt play, I have an article here that I constantly update whenever I find a new problem or optimization. I recommend starting with an auto-tagger, grouping pictures in folders with 20 images or less. In Auto1111, go to Extensions and add the one here to your extensions.
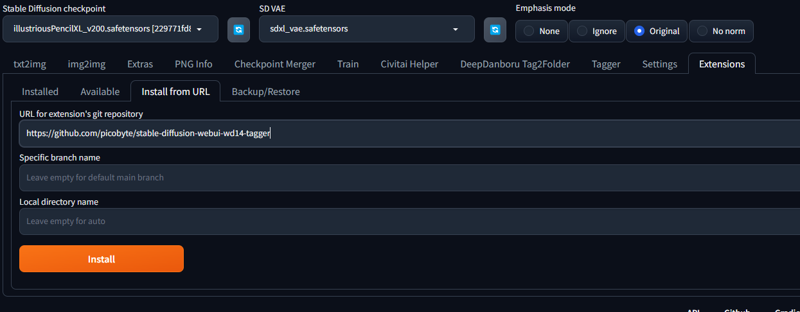
Once you’ve got your tagger, open the tab and go to the 'Batch from Directory' tab. Type in the location of your first batch of 20 into the 'Input Directory' slot. For your Interrogator, I recommend selecting the 'WD14 ConvNeXTV2 v1' option. You’re going to put your prompt in the 'Additional Tags (comma split)' slot. If your character has any unique/specific traits, you can use the 'Search Tag/Replace Tag' function. This will optimize a general tag into a more specific one, and only the more specific tag will be used.
MAKE YOUR 'Exclude tag, ..' SLOT WORK FOR YOU. To save as much effort as possible, your excluded tags should include all general tags you don’t need (mentioned in my tag article again here). In the case of characters, exclude anything that defines the character. For example, for Ootorii Asuka, excluded tags should include (long hair, blonde hair, grey hair, blue eyes, green eyes, sidelocks), and her search/replace tags would be (mole/mole under eye).
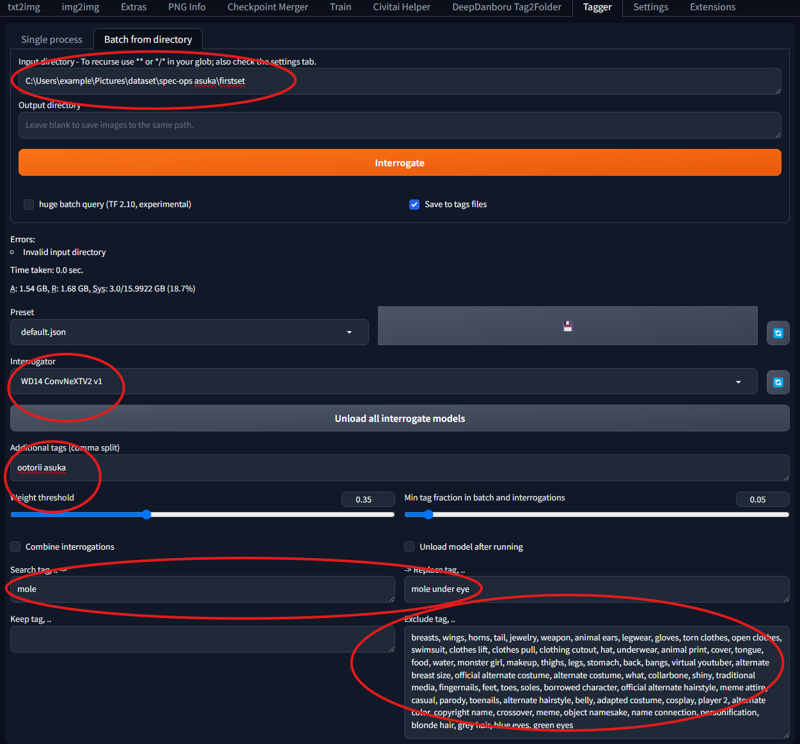
This will get your folder set up with an img+txt file with the same name side by side. Once everything has been auto-tagged, review your dataset. When reviewing, you are checking that all files are partnered up (if not, figure out why—normally the img is the wrong file type) and check the work of your auto-tagger to groom the tags to the best they can be. I would never trust the raw auto-tagger file; it should always be reviewed. Your results should look something like this:
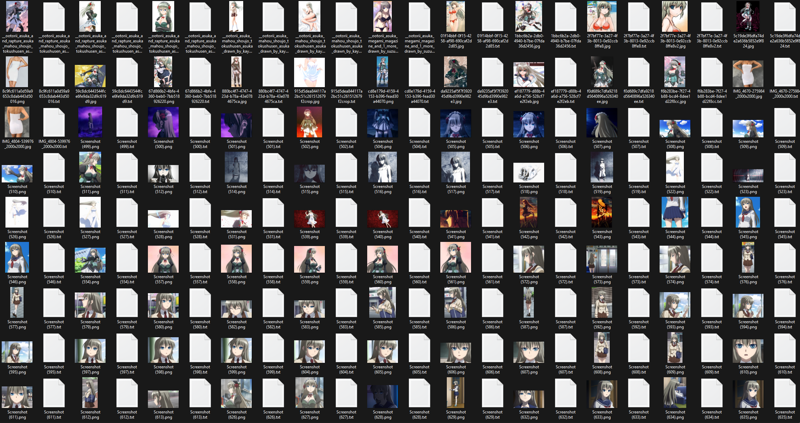
NOTE - Once the auto-tagger is done, I merge all img+txt files back to one folder.
This by far is the most time-consuming step, but once you’re done, things get easier from here.
4. Training
Now training is probably what most of you have been looking forward to. This is where we take our work from the previous steps and squish it all together into a LoRA. I use the Kohya tool for training. Kohya is a local training program for AI—you can find it here. Once it’s downloaded and ready to go, boot it up. It should look like this when opened.
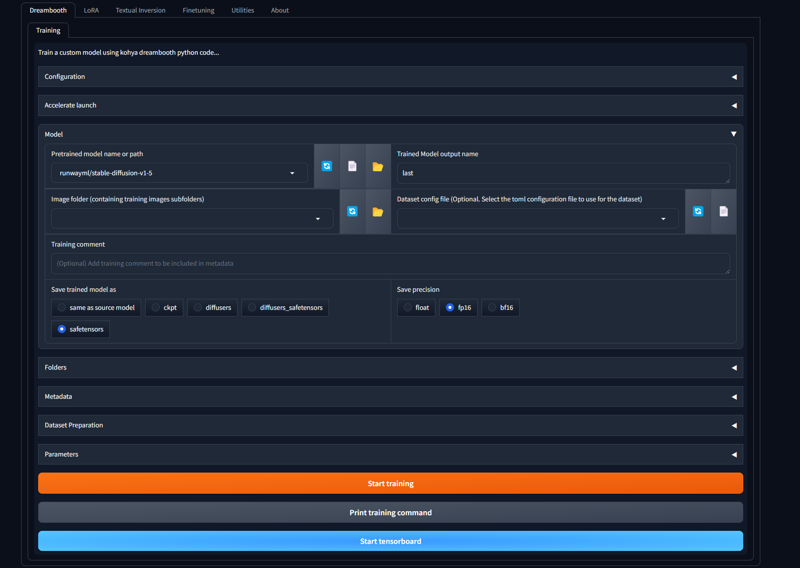
First, navigate to the LoRA tab (you’d be surprised at how often this is missed).

Now, I already claimed I’m not perfect—the settings I use work for me, but if you’re not a fan, you can experiment on your own. For this, though, I’ll explain how to set everything up for my settings. First off, the easy method: I’ll attach a config file and put it in attachments. Just open it up in the configuration tab, and you’ll be good to go for the most part. I have two files attached: an XL that works for XL, Illustrious, and pony, and an SD1 example, which works for SD1 and 1.5.

There’s only one difference, but this way will be easier.
Before beginning, you should pick what you’re training on—either SD1, XL, pony, or Illustrious.
NOTE - XL, pony, and Illustrious are all compatible, just not optimized. It’s preferred to use XL+Illustrious or XL+pony rather than Illustrious+pony. It is best to just use the one you’re working on, though.
You should not train on just any checkpoint; you should train on the base checkpoint. That way, all branching checkpoints can use your LoRA. You can find the Illustrious 1.0 here (or v0.1 here), XL here (full transparency: I’ve never used raw XL), pony here, and SD1 here (this is the anime base, not realistic). Once the configuration for what you’re using is set up, select the model you’re using by putting its location in the appropriate slot.

Make an empty folder separate from your dataset to use as your directory. For me, it looks like this.
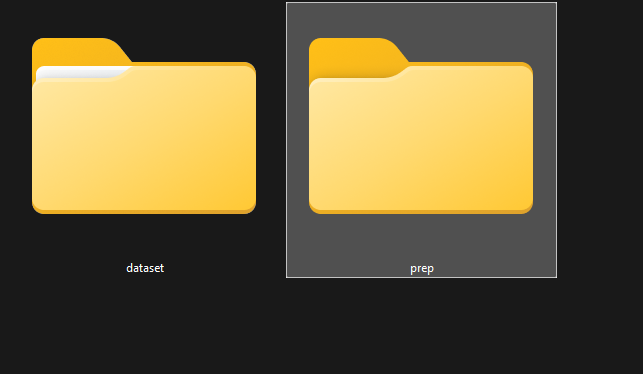
Go to the 'Dataset Preparation' tab in Kohya and type in the appropriate info. In our case, it’s the name, character, dataset, 10 repeats, and then the prep folder (ignore regularization). Then click the 'Prepare' and then 'Copy Info' buttons in that order.
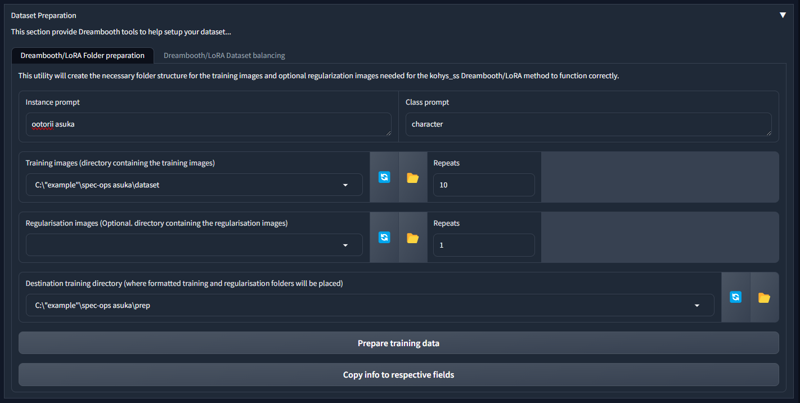
Then click the prepare and then copy info buttons in that order.

That should fill in all the corresponding slots appropriately.
In your folder, your directory or prep folder will look like this.
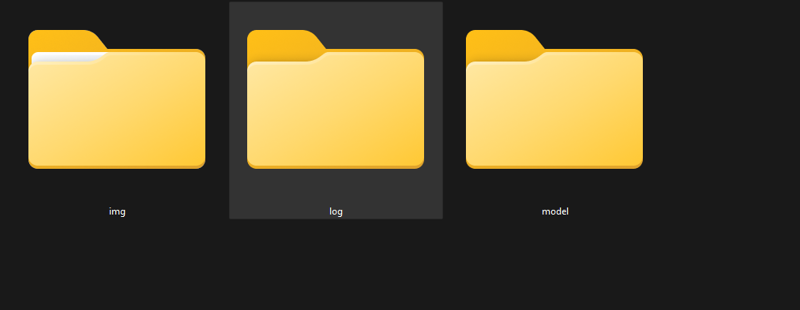
Your img folder will look like this.
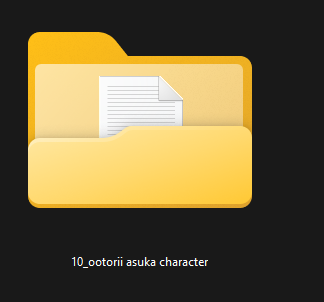
It’s possible to give different priorities to images using Kohya software. If doing that, it would look like this (I would do this when dealing with rough drafts or sketches).
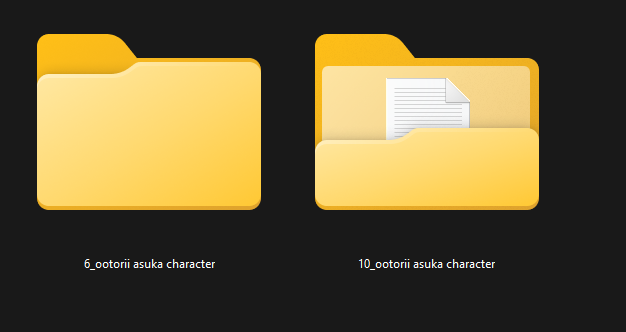
Back in the model tab, be sure to name your LoRA reasonably (and for me, I also list what model it uses).

Make sure everything is filled out correctly that needs to be, and then click the 'Train' button at the bottom.

After all that, your images will process in Kohya and be printed out in the model folder. THIS WILL TAKE TIME!!!
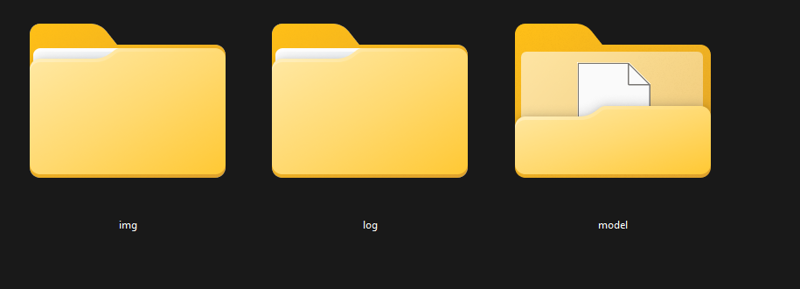
The one you want will be this one.

After that, all you’ve got to do is test it. Put it in the LoRA folder of your Auto1111 and try generating a few images to see if it’s good or not.
