Note: this article assumes you already know the basics of training a character model focused only on one character. If not, check out CivitAI's trainer: A simple, beginner's guide to training character LoRA using it article for a detailed, but overall simple and straightforward to understand, explanation and walkthrough. My Google Colab: A no-nonsense beginner's guide for training SDXL character LoRA also has relevant details related to this article.
Note 2: Like this article? Please consider tipping it (or, heck, even financially supporting me at https://www.patreon.com/c/MetalChromeX and http://www.fiverr.com/s/VY34o4m) so I can continue to produce high-quality models for you for free or cheap!
Intro:
I thought now might be a good time to quickly whip up an article on training a character with multiple characters since not only did I just release a 12-in-1 character model with the main (female) characters from Trinity Seven, but I also have had a few people ask how to do this. From the handful of times I've done this, I've been pretty successful...after making a few tweaks. Let me provide some quick tips/a walkthrough of how I did that 12-in-1.
How to organize folders
Firstly, let's look at what it looked like after I had finished collecting my dataset. Note that I have labeled each of these folders, like Akio Fudou (character). In multi-character models, it's practically essential you tag the name of the characters, as this will help Stable Diffusion better figure out what you're trying to accomplish.
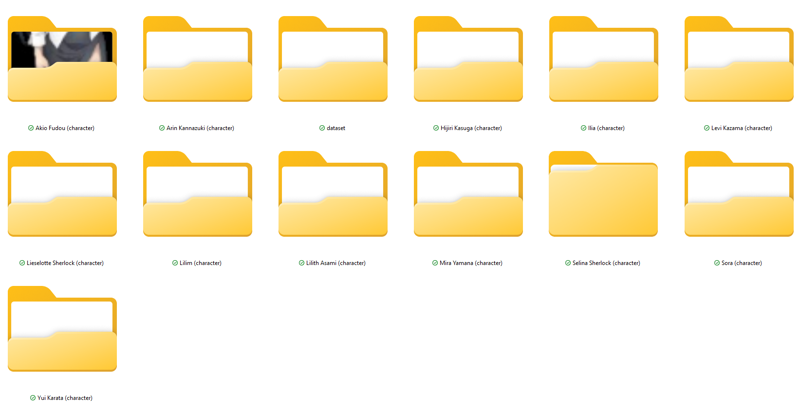
Let's open one of these folder, Lilith Asami (character), and take a look inside. (Side note: I've blacked out a couple images that have her wearing a very spicy bathrobe just so that this article stays PG!)
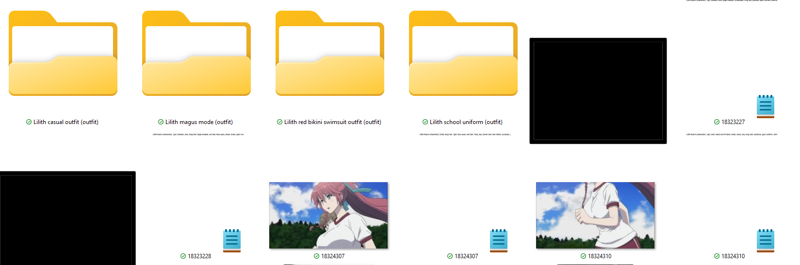
From here, you can see I have four more subfolders: Lilith casual outfit (outfit), Lilith magus mode (outfit), Lilith red bikini swimsuit outfit (outfit), and Lilith school uniform (outfit). All of these, of course, are the same character but with different outfit appearances; this is also the same general principal you'll want to follow if you are making a single character LoRA with multiple outfits. The reason I tag them specific like this is that, I presume, it'll make these tags more unique than, say, casual outfit or red bikini. These tags should also able to be added to other characters. For example, if you want Liselotte to rock Lilith's red bikini, the idea is that you'd add Lieselotte Sherlock (character) and Lilith red bikini swimsuit outfit (outfit) into your same prompt.
This is the basic gist for organizing your character models. The one thing I'd highly recommend to avoid bad images is going too light on your dataset. For example, I once tried doing my 6-in-1: The entire Smith family (American Dad) with 10 images for each of the six characters, which looked pretty bad. Having just 10 images per character clearly isn't enough to learn the specific character, and here is an example of what Stan Smith looked like with just 10 reference images:

From that, it only vaguely resembles the character; since we want our character model to, you know, actually look like the character in question, let's get more images in our dataset. I can't recall how many exact images I had in the Stan dataset, but I made sure to have a bare minimum of 30 images per character/folder upon trying again. Here is what Stan looked like afterward:
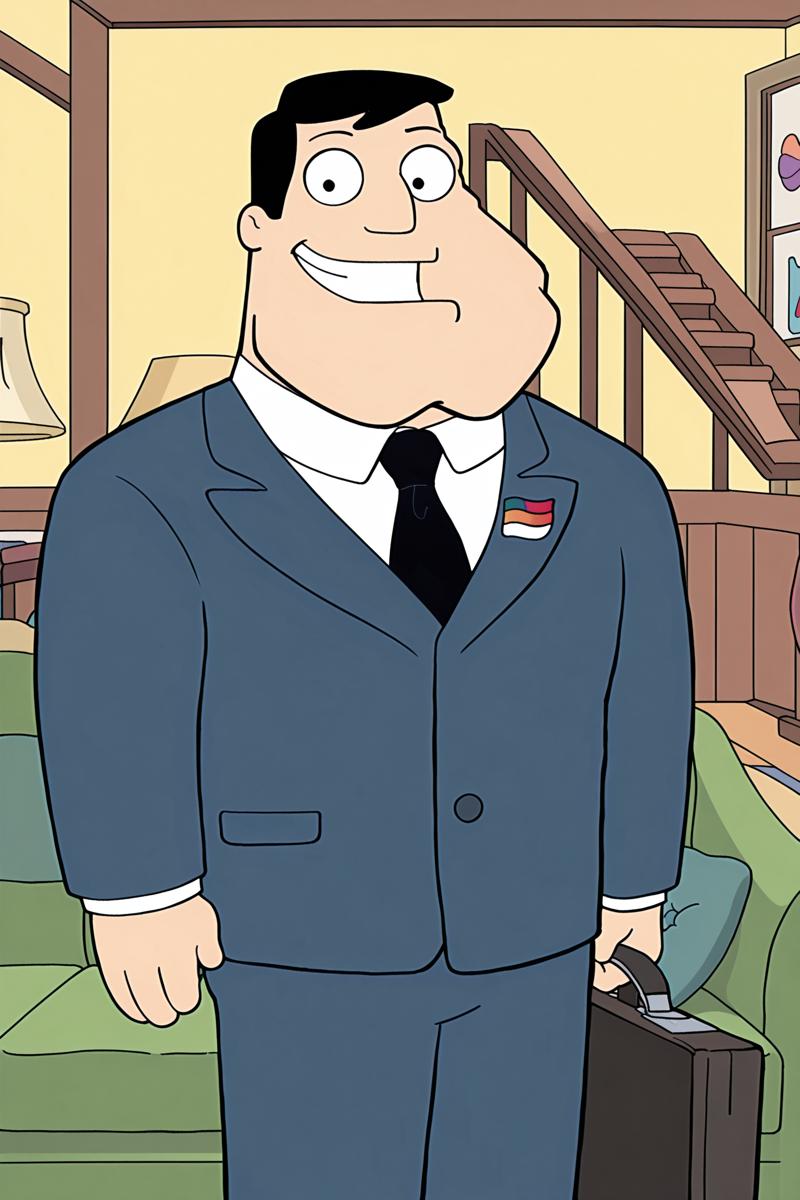
MUCH better! Anyway, after gathering enough images for your character (and again, I'd recommend at least 30 per character with various angles and positions), it's time to tag them. I won't go into too much detail here, as I covered this in the CivitAI's trainer: A simple, beginner's guide to training character LoRA using it and the Google Colab: A no-nonsense beginner's guide for training SDXL character LoRA! articles.
I do, however, recommend using a program like TagGUI to tag your images automatically. I like TagGUI because it not only automatically tags your images in a separate .txt file, but it also saves that file to your PC so that you don't have to manually download the training data after publishing your model to CivitAI. This also allows for quick reference into which keywords you should use to try to recreate a character/their appearance. Here's an example of Carol Olston, who I will be making an updated character model for shortly:

Again, the rest should be straightforward. What I do with TagGUI is to navigate to the outfit folders in question (again, let's use Lilith casual outfit (outfit), Lilith magus mode (outfit), Lilith red bikini swimsuit outfit (outfit), and Lilith school uniform (outfit) as an example) and manually type out the tag in question under the Add Tag field, highlight every image with Cntrl+A, smash that Enter key, and then rinse and repeat for each outfit tag. Then I navigate to the root folder of the character and add Lilith Asami (character) to every single image. After that, I click the Start Auto-Captioning button and let the program work its magic. After this, just repeat these same steps for all your characters until every outfit and appearance is prepped.
And that's it! From here on, just train your character like I mentioned in the other training articles and go from there. To sum up those articles: after all images have been tagged, you will want to create a blank folder called dataset. You will then want to copy and paste each image and .txt file from each folder and subfolder into this dataset file. In short, every character and image will now be in this one folder with no subfolders.
If you're using the CivitAI online trainer, you can right-click the dataset folder and compress to a ZIP file (not through WinZip or WinRAR or whatnot, just Window's built-in compress to option) and then just drag and drop the .zip file to upload it; if using Google Colab like in the article I mentioned earlier, you can just log into your Google Drive and upload the contents of the dataset folder inside the (character_name) subfolder of the Loras folder on the root of your Google Drive (naturally you'll need to create these manually if you haven't already).
Final thoughts and tips:
The only other thing I can immediately think of adding is that, as I mentioned, with having a bare minimum of images per character, I would also recommend having a good amount of images per outfit. While at least 30 images will allow you to learn the character's appearance, if you're also trying to replicate an outfit, you will want an adequate amount of images to help the computer better learn what it should look like.
CivitAI user NanashiAnon also provided the following tips/suggestions:
"Since several of your "character" examples are actually, one character in different outfits, I'd note earlier this is also the same general idea for training one character with multiple costumes. One critical difference I'd note though is "with 10 images for each of the six characters, which looked pretty bad. Having just 10 images per character clearly isn't enough to learn the specific character, a"
For costumes, I've found Illustrious to be pretty good with only ~12 pics per alt costume (though more are better). Having retrained one of my LoRAs for Pony after it worked on Illustrious, either Pony doesn't do nearly as well with this low AND/OR the on-site trainer's defaults for Pony AND/OR today's generator instability was making them lame.
Another, lesser, note is that for one character, multiple costumes, or a style with a main trigger and triggers for each character built in, you can make them the first two tags ([charname], [outfitname]) and use keep tokens 2. How much shuffle tags and keep tokens actually improves stuff, I have no idea, but if it does anything that should improve stuff."