0. Preface
This article is an additional information for this LoRA
I would like to show how to use the LoRA with ControlNet Canny
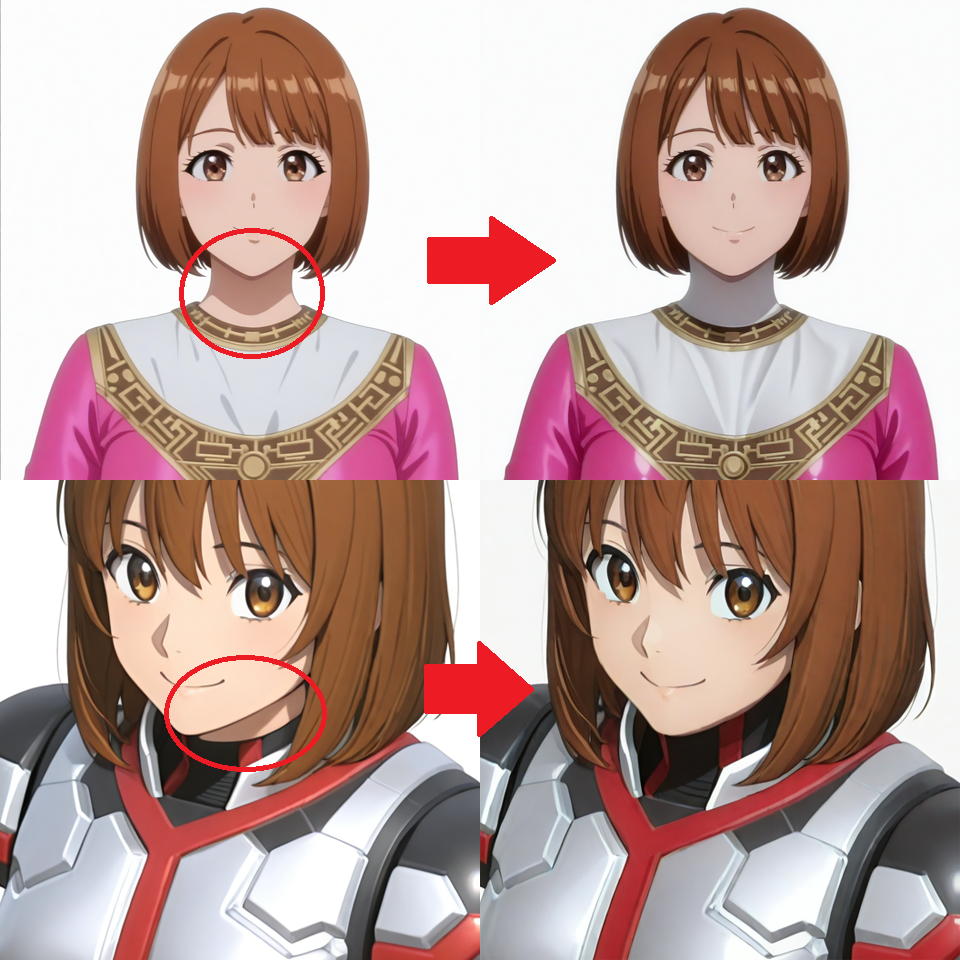
The LoRA tries to fix the problem that the neck isn't fully covered when generating characters wearing bodysuit
If using the LoRA as usual, the problem is gone but it changes the output results
So I use it with Canny to minimize the effect and keep the character and composition I want
For the basics of ControlNet Canny, see another article written by me
I won't explain too much here
I'm not an expert of AI
This method can't use in CivitAI on-site generator at the moment (it doesn't support ControlNet)
It may not work in some cases
THIS IS A TIME AND LABOR COMSUMING METHOD
Using Platform: reForge (local)
Graphic Card: GeForce RTX 3060
RAM: 32GB
1. Example 1
Here is a simple example
First, Generate a image
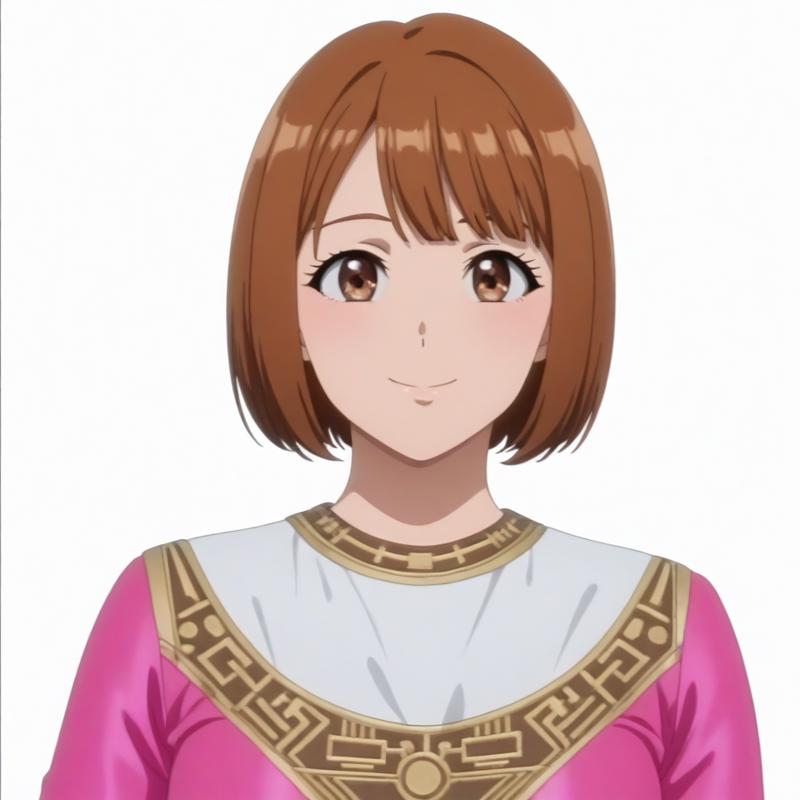
(Used Checkpoint and Lora 1 2)
The neck isn't covered
So I will fix it using the LoRA and Canny
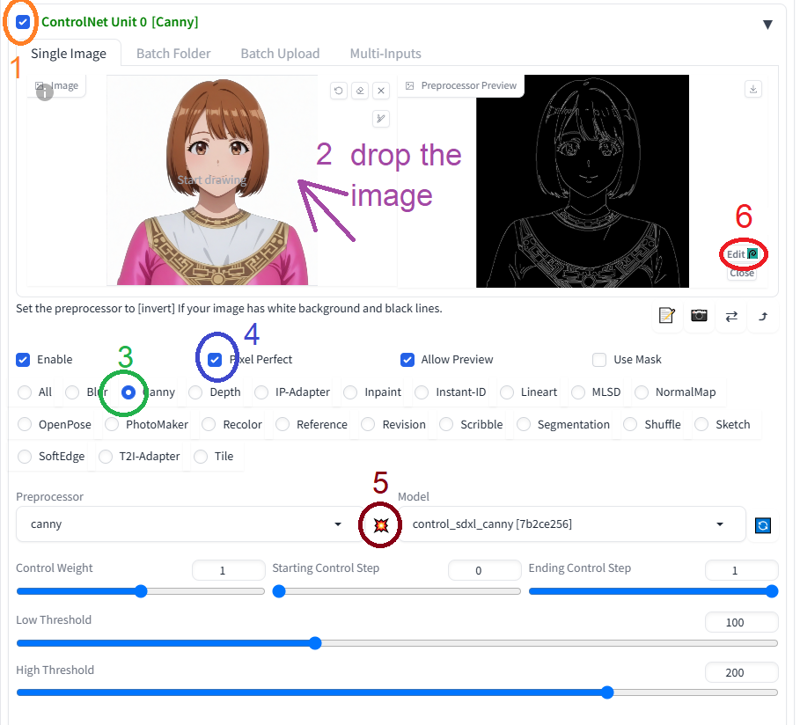
Enable ControlNet Unit 0
Drop the generated image
Select "Canny"
Enable "Pixel Perfect"
Run the preprocessor
Click "Edit" to open Photopea
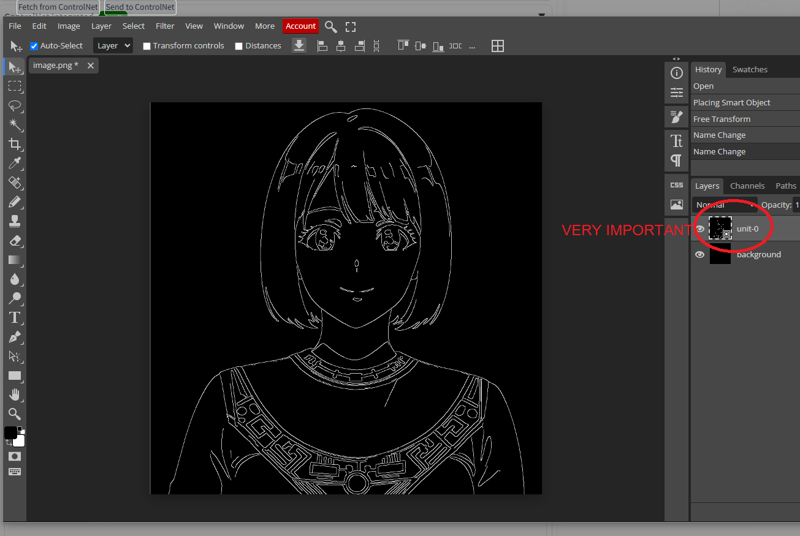
Make sure that the name of the layer imported is "unit-0" (the ControlNet Unit in use)
if not, rename it, or you can't send the layer back to the ControlNet
Right click on the layer and choose "Rasterize"
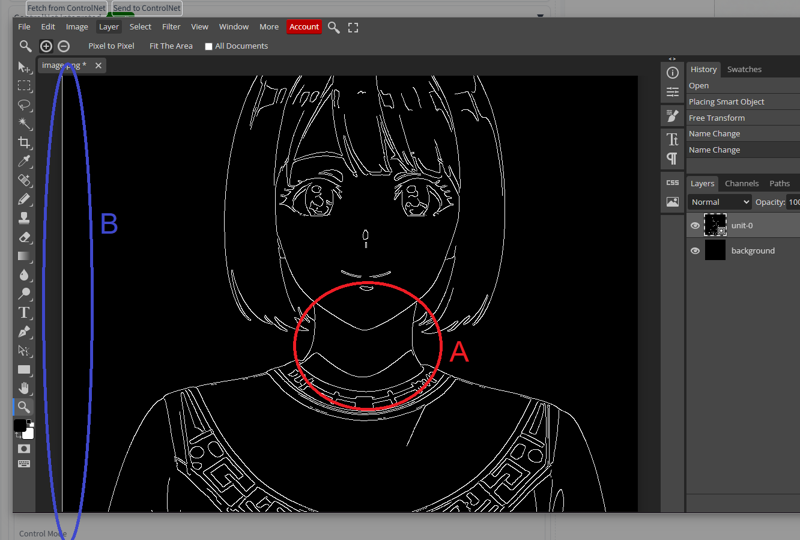
Using black Pencil Tool to remove lines of the neck carefully (A)
Remove the redundant line on the image border (B)
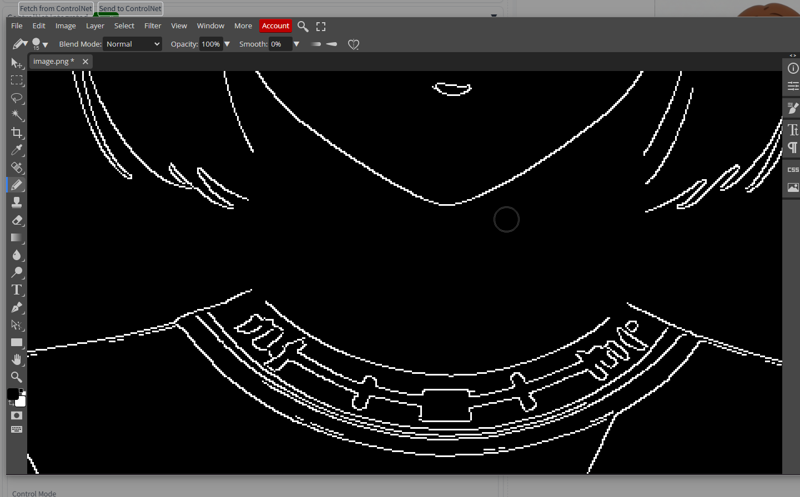
After
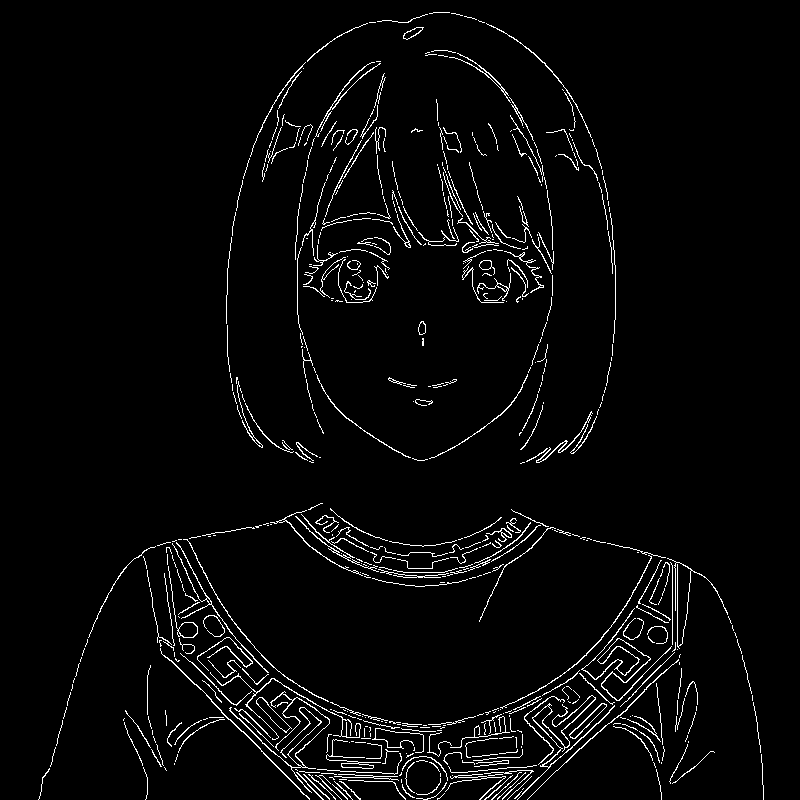
Click "Send to ControlNet" on the top left hand corner
In ControlNet, Keep the Control Weight to 1 (keep those lines unchanged)
In prompt, add "covered neck", the Lora and set weight to 0.8 (<lora:coveredneck_v1-000006:0.8>), and generate
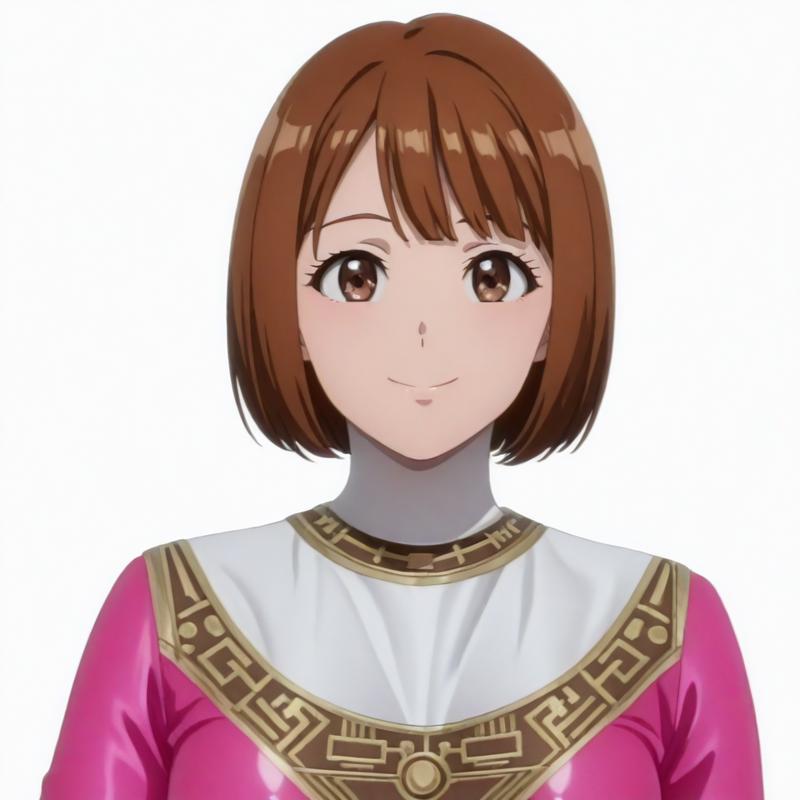
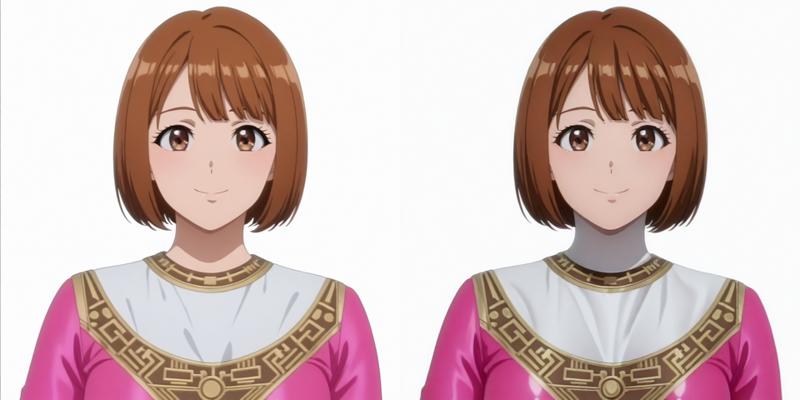
Compare two images and you can see the problem is fixed and some details are slightly changed
If you happy with that, you can continue to generate through changing parameters and prompts
For example, I replace "white background" with "outdoors, night, dramatic lighting", and generate
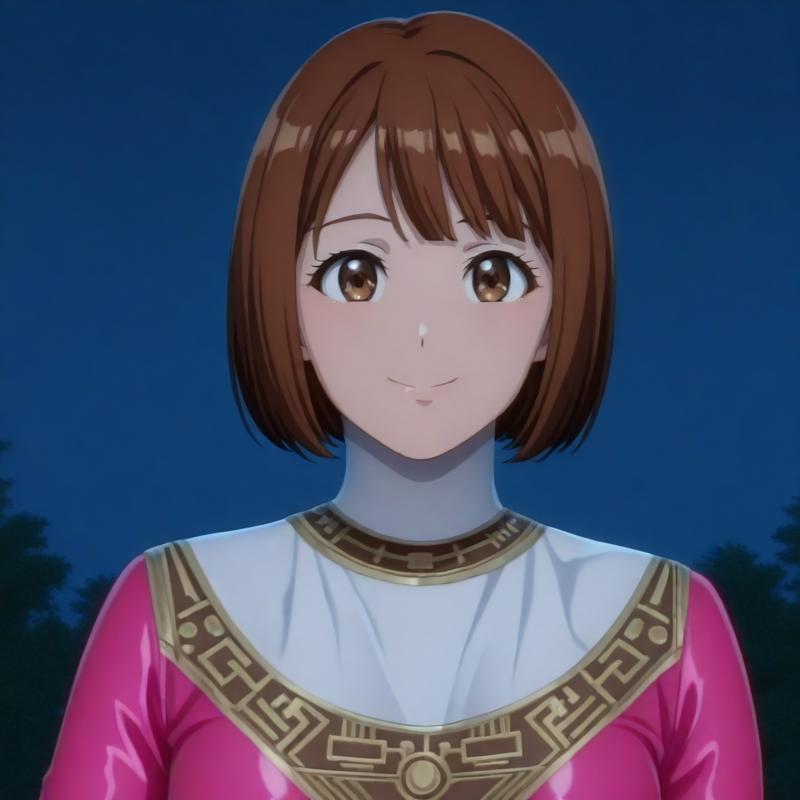
you also can change the suit color through replacing corresponding words
See here for details
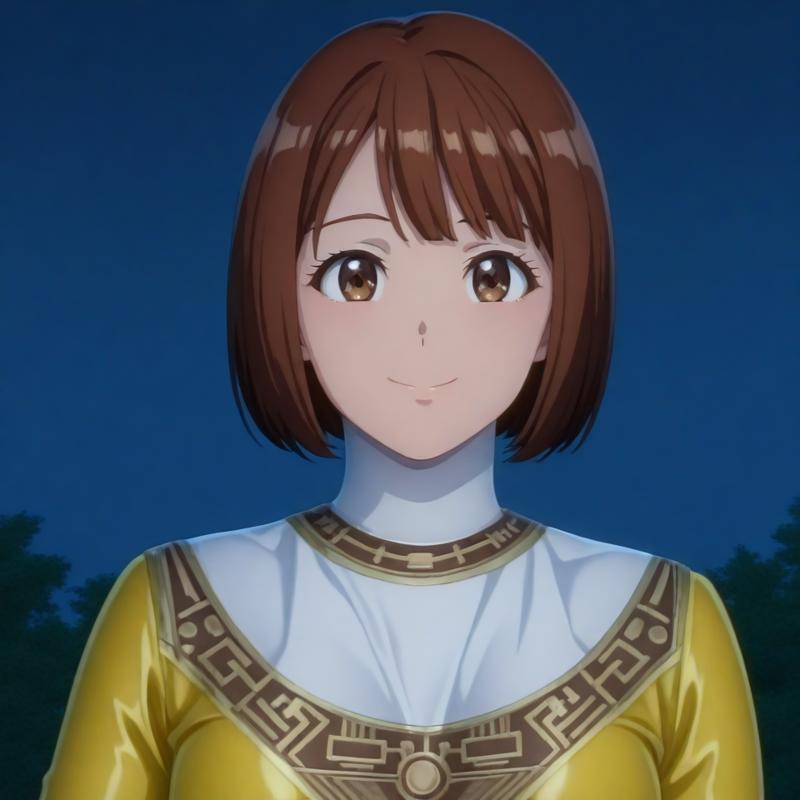
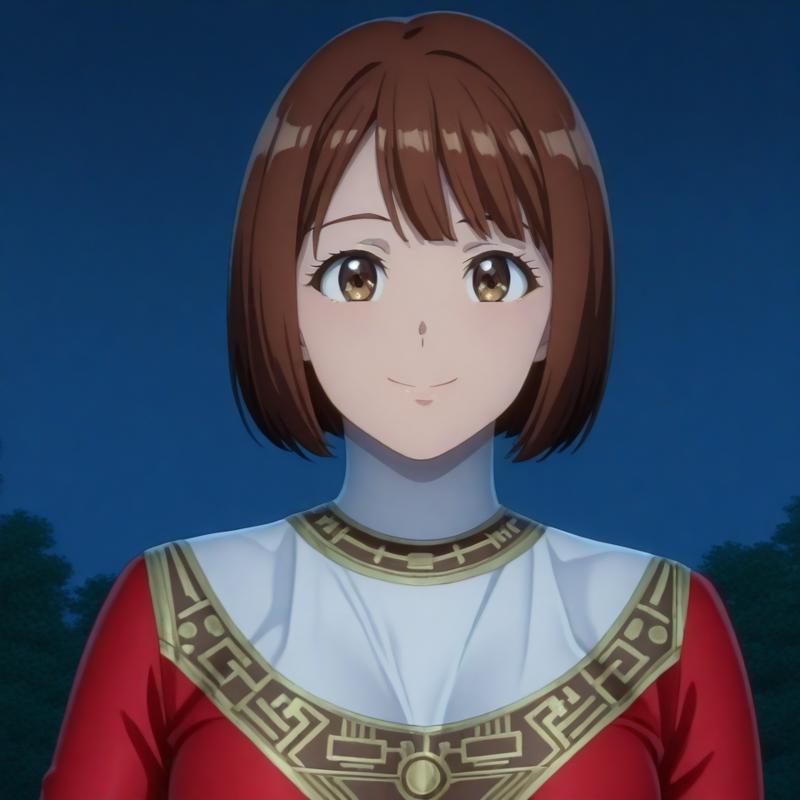
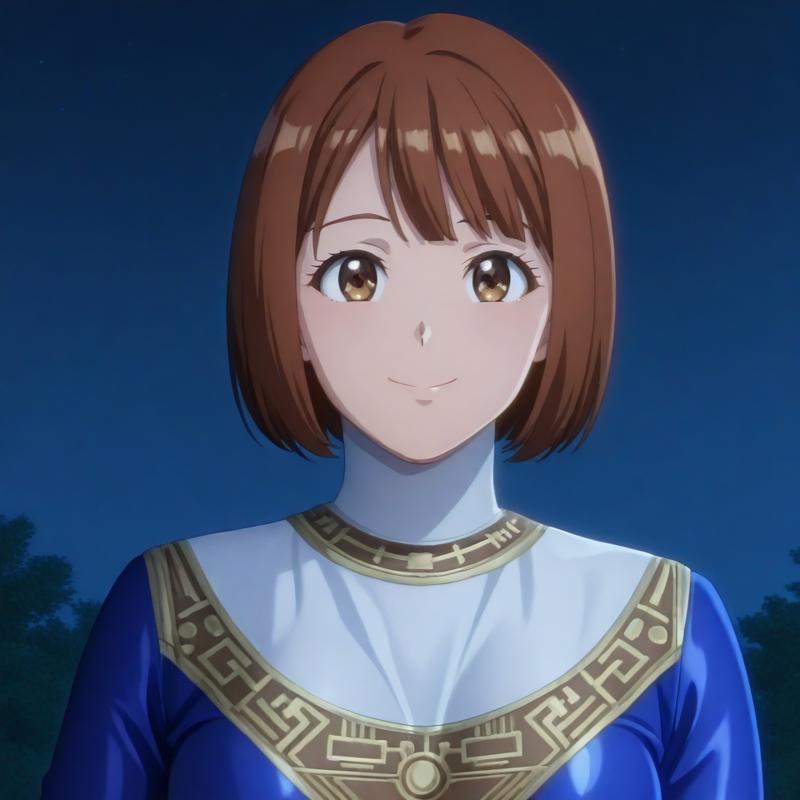
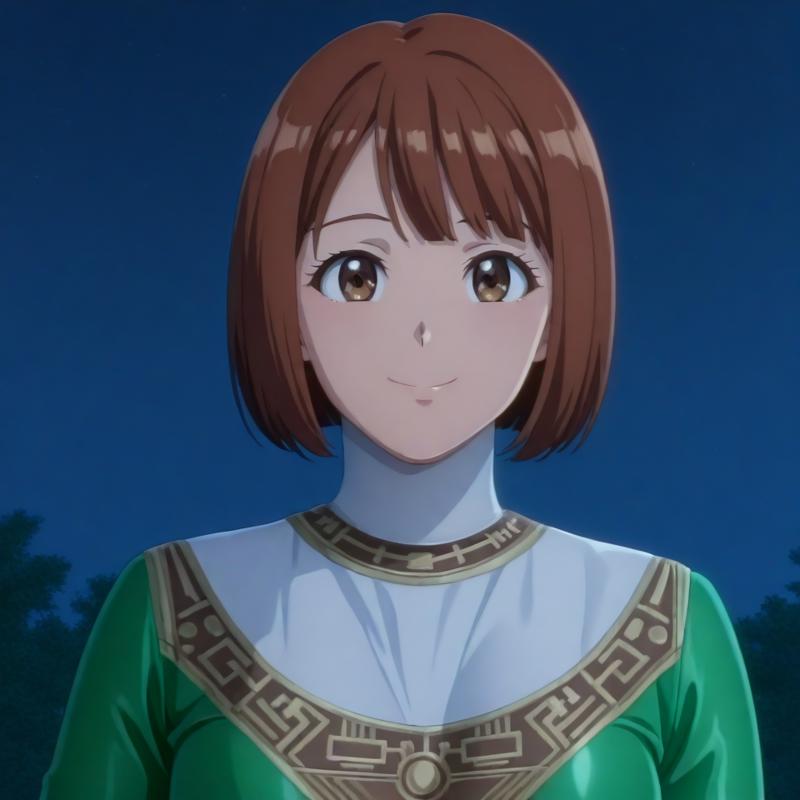
you can add "white neck" or/and change seed if necessary
I add it the blue one without changing seed
2. Example 2
Here is another example
I will share some skills of generating this image
First, I generate the image like this
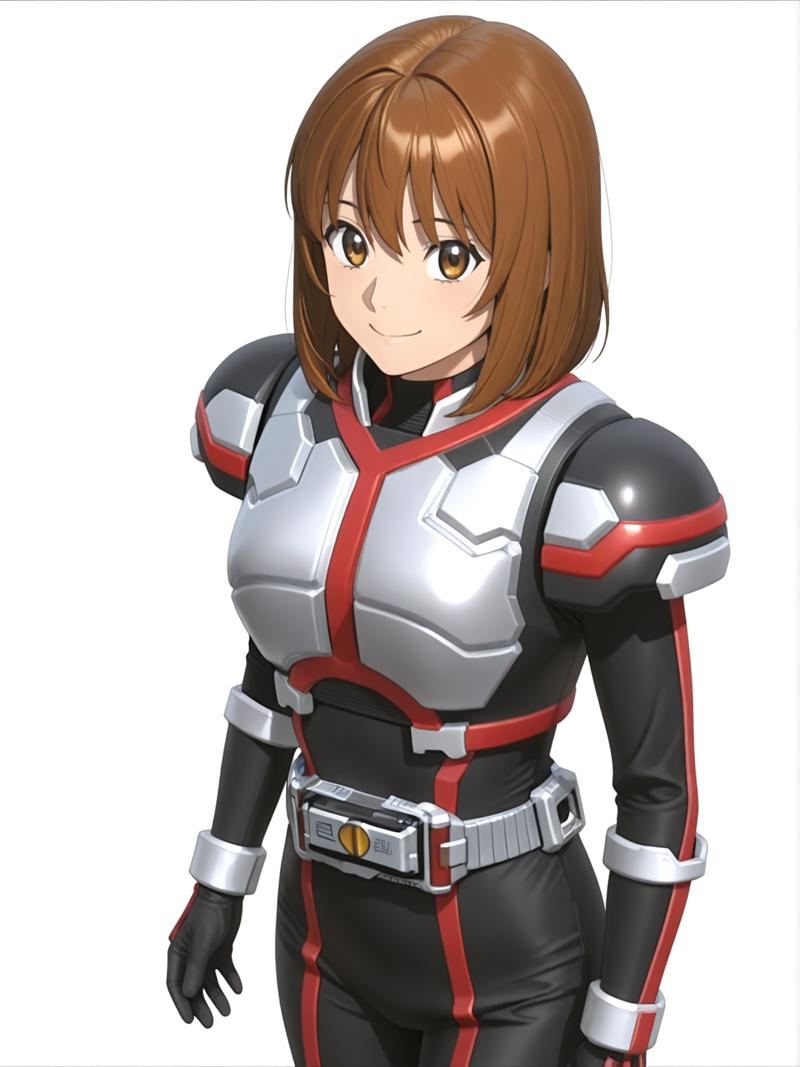
(Used Checkpoint and Lora 1 2 3)
the neck isn't fully covered. Someone may like it but I don't
Also, there are some redundant lines on hair
Put the same image to ControlNet and run the canny preprocessor
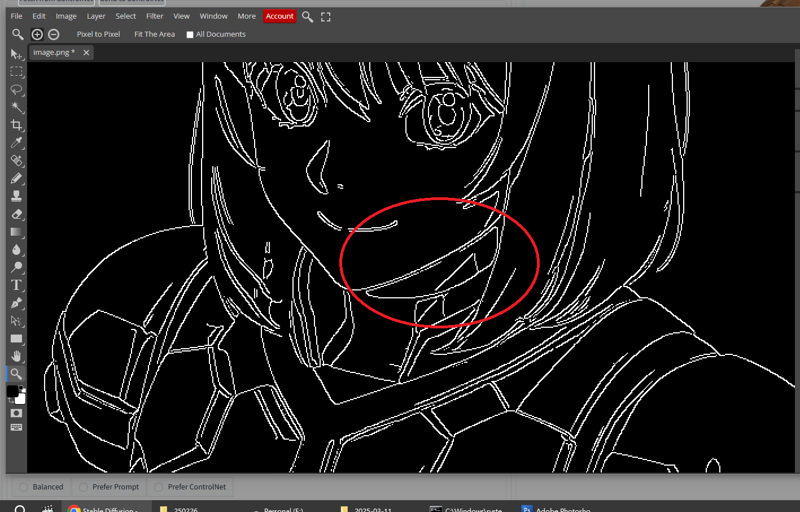
In Photopea, removed those lines carefully using black pencil
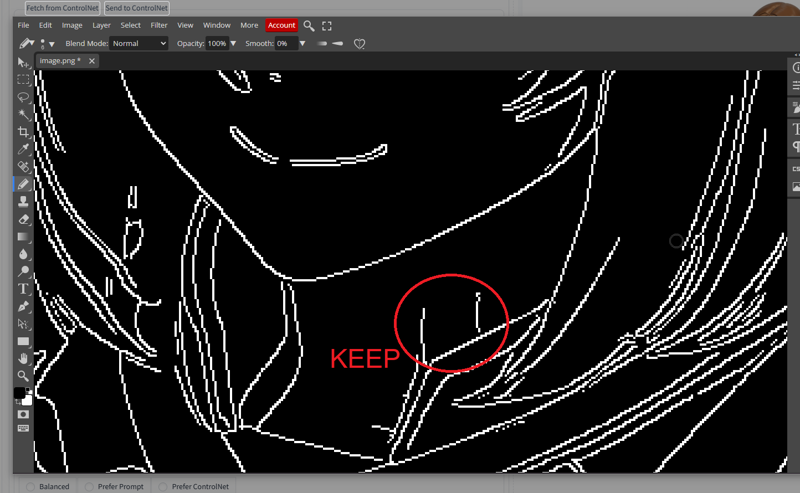
For me, I will keep those lines. The rest will be recreated
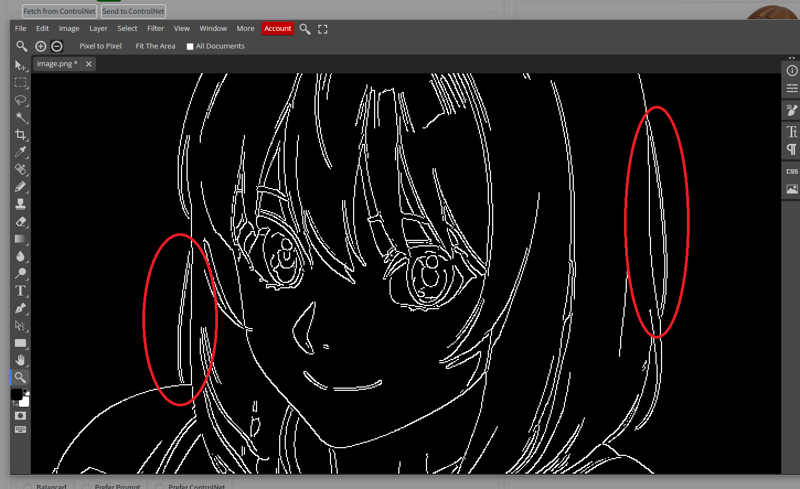
Remove those redundant hair lines carefully
remove other unwanted lines and send it back to ControlNet
Keep the Control Weight to 1
In prompt, add "covered neck" and the LoRA with weight 0.8 (<lora:coveredneck_v1-000006:0.8>)
Since the lines are fixed and some words like "aged down" will not longer affect the image greatly. You can remove it optionally
Click "generate"
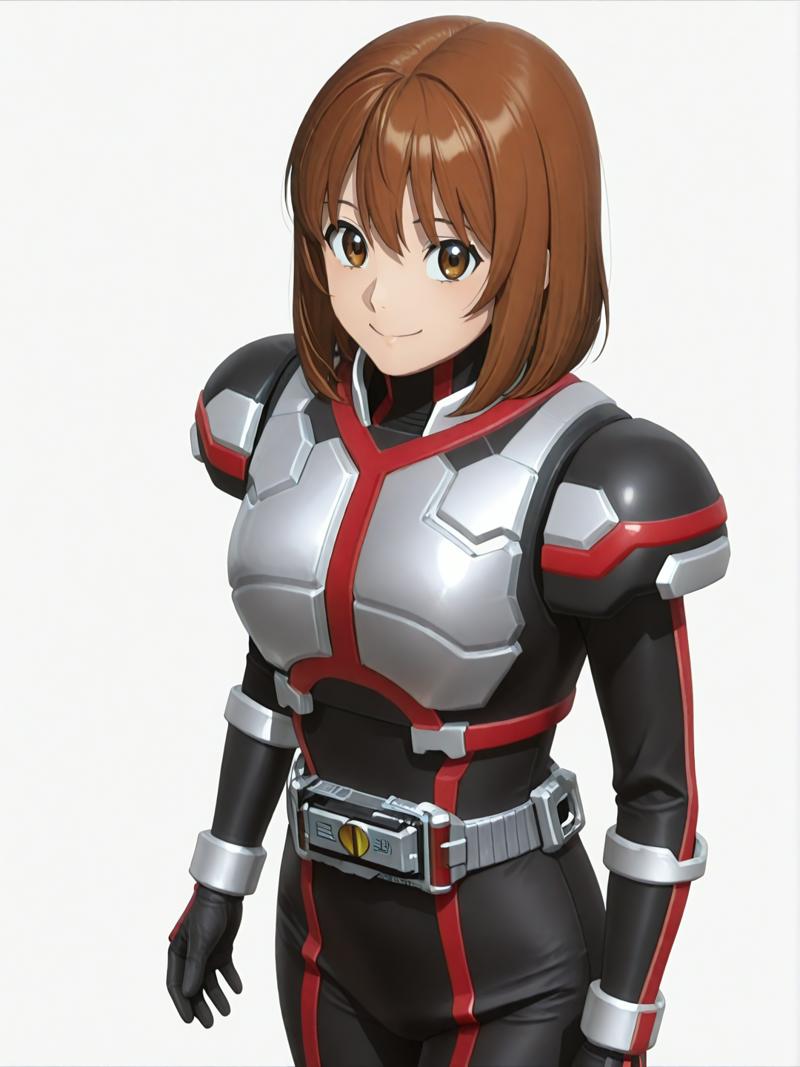
Looks great
BONUS: if using the LoRA without ControlNet, it becomes
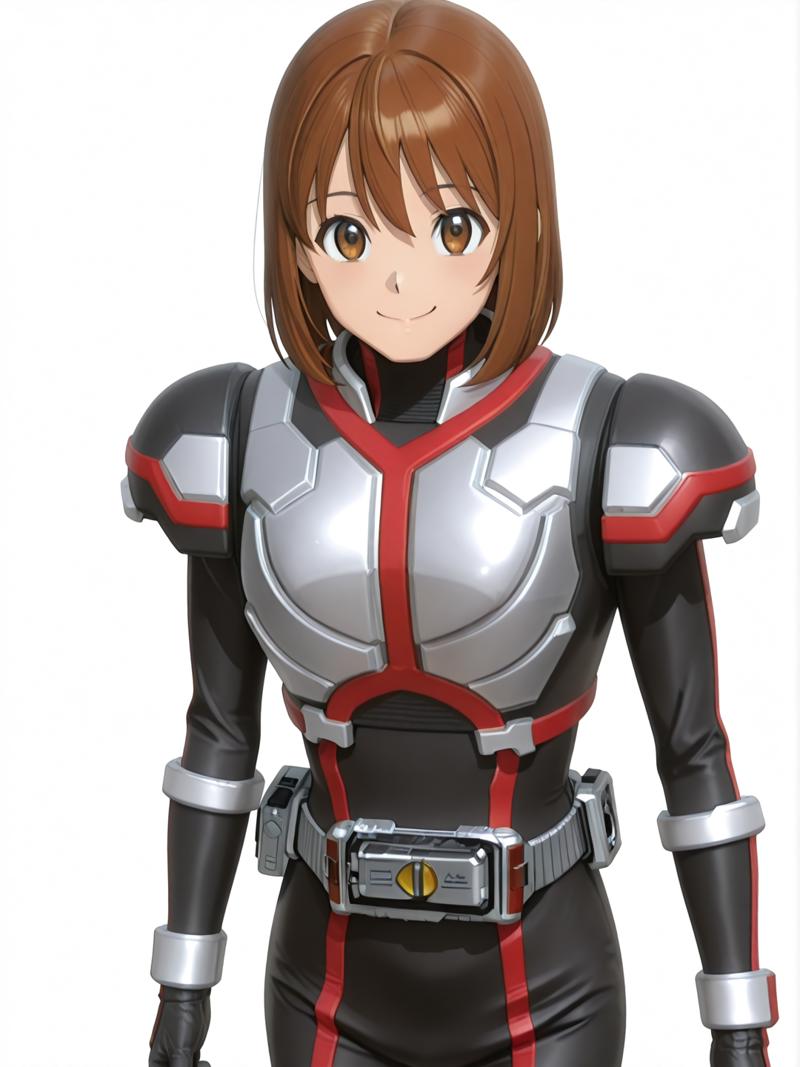
The result is changed and IT'S NOT GOOD
That's why I'm using the LoRA with Canny
3. Conclusion
Again, THE PROCESS IS TIME AND LABOR COMSUMING
Some skills and sense are required
It's not the best solution, but it's viable
Notes
I usually start with white background
It can be changed later and this makes it easier for me to edit the Canny images without annoying lines


