Invoke AI
Invoke AI is yet another UI which lets you download/manage models and generate pics from prompts (txt2img). But I think it is really good for inpainting/outpainting and in general img2img. This Article however describes the basic setup to get going with Invoke + Civit.
After mentioning Invoke as an option for a UI to be run on a pod cloud like RunPod https://civitai.com/articles/12648 , this article focuses on how to work with invoke as soon as it is up and running.
Import first Models and start generating
When loading the Invoke UI from scratch it looks a bit empty.
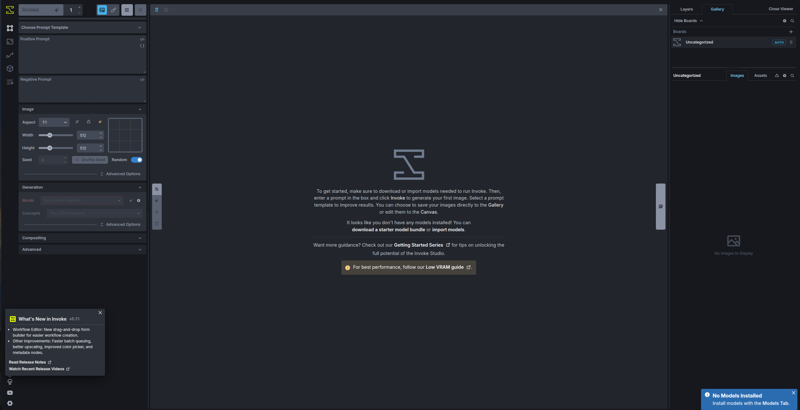
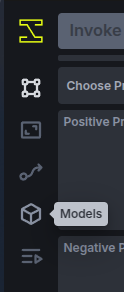
But the friendly blue bubble in the lower right (that's actually a toast ;) ) tells you what to do. Find the Models Tab in the left vertical icon Menu:
Go to "Add Model" -> "Starter Model" and click on the little "+" right of your favorite "Main" Model (AKA Checkpoint). If you have the VRAM (e.g. using a pod) let's start with a FLUX modell. Klicking on the "+" next to e.g. "FLUX Schnell (Quantized)" will install all the parts necessary for the flux workflow.
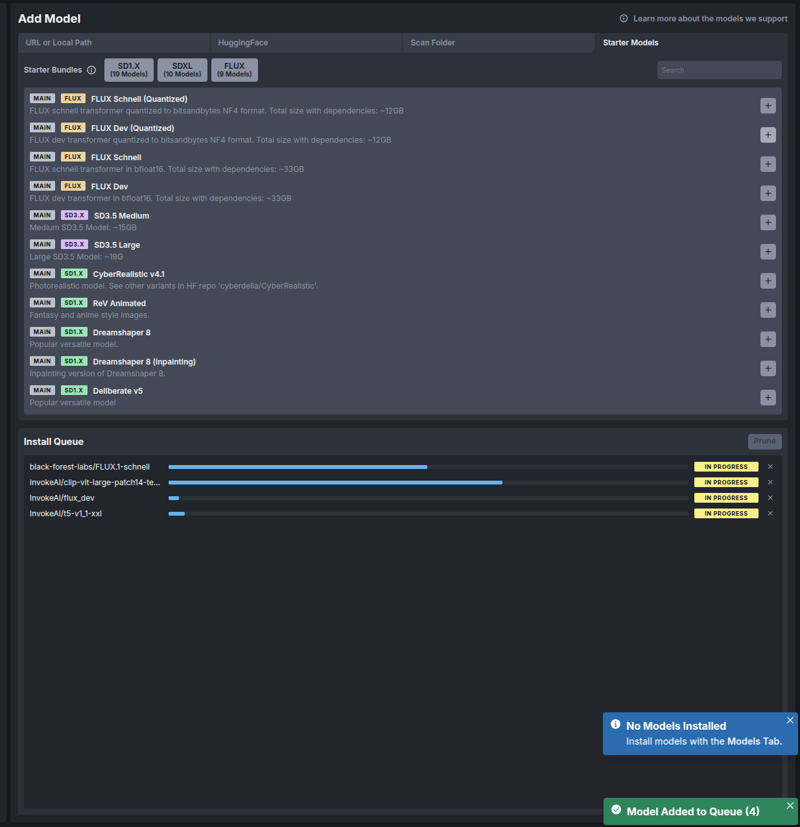
and once the model is installed you can navigate back to the Canvas
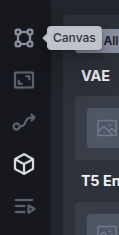
And hit the Invoke button.
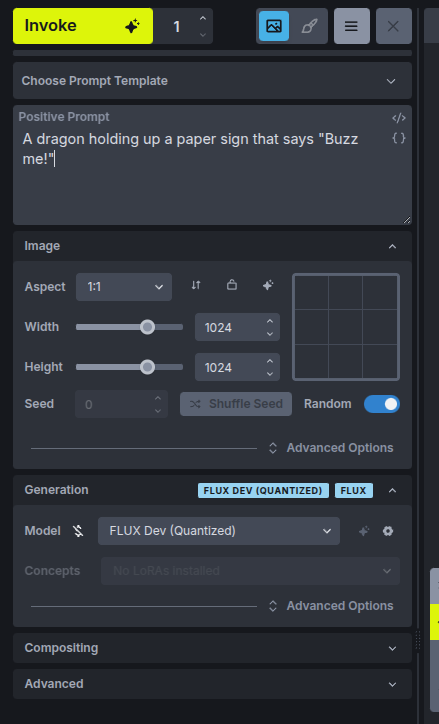
The first invocation (generation) with a model always takes quite a while to load the model into the VRAM, subsequent ones will be much faster.
By default, you can watch your image being generated from pixels.
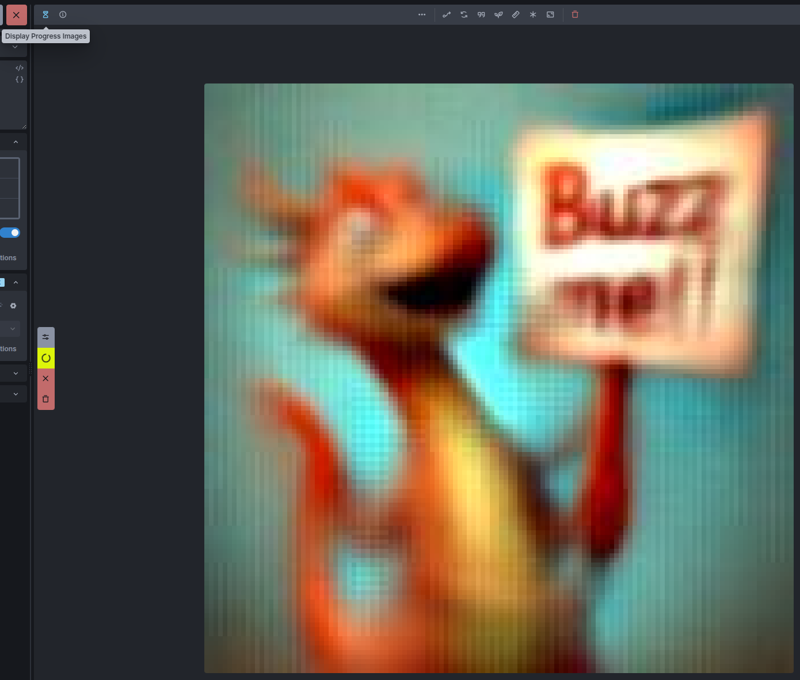
While this might be entertaining at first, I usually switch this off to rather use the image viewer for checking the finished images. To this end, click on the hour glass at the top left of the viewer.
The generated images will appear in the Gallery on the right from where you can view/copy/download individual images. Images are organized in "Boards" (essentially folders) and you can download a whole board by right clicking it:
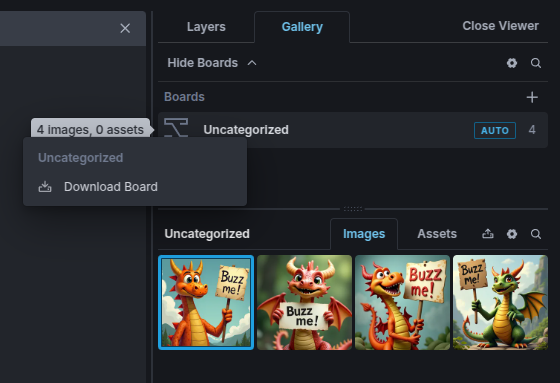
The download link popps up in the lower right.

Importing Models from Civit
While adding models from hugginFace is quite easy

it can be a little tricky to get the model download URL out of civit.
Public Models
If you want to import a model that is public, i.e. can be downloaded without logging in to Civit (the creator decides), the process is quite easy. On your model page, find the download link in the info box on the right and right click on download and "copy link":

Importing the Model
Switching back to Invoke, navigate to the model manager:

Go to the "URL" Tab in the "Add Model" section and paste the URL into the text box, then hit Install.

If everything goes well, you will see the model being installed in the install queue. You can keep generating with your other models, while installing a new one.

Non-Public Models
If the model import fails with something like

This means that your model needs a login. Fortunately this is implemented in Civit in such a way, that you can get a user specific download link by just left clicking the "Download" button. Unfortunately, the browser will then immediately start the download (you likely want to cancel that if Invoke is running in the cloud). A little work around is opening the browsers Network tab (ctrl+shift+i for firefox or chrome), then click the link (abort the download) and find the url in the network tab. Right click and copy it out of there. It will be a lengthy cloudflare storage thing, but never mind. you just want to post it into that text box in Invoke described under "Importing the Model" above.

Generation Parameters
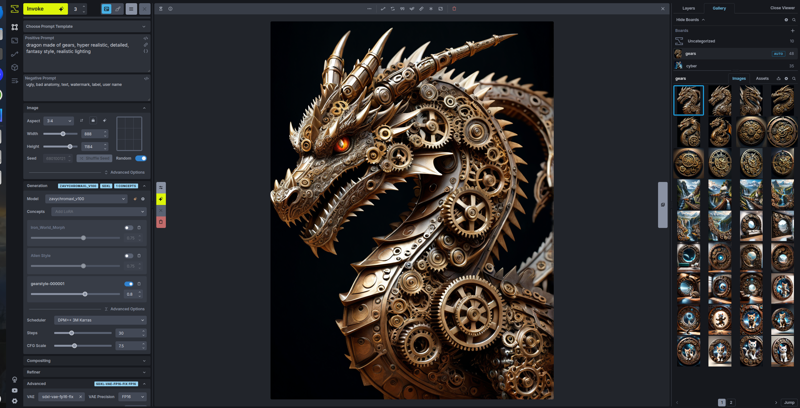
Once you have a few Checkpoints and LORAs the real fun starts. try out different strength parameters for you LORAs, differnet combinations of LORAs and Checkpoints and also have a look at the different Schedulers as well as the CFG Scale. Those can make quite a difference.
Convert Image Annotations
There is a handy tool to convert the image annotations into A1111 format after downloading your images. See the usage instructions in
This way, your prompt, used models, etc. will be automatically recognized by civit upon uploading the images. Civit does not recognize the Invoke annotations as is.
Disclaimer:
I am not affiliated with any of the mentioned tools/sites, do not get any money from them (unfortunately). The content of this article is not endorsed by anyone and only represents my own limited understanding. I do not own any logos and use those just as references to the original tools/sites.


