

In this article, I want to share my personal review of the Q1ntessential Video Contest. First, the review — then a short note about my 60sec+ video, followed by a small tutorial that will hopefully be helpful for some of you.
Sorry — the article turned out longer than I originally expected 😅.
🎬 Personal Review: Q1ntessential Video Contest (Civitai x Vidu)
First of all: Thank you
A big thank you for organizing this event. I had a lot of fun and learned so much throughout the process.
(Okay, I did have a few angry outbursts along the way 😅)
My Personal Experience
When the event was announced, my very first try was a lucky shot.
Start image, end image, short prompt — and boom, it worked.
The quality was amazing in my opinion and I was so excited that I submitted it right away as my first entry.
After a few more days and several tests, I have to say:
Yes, the image-to-video quality is impressive, especially for img2vid.
However, I experienced a lot of prompt interpretation failures.
I'm not sure if this is a Vidu-specific issue. Personally, I don’t think so — I’ve seen similar effects with other video AIs.
That’s why I’d frame this more as a general limitation of current video AI technology. In many cases, it simply isn’t quite there yet.
Prompting Limits
What you want to achieve plays a big role.
At least in my experience, if you try to change more than two essential aspects between start and end image, it often breaks.
Simple example:
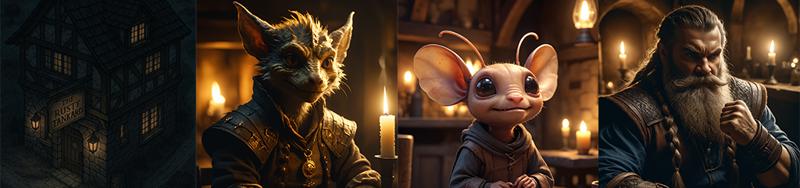
I had a warrior sitting at a table with clenched fists.
I wanted him to open his hands and cover his face with them.
I tried this about 10 times — and used around 4000 Buzzes — but never got the desired result.
Neither did the hands open, nor was the face ever covered.
I tested many different prompts, but none of them worked.
About the Tutorials
One point of criticism, directed specifically at Vidu:
Some of the tutorials or prompt tips aren’t reliable.
For example, one of the official prompt examples shows a train video using the prompt “Camera orbits right.”
I couldn’t get anything close to that result.
Sometimes the camera moved just slightly to the right.
Even prompts like “Camera pans right” or “Camera circles the scene” didn’t lead to the shown outcome.
Still, none of this takes away from the visual quality.
ViduQ1 is clearly one of the strongest tools in this area.
Trial and Error
Unfortunately, the failure rate can be quite high — though not always.
This, I believe, is one of the reasons why there were fewer 10s+ and 60s+ submissions compared to the 5-second ones.
Sure, post-production isn’t for everyone.
But also, the error rate and the associated Buzz cost can become discouraging after a while.
My Stats
Rough estimate:
Since the beginning of the contest, including the tutorial I posted below, I’ve created over 160 Vidu clips.
That adds up to roughly 64,000 Buzzes.
Out of those, I ended up publishing or using around 50 to 60% of the Clips.
This wouldn’t have been possible without buying extra Buzzes.
Final Thoughts
Overall, I had a great time and ViduQ1 did a fantastic job.
Prompting itself is a learning experience — and in the end, the process is the reward.
Discovering how things work and celebrating that one perfect output is just incredibly satisfying.
Time Ran Out
Unfortunately, I didn’t have enough time to finish my final 60s+ video.
In total, I submitted:
6x 5-second clips
2x 10s+ clips
1x 60s+ clip
You can find all of them grouped together in this collection.
And here you can find some of my funniest fails (along with the prompts): Fails
I'll keep the fails collection up to date, not just for Vidu!
Bonus Idea
My plan for the final video was to make a kind of blooper reel, inspired by Heim777’s entry, which I thought was brilliantly done.
That idea got me thinking about turning my own fails into something fun.
Maybe I’ll still do that, just for fun, if I find the time in the next few days. 🎞️
🍻 The Rusty Tankard – 60sec+
 My submission for the 60sec+ category was, in a way, the culmination of everything I had learned from the beginning of the event up to that point.
Besides achieving a smooth flow between the clips, my main focus was on syncing the dialogue as closely as possible to the characters' lip movements, without using any external AI tools like lipsync.
Why?
In my experience, lipsync tools often alter the existing video material too much and I wanted to keep the clips as untouched as possible. Every movement and every animation in the final version is fully created with Vidu. That was my goal.
So I approached it differently.
I only had a rough idea of how the final cut should look, but no script for what the three characters were going to say.
After assembling everything in After Effects and being satisfied with the timing and flow, I ran into the big question:
What on earth are these three characters talking about?
I watched the clip several times, discarded idea after idea and finally, help came from my wife.
She sat down, watched the video frame by frame, analyzed every lip movement and wrote a script that already worked beautifully on paper.
With that in hand, I turned to Hume AI and generated the voices for each character.
Some fine-tuning was still necessary to make it fit, but in the end, even though it is not perfectly synced at every moment, I am honestly amazed and very happy with the result, especially considering I did not use any additional lipsync tools.
With the right script, good timing, a solid TTS tool — and sometimes just the right help or a bit of luck — you can get surprisingly close to a believable sync using only Vidu-generated footage.
A big thank you to my wife at this point, whose support and sharp eye made all the difference.
I enjoyed this process so much and I am so pleased with the result, that I am seriously considering turning it into something ongoing, maybe a short series like “Stories from The Rusty Tankard” or something similar. In that case, I would probably use lipsync tools.
Either way, a big thank you to the event. This experience really opened up a new creative world for me.
After posting the final video, I received some questions about how I managed to achieve such a clean flow between the clips.
That is exactly what I want to briefly explain in the next section.
💡Short tutorial
I want to show, using a small example, how I managed to create the transitions.
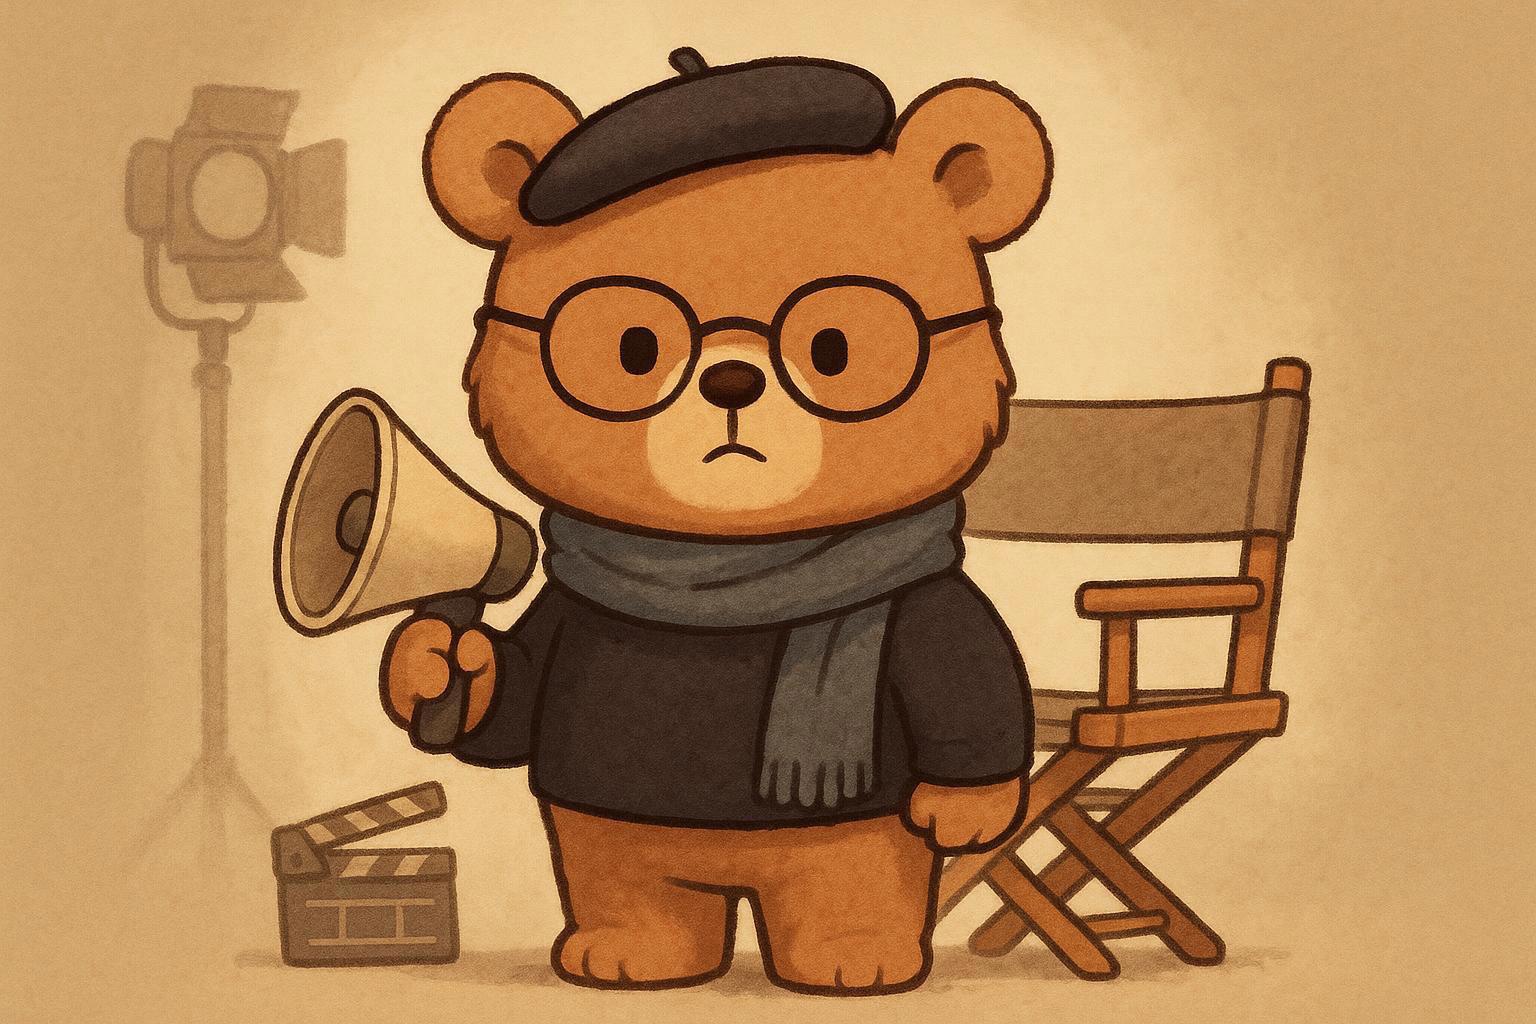
The idea: a little bear directing a film, giving various stage directions, until he eventually has a full-blown meltdown.
That’s the rough plan. Now let’s get into the details.
Clips and images have been resized and converted to webp for this article. You can find the original uploads at the end.
Step 1: Generating Images with ChatGPT
I generate the first starting image using ChatGPT with the following prompt (also from ChatGPT):
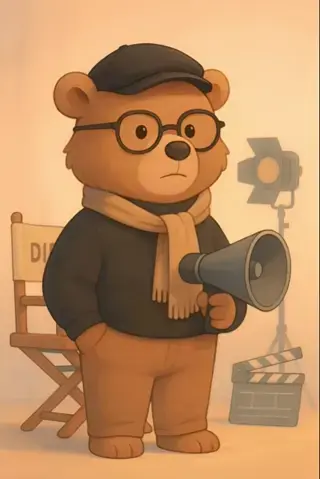
"A cute yet serious-looking bear standing confidently in front of a classic director’s chair. The bear is wearing typical film director attire: a black turtleneck, stylish scarf, round glasses and a black cap. In one paw, he holds a megaphone, ready to give directions.
The illustration is in a 2D digital, hand-drawn cartoon style, inspired by high-quality animation studios like Pixar or Studio Ghibli. The mood is whimsical with a touch of professionalism, charming but focused.
The color palette is soft but not washed out: muted browns, gentle beige, soft rosy tones and desaturated blues.
Background is minimalistic, showing subtle props like a light stand and a film clapperboard, slightly blurred to keep the bear in focus.
Lighting is warm and cinematic, like a cozy indoor film set, with soft shadows for depth.
Composition: Portrait orientation, mid-shot (waist-up), centered.
Style keywords: 2D illustration, cartoon, soft lighting, cinematic atmosphere, cute animal with human traits.
Resolution: high (4K)."
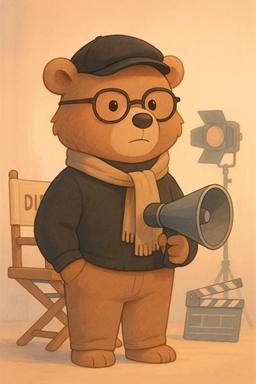 After downloading the image, I create a selection around the bear’s face and prompt ChatGPT:
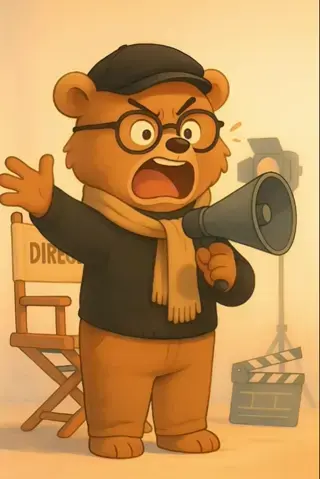
"His facial expression changes. He seems surprised, even horrified."
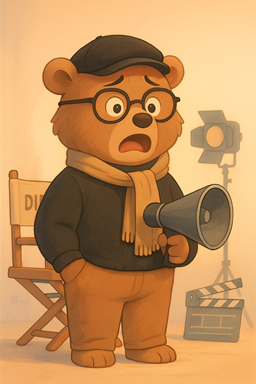 Downloaded again. Then I select the face, left arm, right arm and megaphone:
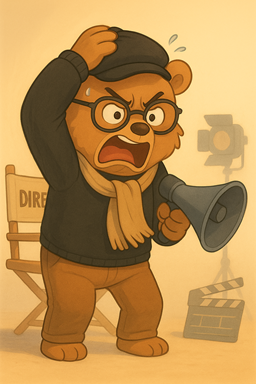
"He gesticulates wildly with both arms and shouts angrily into the microphone."
 Once more, download. Now I select the face, both arms, megaphone, hat and part of the pants:
"In desperation and rage, he grabs his hat. He's losing it and is about to throw both the hat and the megaphone to the ground."
 That should be enough for now to generate some clips with Vidu using start and end images.
We don’t need every single start and end frame imaginable, just a rough selection.
First Animation Tests
First image + prompt:
"The bear speaks into the megaphone to give stage directions."
 Not exactly what I expected, but that’s okay. For now, I just want to generate different types of animation.
Next test:
First image + THIRD image + prompt:
"The bear gets angry and quickly starts shouting into the megaphone."
 Still not quite what I was going for. But let’s move on and see how the next one turns out.
THIRD image + FOURTH image + prompt:
"The bear is totally furious and almost has a heart attack. Lots of movement. He talks fast."
 Okay, this didn’t work at all the way I wanted. Why doesn’t he speak?!
Whatever, for now, it’s all about exploring animation. Why? You’ll see later ;)
Now I want to retry First image + THIRD image, but this time focusing on more lip movement.
First image + THIRD image + prompt:
"He talks a lot and moves quickly and a lot. The bear quickly talks himself into a rage and goes completely berserk."
 That’s better, much better! We should now have enough material.
Oh right, we still have that SECOND image. Yes, I haven’t forgotten. But we won’t need it until later.
Moving to After Effects
Now we import everything into After Effects.
Technically, we could keep it simple and just create a short clip based on the start and end images, that would work, but it’s not what we’re really aiming for.
One of the main challenges when trying to generate a variety of clips with different starting and ending points, while still having them look coherent, is the image consistency.
We currently have only four images. More would be ideal.
But every time we generate a new image using GPT, SDXL or similar tools, with a different pose or expression, too much can change and you’ll see those differences in the video.
We’re already noticing slight color shifts.
The Trick
So let’s let the tech help us out a bit.
What is a film or animation, really? Simple: a sequence of images.
On average, you need about 22 to 26 frames per second for smooth motion.
Having a lightbulb moment yet?
No? Okay, if each of the four videos above is 5 seconds long and we’re working at 24 frames per second, that gives us:
480 individual frames.
Each of these frames can be exported in After Effects and reused as start or end frames for further Vidu generations.
I won’t explain how to export frames in After Effects, there are already great tutorials for that, such as:
Personally, I like exporting all frames so I have full flexibility.
Creating More Clips
From all those exported frames, I selected a few and created new clips.
Since I wanted to include a laughing sequence too, I exported more frames from those and generated additional clips.
All the individual clips (with prompts and corresponding frames) are included in this post.
I ended up creating 12 clips, of which 8 made it into the final video.
The rest were either fails or utility clips.
Final Editing in After Effects
In the end, you just have to assemble the clips in After Effects.
Sometimes you’ll get stuttering between transitions. I solved this pretty well by overlapping 2–4 frames and using a fade transition (opacity 0% to 100%).
 This really depends on the clip, so you’ll have to experiment.
Optional: Color Correction
One step I skipped for this example, but that you should do if you want it to look truly polished, is color correction.
As you can see in the final clip, there are some noticeable color and lighting changes that reveal the transitions.
You’d need to work with color and tone adjustments here.
That can be time-consuming and would go beyond the scope of this already long guide.
Final Touches
At the end, I sped up the playback slightly (from 33 seconds down to 25 seconds or 75%).
This worked well since some clips felt a bit too slow.
The Final Result
All Clips and Images/Frames: https://civitai.com/posts/18431163
I hope this will help some of you.
I also want to recommend another great tutorial by schmede. I found it very helpful and informative!
So, enough for now. Thanks to everyone for reading this long post.
Keep being creative and happy generating!
— Moonbear 👋🐻🐾