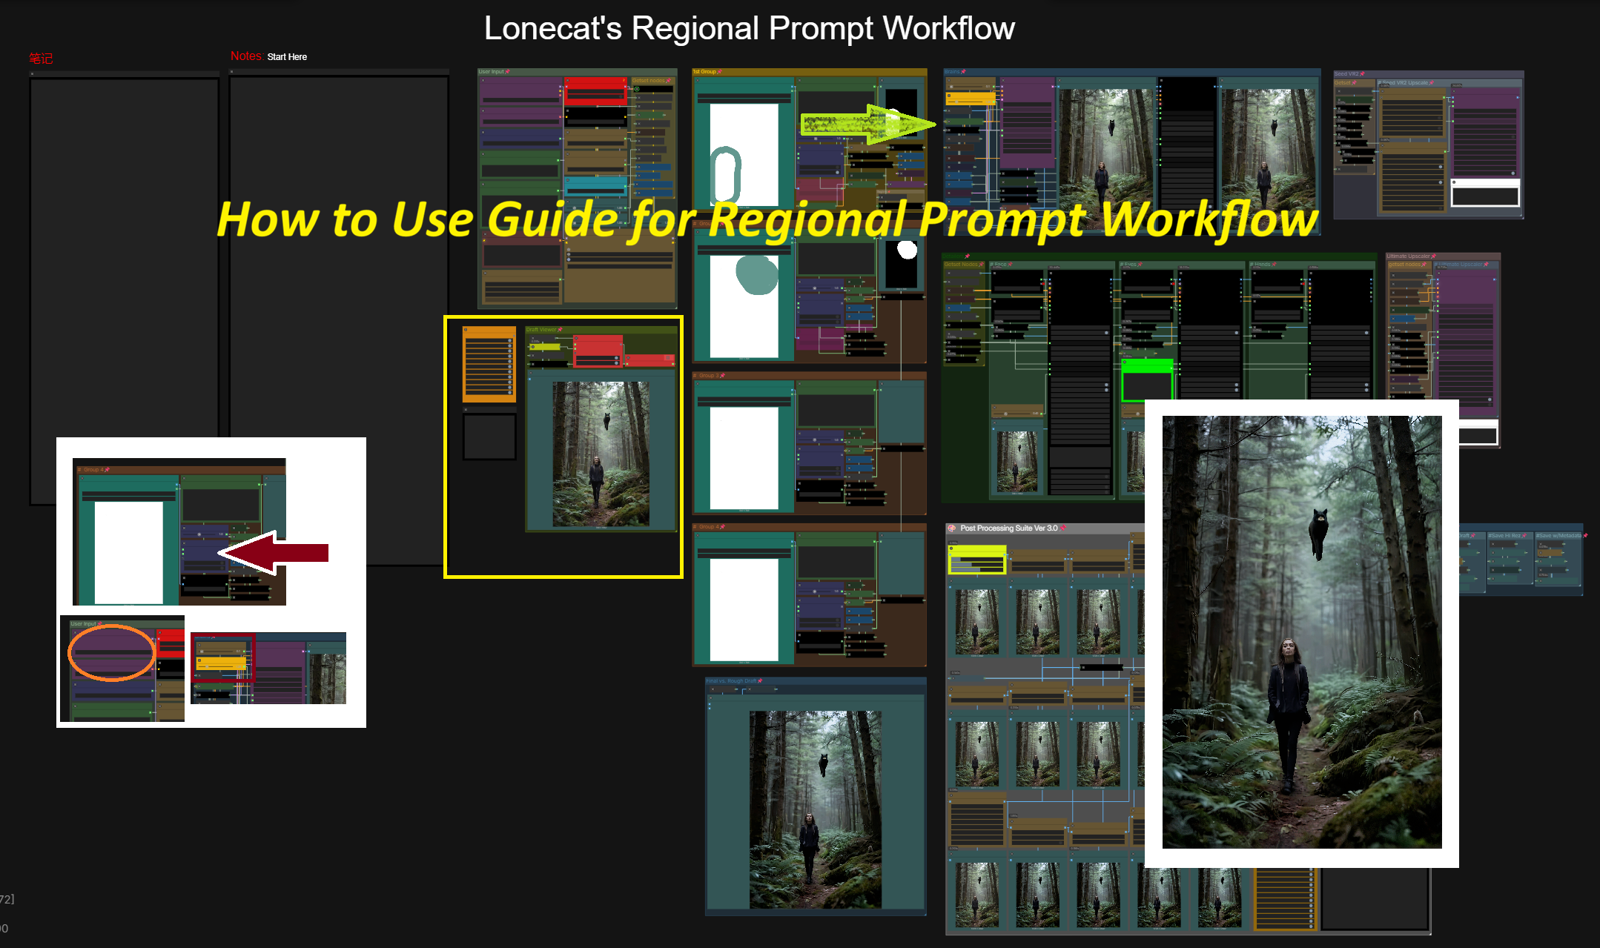
Regional Prompt Workflow addendum:
This guide will only discuss the Regional Prompt area of my workflow and should be used in conjunction iwth the main guide, which you can find here: https://civitai.com/articles/24678/how-to-use-my-workflows-a-comprehensive-breakdown
Introduction:
Regional prompting i is a technique that lets you apply different prompts (and often different settings) to specific regions of an image during generation or refinement.
Instead of using one global prompt for the entire image, you define areas (usually via masks, rectangles, or segmentation) and assign unique descriptions, styles, LoRAs, ControlNet inputs, denoising strengths, CFG values, or even samplers to each part. The goal is usually to achieve better composition control — for example:
Different characters/clothing/styles in different parts of the scene
Sharp detailed face/hands while keeping looser style elsewhere
Adding or replacing objects only in certain areas
In this guide I will cover the following:
General layout and usage
Mask Creation & Importing
General Layout:
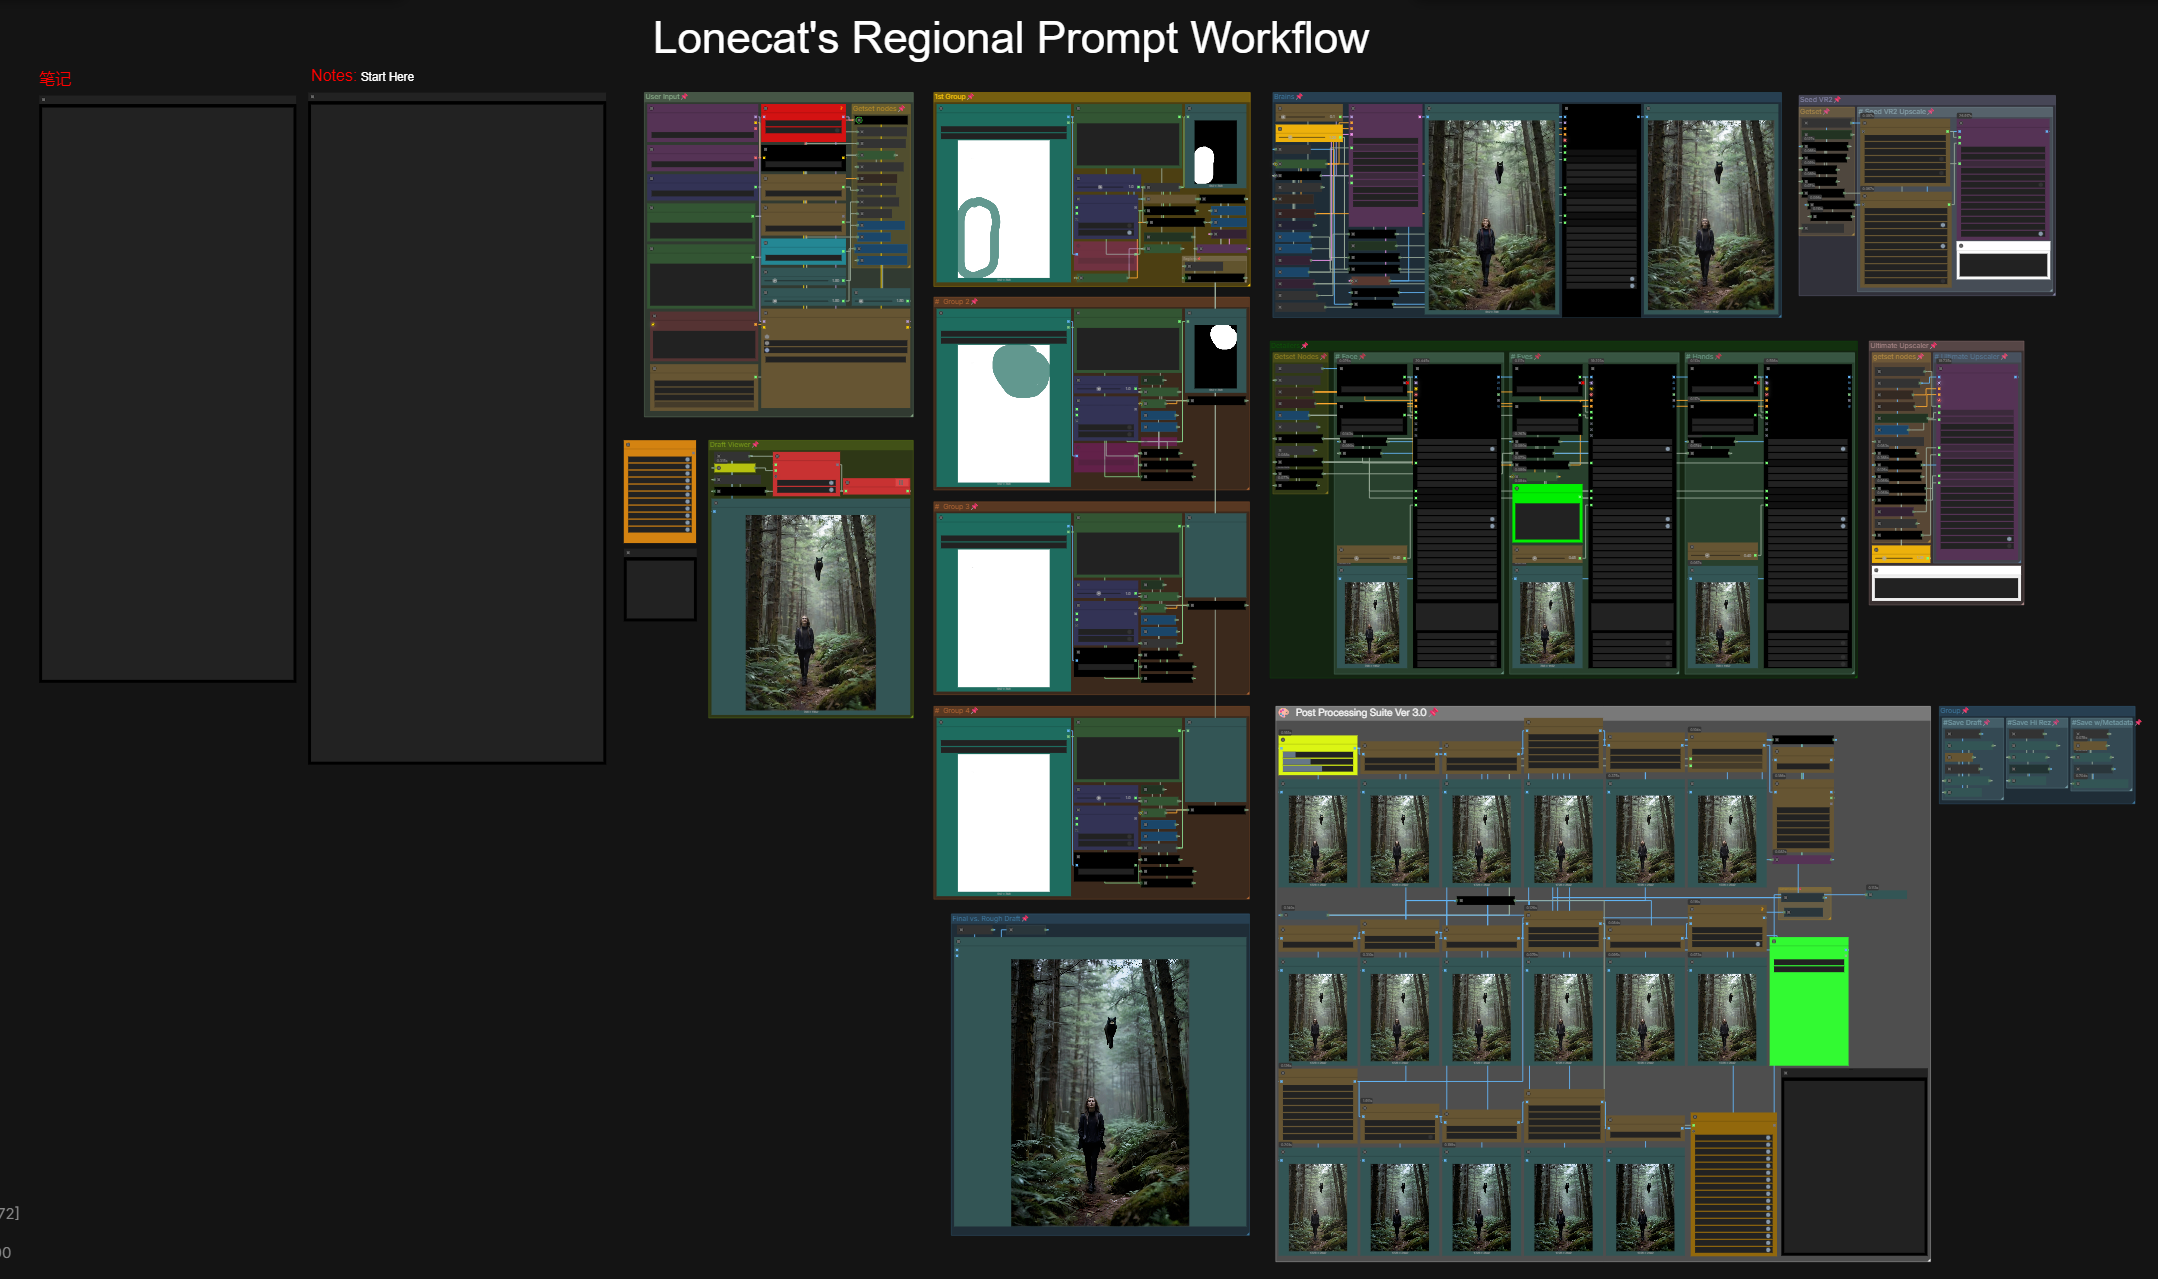
At the time of this guide, this is my basic layout. For those of you who know my workflows, this should look fairly similar to what you are used to seeing.
Main control Area:
Most of this shold be self explanatory. I'll address a few new items:

Global and Base Prompts:
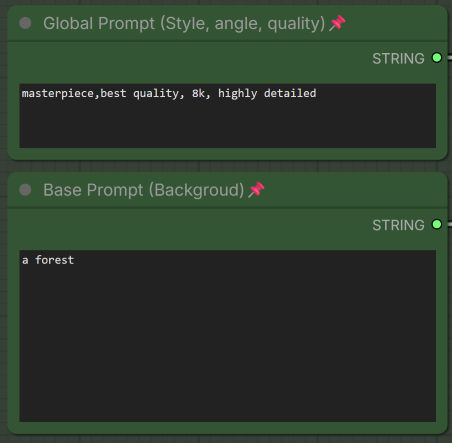
Global Prompt: Enter the detail, style, lighting, etc. that carries through to each image.
Base Prompt. This is your background and tone of the image:
Global prompt weight (By Ksampler): shoud be set to 0.1, but options are my favorite thing.

Upscalers (refine, ultimate, SeedVR2)

Refiner:
This is the upscaler right after the KSampler. It adds a second pass and cleans up the image without changing it.
⚠️ Keep it low (typically 1-1.5) or it wil cause heavier VRAM usage down the road
Ultimate Upscaler:
Unlike other versions of my workflows, this one comes after the Detailers to help 'Glue together" the image. The settings are slightly different. See the main guide for further information
SEED VR2:
Increases the size of the image (Up to 4k). See the main guide for further information
Regional Prompt areas:
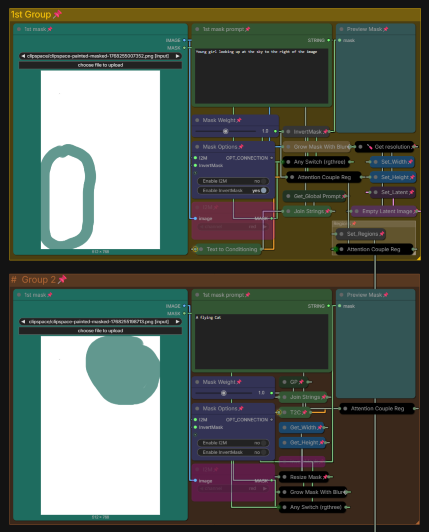
How to use:
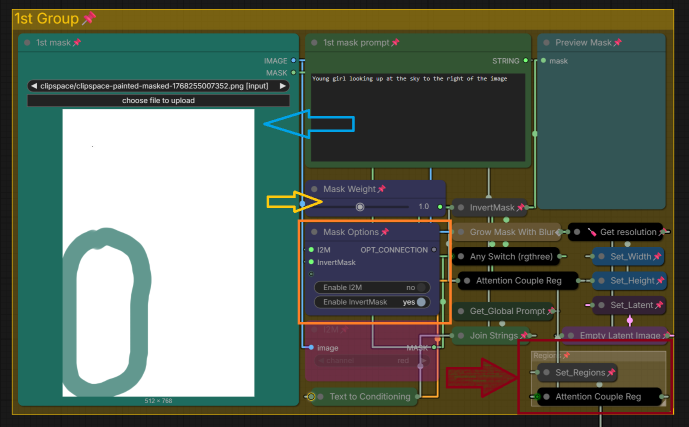
Load Image or mask:

In the workflow folder is a folder called "Blank Masks". Inside are premade dimensioned blanks for you to use. Load them in each of the groups.
Once loaded, right click on the image and then click on "Open in Mask Editor"

Once there, draw the area you want the mask to be in, then hit "Save", Then close the editor. Note: Occasionally you may have to fill in the circle. You can just open it again and repeat the process.

Loading your own mask/ Invert mask:

Occasionally you'll want to use your own mask, Just change these settings accordingly.
Mask weight:

This is typically 1, but sometimes it helps to set it higher or lower.
Summary
I hope that this was helpful and coveed everything. If you have any questions, Please message me.
Also, if there are errors in this or you have an idea on how to improve it, I always welcome feedback.
Instagram: https://www.instagram.com/synth.studio.models/
This represents many of hours of work. If you enjoy it, please 👍like, 💬 comment , and feel free to ⚡tip 😉
Thanks,

"True Nothing is. Permitted Everything is"- Yoda Ezio, Assassin's Wars
Jay (Lonecat)

