In my last video we saw how to create a rudimentary 3D model from stable diffusion using dreamgaussian and how to animate it.
The results were amusing, but mid at best without polishing in the traditional way.
So, how can we improve on it and create something a little more elegant?
The answer is simple, more STABLE DIFFUSION!
The workflow of this video relies on what we learned in the previous tutorial, so check it out if you havent already, and then come back here for more!
But before diving into it, some alternatives to the workflow that I showed last time.
Remember how we used a 2048 for 2048p image to create our model in dreamgaussian?
I tried increasing the resolution even more, so that you don't have to try it.
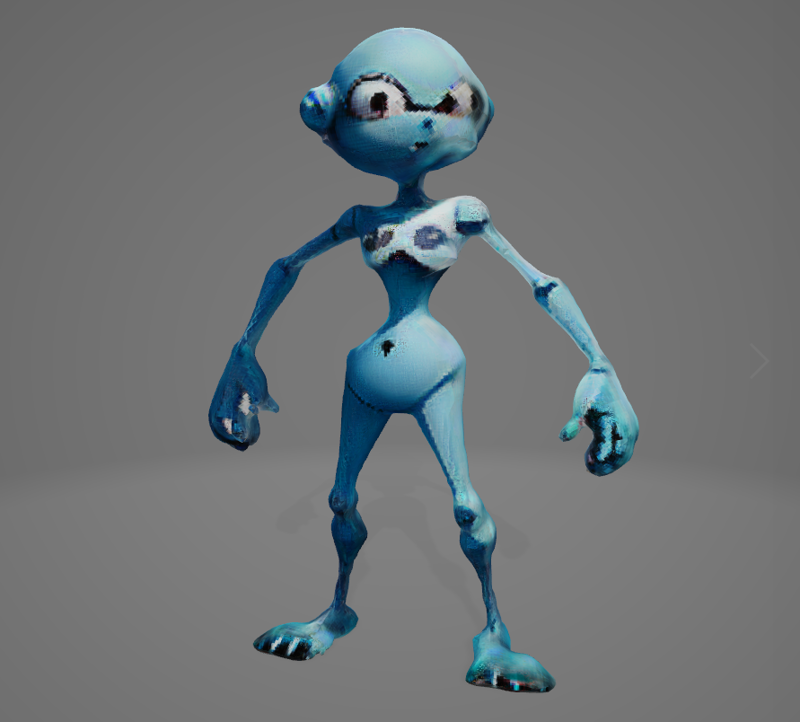
Here is the result with the upscaled image at 8k.
And here is the result of the 2k one.
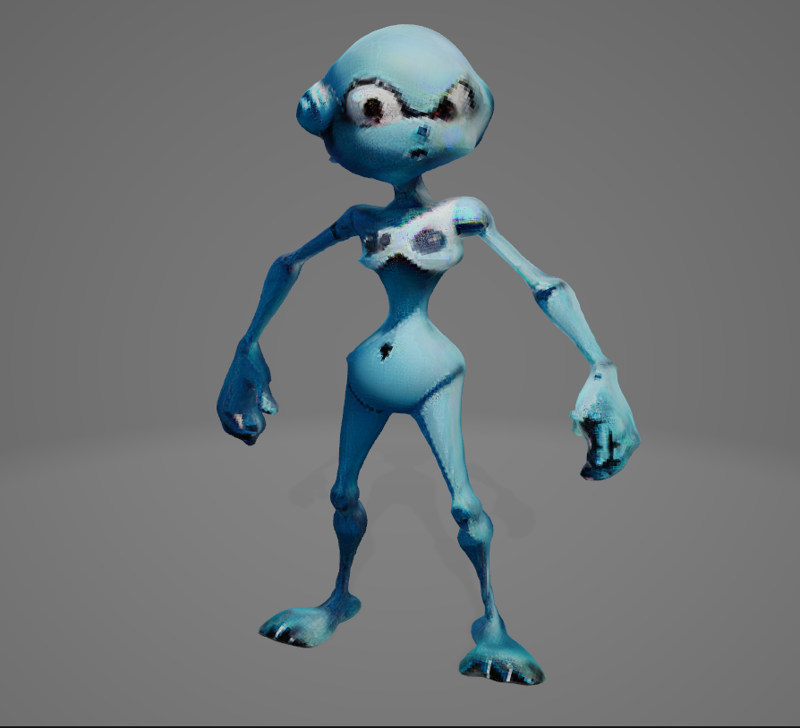
Do you see the big jump in quality? Me neither. (The hand grew a thumb)
I hoped for better, but as you can see there are dimishing returnes for increasing the resolution past 2048.
Also, training the gaussian splatting with more epochs creates white artifacts or blotches in the mesh.
This may be due to the settings included in the config file, but I am not expert enough to fix it.
I am going to play little with it and I will post a video if I find some good result.
In the meanwhile please let me know in the comments if you have any idea on how to improve it.
Back to the main topic.
We have created our model and animated it, now what?
Well, we can now go back to blender and create a simple scene to use as a base for stable diffusion.
First, the light and the background. We can be achieve both easily through one simple trick in the shading tab.
As you may know blender can make good use of HDRIs to create accurate lighting and shadows on the models in the scene.
It also creates a background to the scene, by wrapping the HDRI that we import.
You can find some high quality free HDRIs on Polyhaven.com or you can buy one on several online stores... or you can create one yourself in SD.*
*Technically, the following method won't create an HDRI.
But for the purpose of this video it will act as one in Blender, so just bear with me here.
Fire stable diffusion, and in text to image write your prompt. Remember, we are going to use this image for our background, so try to avoid humans or animals in the scene.
Here I went for something surreal in space.
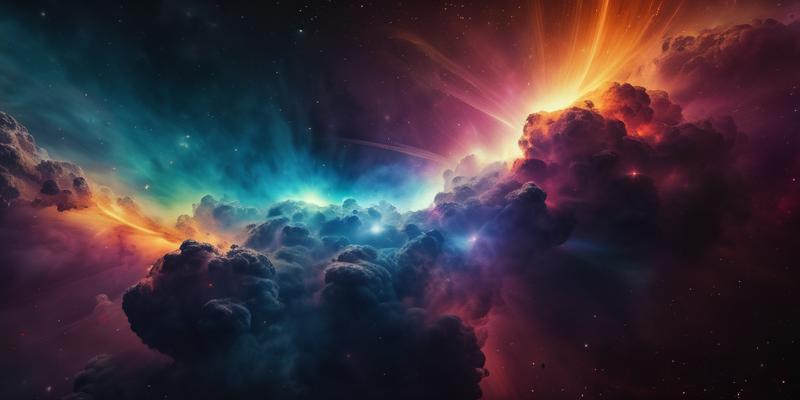
Then, after finding an image that I like, I bring it to img2img and start upscaling it.
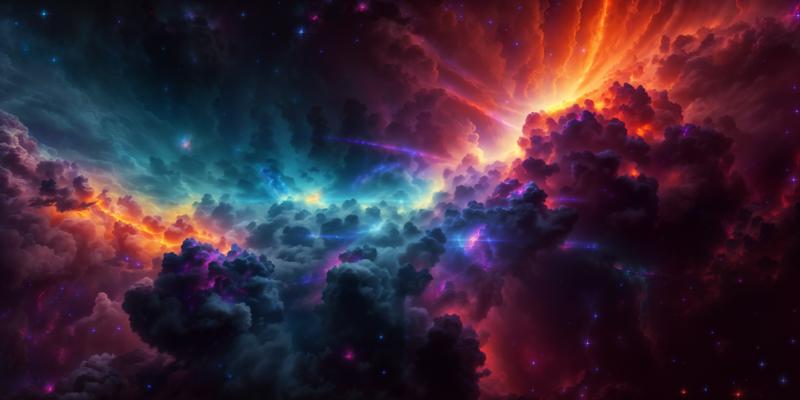
(I brought it up to 4096 x 2048p due to time constraints, but more is better.)
I followed this guide to upscale the image: https://stable-diffusion-art.com/controlnet-upscale/
Then in GIMP (you can also use photoshop) I converted the png file by exporting it to exr. for blender to read it as an HDRI.
In blender we open the shader editor and switch to the world tab.
Here I just put the HDRI node and connect it to the background, but you can have fun with tweaking the settings by adding further nodes if you like.
As you can see, if we switch to the shading wiewport, the background has been filled, and now our character looks like it belongs to this environment.
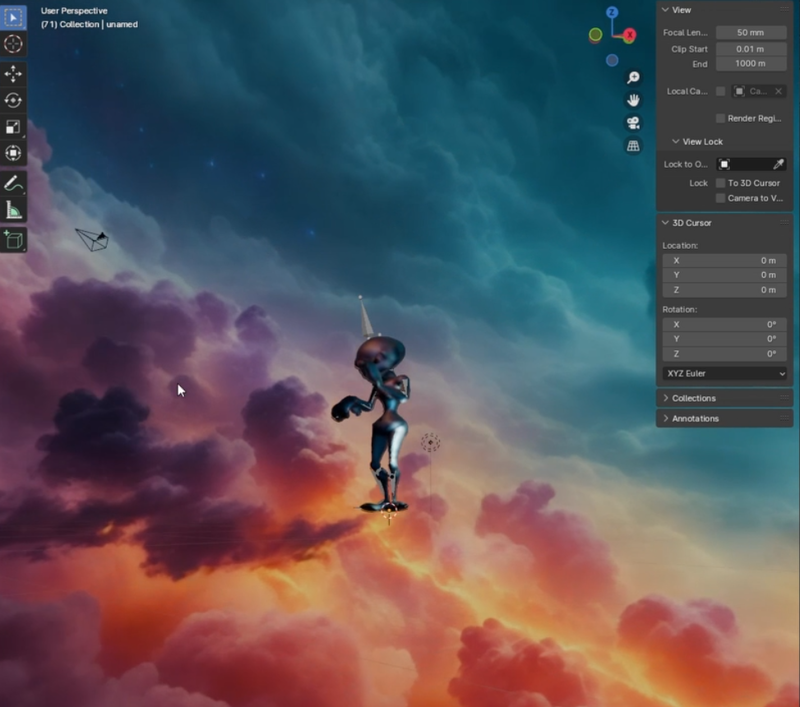
Blender has wrapped the image all around our scene, so it's better not to point our camera right where our image wraps upon itself.
Now, we can position our camera as we like and start rendering once we find a position that we like, remember to set the camera resolutions you like. Also try not to have too fast movement or the result will be inconsistent.
Now that we have our render as a series of images, we can create an mp4 simply by importing them as a sequence in davinci resolve.
Remember to set the project settings and delivery settings to the resolution of your render to avoid black borders that would create weird artifacts in the next steps.
Disclaimer: I am not expert yet with comfy ui. This Comfy UI workflow has been tweaked from the enigmatic_e's video "CONSIST VID2VID WITH ANIMATE DIFF AND COMFYUI" please check his content to learn more about it and to follow his workflow.
My Comfy UI workflow is attached to this article
In comfy UI, we can load the video of our render, set the framerate and size. then we have to set the controlnets. Since openpose doesn't read my alien as a person, I deactivated it and used only Depth maps an HED lines. To learn about the different controlnets check the guide here: https://stable-diffusion-art.com/controlnet/
Then we can set our Loras and prompts. (I have removed IPAdapter and FaceRestore, but you can use them if you like)
Finally after setting the animate diff loader and the Ksampler we can generate our image. This process may take sometime expecially on the first run, but after that you can try different combinations of loras and prompts until you find something that satisfies you.
You can also increase the framerate and interpolate the videos for a smoother appearance with Flowframes: https://nmkd.itch.io/flowframes
Having a 3D model of your subject allows you to easily change the pose in few steps. Also, by changing the camera movements and background of your base render you can achieve more precise animations that can be tweaked exactly as you like.
