Introduction
This article explains mySimpleSD, that is an adaptation of SimpleSD colab notebook, but for Google One + Colab Pro users who wants to keep local installations.
To a newcommer, it's highly recommended to read SimpleSD article first.
This notebook helps those who can't afford and own a good GPU hardware, but still wants to experiment generative AI image tools like Automatic1111 or ComfyUI at a low cost per month google environment.
Advantages:
Since Google Colab deletes the entire environment after execution including all the files, with this notebook you will not lose your install and work, and there's no need to download everything again on each execution.
Google One gives you 100Gb of storage for a small amount per month, and is pretty enough to store all your Stable Diffusion models and your preferred user interfaces.
Limitations:
I've noticed using the UIs on your own Gdrive is slower, and you always have to grant access to Gdrive before running.
You still need to setup runtime environment every time.
This notebook should work with a common free google account too, but it offers just 15 Gb and it will reach the limit fast. Just A1111 occupies 13 Gb with this notebook default setup.
So, I highly recommend to purchase a Google One plan.
Let's explain this notebook cells:
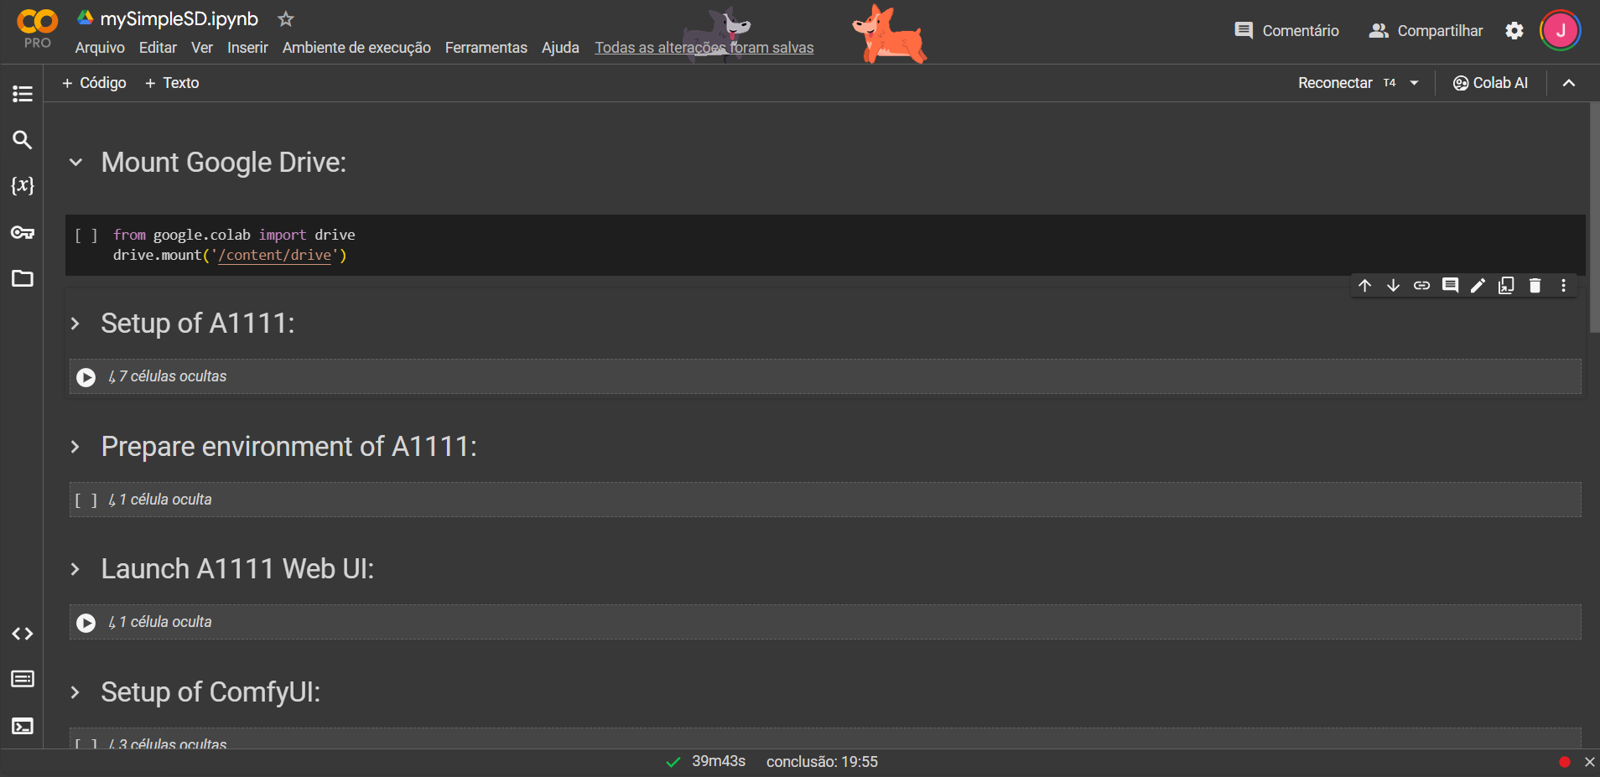
Mount Google Drive:
You always need to run this first cell on this notebook, in order to mount your google drive.
When you run the cell, it will appear a pop up asking to grant access:
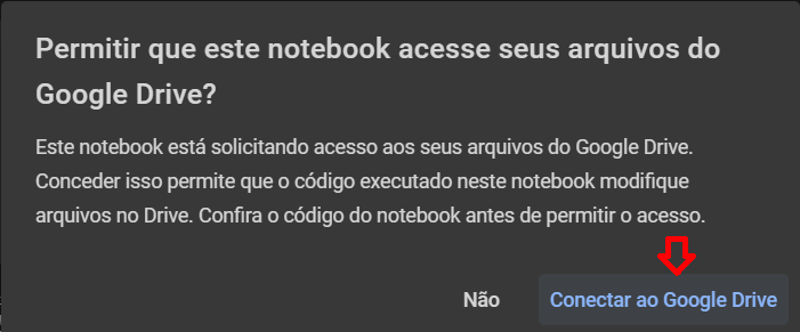
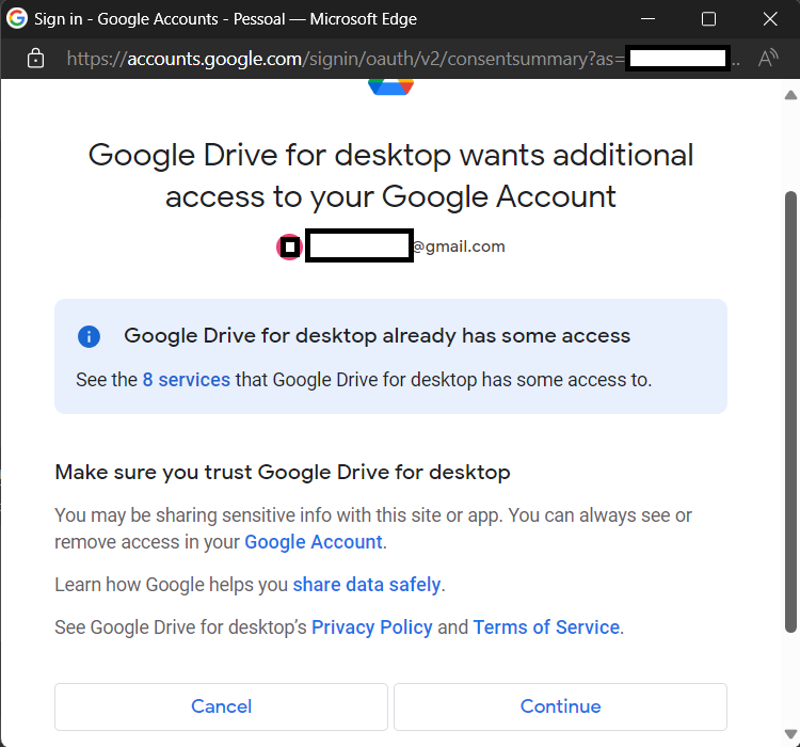
Just follow the steps, it will take just 1 minute:
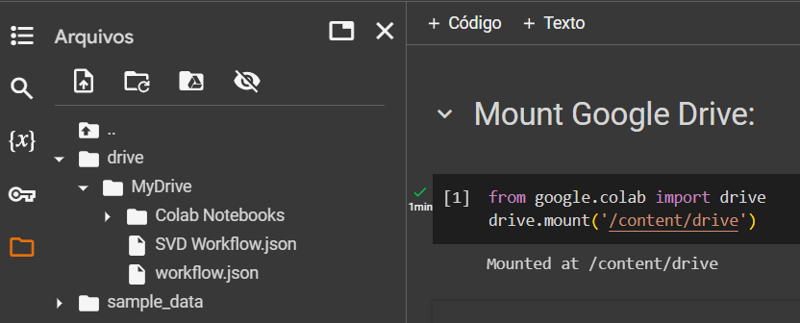
After that, uou will see the message "Mounted at /content/drive", and then you can access your files on the left menu "File" icon:
This cell will do too a memfix for memory allocation.
Setup A1111:
These cells are pretty fast because they just download installation files and models, you will need to run them just the first time.
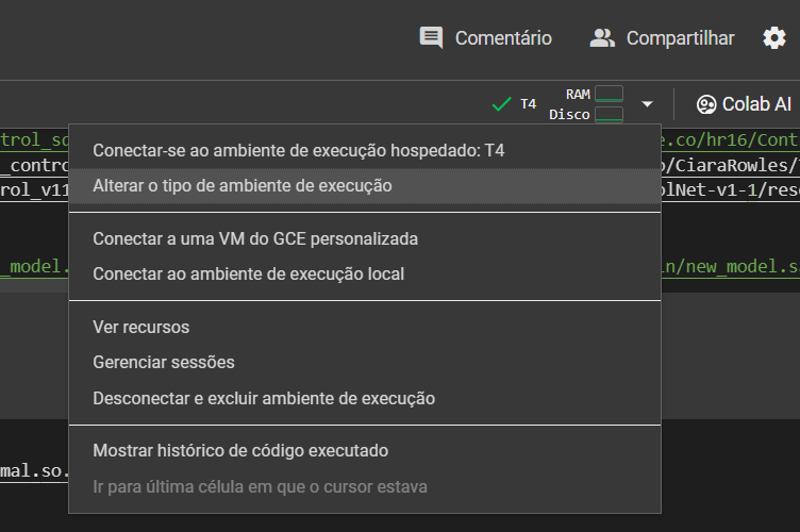
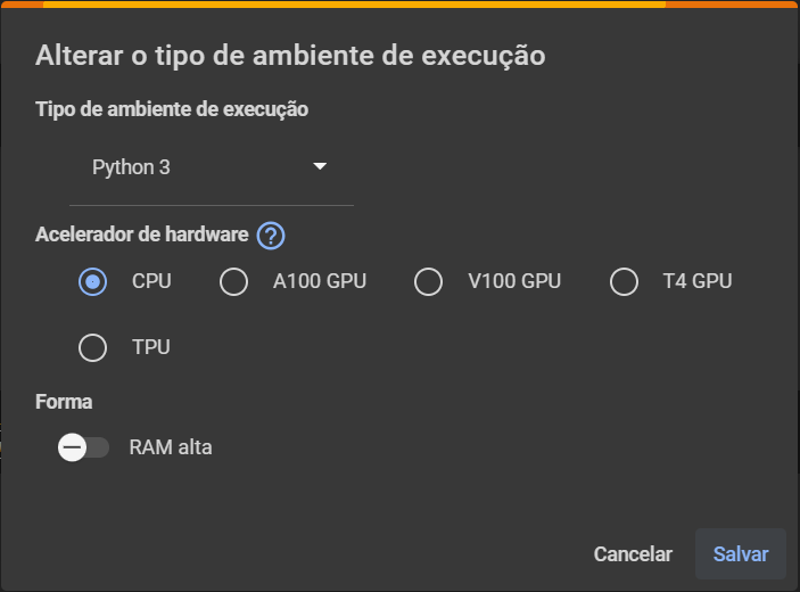
Before running this cell, change colab execution mode to "cpu", clicking on the arrow besides RAM and disco. Then remember to run "mount google drive" cell again.
This cell will download all A1111 installation files, extensions, embeddings, upscalers and VAE.
It also makes some small fixes, like this Adetailer issue.
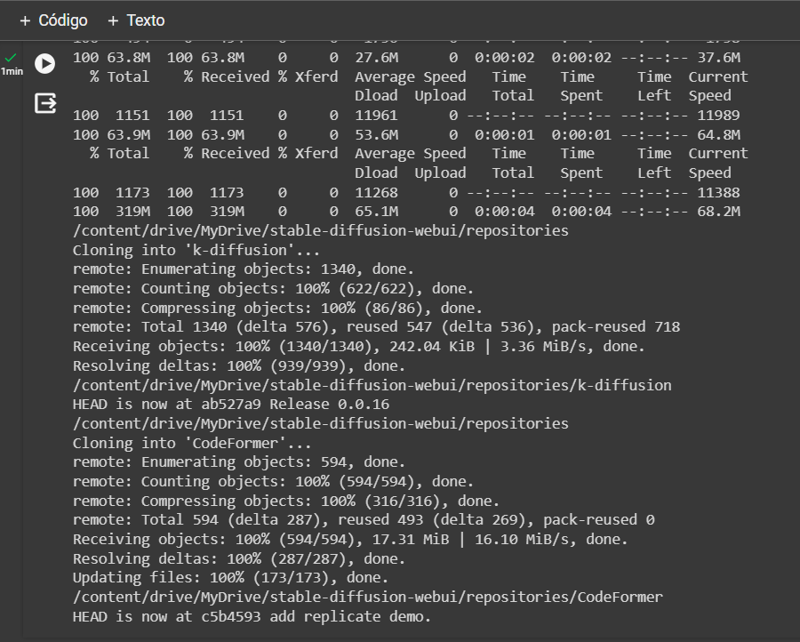
This cell is slightly different from SimpleSD, because it's known that Gdrive syncronization sometimes crashes some git commands.
It downloads previously k-diffusion and Codeformer in repositories folder, because they were crashing on first A1111 run.
Obs.: pay attention to future A1111 updates, you will need to get hash commits from "modules/launch_utils.py" file and update the commands.
After this setup cell, run "Download Models", "Download LoRAs" and "Download ControlNET" cells.
Just uncomment your desired models, or add a new command to download. There's a commented example command at end of each cell.
In my case, I'm using private copies in a huggingface dataset, just to improve download velocity.
Prepare environment of A1111:
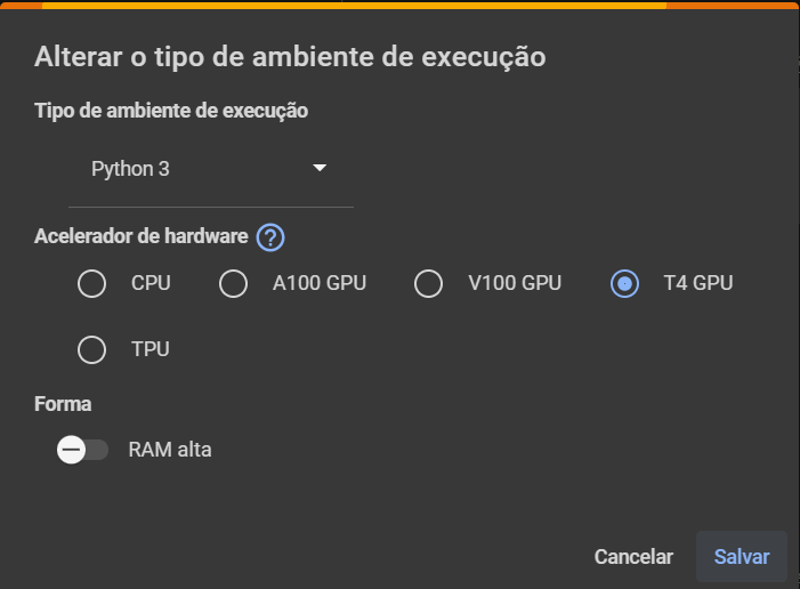
To run this cell, change colab execution to a GPU mode, like T4 or L4.
L4 is faster, but it will use your computer units fast too.
Obs.: A100 does not work with this notebook for now.
This cell will do updates for A1111 installation and fix xformers installation.
Obs.: because of this issue, sometimes it's necessary to force a specific installation of torch and CUDA drivers.
Pay attention if a warning like below appears, because A1111 will not work.
WARNING:xformers:WARNING[XFORMERS]: xFormers can't load C++/CUDA extensions. xFormers was built for:
    PyTorch 2.0.1+cu118 with CUDA 1108 (you have 2.1.0+cu121)
    Python  3.10.11 (you have 3.10.12)
It will be necessary to change last command on this cell and restart the notebook environment.
Please let me know in the comments if it happens!
Launch A1111 Web UI:
First run of this cell will install lots of requirements. So, be patient.
It can appear some errors about recovering git information from extentions, but it still works fine to me.
ComfyUI:
The steps to setup ComfyUI are pretty much the same.
But, if you already have A1111 installed, it's not necessary to run the "Download models" cell, beacause it would download all the models again.
You can instead link already downloaded models at your A1111 folder!
Just go to ComfyUI root folder, and rename the "extra_model_paths.yaml.example" file to "extra_model_paths.yaml".
Then, edit the first line pointing to your A1111 folder.
You can copy the full path of A1111 going to file navigation, then hover A1111 folder on three dots (...), and then choose "copy path" option.
Or, you can just download the file attached to this article and upload inside your ComfyUI folder.
Obs.: when launching ComfyUI, the "cloudflared" cell launch option is better and stabler.
Clean Tools:
WARNING: remember to backup your generated files, because it's a recursive detetion!
Pay attention to "failed" warnings or errors during execution.
If anything fails, you can run this cell to delete A1111 or ComfyUI crashed folders.
After that, stop the notebook execution and start the installation process again.
Obs.: remember to remove failed installations in your trash folder at google drive, because it will still use your storage for 30 days if you don't permanently delete them.
Again, I hope all this information can help you a little. Thank you for reading!