Potat's collection of useful extensions and other stuff...
In this article, I am going to collectively drop random useful extensions in random order and showcase them. Also some general information, how i do certain stuff, etc... Main collection for me to link to when someone asks "How, why, what?" so I don't have to use time to explain "How, why, what?" every time. (~ ̄▽ ̄)~
Most of the testing will be done with XL Pony models. Generally, the results should apply to other models too.
If you have an idea for extension showcase or some other information you would like to see here, let me know in comments and i will see if i can make that happen.
The Information I put here might sometimes be wrong; please let me know if that is the case.
I am not a native English, speaker so excuse my language.
You can jump to specific extension etc from the right side on the table of content ---->
Updates:
20/06/2024
Attention Heatmap
Negpip showcase
19/06/2024
Finished showcasing Detail Daemon
18/06/2024
Added showcasing of extensions:
CD Tuner showcase
Vectorscope CC showcase
Detail Daemon (incomplete)
Extensions
Some useful extensions and some showcasing. Most of the extensions can be installed through the WebUI extension interface. For more detailed instructions, go to the extension github page linked in the extension information. I am using WebUI Forge, but the extensions should work similarly on automatic1111.
Guides for extensions made by others:
Regional prompter / adetailer guide by @fallenincursio
Attention Heatmap / DAAM
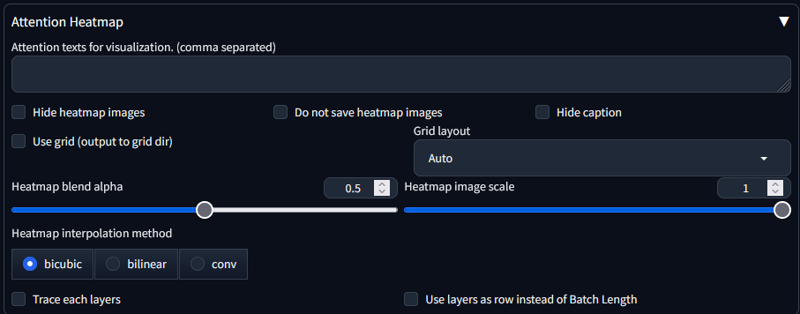
GitHub: https://github.com/kousw/stable-diffusion-webui-daam
Forge needs this version.
What does it do?
The extension produces an attribution map from cross-attention. In simple terms, it makes heat maps from tokens.
What is this extension good for?
With this extension, you can produce a heat map of token influence on the image.
Personal opinion on the extension
It is a fun extension to play around with and see the influence of specific tokens on the image to some extent. I used it several times to figure out some tokens for LECO training.
Things to note
It does not work if aDetailer is enabled.
The extension gets enabled when you have something inside attention texts.
Showcase:
Prompt:
score_9,score_8_up,score_7_up, source_anime,
1girl, white hair, orange eyes, blue eyes, heterochromia, medium breasts, ponytail, medium hair, cat ears,
Settings:

I have cat ears,a in the attention texts.
Cat ears will give a heat map for cat ears.
,a will not give a heat map; it will insert an empty image for my grid.
Here is the result.
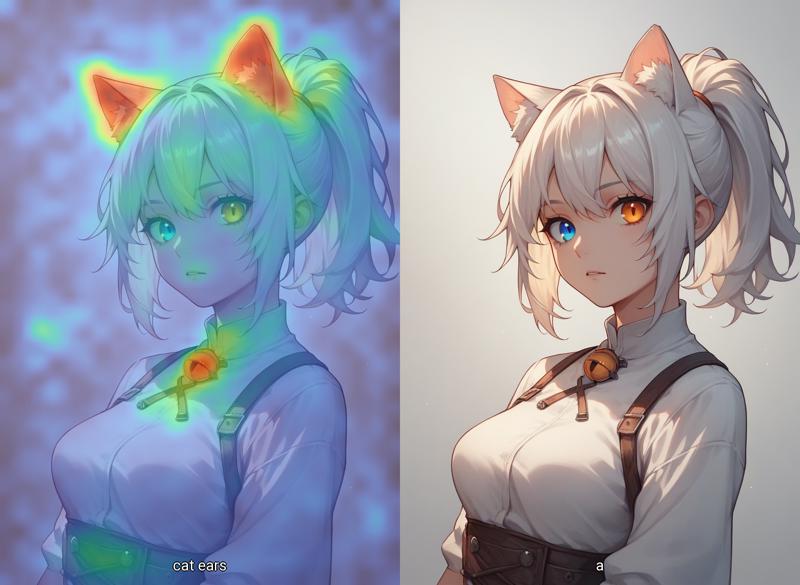
As it should not come as a surprise, the cat ears are red in the heat map. What comes as a surprise is the necklace (which i guess is a bell?). Now i know what is causing that (╯°□°)╯︵ ┻━┻.
You can use more than on token for the grid. As far as I know, the maximum context size is 77 tokens?.
--- ---
Next, I am going to add most of the prompts inside the attention text.

Neat. You will get a nice heat map for every token (~ ̄▽ ̄)~.
Negpip

GitHub: https://github.com/hako-mikan/sd-webui-negpip
What does it do?
Negpip is an extension that lets you negate the influence of a token in a positive prompt. It has a stronger impact on negating the token than having it in a negative prompt. More information on the github.
Usage:
(What you want to remove:-1) It does not need to be -1; it can be -0.5, for example.
What is this extension good for?
You can have a stronger effect of removing something unwanted compared to using a negative prompt.
Personal opinion on the extension
Extension is easy to use. It is useful when something is bleeding hard into the generation, or you want to almost completely remove the influence of something in the generation.
Can degrade the quality of the image. I don't know if this is only with XL.
Showcase:
I will be starting with the prompt:
score_9,score_8_up,score_7_up, source_anime,
1girl, white hair, orange eyes, blue eyes, heterochromia, medium breasts,
ponytail, medium hair, cat ears,
This is the image i got.
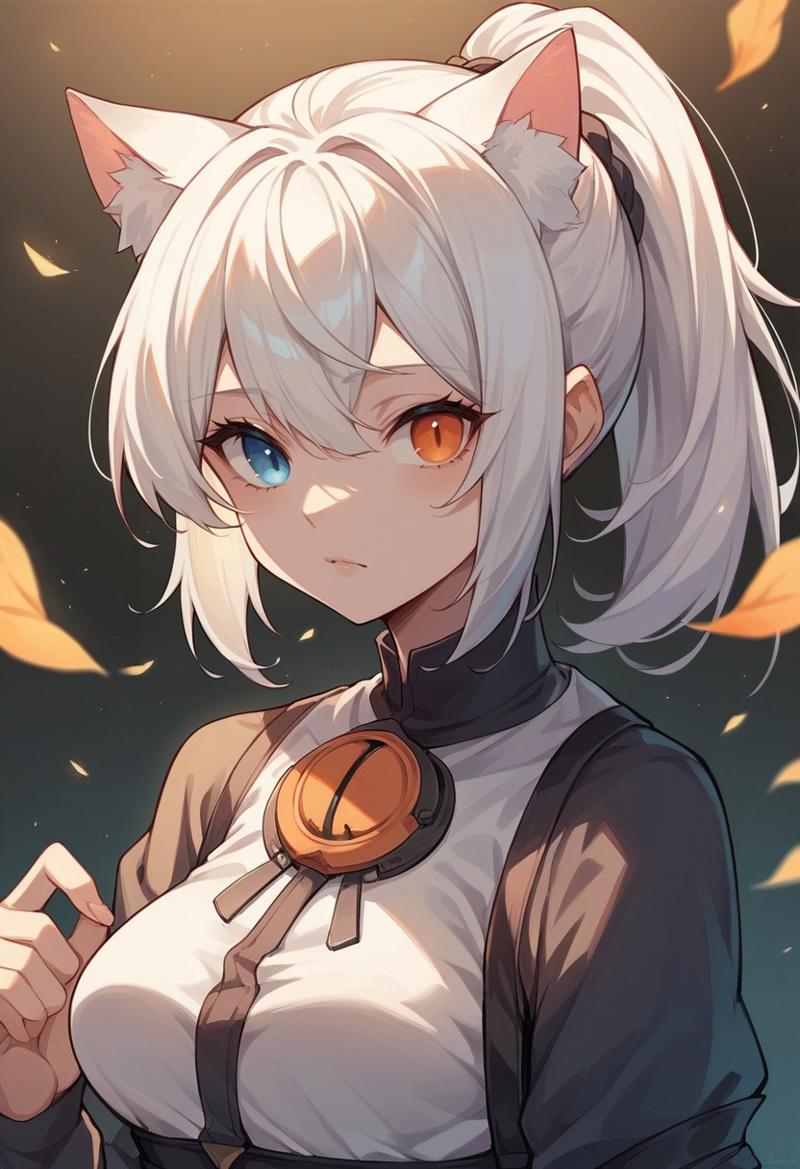
-----
Next, let's remove the influence of fingers from the image. I will be adding
(fingers:-0.1)to prompt.
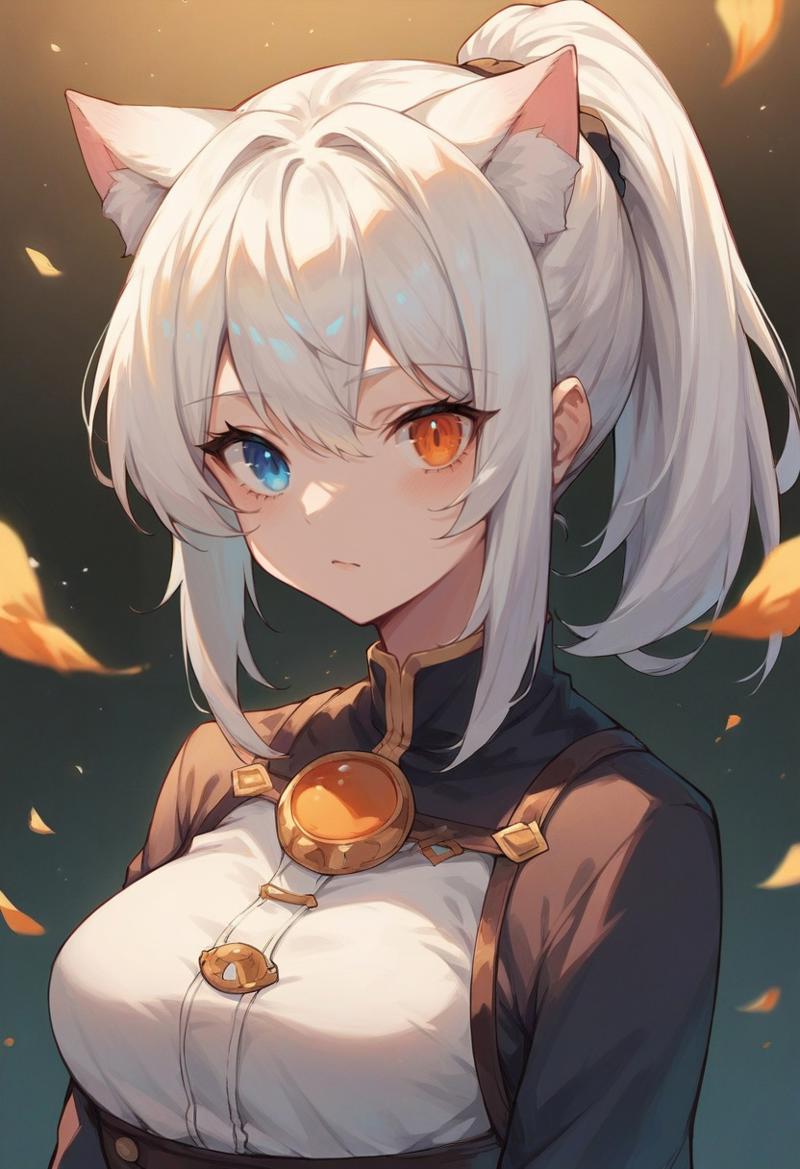
It completely removed the fingers from the image. The quality got a bit worse, though.
---
Now let's see what would happen if I used fingers in the negative prompt instead of negpip.
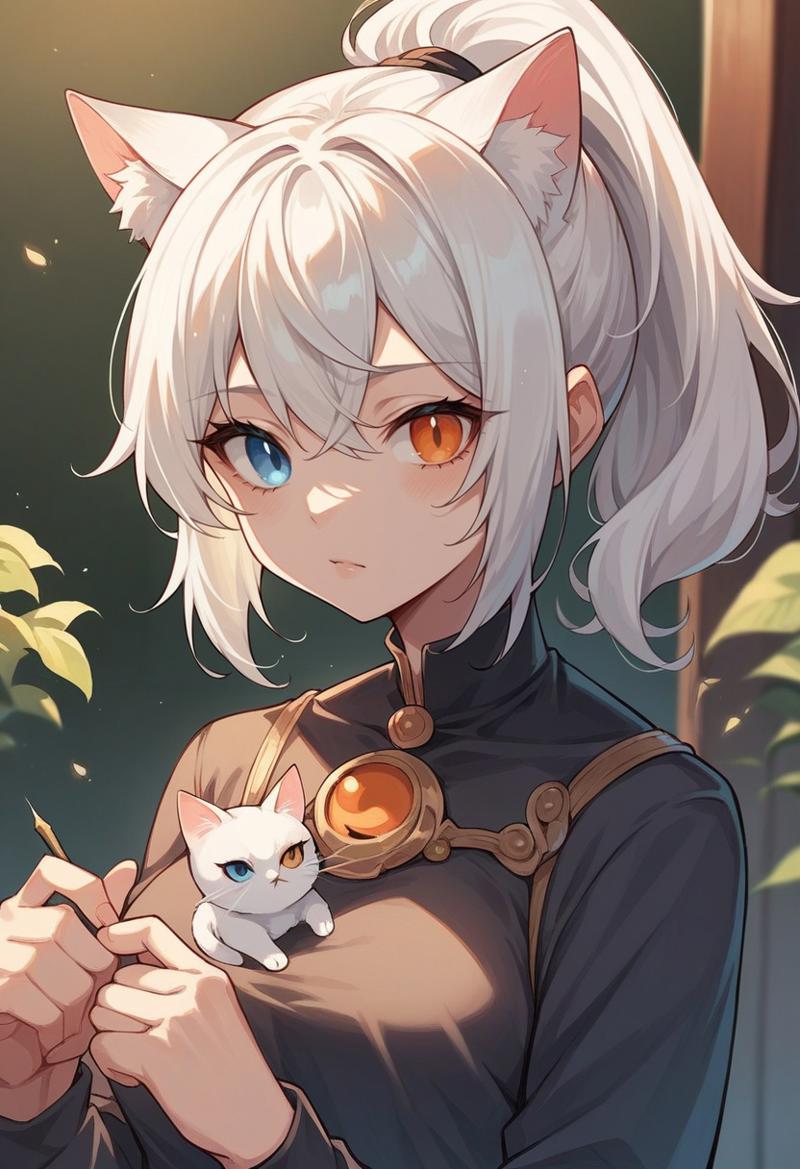
We have more fingers and a cat. Interesting result indeed.
CD(Color/Detail) Tuner
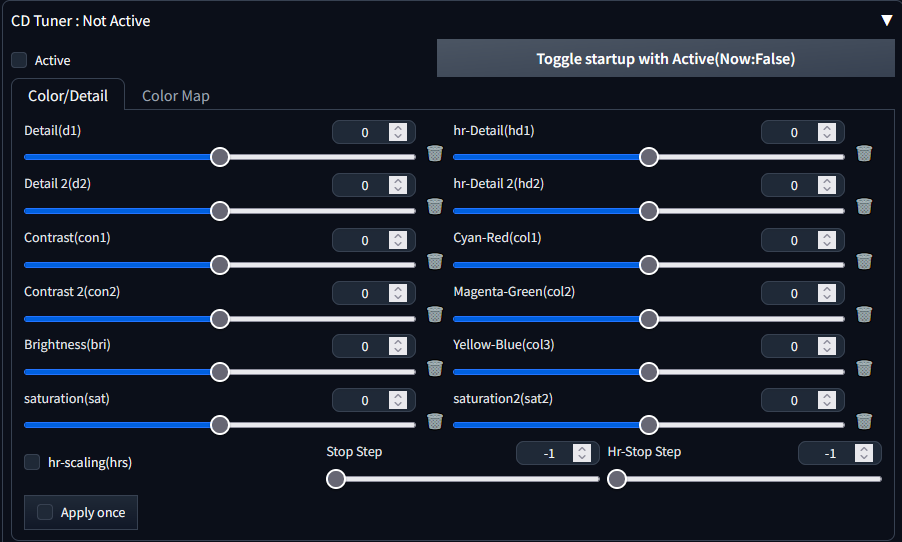
github: https://github.com/hako-mikan/sd-webui-cd-tuner
Article from the author: https://civitai.com/articles/1125/new-tool-cdcolordetail-tuner
What does it do?
Like the name says, with the extension, you can tune color and detail. On top of that, you can adjust contrast, brightness, and saturation. The extension alters the latent noise during generation.
What is this extension good for?
You can enhance detail during the generation process. This extension is better for it than using one of those "detailer" loras.
You can alter colors, contrast or brightness. This extension makes it easier to do darker images.
Personal opinion on the extension
CD Tuner is one of the original noise-adjusting extensions there is. It has been one of my personal favorites for darker, more or less detailed images. It is easy to use and gets the job done.
For some reason, the color adjusting/brightness does not work for me; this could be an issue with forge. So I will not be showcasing that part of the extension.
Showcase:
Here is a fast showcase of how the settings affect generation:
All of the images have the same seed, the same settings and the same prompt. The alteration of noise during generation alters the image composition to some extent.
I am stopping at an earlier step to "balance" the effect.

Detail:
Detail D1 alters the composition more than D2. According to GitHub both have somewhat similar effects.
Negative gives less detail and makes the image slightly brighter.
Positive gives more detail and makes the image slightly darker.
First, generating with a negative value of detail. This will make the image less detailed, flat, and blurrier.


----


----
Extension off:
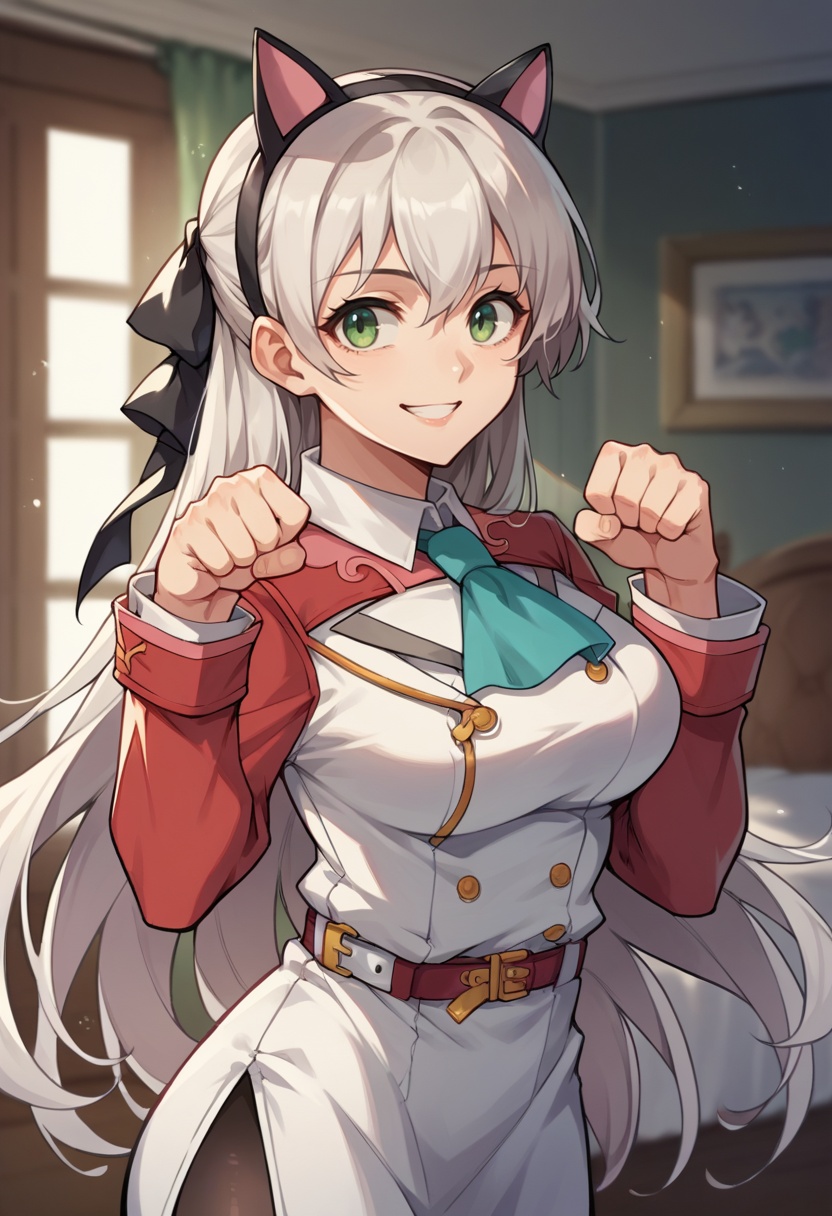
---
Now let's move on to adding detail.


----


You can see more or less detail in the background such as, clothes, face, eyes and shadows. The detail can be better or worse depending on the seed.
Contrast brightness
By adjusting contrast and brightness, you can make images darker or brighter. When adjusting the contrast, it is good to know that Contrast 1 alters during the generation and Contrast 2 after the generation. For a better result, I recommend using Contrast 1.
Negative makes the image more brighter.
Positive makes the image more darker.
THROWING FLASHBANG


Extension off
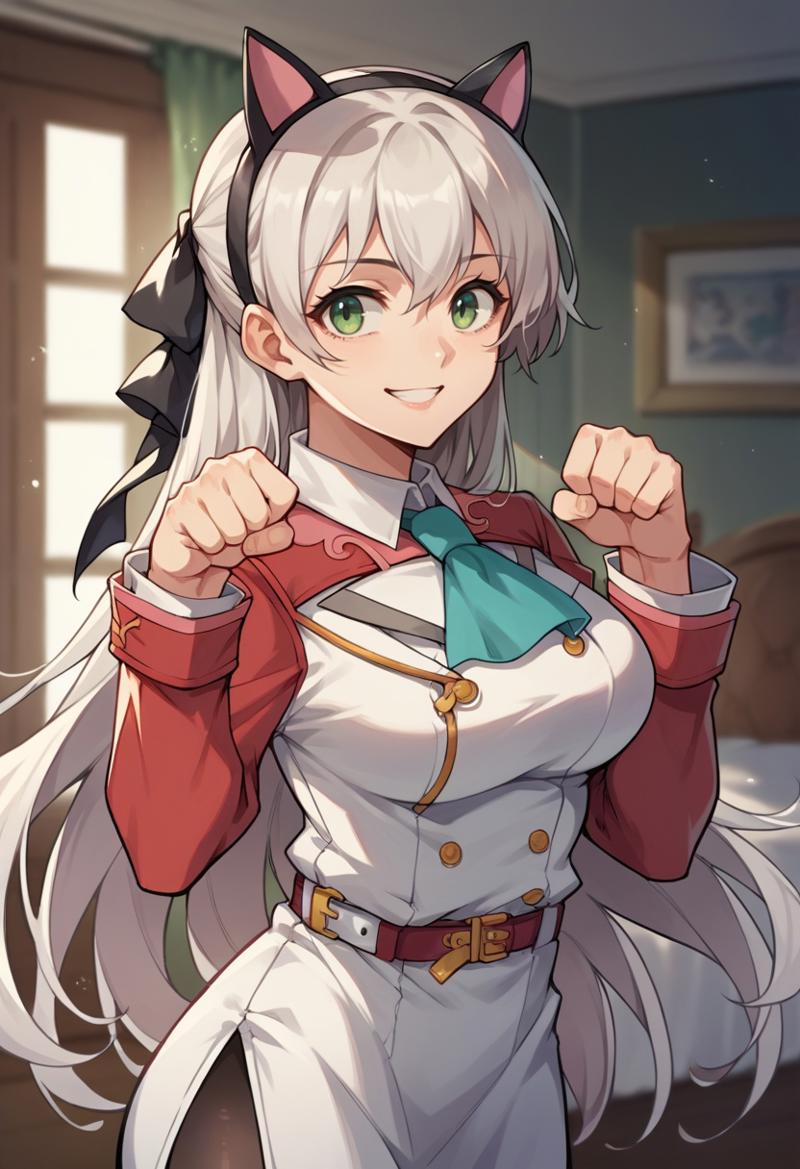
----


Vectorscope CC
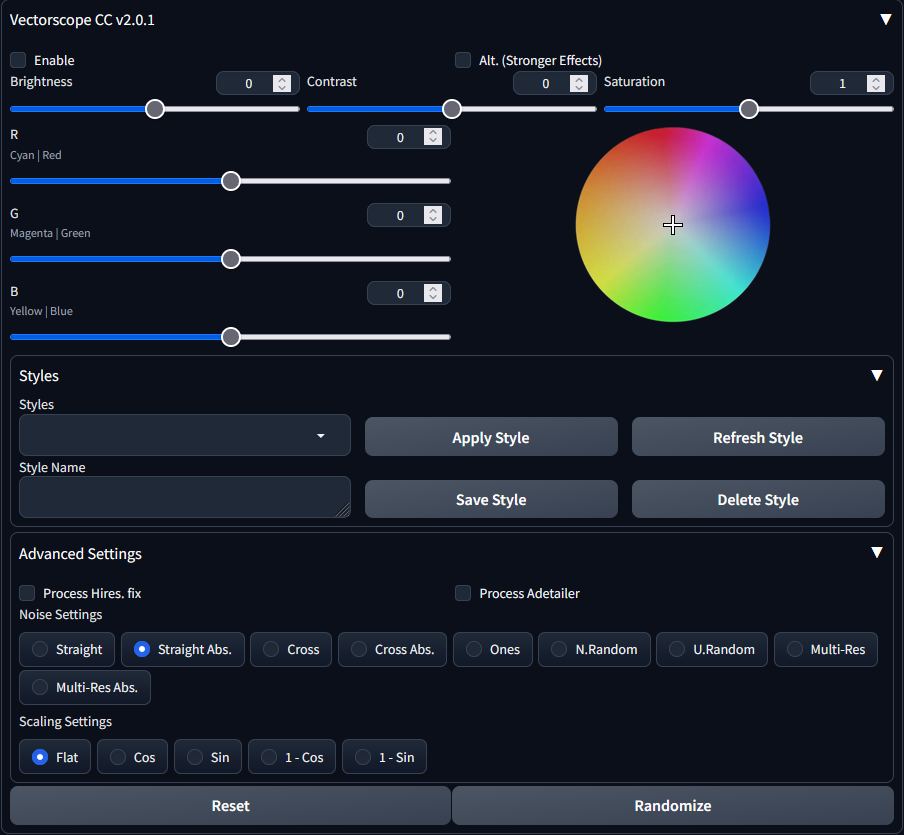
Github: https://github.com/Haoming02/sd-webui-vectorscope-cc
What does it do?
Like CD Tuner, Vectorscope alters the generation noise during the generation process. Vectorscope's main focus is on color, brightness, and contrast editing during the generation process.
What can you do with it?
You can easily adjust color tone, darkness, and brightness with this extension.
Personal opinion on the extension
This extension is fairly easy to use for the purpose of making darker images and adjusting colors. It is a fun extension to play around with.
Showcase:
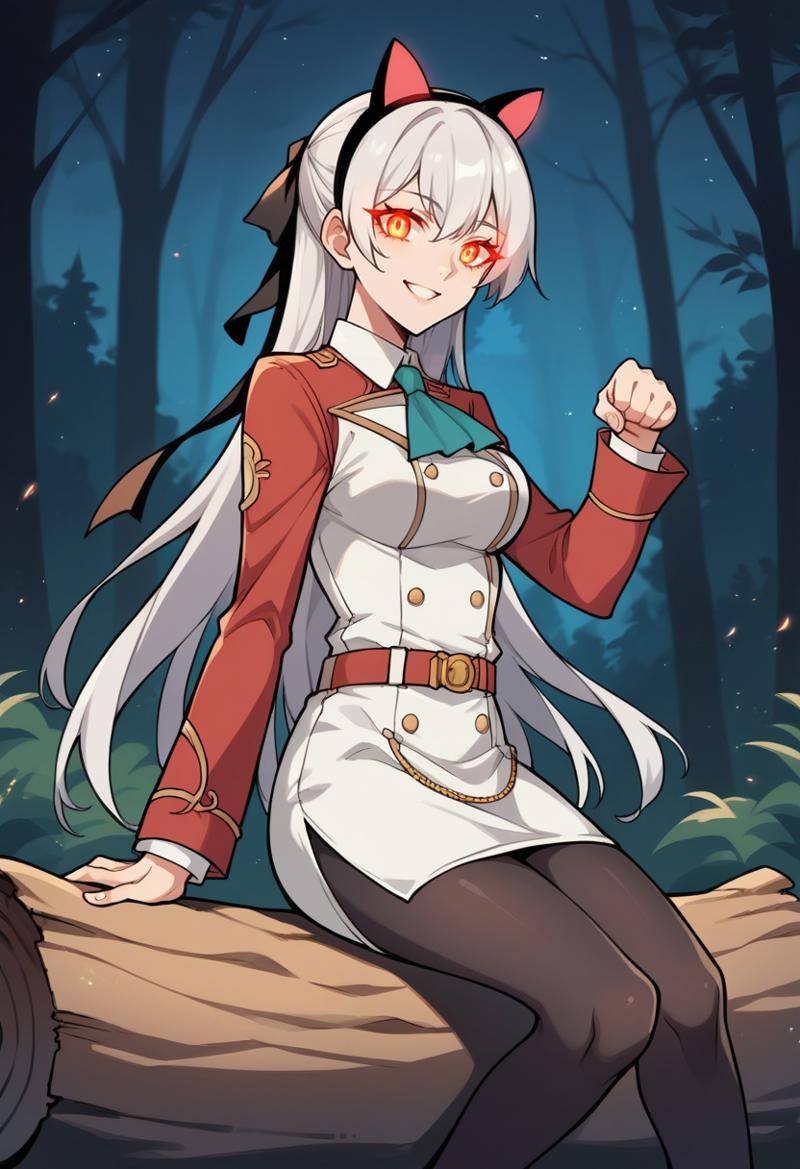
It is somewhat hard to do dark images with a pony model, and this is certainly helping with that.
Here is the generation without the extension. Prompt has night and moonlight, but the image is quite "light".
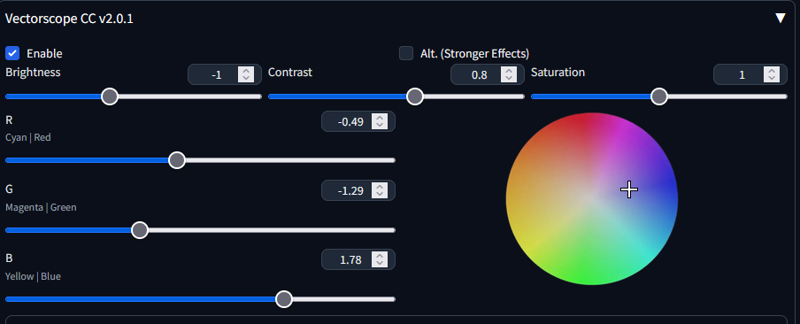
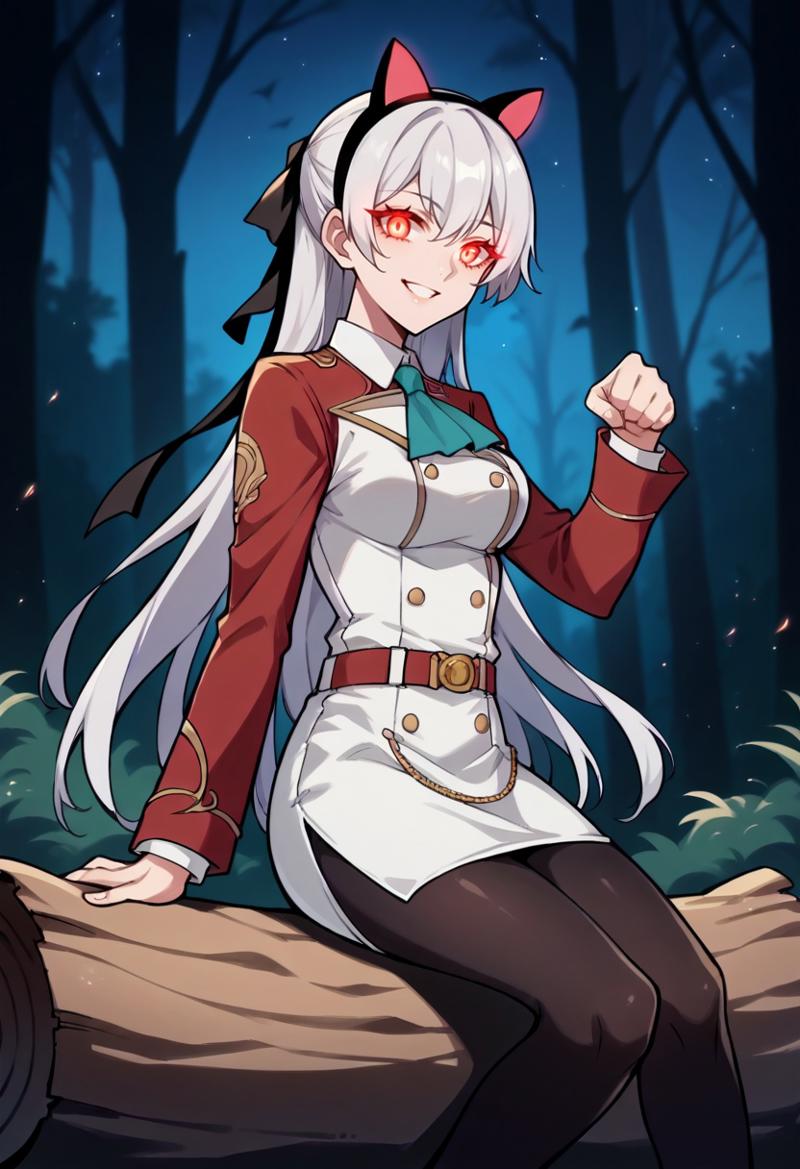
Now if we reduce brightness and add some contrast with a slight blue tint, we might be getting a slightly darker image. As the pony model generally problems with lights, making the character bright even at night, etc., in prompt this might work better with other models. But we can still make nice, darker images.
Now if we use the Alt (stronger effect) setting, we can make the effects stronger, and we can get stronger results with less.
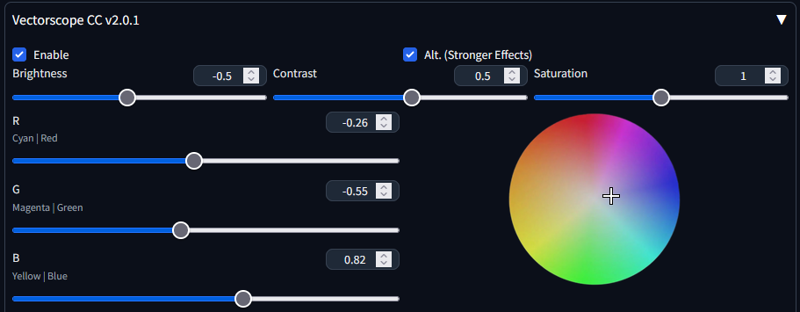

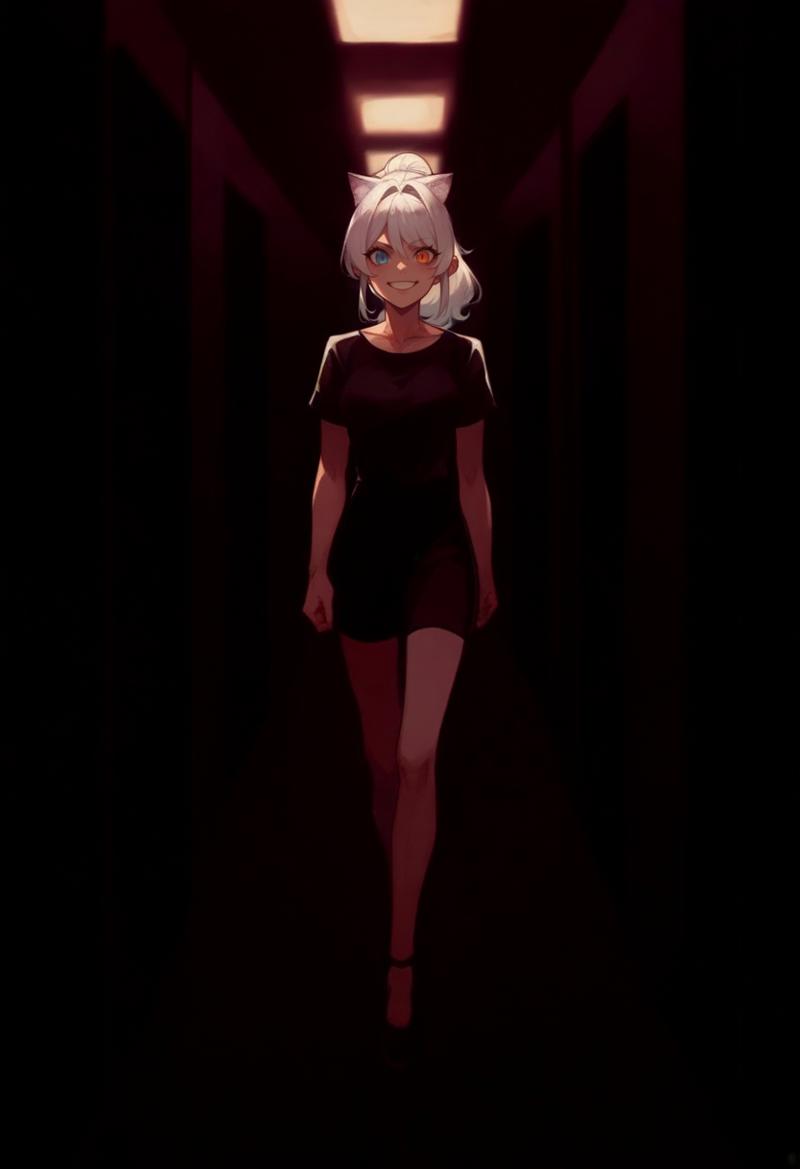
Here is an example of a more dark image. I reduced brightness, added some contrast, and added some red hue. Also changed the scaling setting to Cos for smoother noise insertion.
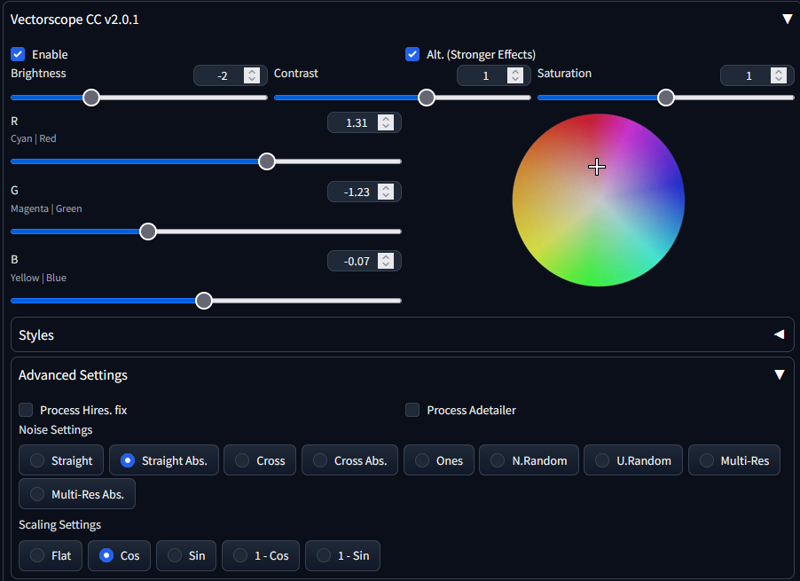
In the advanced settings panel

You can change how the noise is implemented into the generation. Toggle processing Adetailer/hires.
Using cos or sin should give better results most of the time.
If you want to know more about the settings, I recommend checking the GitHub page.
Detail Daemon

Github: https://github.com/muerrilla/sd-webui-detail-daemon
What does it do?
Like CD Tuner, Detail Daemon alters the generation noise during the generation process. Detail Daemon's only focus is on enhancing detail during the generation process.
What can you do with it?
With the extension, you can easily adjust the sharpness of the noise during generation with the help of a graph. In other words, you can make the image more detailed or less detailed.
Personal opinion on the extension
Extension is easy to use and gives more control over the noise than CD Tuner. On top of that, it gives a nice graph view. The extension is useful when needing controlled detail injection into noise.

-----
Showcase:
Here is the image without the extension.
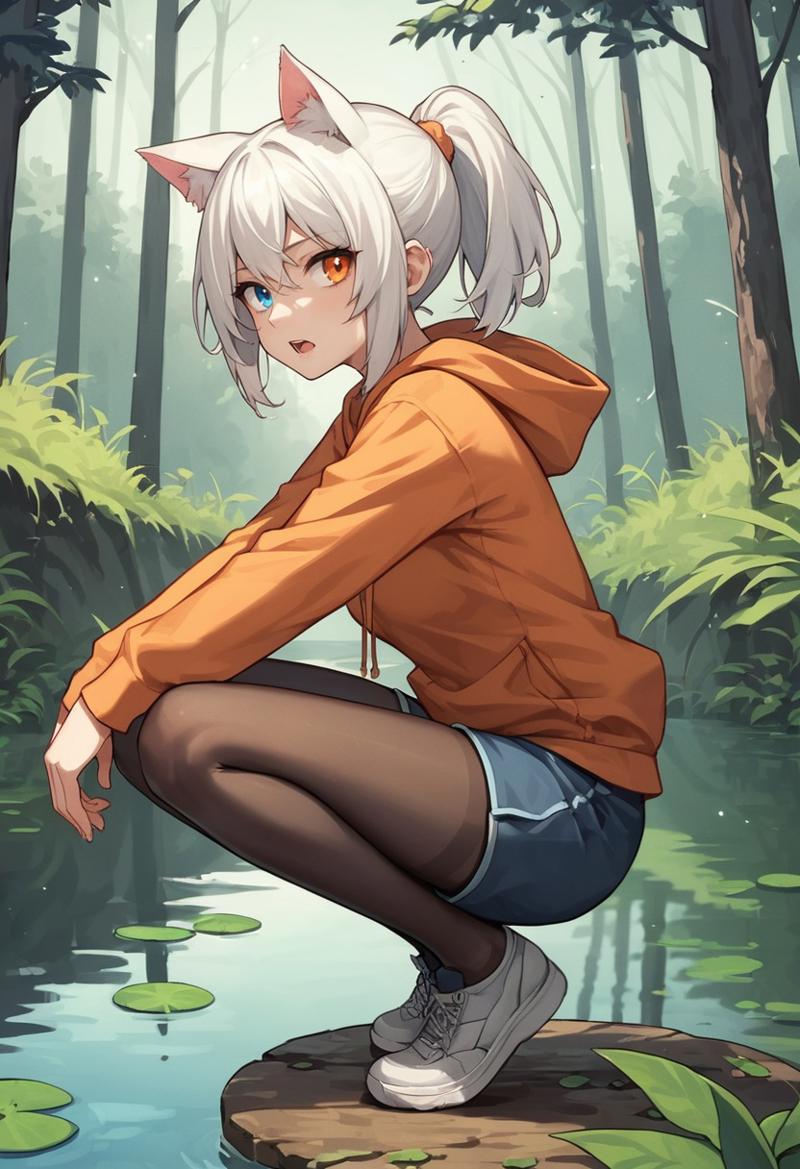
-----
Here is the same seed, promt, etc... and Detail Daemon enabled. Settings vary depending on the sampler used. The extension did not work with "Mode: uncond" which was set on by default in WebUi Forge. There could be issue with my setup.
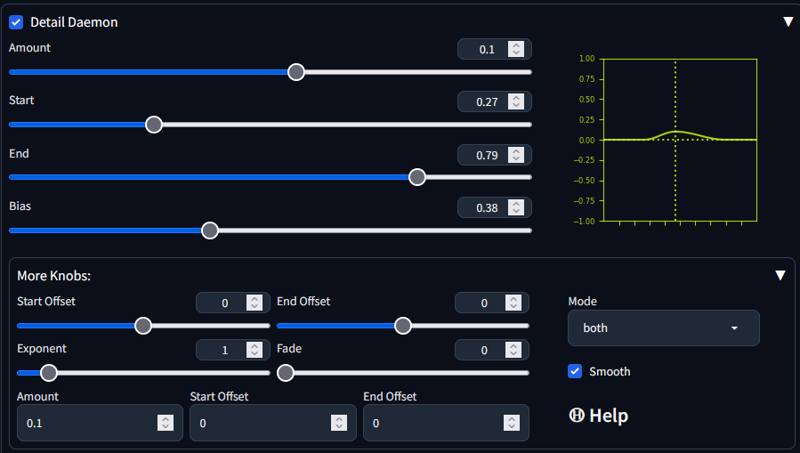
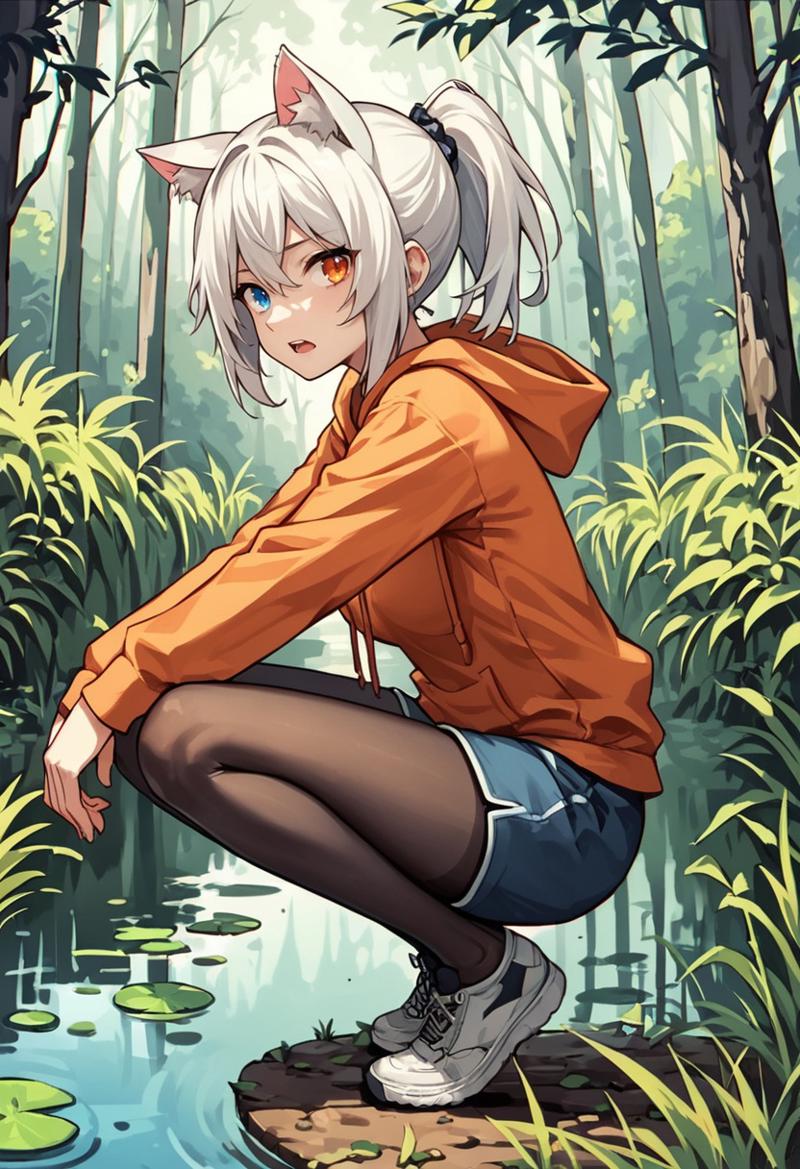
We can see stronger lines and more detail in the image where the extension is enabled.
-----
Here is an example when the detail amount is turned negative. We get a more blurry, less detailed, and more flat image.


