Assuming you already have a basic understanding of checkpoint models and have them running without further problems, you can now start exploring LoRAs.
What are they?
LoRA stands for Low-Rank Adaptation. Basically, it allows you to train your model to improve its performance in specific areas such as generating art styles, characters, poses, and more.
Use Cases
For example, A LoRA specialized in creating Studio Ghibli like art style or a LoRA that creates realistic versions of Genshin Impact characters
Where to Download?
You have plenty of LoRAs available for download on CivitAI. Just go to the search bar and filter for LoRA.
How to Install?
In this tutorial, I'll assume you're using AUTOMATIC1111 webui.
After downloading the LoRA files you selected, open your webui folder and go to:
models > LoraThen place the LoRA (or LoRAs) that you downloaded in there. Now, let's run webui.
Step-by-Step
Choose your checkpoint model as you normally would (preferably use the base model specified in the LoRA's description section)

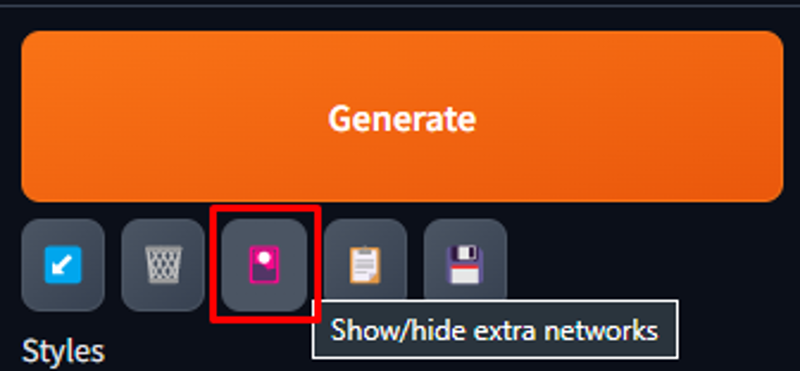
Click here

Go to the 'Lora' section

Click on “Refresh”

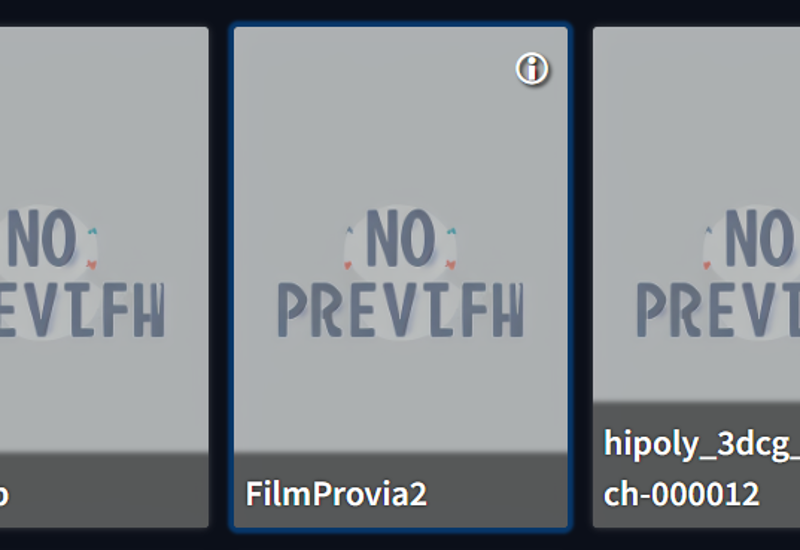
Click in the LoRA you want to use

Realize that now it includes a tag in the prompt, something like (but probably related to the name of the LoRA you're using):
<lora:FilmGX4:1>Now you're ready to go! You can click again on the red canvas button (step 2) to hide this section again, now you just need to type your prompts like you would normally do, but now the LoRA will affect your outputs.
You can change the weight of that lora changing the number after the colon. e.g.
<lora:FilmGX4:0.8> <lora:FilmGX4:0.6>Some points to take into consideration:
You can also use more than 1 loRA within the same prompt, so you can make combinations like a LoRA to X character doing Y pose.
They need to be separated by comas, just like a normal keyword.
I tend to put them at the beginning of the prompt, but they should work just fine even if you put it on the end.
That's the basics for LoRAs!
Thanks for reading.
Consider following my work on Twitter
