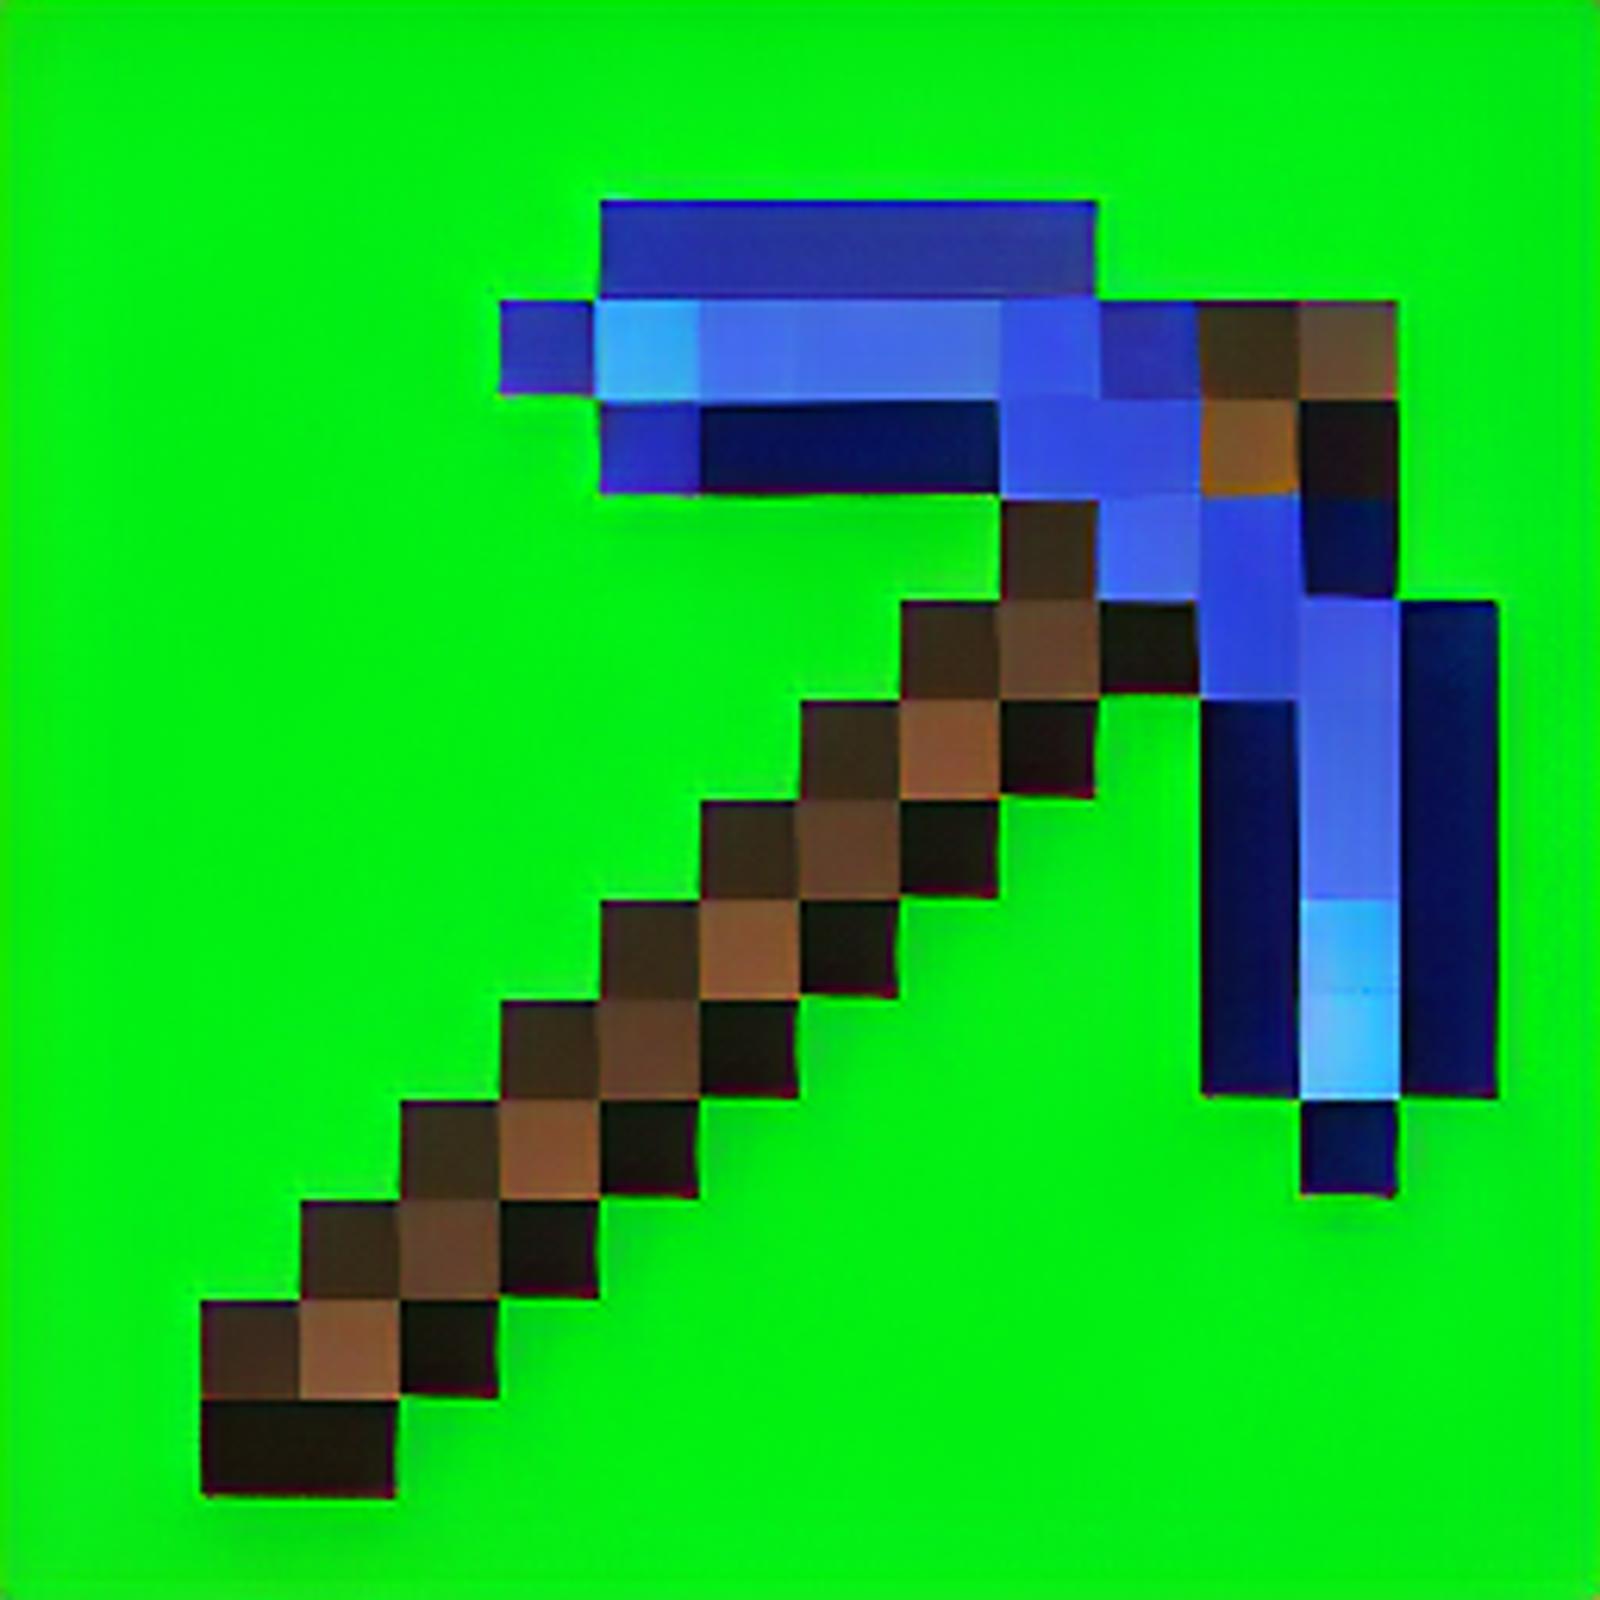
Since I am almost the only one to do this on Civitai, I will give a few ideas on how to do it, to see a larger community on this.
This article assumes that you know how to make and use general LoRAs. If you are new to "LoRA", here are some other articles to begin with -
How to use LoRAs - https://civitai.com/articles/59/sd-basics-a-guide-to-loras
How to make general LoRAs - https://civitai.com/articles/4/make-your-own-loras-easy-and-free
This article focusing on creating the LoRAs, if you just seek to use them, you don't need this as a guide, as I have already created most ones that you will need.
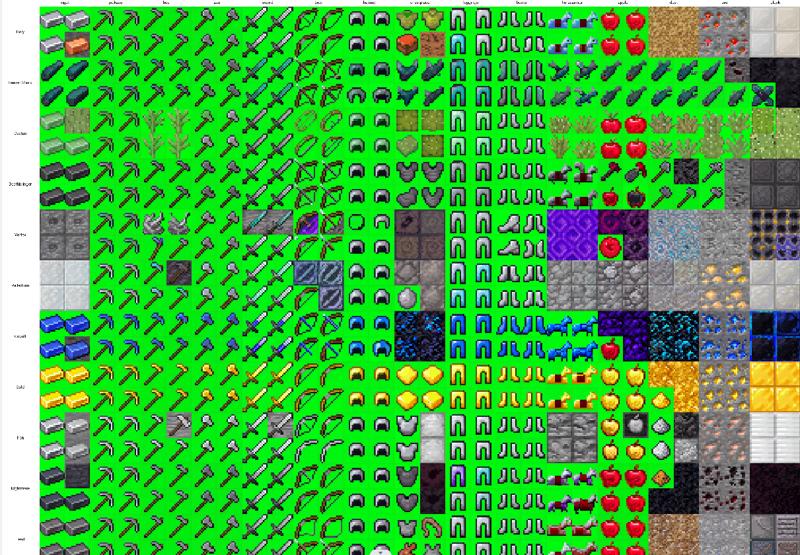
Most people use Stable Diffusion to produce anime beauties and realistic landscapes, but I seek to use AI in increasing my production power, especially in Minecraft modding. SD is not really good at it if you have tried it once or twice, it needs tending, like I did with my LoRAs. Here is an example - https://civitai.com/models/55824/minecraft-block-texture-112.
If you are trying similar things for Terraria, or Starbound and so, I recommend trying it with Minecraft as it is the easiest. Also, access to ChatGPT is recommened but not neccesary.
Minecraft textures, at least vanilla ones, are pixel art pics that comes in 16x16. SD can handle size that comes down to only 64x, and just shrinking it will fail to make it look like pixel art. LoRA trainning have similar problem, too. It handles only with the size of multiple of 64.
First of all, you will need to get the raw Minecraft Textures. Just unzip the 1.12.2.jar and find them. You can find the details here - https://minecraft.fandom.com/wiki/Tutorials/Custom_texture_packs
Scaling
The first problem will be rescaling those pictures. The first idea that come to the mind may be getting a script that scales them to 64x64 to satisfy the requirement, but this is not the correct way.
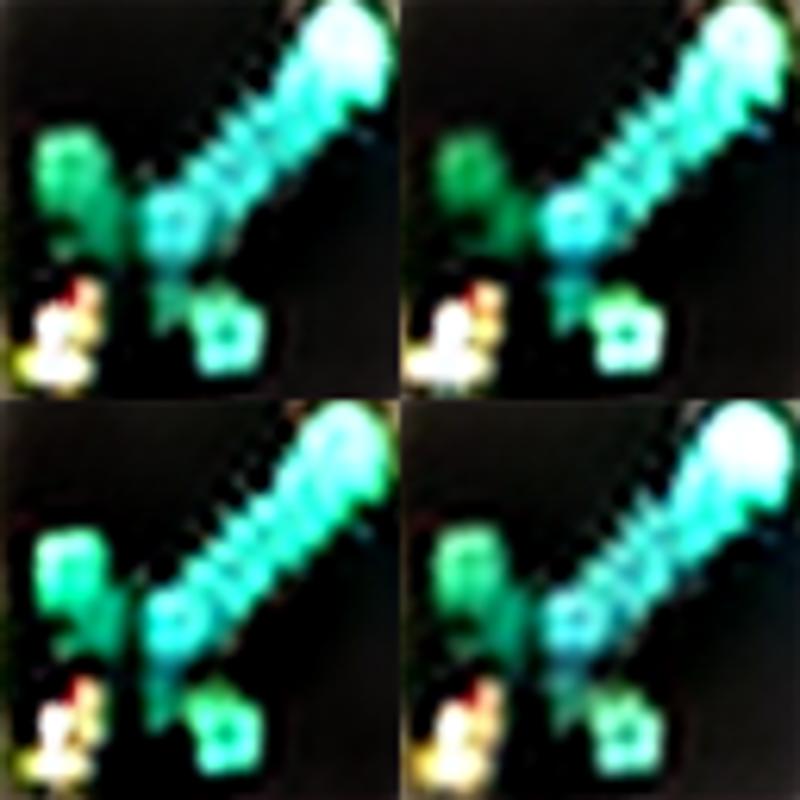
Do it 256x256.
If you do 64x64 or 128x128, you get super blurry images like this. Wasted. You need to do 256x256 at least. Or, if you feel that you are confident with you hardware, you can do 512x512, which is the default size of SD. However, on my RTX 4090, it takes more than 10 hours to train a 512 lora with hundreds of pictures, and the result is almost no better than the 256 lora with just take an hour or two.
Before me introduce the rescale script, lets talk about another thing - those animated block pictures.
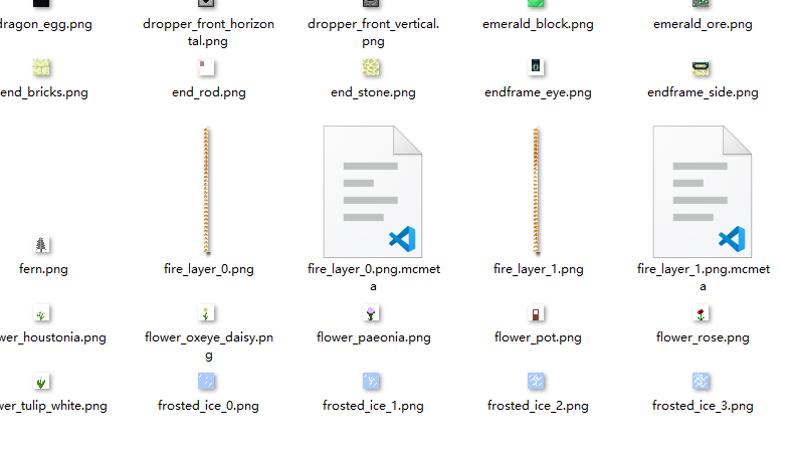
Most vanilla pictures come in 16x16, except those used for block animation with mcmeta. For beginners, you can just delete those annoying ones. For those who are worried about losing those data, you can apply the following script. Change the input directory and output directory, you are ready to use.
import os
from PIL import Image

input_dir = '7_block'
output_dir = 'output'

if not os.path.exists(output_dir):
    os.makedirs(output_dir)

for filename in os.listdir(input_dir):
    if filename.endswith('.png'):
        with Image.open(os.path.join(input_dir, filename)) as img:
            width, height = img.size
            if height > width:
                for i in range(0, height, width):
                    if i + width < height:
                        sub_img = img.crop((0, i, width, i + width))
                    else:
                        sub_img = img.crop((0, i, width, height))
                    sub_filename = filename[:-4] + '_{}.png'.format(i)
                    sub_img.save(os.path.join(output_dir, sub_filename))
            else:
                img.save(os.path.join(output_dir, filename))
As you have seen earlier in that bad blurry picture, SD can not handle transparency, which is a big problem if you are working on item pictures. My recommendation is that you add a pure green back ground (or any color you see fit) for it. As black is commonly used for drawing item borders, it is highly recommended to get a non-black color for this. How? I consulted GPT and ended with the following script -
from PIL import Image
import os

for filename in os.listdir('.'):
    if filename.endswith('.png'):

        image = Image.open(filename)

        image = image.resize((256, 256), resample=Image.NEAREST)

        image = image.convert('RGBA')
        data = image.getdata()
        new_data = []
        for item in data:
            if item[3] == 0:
                new_data.append((0, 255, 0, 255))
            else:
                new_data.append(item)
        image.putdata(new_data)

        image.save(filename)
        print(filename)
(I deleted the Chinese comments it generated to prevent encoding issues for you. That's why there are so many blank lines. )
Make a file "handle.py" and paste it in the same folder with your pngs, open you console, "python handle.py", it will rescale and override you pictures, with a green background attached if necessary.
Tagging
It is too much work to tag each picture with an text editor.
Install the data tag editor extension (https://github.com/toshiaki1729/stable-diffusion-webui-dataset-tag-editor). It is worth the time.
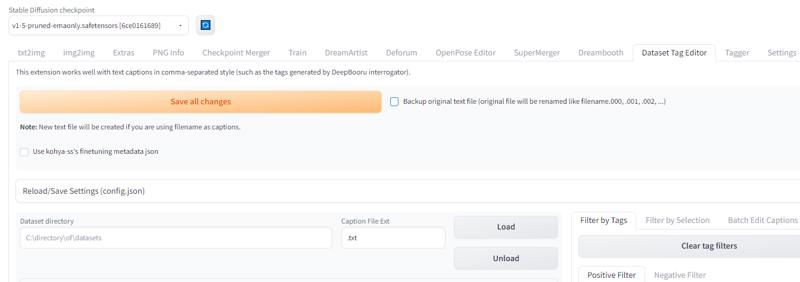
Load and save the picture directory without doing anything to get blank txt for the pictures. You can also do this with a python script that you can ask GPT for, but I recommend trying this extension for future usage.
Minecraft are good for this, because its pictures comes in names that can highly describe it, like "diamond_pickaxe.png" means this picture can be tagged with "diamond" and "pickaxe". This is not the case for Terraria where you get 0001.png, and for Starbound you need to parse the json (not to mention starbound blocks comes in confusing tile format). This helps you teach SD the concept of diamond and picaxe, so you can create things like emerald picaxe or stone bow. There are also some bad concepts, like "chiseled" or "bricks". Different blocks get different patterns for it, so do not expect those concepts to come good, unless you manually handle it if you want to do it. I will ignore this problem for now as it is only partially annoying but totally annoying to solve. Minecraft is good that its bars comes in same shapes and size, where as Starbound gives you all kinds of bars that will confuse the AI.
So, how to make "diamond_pickaxe.png" into "diamond, picaxe" into diamond_pickaxe.txt?
I consulted GPT and get the following script.
import os

folder_path = "input_dir"  # Your sub directory that contains the txts

for file_name in os.listdir(folder_path):
    if file_name.endswith(".txt"):
        file_path = os.path.join(folder_path, file_name)
        print(file_name)
        with open(file_path, "r") as f:
            content = f.read()
        content = content + ","+ file_name[:-4].replace("_", ",")
        with open(file_path, "w") as f:
            f.write(content)

print("done")
This time you need to put it elsewhere and set the directory variable manually. If you prefer to do it in the same directory, make the "input_dir" as "." and it should work. After excecuting the script, your directory will look like this.
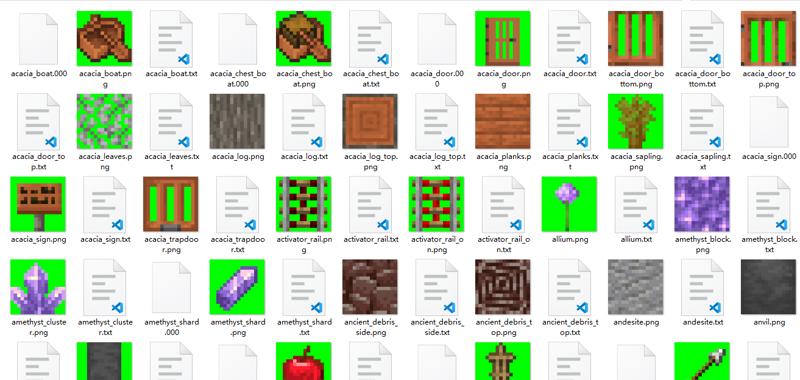
You directory may or may not contain those .000 files and they does not matter. They are merely backups and won't come into use later.
For trainning parameters, there really aren't that different from others. 15 steps x 11 epochs, or just 7 steps x 20 epochs, they are both fine. After an hour or two ,you should get your lora file. Throw it into your model-lora folder, and they are ready to use as any lora. Just remember when generating pictures, use the same scale as your data set.
