Note: This tutorial builds/ uses elements of a couple of my other articles (LoRA Training Tutorial, TI build comparison) since there are elements from there that are repeated here. Also I'm a tad lazy. ;)
Before we start: Is it worth doing?
Like my other article notes, Kohya SS' Dreambooth TI creation is very finicky and moody. This said, with the right settings, it does produce acceptable results or in certain cases better results than the SD TI training scripts, since it has more options.
I made two TIs to produce Indian/ South Asian looking female faces and bodies - one using A1111's Train tab, for creating an embedding posted here: https://civitai.com/models/59634/desigirl-nsfw (v2) and another using Kohya SS Dreambooth TI (from this point called KDTI), using the same dataset.
I'll let you decide which one is 'better', but the KDTI version has fewer artifacts from the training images since I can use regularization images. Output using identical prompts, models, etc. below:
Output: A1111 trained embedding
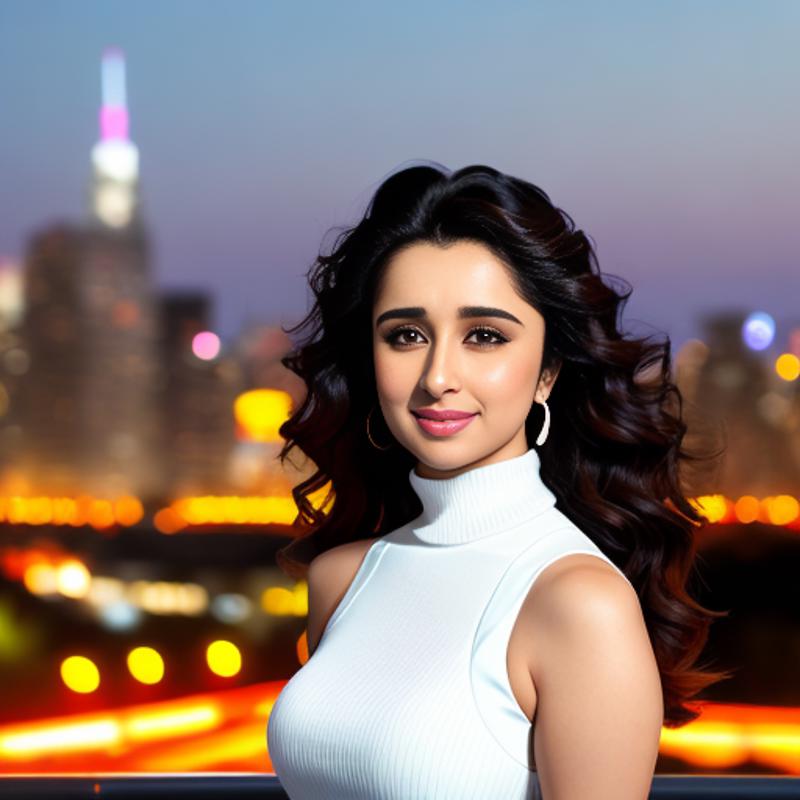
Output: KDTI trained textual inversion
So why did I do this?
For a few reasons:
I use Kohya SS to create LoRAs all the time and it works really well. So I had a feeling that the Dreambooth TI creation would produce similarly higher quality outputs. It does, especially for the same number of steps.
Kohya SS is FAST. For ~1500 steps the TI creation took under 10 min on my 3060.
Kohya SS produces safetensors files, rather than ckpt, which is safer for downloading from a random dude on the internet.
Fewer artifacts. The chair in the first picture above comes from the training set, as does the posture.
There is a lot of demand for a tutorial of this kind, but I haven't seen anything that gets into specifics, including the readme file on the github folder.
The challenge. Isn't that what we're all here for? ;)
TL;DR Version?
Create the same folder set that you'd create for a LoRA:
img
img > reps_TIName class, model
model
log
reg
Crop the images to 512x512. Use a site like birme.net
Use regularization images if you're training for a style (e.g., Indian Girl), but DO NOT use if you're training for a person.
Caption use seems flaky and unnecessary. Use the 'object' template instead.
Use appropriate settings, the most important one to change from default is the Learning Rate. Set to 0.005, with constant learning, no warmup.
Copy outputted .safetensors file into the embeddings folder for SD and trigger use by using the file name of the embedding
Word of Caution: When should you NOT use a TI?
I don't recommend Textual Inversions for generating a person because while small, they are quirky and very quickly lock onto specific aspects of a person's looks. I'm using a person in this tutorial to make it easy to compare what the real person looks like to the output to see the delta. Here's the output of the best TI vs that generated by this LoRA, using the same training images. For persons I'd always recommend LoRAs.
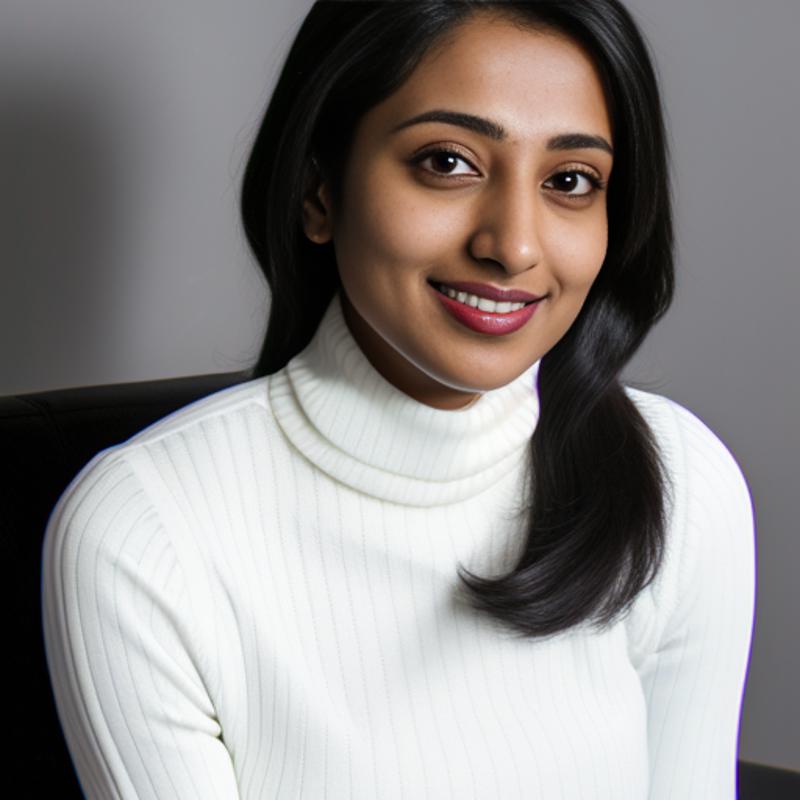
TI output:
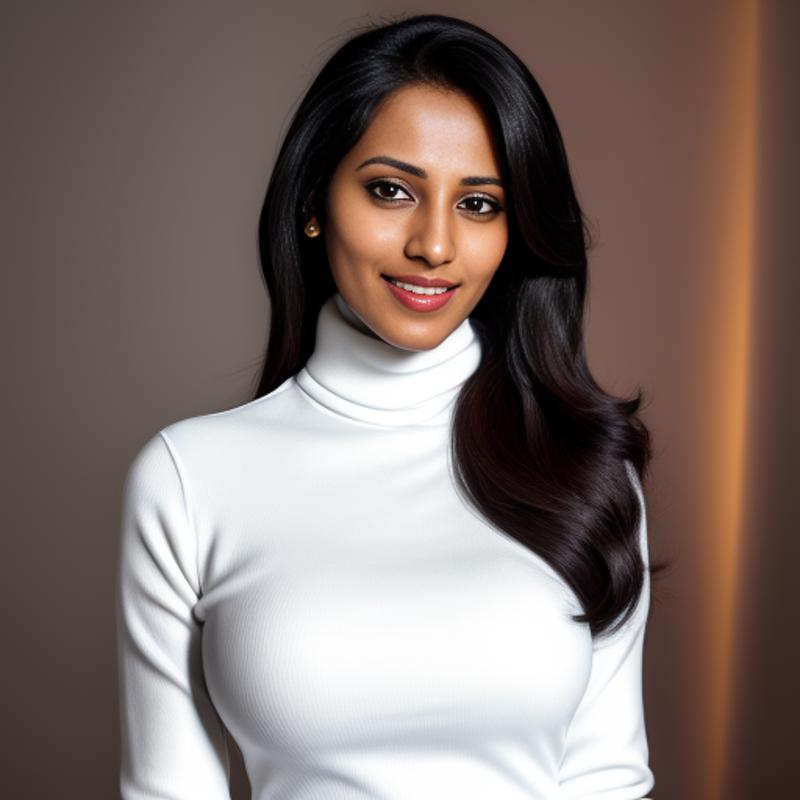
LoRA output:
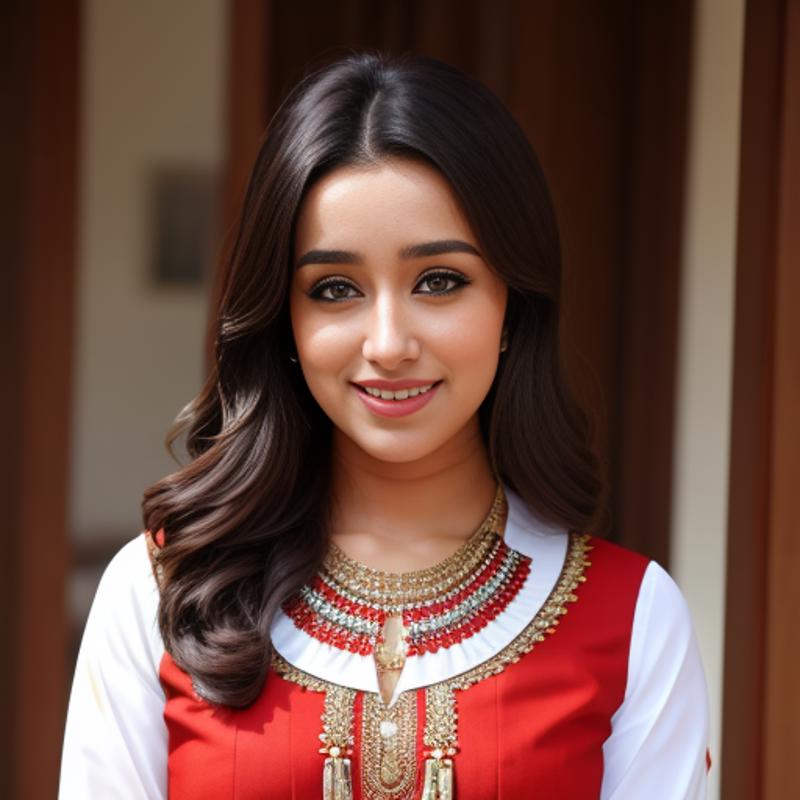
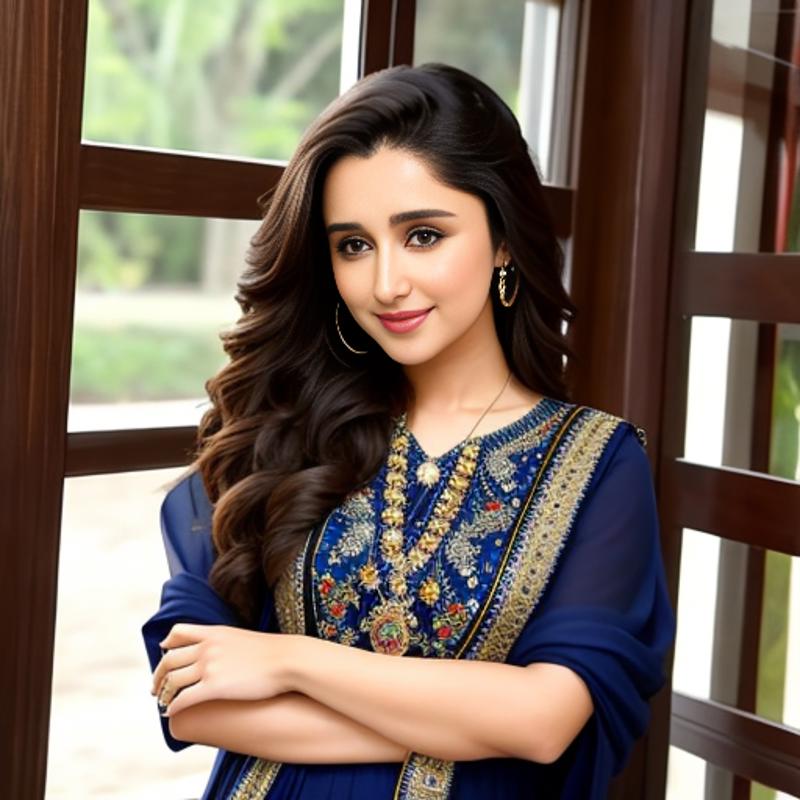
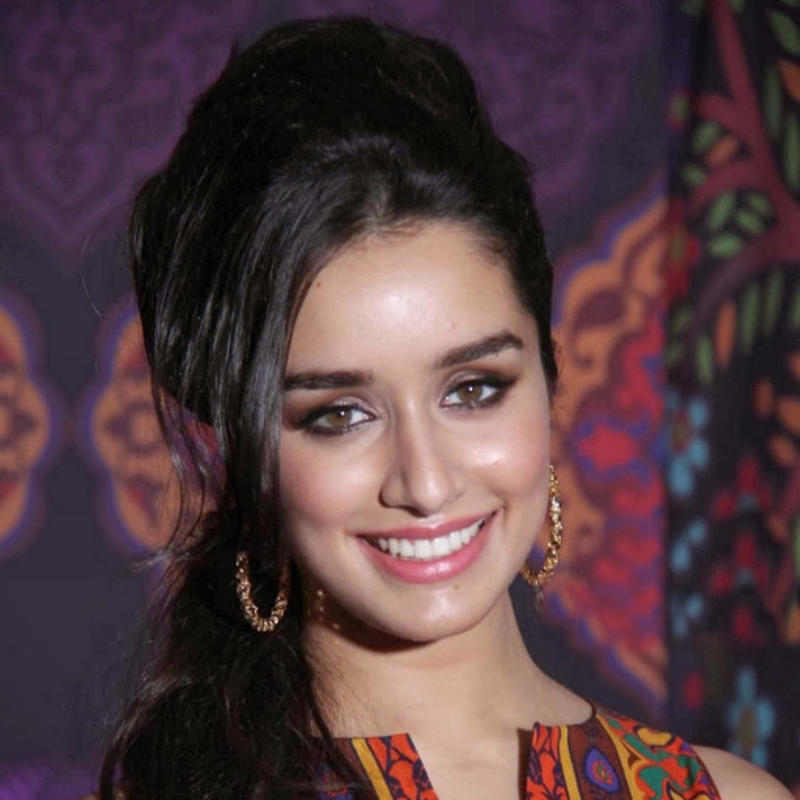
Real person:
Who?
For this example, I'm using the same data set that I used for training this LoRA: https://civitai.com/models/91607/shraddha-kapoor
(Shraddha Kapoor is an Indian celebrity and all images were sourced from the Internet.)
Steps for Training
I use this repo on Linux: https://github.com/bmaltais/kohya_ss since it is well documented and frequently updated. Am running this on a local instance on a desktop with an AMD CPU and a 3060 (non-TI) which has 12GB of VRAM.
Note: I'm not going to go into details of selecting the right kind of images, etc. since I already cover that in my LoRA training article: https://civitai.com/articles/391/tutorial-dreambooth-lora-training-using-kohyass
After much fiddling around, here's what worked for me.
#1 Create the right folder structure
Kohya is quite finicky about folder setup, so this is an important step.
I set up the following folders for this training:
img: This is where the actual image folder (see sub-bullet) will go:
Under image, create a subfolder with following format: nn_TIName class. The format is very important, including the underscore and space. What these mean:
nn - number of repetitions. I usually use between 25-100. Fewer the images, higher the n. A good rule of thumb for how many reps you need is 2500/m where 'm' is the number of training images you have. In our case I'll use nn=100.
TIName - This TIName word will need to be mentioned in your prompt for sample generation, but otherwise doesn't matter. When you want to actually use the embedding, you'll just use the filename.
class - This is the broader class of things that your training object represents. This should broadly be in line with the kind of regularization images you use. In our case we'll use 'woman'
Our folder name, for this training, therefore is: '100_skpticentreps woman'
Place the images you will be training on, in this folder. For this training I have 15 images.
Important note: Unlike in the case of LoRA training, cropping images to 512x512 does help improve the quality of the KDTI embedding. So use a tool like birme.net to crop the images.
Do not put anything else in the folder img folder
model: This is where your final embedding will be placed.
If you choose to create sample images, this is also where the sample images will be placed.
log: This is an optional folder, where the training metrics are logged.
reg: This is where regularization images are placed.
Important note: Unlike in the case of LoRA training, use regularization images ONLY IF you're training for a style (e.g., Indian Woman). Using regularization images while training on a subject will screw up the output. See my comparison here: https://civitai.com/articles/598/comparison-kohya-ss-ti-using-reg-imgs-captions-reps-resizing-etc-on-different-models
In this case, for training the Shraddha Kapoor TI, I did NOT use reg images. Hence the empty folder.
Folder structure used for this training, including the cropped training images is in the attachments.
#2 Training
Switch to the 'Dreambooth TI' tab.
Learning: MAKE SURE YOU'RE IN THE RIGHT TAB. I have often wondered why my training is showing 'out of memory' only to find that I'm in the Dreambooth tab, instead of the Dreambooth TI tab. They all look similar, so double check!
Learning: While you can train on any model of your choice, I have found that training on the base stable-diffusion-v1-5 model from runwayml (the default), produces the most translatable results that can be implemented on other models that are derivatives.
Dreambooth TI > Source Model tab
I have trained all my TIs on SD1.5. The v2 and the v_parameterization check boxes pertain to SD2.0 and beyond. So leave them unchecked, unless you are training on SD2.0+.
Dreambooth TI > Folders tab
Select the folders that we created in step 1. Be careful to:
for Image folder: Select the 'img' folder, not the 'nn_TIName class' folder
Optional: If you're using regularization images: Select the 'reg' folder, not the 'n_class' folder. More details on setting up this folder in the LoRA training guide.
Model name: I typically set this to the name I want to finally use for the textual inversion, but it doesn't matter since you can change the name of the file, and hence the TI when using it. If it's a new version, I'll add 'v2', 'v3' etc. In our case I'll set it to 'skpticentreps'
Dreambooth TI > Training Parameters tab
There are a lot of different options here. I'm going to touch on a few that I do tweak to get better output and/or require to be changed.
Token string: Set this to the name of the TI, so in our case 'skpticentreps'
Init word: This HAS to be set, otherwise the training will not start. From a lot of reading, it seems like this can be only 1 token, so I've used 'woman' which seemed to work well.
Template: Here use 'Object' template. This will ignore the captions files.
Note: Even when I had this set to captions, and the caption extension set to '.txt' it seems to be worse than using the default 'Object' template.
Training batch size: Retain at 1, unless you have enough VRAM. On my 3060, I can push to 2 or 3, but not beyond. This determines how many images it can process at the same time, in parallel.
Mixed Precision: Set to fp16, unless you have a 30xx or 40xx GPU. I wil run will fp16 for this tutorial, since, for some unfathomable reason my Linux based Kohya won't support bf16, even though my Windows based Kohya does.
Save Precision: fp16, with same caveats as for Mixed Precision above.
Cache Latents: Uncheck - adds quite a bit of time, especially if using regularization images.
Learning rate, LR Scheduler LR Warmup Steps: This was the most important thing to change from defaults. Prior to this I was getting absolutely terrible results for the training.
Learning Rate: 0.005
LR Scheduler: Constant
LR Warmup: 0
Optimizer: Try using AdamW8bit, if possible, otherwise AdamW.
Learning: For some reason, AdamW8bit and bf16 don't work on my Linux installation of Kohya. I get a CUDA setup error.
Max Resolution: Set to 512, 512
Advanced Options:
Save every N Steps: This depends upon your total number of steps (keeping in mind that batch sizes of more than 1 will show a fewer number 'steps'. I set this to 50, but 100-500 would be appropriate.
VAE: Optional, but highly recommended. I use 'vae-ft-mse-840000-ema-pruned.safetensors'
Sample images config:
Sample every n steps: 25 or 50.
Sample prompts: For TIs I typically use the format: 'a photo of a TI'
In our case 'a photo of a skpticentreps'
You're Finally Worthy!
Take a deep breathe, and press 'Train Model'.
Learning: Keep a watch on the 'Samples' folder under Model, so see how the learning is progressing. It will start with some images that look nothing like the object, but slowly will converge.
On my 3060, the model creation took about 8 min, with a batch size of 3.
#3: Save your settings
Assuming all went well - Save the settings that worked using the 'Dreambooth TI > Configuration File dropdown on the top of the page. This will create json file that you can load the next time, and change relevant settings (e.g., folders, name of the model, etc.) rather than having to remember all the settings. The .json of the settings I used is in the attachments.
#4: Using the TI
Copy the model file (it will have '.safetensors' extension) from your model folder into the sd> embeddings folder and then use the filename (in our case in your prompt.
Learning: While defining your prompt, try using the TI in different places - how much weight it has in defining the final output
Learning: Try different samplers. In my recent LoRAs and TI based generation, I find that DDIM is really good at producing at least the smaller image, which can then be resized in img2img using a different sampler.
Outputs