This article mainly focuses on
how to manipulate dataset, text-image pairs.
how to achieve high flexibility on LoRA.
These two things are highly correlated to each other. Flexibility comes from effective handling.
Before I start, I suppose something on below.
You understand specific character(s). In my case, they are Uma Musumes.
You are familiar with generating image using Stable Diffusion Models
This is a quite simple task. Imagine what you create, find proper prompts for image.
You have any experience of making fine tuned model of SD using methods such as dreambooth, LoRA(or LyCORIS), Hypernetwork, or Textual Inversion.
These experiences will be very helpful for following this article. If you don't, it can be hard to understand.
Tools I used.
Photoshop
WD 1.4 Tagger, included in Dataset-tag-editor.
I will introduce a character as an example.
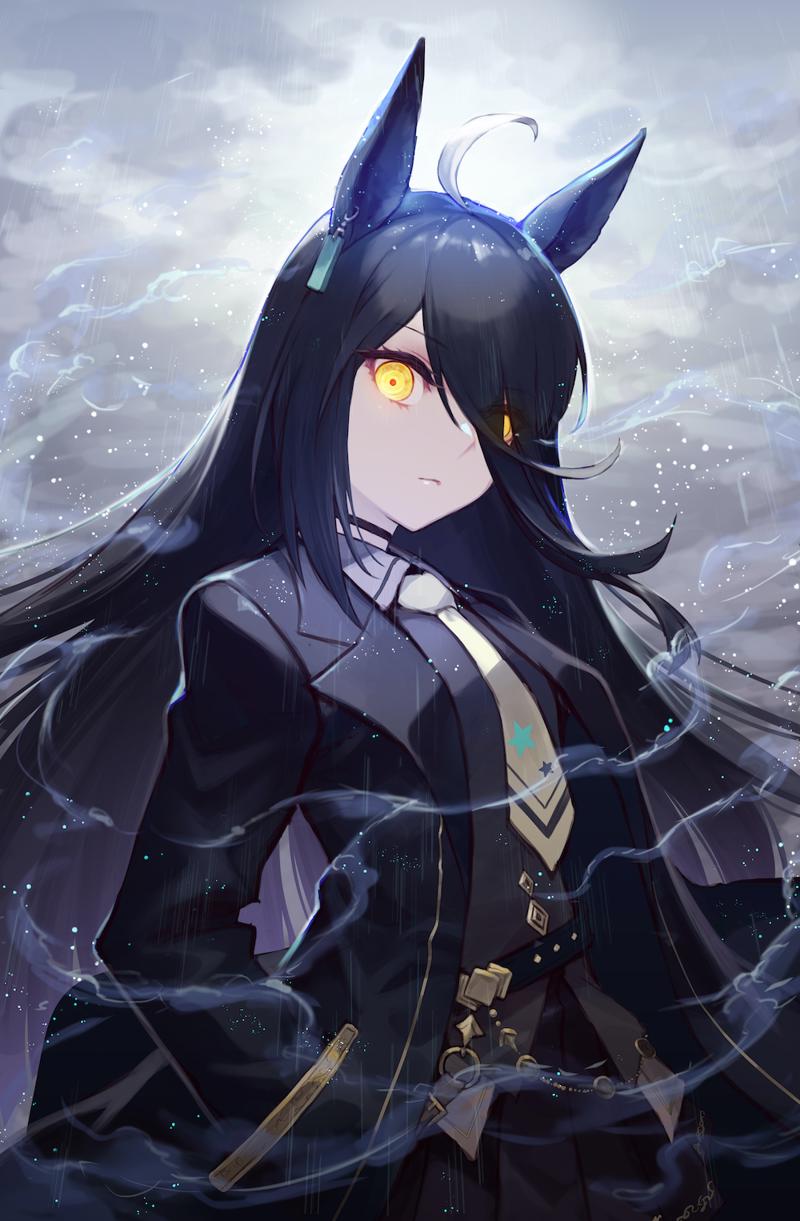
She is Manhattan Cafe in Uma Musume: Pretty Derby, my favorite character. And she is the first character whom I created using a LoRA model.
1. Image preprocessing
Image Collection
Here is good article about collecting image. I will pass this part.
Image Optimization
First, I converted all images to lossless PNG files. Keeping them as JPEG files is not recommended since JPEG uses lossy compression, which may results in quality degradation.
Second, I optimized images. Here is an example.

What is unnecessary for learning in the above image? I mean things that are hard to create using SD models or things that should not be created by the model.
I think grey circle in background is unnecessary for training. And lower body is missing. I don't want to create cropped torso images by SD model. This image need to be cropped.
So I used photoshop to fix the image.

Now white background only. No empty part of body.
Here is another example.
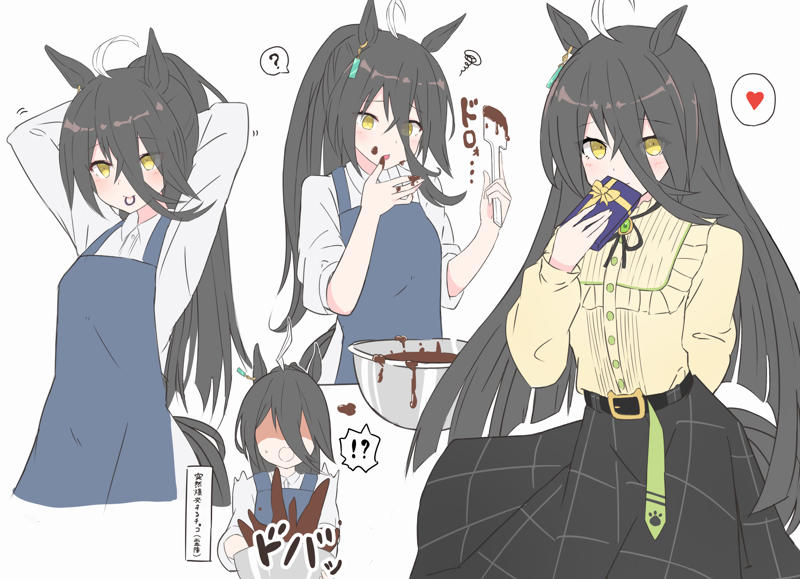
Multiple Manhattan Cafe are in one picture. Do I should throw this picture away? During making a LoRA, most of us are in trouble due to insufficient data. I can save this picture with Photoshop.
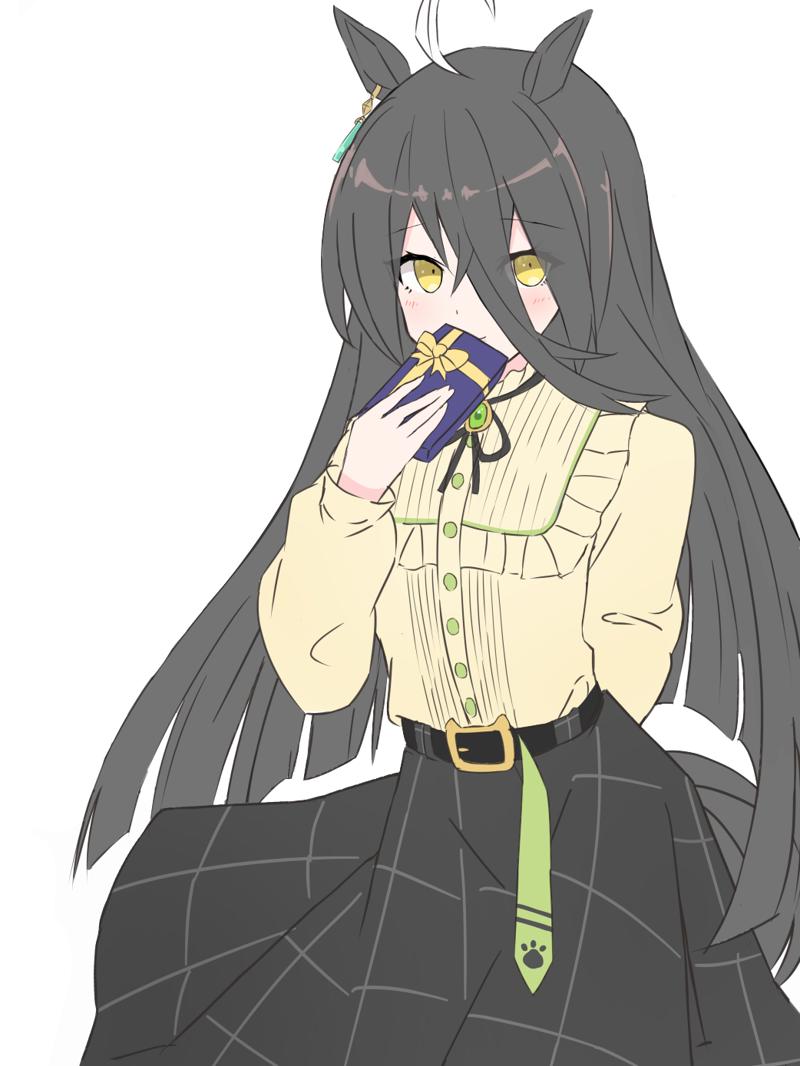
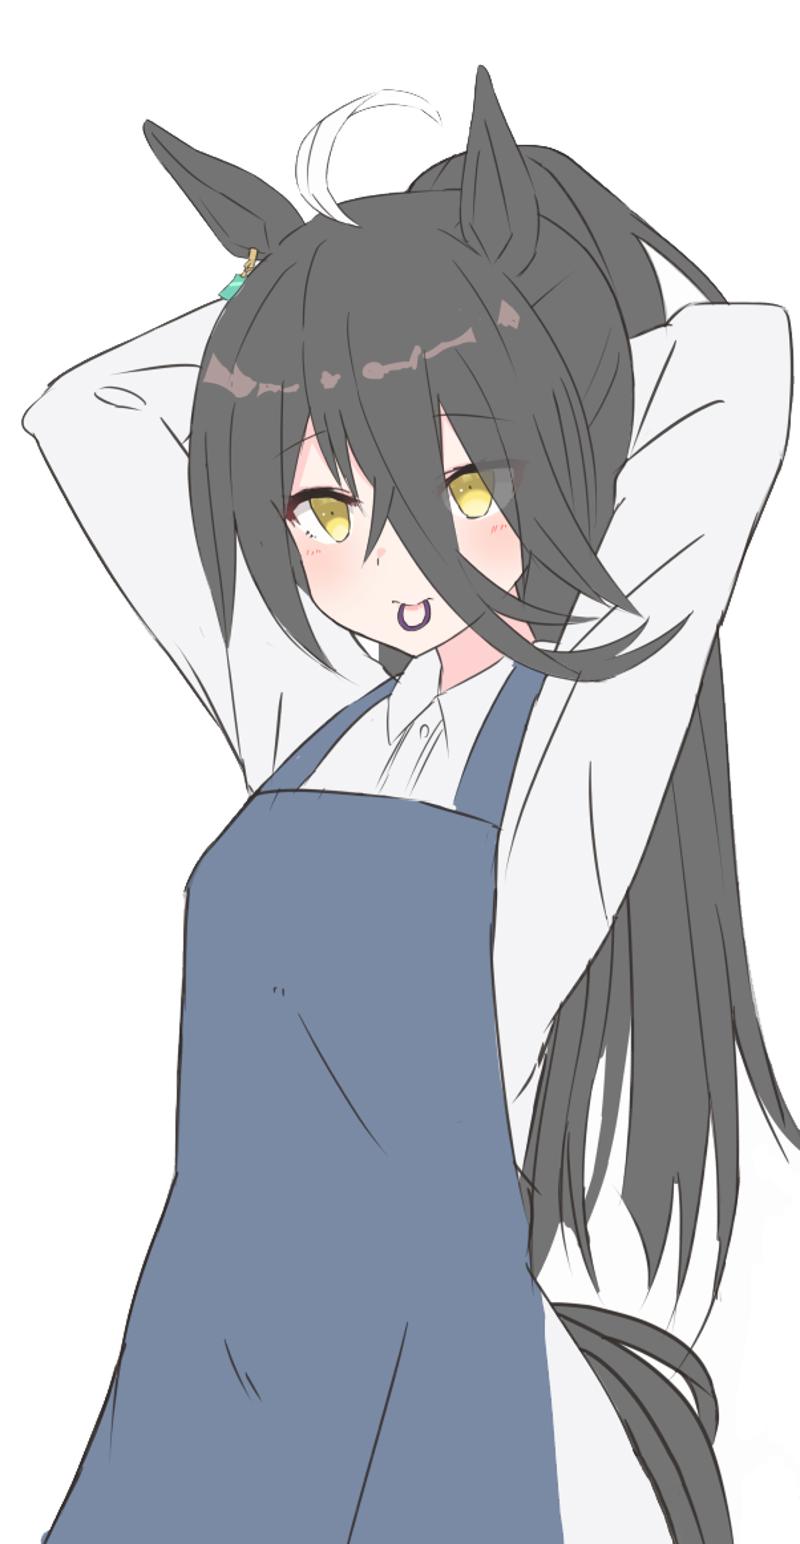
I divided the images and removed any special effects or backgrounds. With Photoshop, I can obtain two images from a single image that contains multiple characters.
All the images were repaired by my own hands.
2. Tag Manipulation
Utilization of Tagger
Using WD 1.4 Tagger with threshold=0.4, I created tag files for corresponding images.
I did not use this raw tag files for training. I intentionally manipulated all tag files. Ultimately, I want a SD model that knows how to create her.
Replacement of the features with trigger word
I think this is the essential part in article.
I replaced the feature tags with trigger word, manhattan cafe \(umamusume\). What is the feature of her? Instead of starting from scratch, let's review what Tagger has obtained so far.
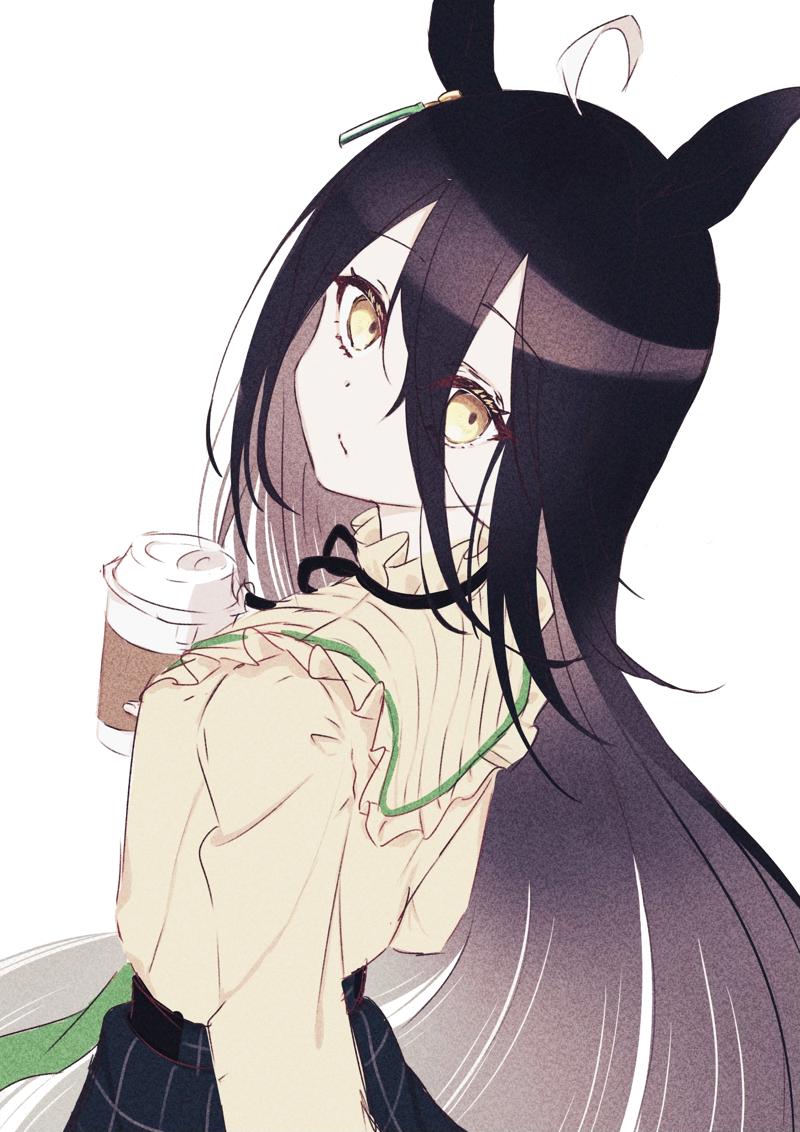
These are created tags by WD 1.4 Tagger with threshold=0.4
1girl, manhattan cafe \(umamusume\), solo, horse ears, animal ears, long hair, yellow shirt, black hair, cup, hair between eyes, skirt, shirt, ahoge, looking at viewer, holding, yellow eyes, frilled shirt collar, white background, holding cup, disposable cup, horse girl, bangs, simple background, long sleeves, closed mouth, frills, multicolored hair, green skirt, very long hair
Luckily, Tagger knows her name. Otherwise, I need to write a trigger word every single tag file.
The feature tags are tags that describe the characteristics features of a character, which require to be present at all times unless the reference images is altered.
The orange word is an essential part of her appearance. Without the orange elements, it would not be appropriate to consider this character as Manhattan Cafe. Therefore, The trigger word, manhattan cafe \(umamusume\), should imply these things.
After training done, if I write her name as prompts, I expect the model to generate an image of Manhattan Cafe. To achieve this, I removed all orange words.
My conclusion is that tags that satisfy the regular expression below are the feature tags.
[a-zA-Z\s\-]+hair[a-zA-Z\s\-]*
[a-zA-Z\s\-]+eyes[a-zA-Z\s\-]*
[a-zA-Z\s\-]+ears[a-zA-Z\s\-]*
[a-zA-Z\s\-]*bangs
etc.
For character LoRA, facial characteristics tag is the feature tag.
Removal of duplicated tags
This process is quite straightforward. I eliminated duplicated tags from the tag file.
Before
manhattan cafe \(umamusume\), yellow shirt, cup, skirt, shirt, looking at viewer, holding, frilled shirt collar, white background, holding cup, disposable cup, simple background, long sleeves, closed mouth, frills, green skirt
After
manhattan cafe \(umamusume\), yellow shirt, looking at viewer, frilled shirt collar, white background, holding cup, disposable cup, long sleeves, closed mouth, green skirt
cup, skirt and shirt frills are in other tags. white background implies simple background.
Tag alignment for identical clothes
Tagger is a powerful tool, but solely relying on it is not advisable. That's why I manually aligned the tags.
Here is an example. Two images of Manhattan Cafe wearing race uniform and manipulated tags of each images.
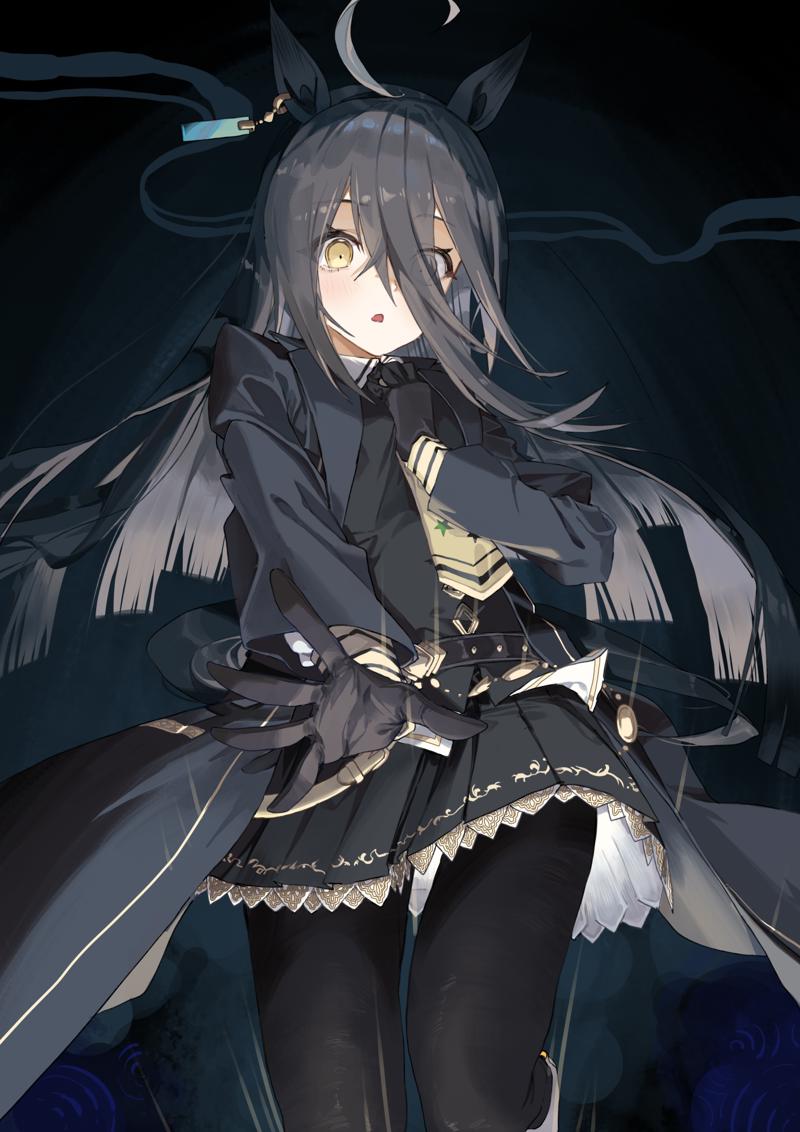
This is the first image.
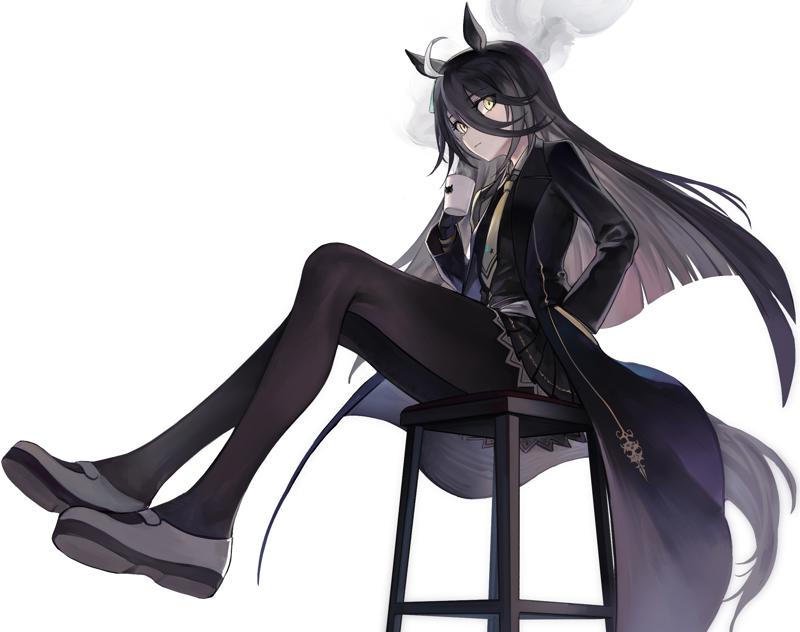
This is the second image.
Manipulated tags of the first image
manhattan cafe \(umamusume\), yellow necktie, black gloves, shirt, long sleeves, black skirt, pleated skirt, black pantyhose, reaching towards viewer, looking at viewer,
Manipulated tags of the second image
manhattan cafe \(umamusume\), yellow necktie, gloves, black shirt, long sleeves, black coat, black skirt, pleated skirt, black pantyhose, shoes, white footwear, closed mouth, mug, hand in pocket, holding cup, sitting, stool, looking at viewer, white background, steam, full body,
Both Manhattan Cafe in the images wear her own race uniforms. The work done by Tagger is not incorrect, but it is evident that one side provides slightly more detailed information. coat is missing in the first image, and the color of clothing is also partly missing in both results. Because of these, I had to manually align tags for special uniforms. In this case, tags of Manhattan Cafe's race uniform should be
black choker, black gloves, long sleeves, collared shirt, yellow necktie, black vest, black coat, belt, black skirt, pleated skirt, black pantyhose, shoes, white footwear
I copied and pasted these tags into the tag file for all images with same clothing. Surely, I excluded tags for decorations or clothing that does not shown in each images before pasting them.
3. Fine Tuning
Dataset preparation is done. Actually, the above part is not only for LoRA. It can be used for other fine tuning methods.
Now we enter part of training.
Separation of images by quality
The quality of an image can be both subjective and objective. How can we measure quality of the dataset? How can I score each images? My answer is that there is no tool to generally measure quality for making character LoRA. But we can feel what is more close to the original.
The image of character is only a shadow of its original form. And each of image has its own nuance. A shape of eyelines, Color balance, the length of hair, etc.. If you have a reference image for the character, please take a close look at it. Now you can feel what is close to the original.
After careful consideration, I separated the images into three groups: low-quality, medium-quality, and high-quality. Groups categorized by quality will have different iteration counts, number of repeat, during training.
Higher quality, More training. This is what I want.
Below are the settings that I often use.
4 for low quality group
8 for medium quality group
16 for high quality group
Using this number, the images in the high-quality group are trained four times more than those in the low-quality group.
Base model
If my understanding is correct, all anime models are associated with NAI models. So, I used NAI model as base model of character LoRA. If you want to establish another baseline, the first task would be to determine the root of them.
Algorithms and hyperparameters
I prefer training all layers in both Text Encoder and UNet and Parameter Efficient Fine Tuning(PEFT). So, I used LoHa, Low-Rank Adaptation with Hadamard Product, in LyCORIS. When considering models with the same maximum rank, I can reduce the size of the model to approximately half of LoRA's size.
Rank is the major hyperparameter determining model size. Mathematically, the rank is related to the maximum amount of information, but it does NOT directly imply that. I think rank=16 in LoRA, rank=4 in LoHa, is large enough for character LoRA. And this LoRA contains four individual characters in rank=4 LoHa.
Below are my settings for training using sd-scripts by kohya_ss.
shuffle_caption = true
random_crop = true
resolution = "768,768"
enable_bucket = true
bucket_no_upscale = true
save_precision = "fp16"
save_every_n_epochs = 1
train_batch_size = 4
max_token_length = 225
xformers = true
persistent_data_loader_workers = true
seed = 42
gradient_checkpointing = true
mixed_precision = "fp16"
noise_offset = 0.03
optimizer_type = "lion8bit"
learning_rate = 0.00015
optimizer_args = [ "weight_decay=1e-1",]
lr_scheduler = "cosine_with_restarts"
lr_scheduler_num_cycles = 3
unet_lr = 0.00015
text_encoder_lr = 7.5e-5
network_module = "lycoris.kohya"
network_dim = 4
network_alpha = 4.0
network_args = [ "conv_rank=4", "conv_alpha=4", "algo=loha",]
batch size and resolution of image depend on VRAM of your graphics cards.
And some settings depend on dataset
max_train_steps = 10 EPOCH
lr_warmup_steps = 1 EPOCH
EPOCH = summation of [ (number of repeat by quality group) * (number of images in each of group) / batch_size ] for each groups.
No regularization images. Regularization images are used to preserve the original model. In the case of LoRA, simply dropping out from prompts can preserve the original model.
Now we just need to wait for the graphics card to work diligently.😎
Each part of this article could delve deep enough to create another article, but here I focused only on a portion. Thank you for your understanding and for reading.👍


