Objective
Swap a face in using reactor.
Please refer to my previous article to install comfyUI https://civitai.com/articles/8223/comfyui-installation-on-windows-october-2024
Installing the Swap component
In the previous article we setup ComfyUI with the “ComfyUI Manager Menu”
Click on the Manager button to see the dialogbox
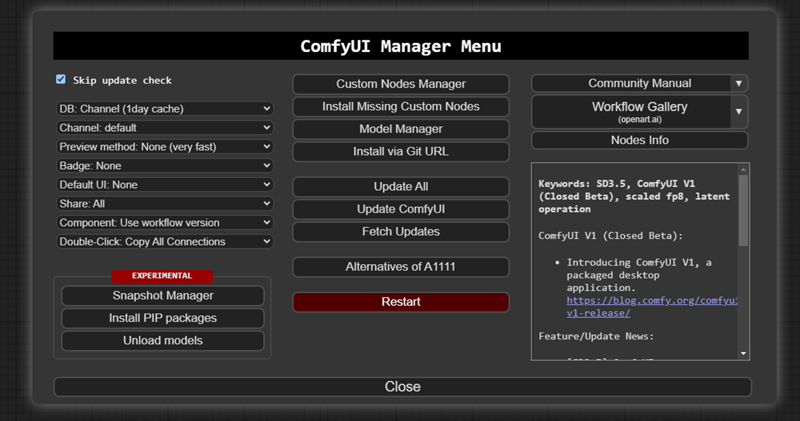
Here you have to clic on “Custom Nodes Manager”
Write reactor on the search bar , then select the “Reactor Node for ComfyUI” and press “Install”
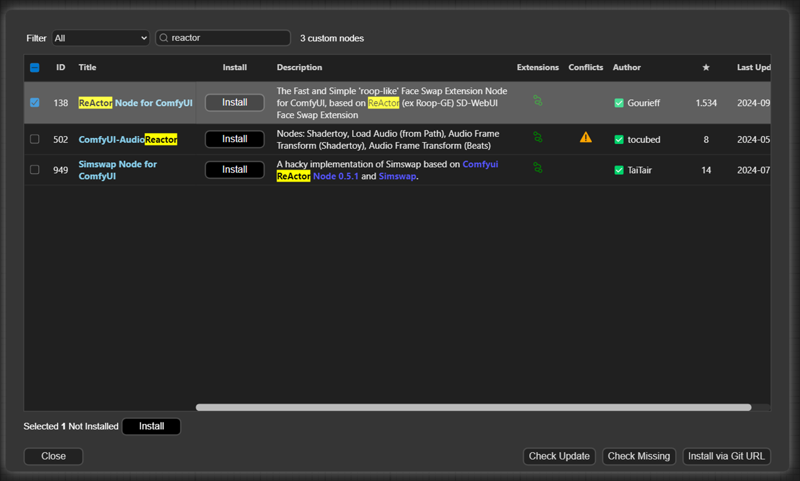
This will make a git clone 'https://github.com/Gourieff/comfyui-reactor-node' in your custom_nodes folder.
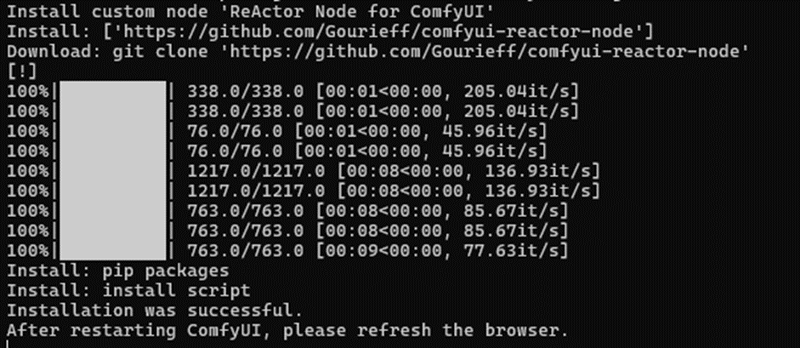
When installation is completed you will see “Restart Required”

Press the restart button in the bottom of the dialogbox

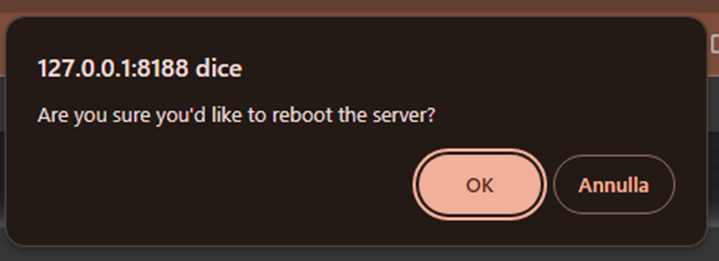
Clic ok to the alert message and wait.
The prompt will show the download of many files.. it can take long
Specially because it will download the swap model “inswapper_128.onnx” of 529MB and other files.

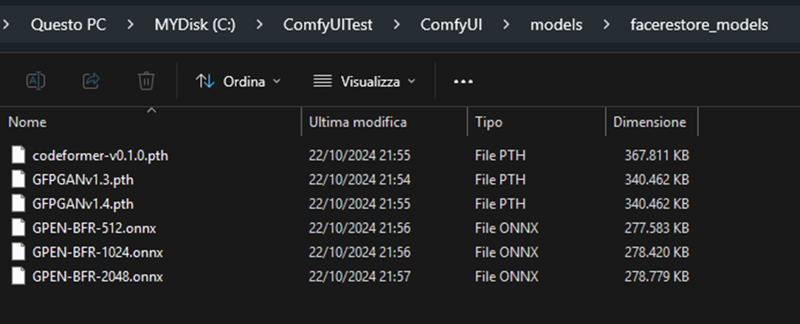
After a little bit comfyUI will restarta gain and you will notice that will download more files (about than 1.79GB of models for facerestore under the folder : C:\ComfyUITest\ComfyUI\models\facerestore_models\ )

Create the Workflow
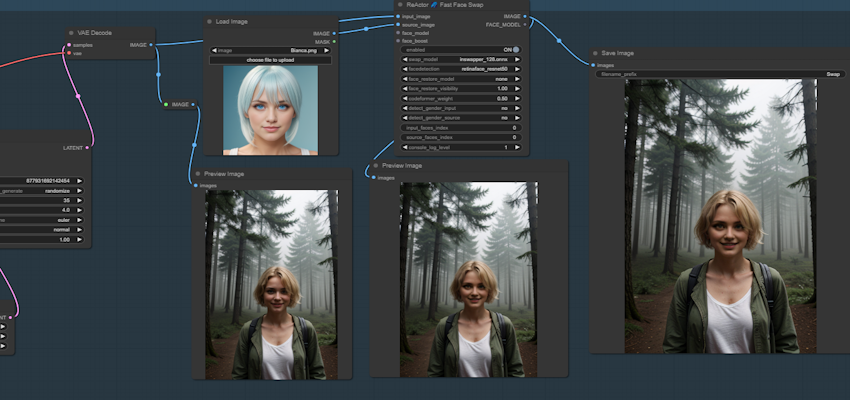
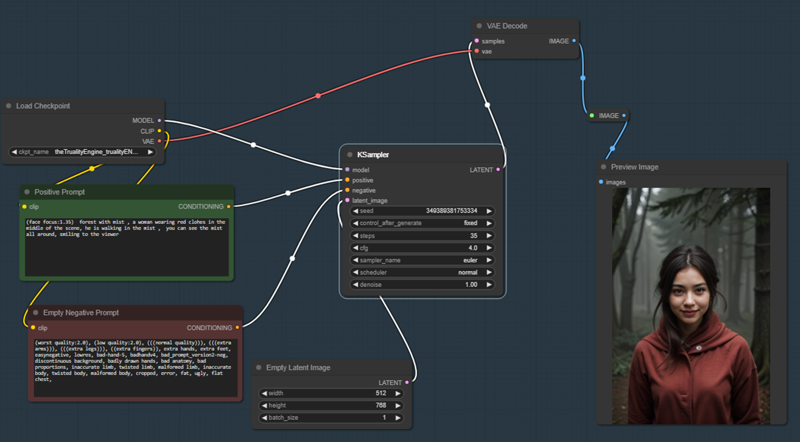
Now I setup a simple scene to generate a woman in a forest, this is something that you can do already if you read the previous article.
There is a “reroute” component between the “Vae Decode” and the “Preview Image” that will let me add another part of the workflow.
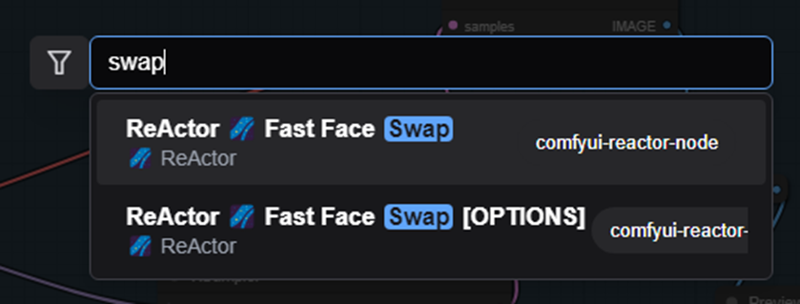
Now do a double-click and search for swap and select “ReActor Fast Face Swap”
This will add to the scene the component for face swap with 2 images as input and one as output.
There are many options, I suggest to leave the default at beginning then you can change as you want.
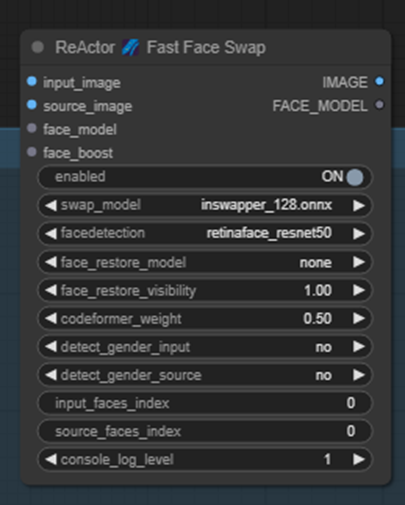
Now we need an image to use, select “Load Image” and add the component
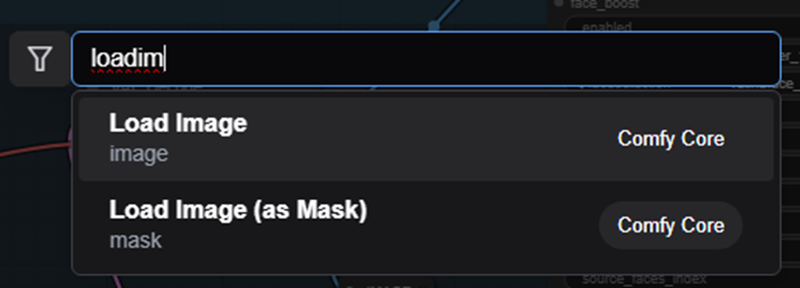
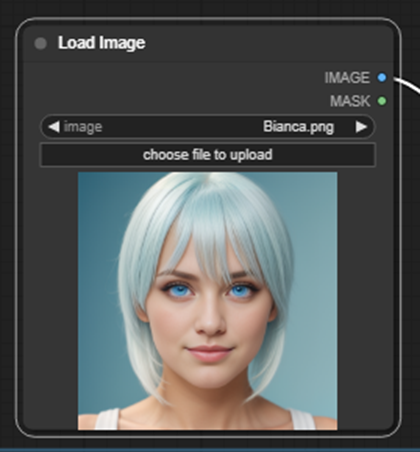
The “load Image” component will use the images under your ComfyUI\input folder, you can upload some file by clicking the “Choose file to upload”
At this point I connected the “Reactor Fast Face Swap” with the 2 images and added another “Preview Image”
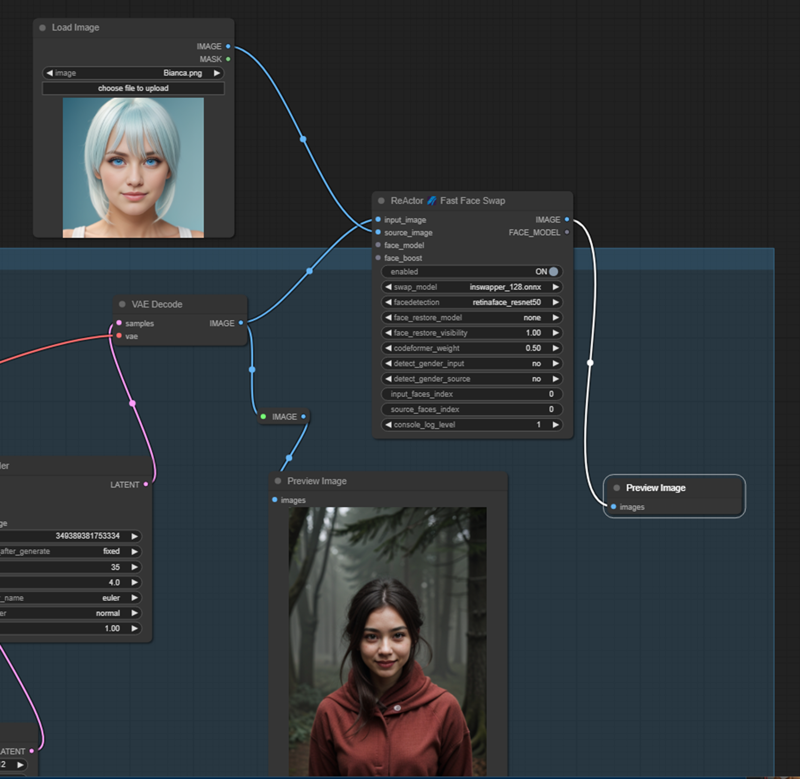
Now I hit the “Queue” Button
The first time it will download another file

And finally we have the result
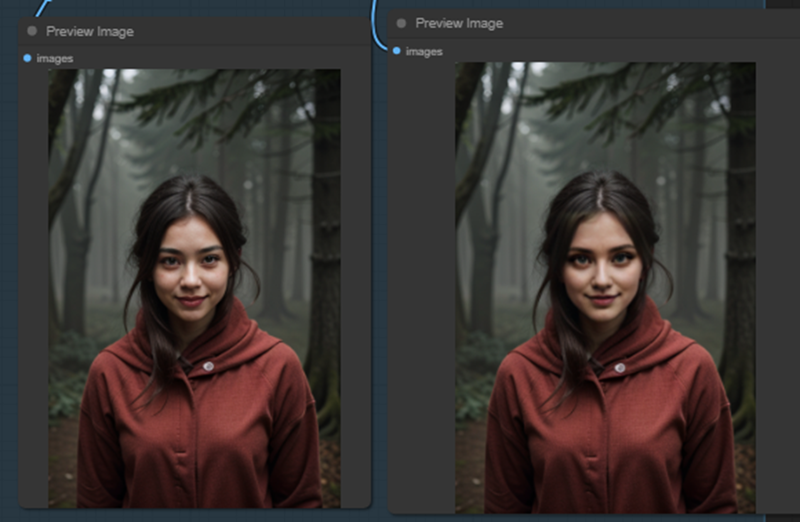
From now on the swap will be very fast.
Here some examples
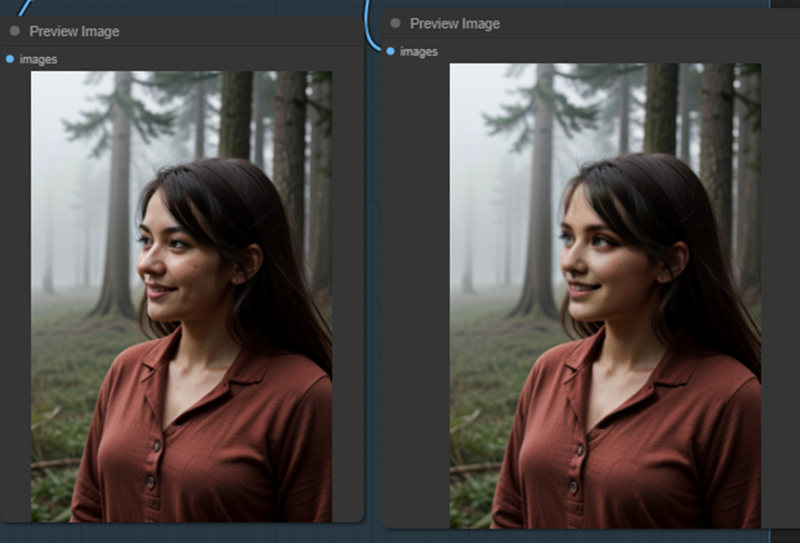
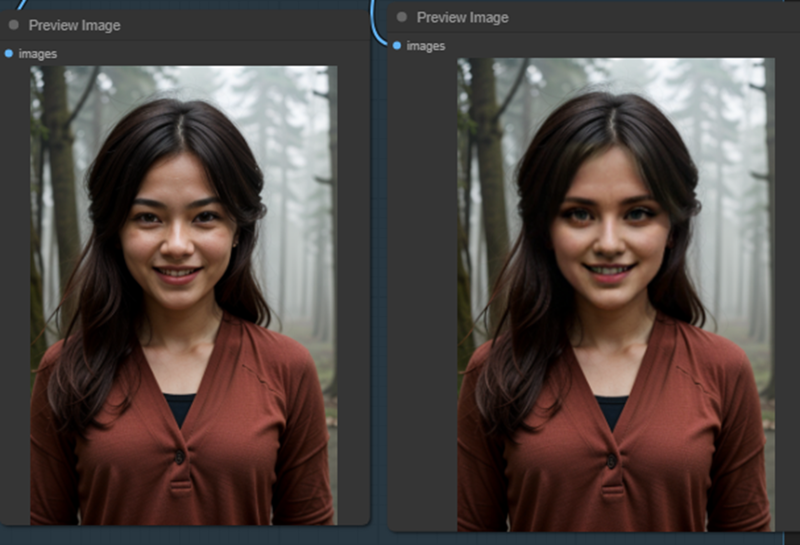
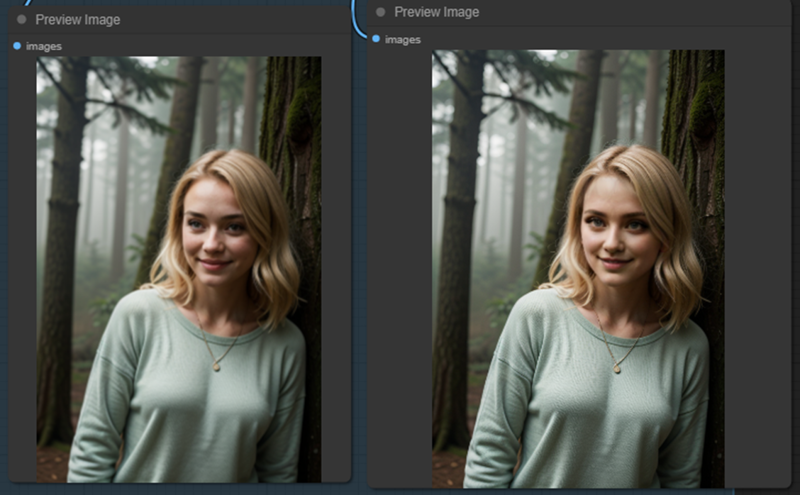
I hope you enjoy the article.
Attached you can find the workflow.


