Deforum with HarroweD tutorial series
DWH #1 - Creating your first animation with Deforum - in 1 click!
DWH #2 - Animating your own images with Deforum!
DWH #3 - How to schedule your animation parameters to change during the render!
Hey y'all, and welcome back to Deforum with HarroweD. Now that you've installed Deforum and created your first animation, it's time now to work your own flare into the process. In this tutorial I will be showing you 2 different methods you can use to animate your own artwork.
Important Vocabulary - for this tutorial I will be referring often to the "initial frame", or "initial image", usually by init frame/image, which is just the very first frame of the animation. This frame is particularly important for a couple of reasons, one is that it's the only frame of the animation that isn't created via img2img generation from the previous image (cuz there isn't one!). So the init frame will always be the only one that's created either via txt2img, or and existing image provided in the settings. If you have the color coherence settings to carry colors throughout all frames of your animation, then this frame is even more important as it sets the color scheme for all the rest.
Method 1 - Starting with a new txt2img
This first way is very straightforward, you will just create an image like you normally would in the txt2img tab, and then we will use that as the initial frame of our animation.
This method is as easy as just bringing along the properties (and SEED!) with which you generated the image, into Deforum.
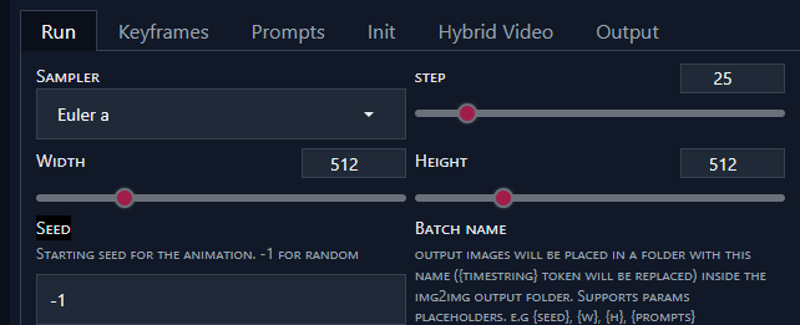
Starting with the Run tab, here's where you put in your sampler, step count, and dimensions. Also on the bottom left, you will see the Seed parameter. Here is where you will copy in the Seed from your initial image.
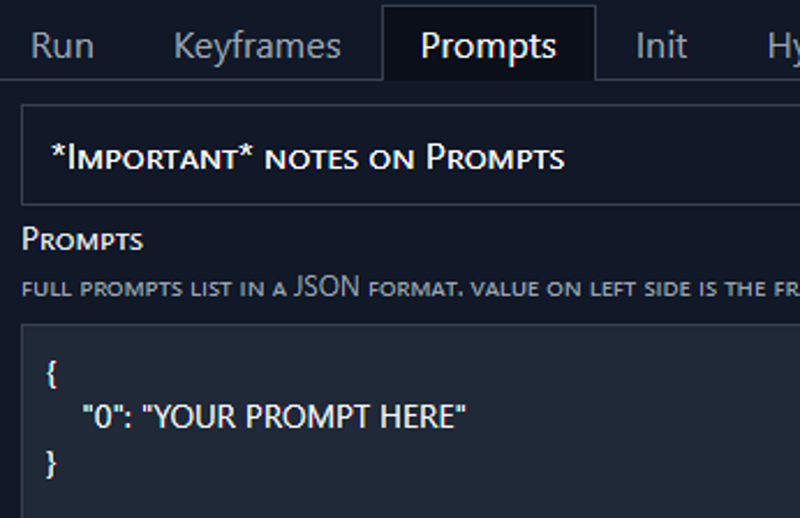
The only other property you have to change, of course, is the Prompt. Head over to the Prompts tab, and just paste your prompt in, scheduled at frame 0.
And that's it! You can change the max amount of frames to shorten or lengthen the animation if you'd like, but that's all you need to do before hitting Generate and watching you artwork come to life!
Method 2 - Using an existing image
This method will become a vital skill in animating with Deforum, as it is utilized in many different techniques. For example, let's say you want to start with a video intro, and have it seemlessly turn into animation (like those viral tiktok videos) you would do so by taking the last frame of the video, and using it as your init frame for the animation. But for now, let's start by just animating an existing image.
Firs,t navigate to the image on your hard drive, right click, and select "Copy as Path"

Once you've got that, then head over to your Init tab in Deforum, and paste her in there.
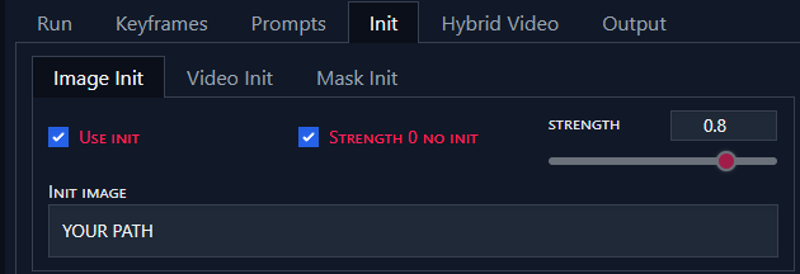
Just note that when you do this, it will place quotes around the image path, so you will want to remove those.
As for the Prompts, you can use whatever your crazy little mind would like to see happen to your image. For a demonstration, I will use this piece I made a little while back:
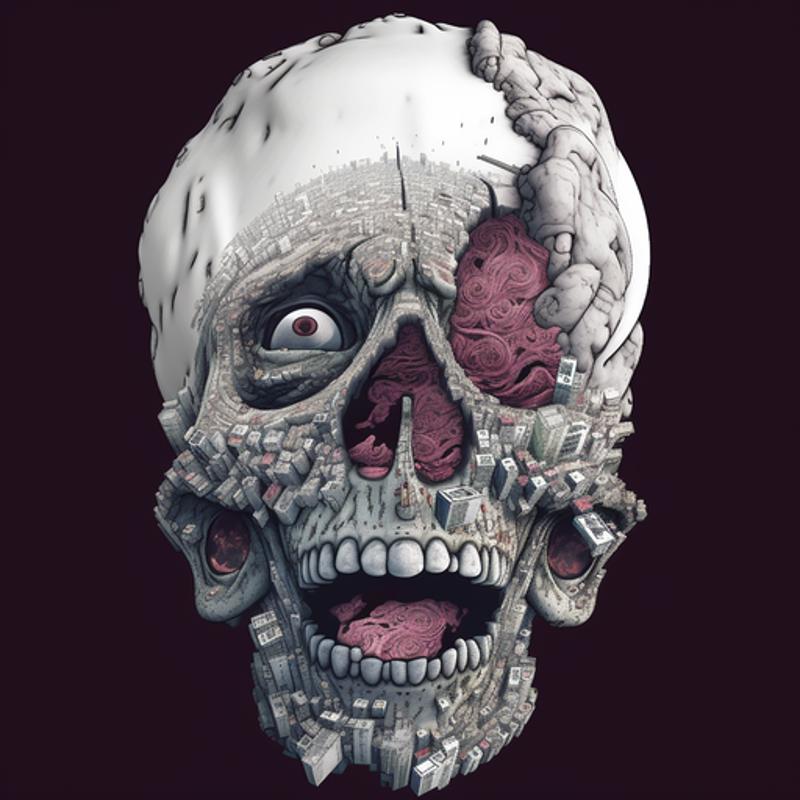
(NOTE: You want to make sure the image you're using matches your dimensions in Deforum, so I resized this picture to 512x512 to match the default render properties)
For simplicity sake, I'll leave the rest of the settings at their default values, except for Max Frames, which I changed to 60, and the Prompt Schedule, which I changed to this:
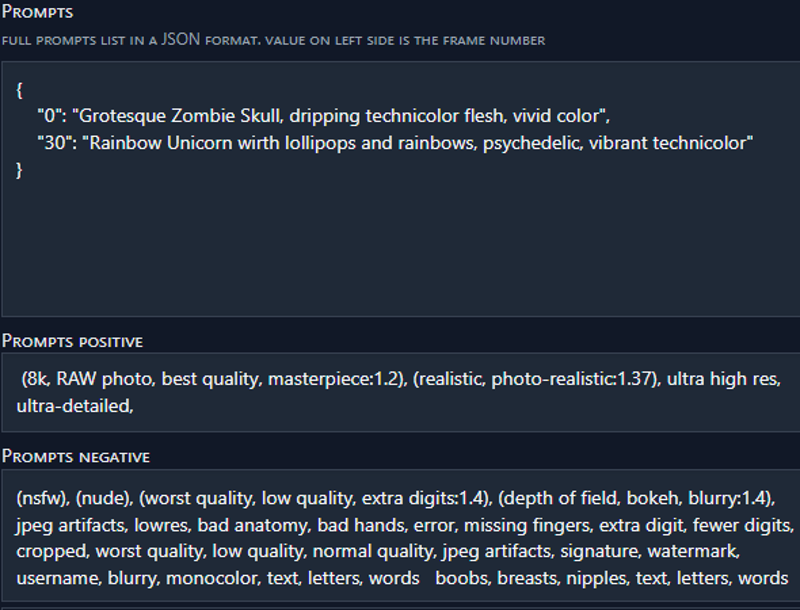
This is a standard set of global (pos/neg) prompts I'll use sometimes with my animations, and you can see the lengths I have to go through sometimes to keep the content SFW ;)
After slappin' that generate button, we get this!
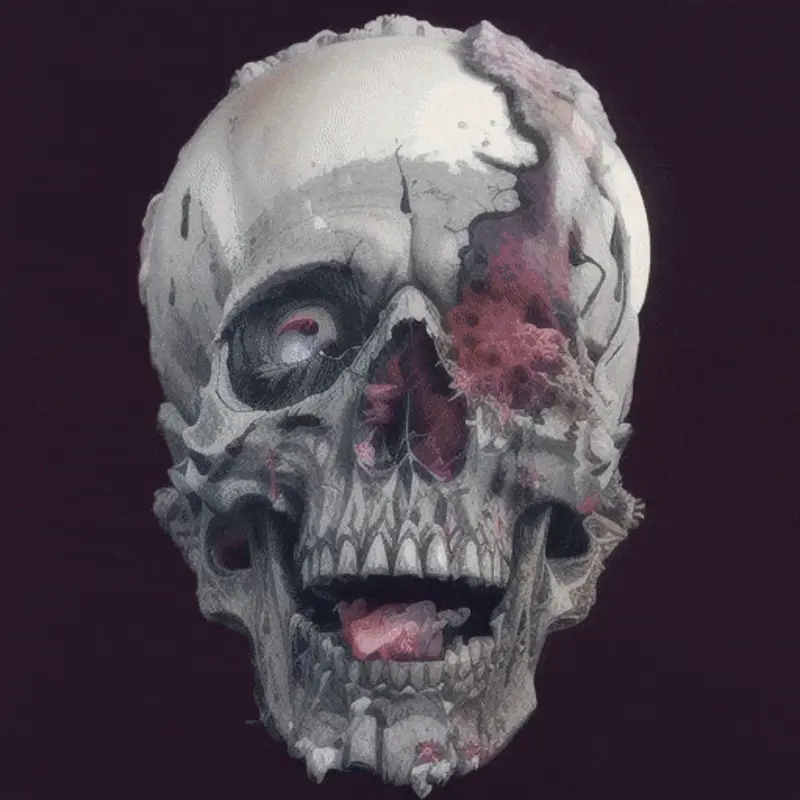
I have attatched the settings file to this article if you'd like to try it out yourself!
You now know how to animate your own artwork! This should be plenty to get you started animating, but in the next turotial, we will start getting into modifying the animation properties to achieve more interesting, higher quality animations, that eventualy we can also sync to audio!
Hope to see y'all then!


