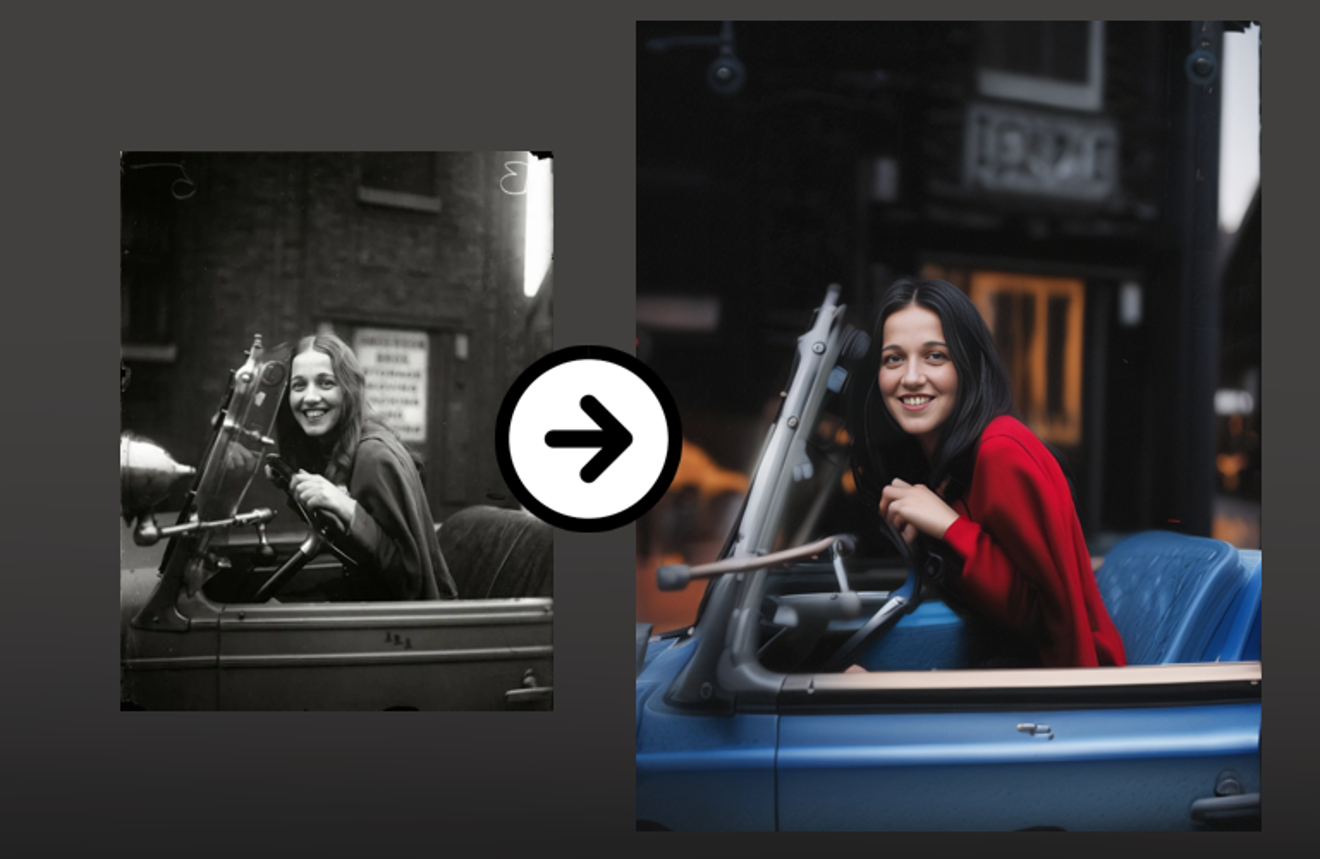
Objective
Restoring or Make old pictures like new.
Environment
For this test I will use:
Stable Diffusion with Automatic1111 (https://github.com/AUTOMATIC1111/stable-diffusion-webui)
To install Stable Diffusion check my article : https://civitai.com/articles/3725/stable-diffusion-with-automatic-a1111-how-to-install-and-run-on-your-computerControlNet component (https://github.com/Mikubill/sd-webui-controlnet )
Regional Prompter (refer to my article here https://civitai.com/articles/3959/stable-diffusion-testing-the-regional-prompter-plug-in-using-break)
Reactor (refer to my article here https://civitai.com/articles/3932/stable-diffusion-testing-reactor-face-swap-plug-in)
Installing Controlnet Component
Go to Extension Tab
Click on Install from Url
Paste the url https://github.com/Mikubill/sd-webui-controlnet
Click Install

Go to the Installed Tab and clic "Apply and Restart UI" (or restart manually Stable Diffusion)

Looking for old pictures
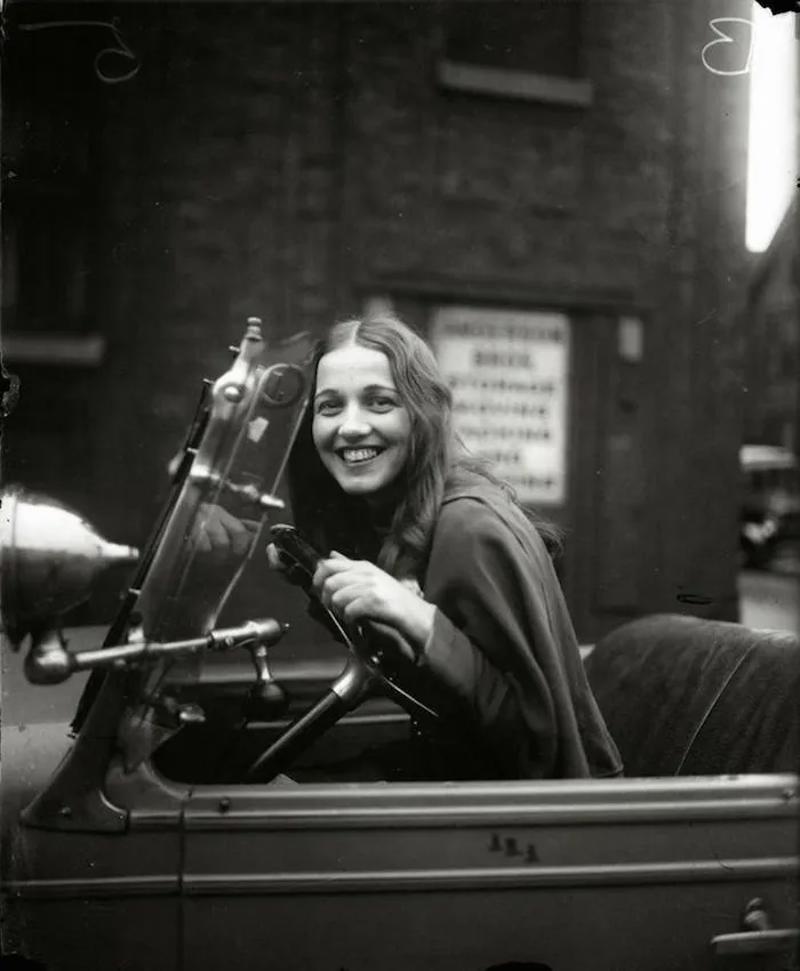
I found in this article on the internet some pictures (these pictures are not mine and if you think that I should remove them write me a message and I will do so).
https://www.whizzpast.com/17-photos-prove-just-cool-1920s-really/
I selected this picture here
Star the process
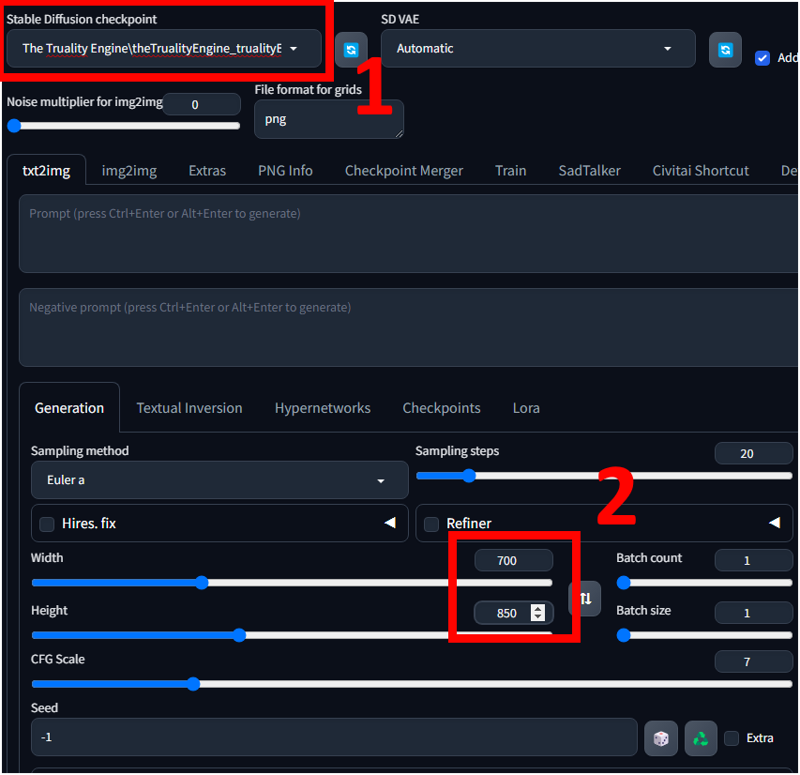
Set the size of the image equal or proportional to the size of your image.
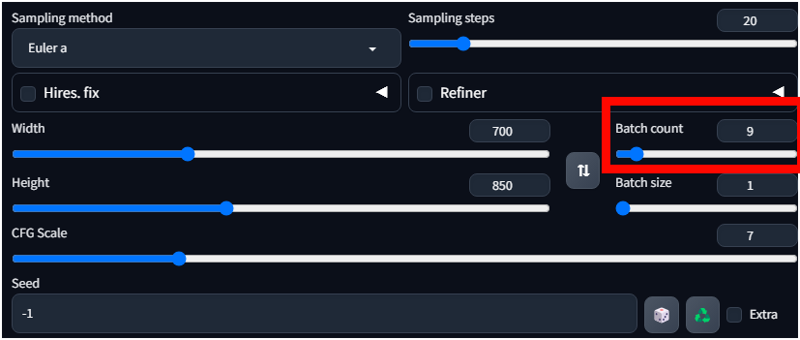
In my case is 700x850
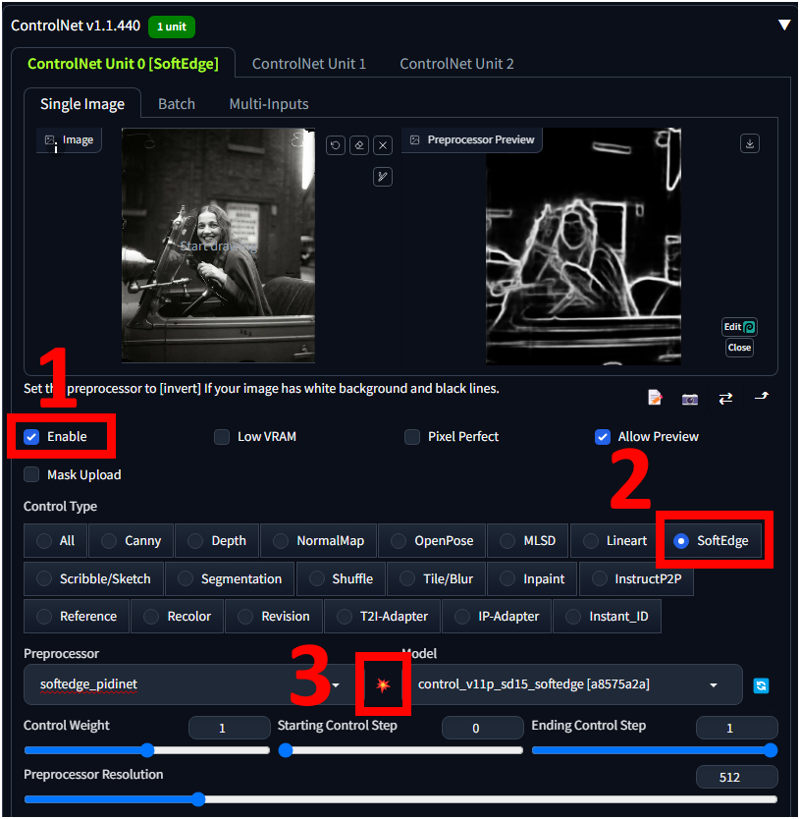
Now let's test ControlNet. there are different option I will work with the "softedge option"
1) Enable "ControlNet"
2) Set the "SoftEdge"
3) Click the little button to display the result..
Now I will write my prompt
I decide that this girl has black air, blue clothes and drives a red car.
1° TEST
Prompt: 1girl (black hair) ,(red clothes:1.4), smile, solo (blue car:1.5)
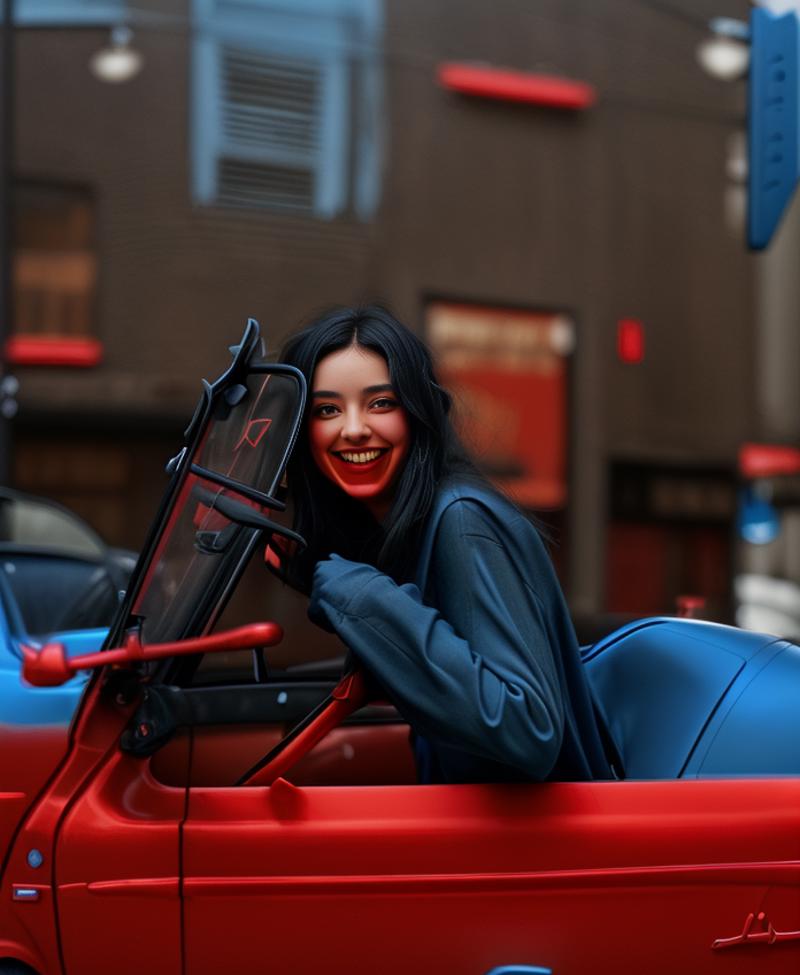
The face is not got at all and the color are mixed up.
2° TEST
Now I use paint.net ( https://www.getpaint.net/ ) a free software for editing, you can use also Krita (https://krita.org/en/) but paint.net it is faster to do simple actions.
In this case I use the selection tool and I cut the face
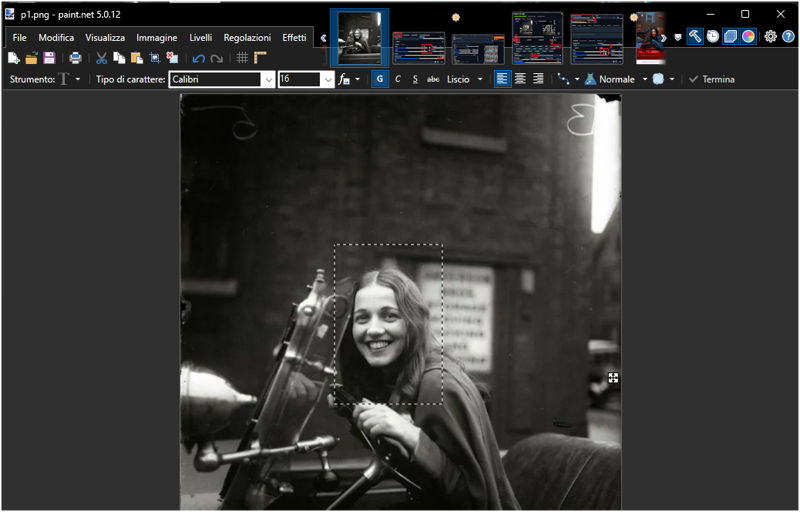
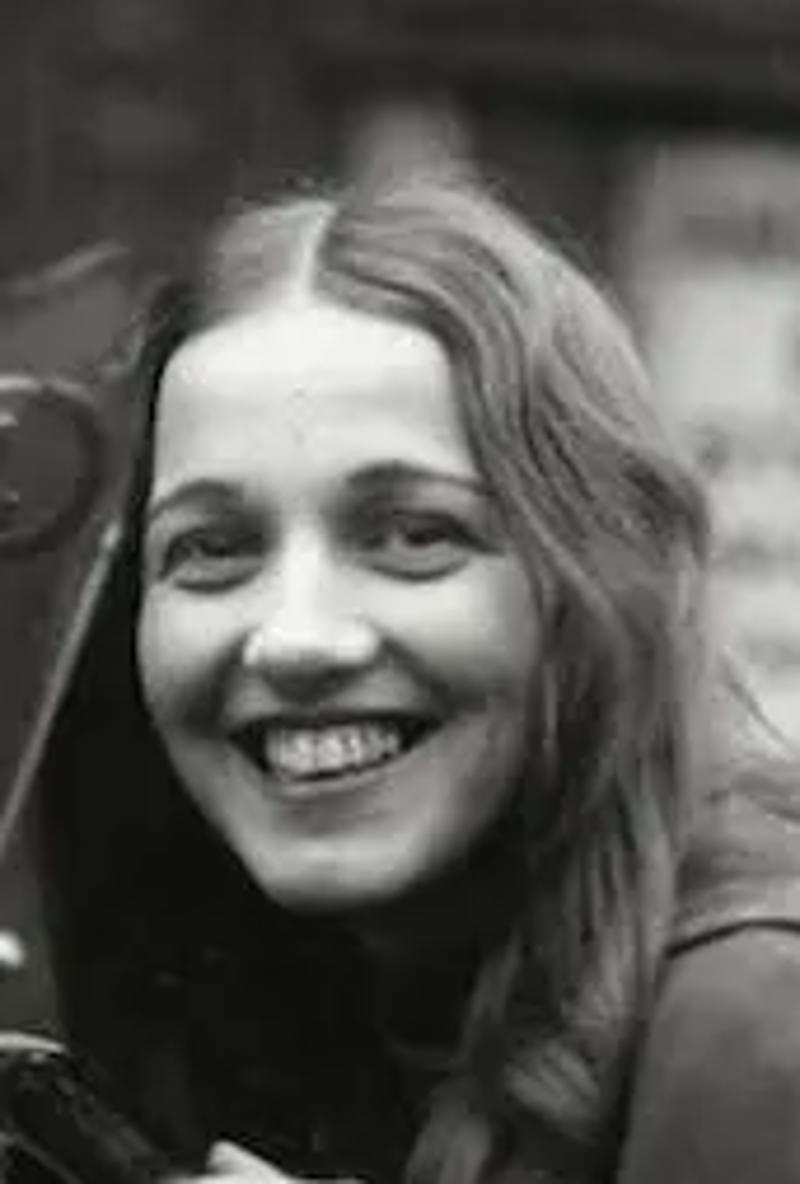
You can do this with another picture if you have a better image of the subject.
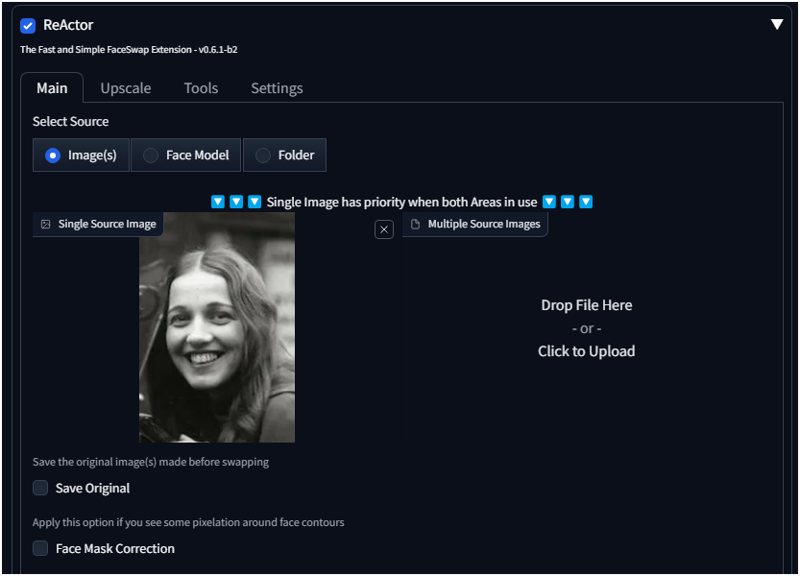
Setup Reactor
Now I put the image in Reactor and enable it , I leave the default options.
I run different times, now the face is much better, but the colors can be a pain.
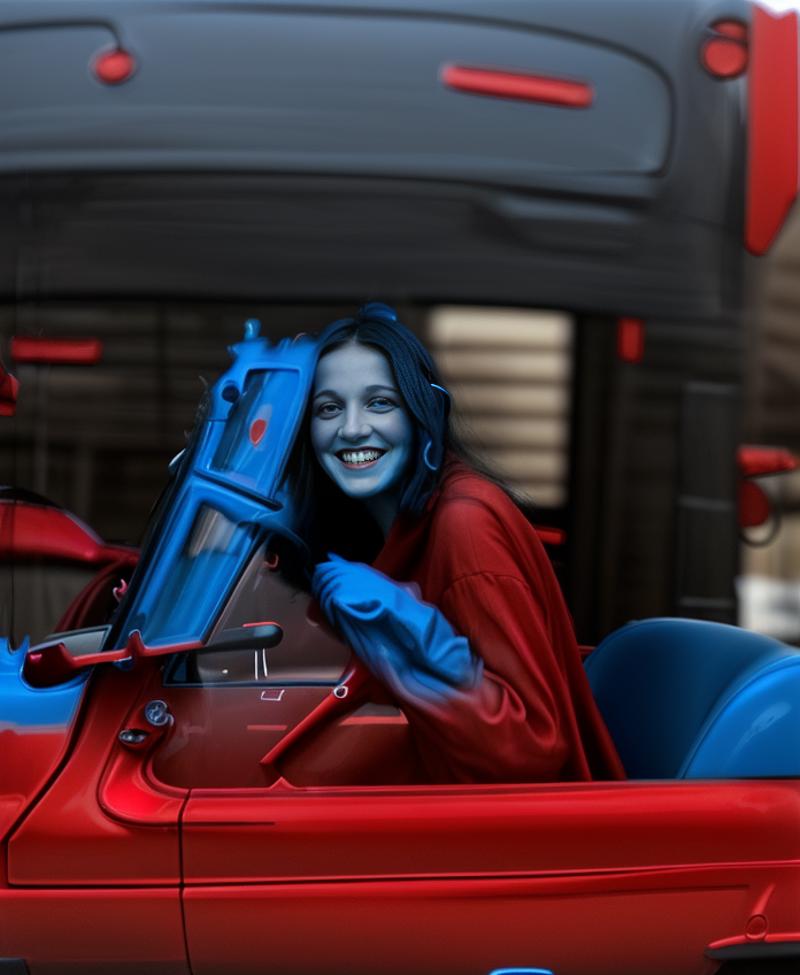
4° Test - Change ControlNet with Lineart
In controlnet you have many possibilities, I will now try "Lineart" ( you can test also the other, I will make a future article about all of them).
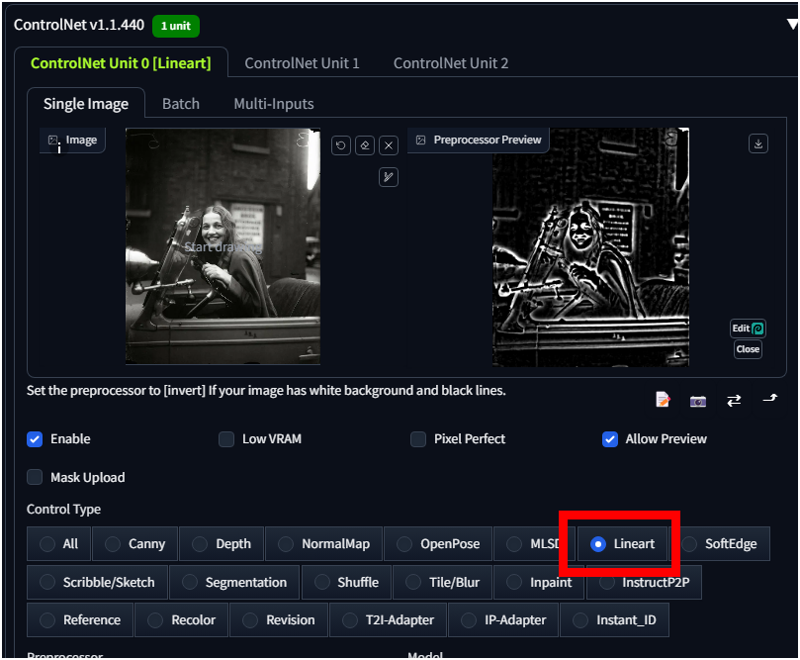
Now the image consistency is much better but I can have issues with the colors
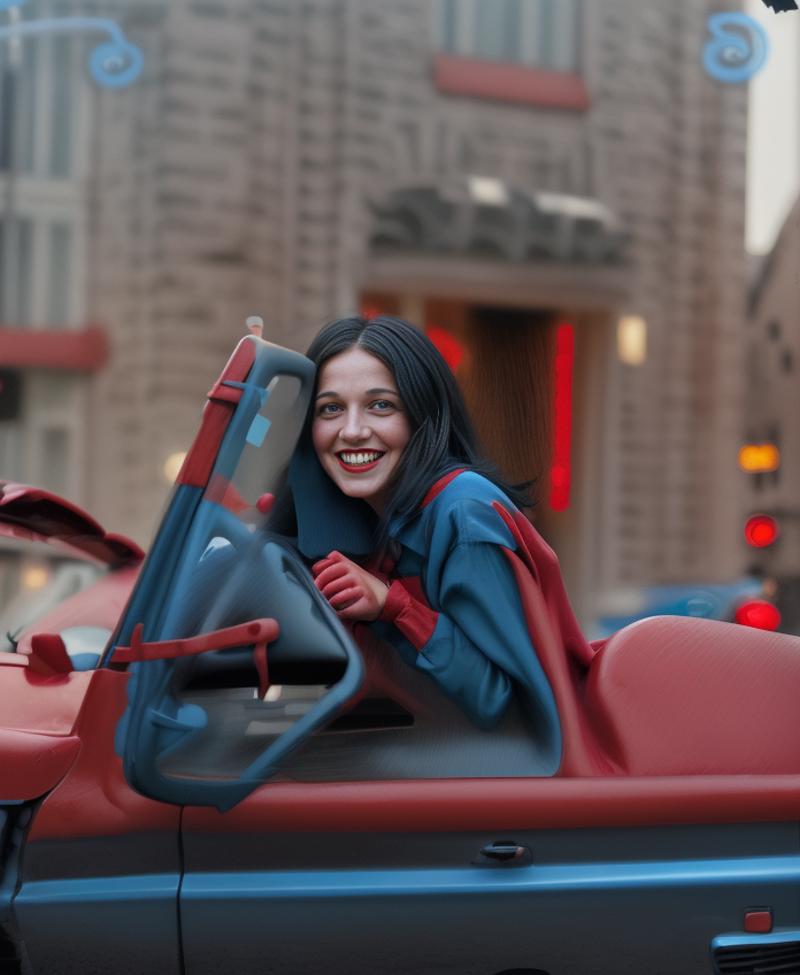
5° Test - Setup Regional prompter
If you refer to my previous article the idea is to divide the image in parts and use a special prompt to give to each part the right information.
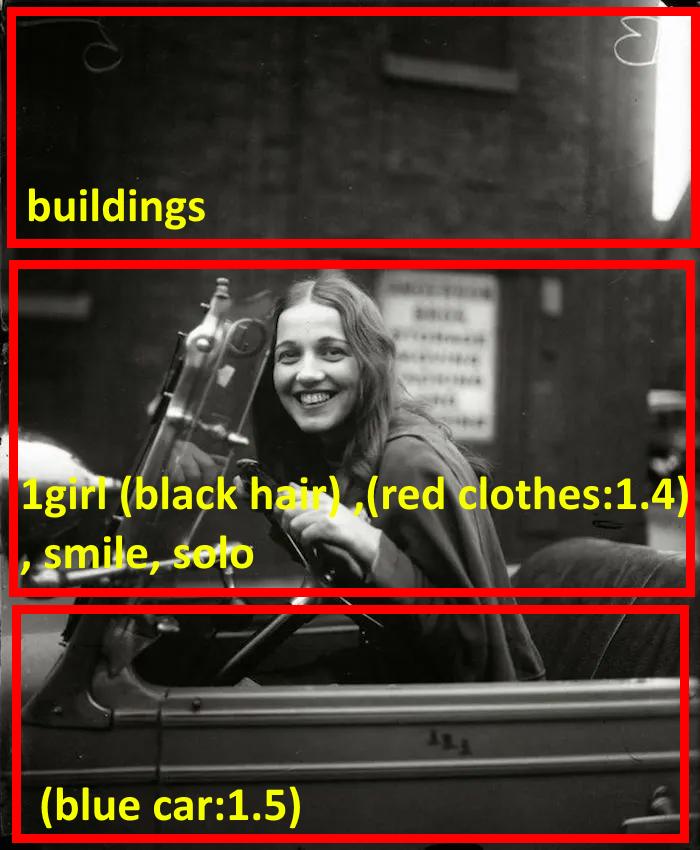
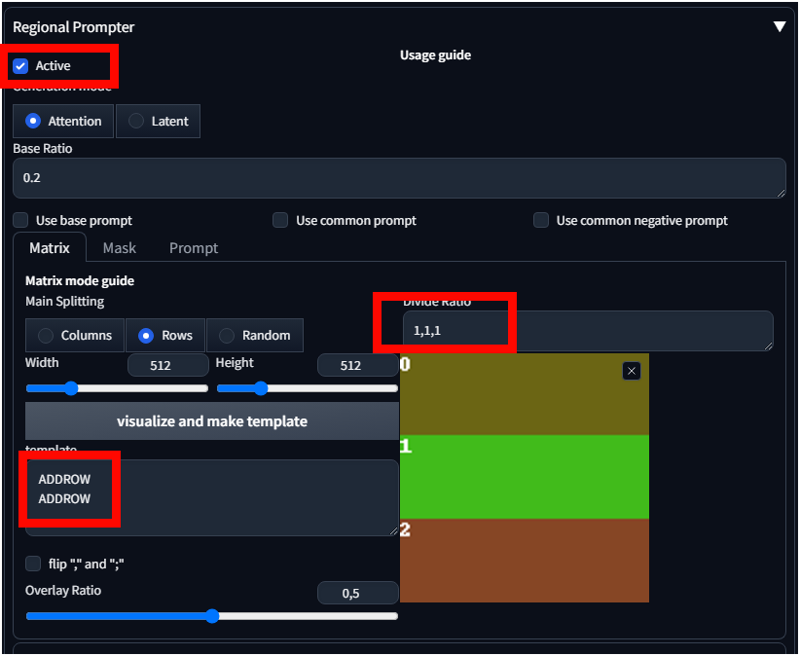
You enable the "Regional Prompter", setup "Rows" and the number 1,1,1 (it means 3 rows same size)
If you clic "Visualize and make template" you will notice
ADDROW
ADDROW
(We can also use BREAK, but I will user ADDROW in this case to change something )
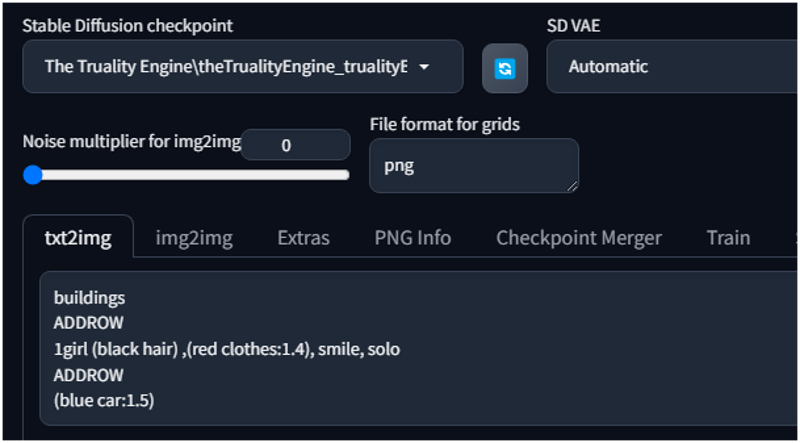
Because I want to speedup the process I will set the "Batch count" to 9 to generate 9 pictures.
Here we are.. the regional prompt not always work .. but we already start to have some pictures with colors similar to the original.
You can work with your prompt and negative prompt to make it better.
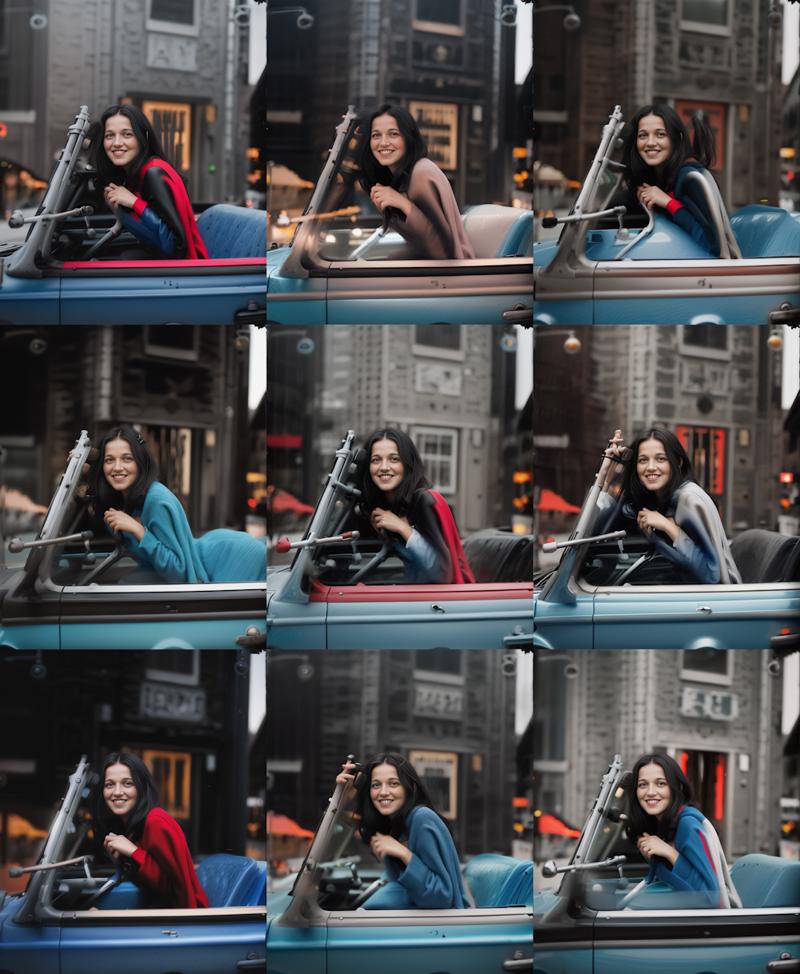
I like this one.. but the jacket is not red.
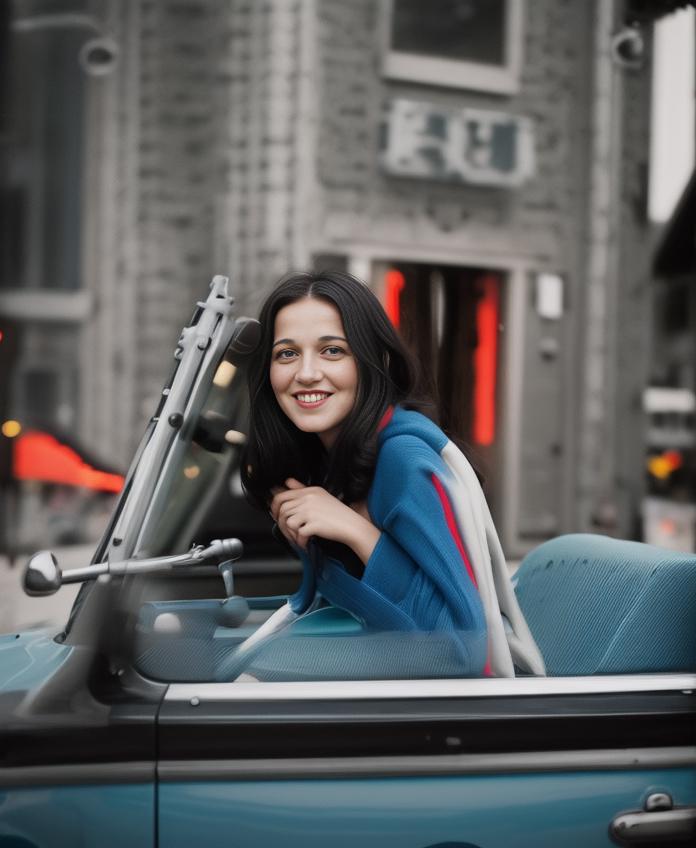
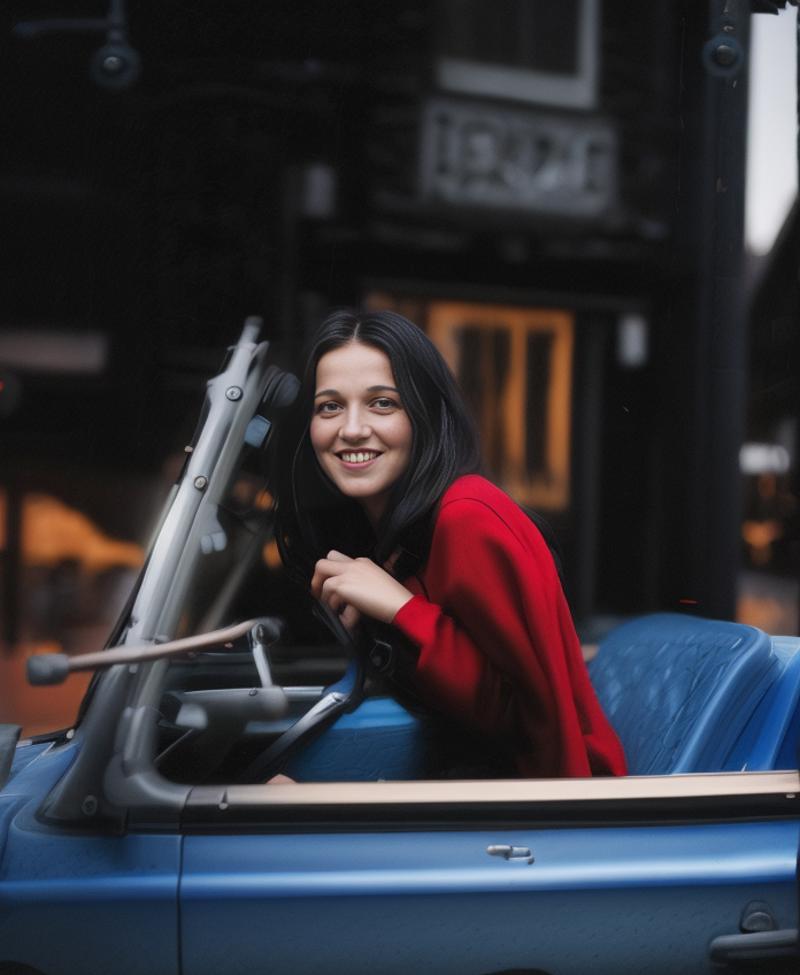
Also this one is not so bad.. there is a contrast between the girl and the dark background.
Now I got my image 700x850... I want to make it bigger.
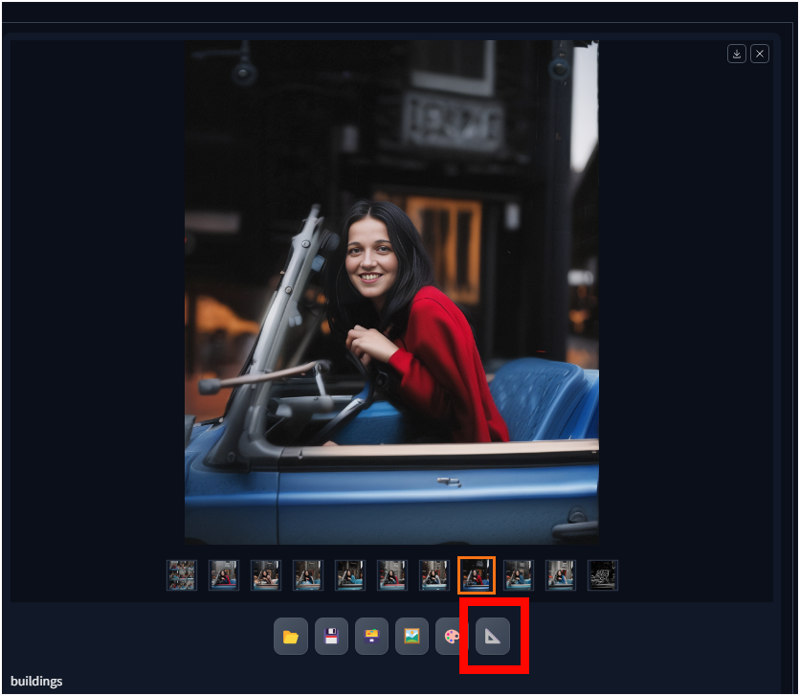
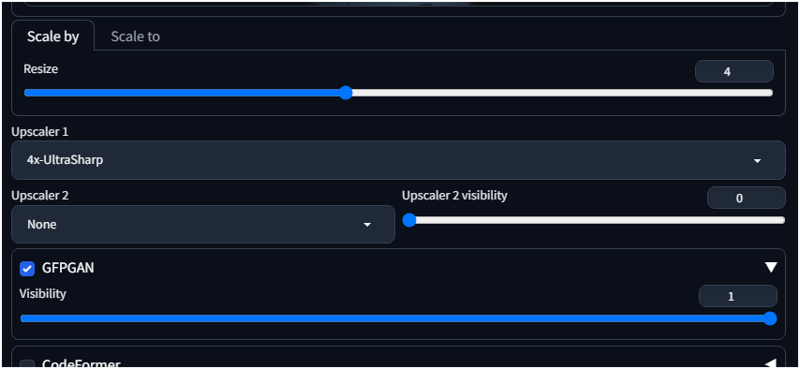
Select your image, Click on the "Send image and generation parameters to extras tab."
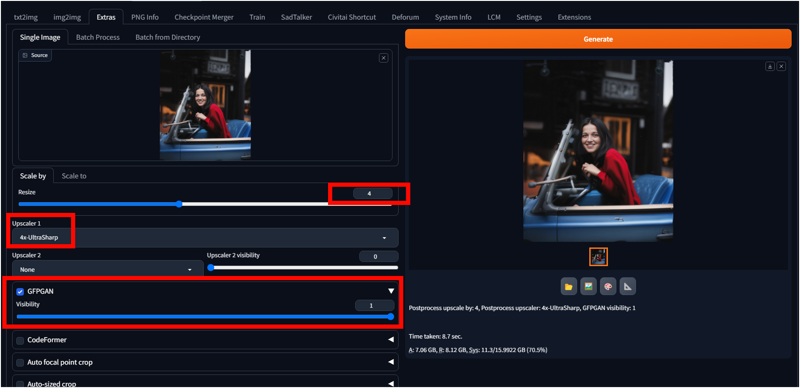
Now you can set the resize (which is upscaler by) I put 4 .. it means my output picture will be 2784x3392
Also I set the "Upscaler 1" to "4xUltrasharp"(here depens of the scaler your have installed, also about this I will write in the future).
Then I select GFPGAN to 1 (which improves the face during upscale)
And I got my improved image.
Of course it is not the same picture.. but it is a nice idea to improve your family old photos.
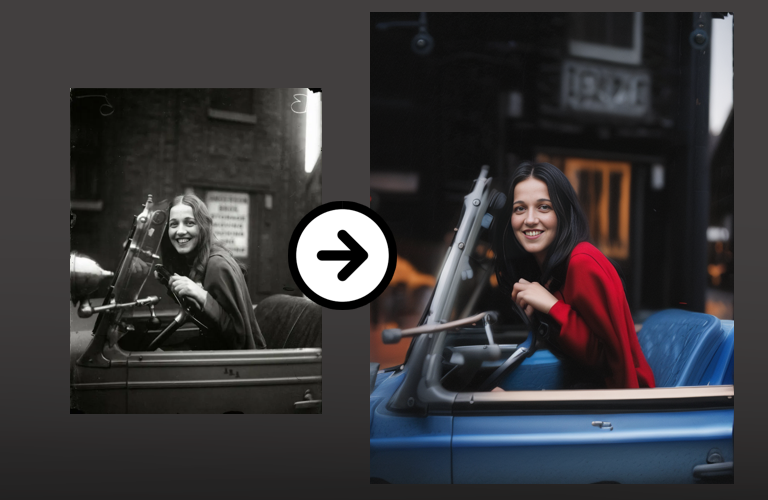
I've already revitalized my family album by infusing new life into all the old black and white pictures, contemplating the colors of yesteryears.
We often perceive the past in monochrome, yet with Stable Diffusion, we can now breathe vibrant hues into our memories.
I trust you'll find my article enjoyable. Feel free to leave comments below if you require further clarification.


