This is part eight in a series:
Simple Composition Tricks to Instantly Improve AI Images with Prompts
More Simple Composition Tricks to Instantly Improve AI Images Using Prompts
Intermediate Composition Tricks to Instantly Improve AI Images Using Prompts
Intermediate Emotional & Narrative Composition Techniques for AI Images Using Prompts
Simple Composition Tricks to Instantly Improve AI Images with Prompts: Camera Angles Edition
Simple Composition Tricks to Instantly Improve AI Images with Prompts: Perspective Edition
Simple Composition Tricks to Instantly Improve AI Images with Prompts: Color & Mood Edition
Simple Composition Tricks to Instantly Improve AI Images with Prompts – Light & Shadow Edition
Simple Composition Tricks to Instantly Improve AI Images with Prompts: Texture & Detail Edition
Modern AI image generators don’t just arrange the subjects in your scene – they also respond strongly to lighting and shadow cues. By adding classic lighting techniques and shadow effects to your text prompts, you can instantly give your AI-generated art more depth, drama, or atmosphere. Just like a photographer or film director uses careful lighting to tell a story, you can guide the AI with simple phrases to make your images feel cinematic, moody, soft, or intense. Best of all, these tricks are beginner-friendly, explained in plain English, and require no special tools – just creative use of words. Let’s dive in!
Dramatic Lighting Styles
Certain lighting styles are famous for their dramatic contrast and storytelling power. These typically use a single strong light source and deep shadows to create tension or focus. Here are some key dramatic lighting techniques:
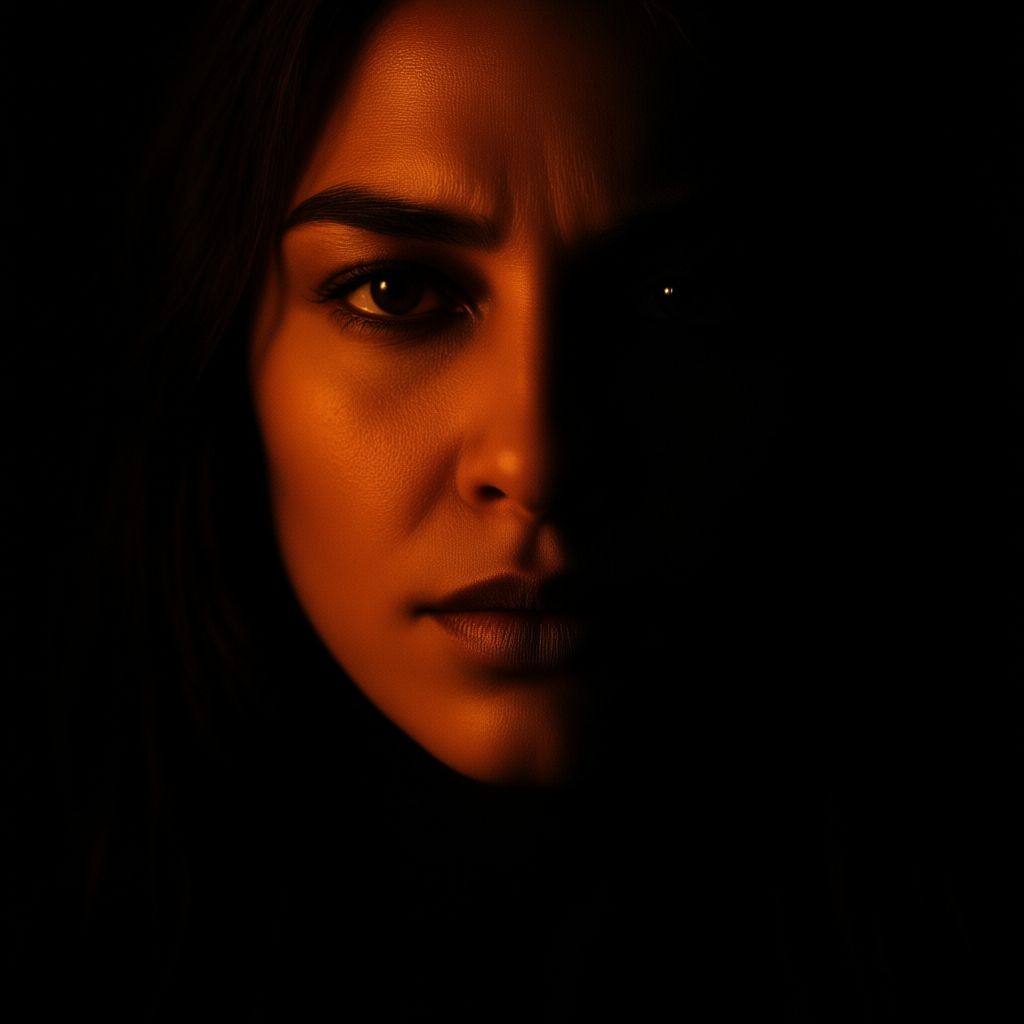
Chiaroscuro: Chiaroscuro (Italian for “light-dark”) is all about strong contrasts between light and dark parts of an image[1]. This technique lights important areas while plunging the rest into shadow, producing a bold, high-contrast look. The emotional effect is a sense of mystery, suspense, and drama[2] – viewers feel the intensity and depth. Use chiaroscuro when you want a moody, old-master painting vibe or to draw attention to a subject with an air of intrigue. Prompt example: “dramatic portrait lit in chiaroscuro, one side of face brightly lit and the other in deep shadow, intense and mysterious mood”.
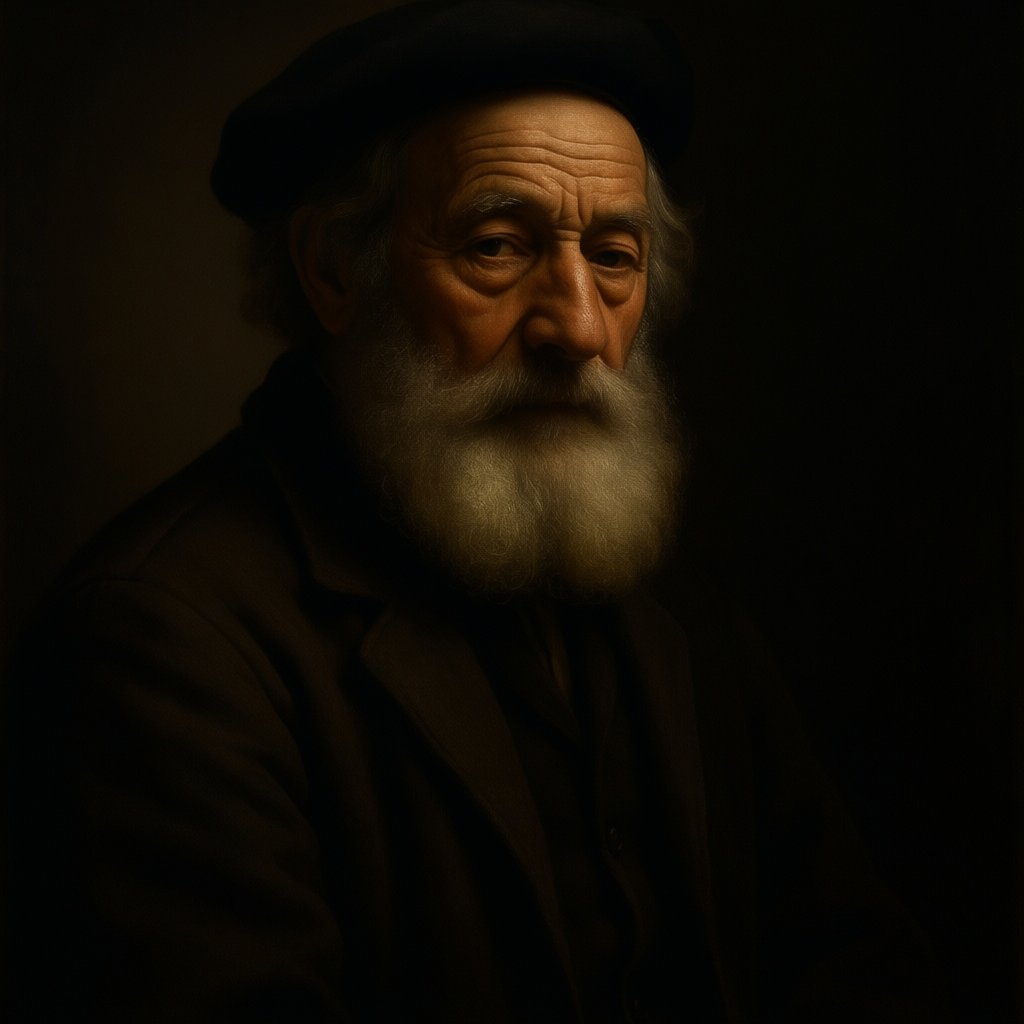
Rembrandt Lighting: Named after the Dutch painter, this is a classic portrait lighting style using a single angled light. One side of the face is illuminated while the other is mostly in shadow, except for a small triangle of light on the cheek of the shadowed side[3]. This creates a moody but natural look – the subject’s face has depth and a touch of drama. Rembrandt lighting feels intimate and serious, great for storytelling portraits or artistic scenes. It often results in a dramatic effect that puts the subject front and center[4]. Use it for portraits where you want a timeless, old-fashioned or contemplative mood. Prompt example: “a moody portrait of an old man in Rembrandt lighting – one side of his face lit, the other in shadow with a small light on his cheek, dramatic and intimate atmosphere”.
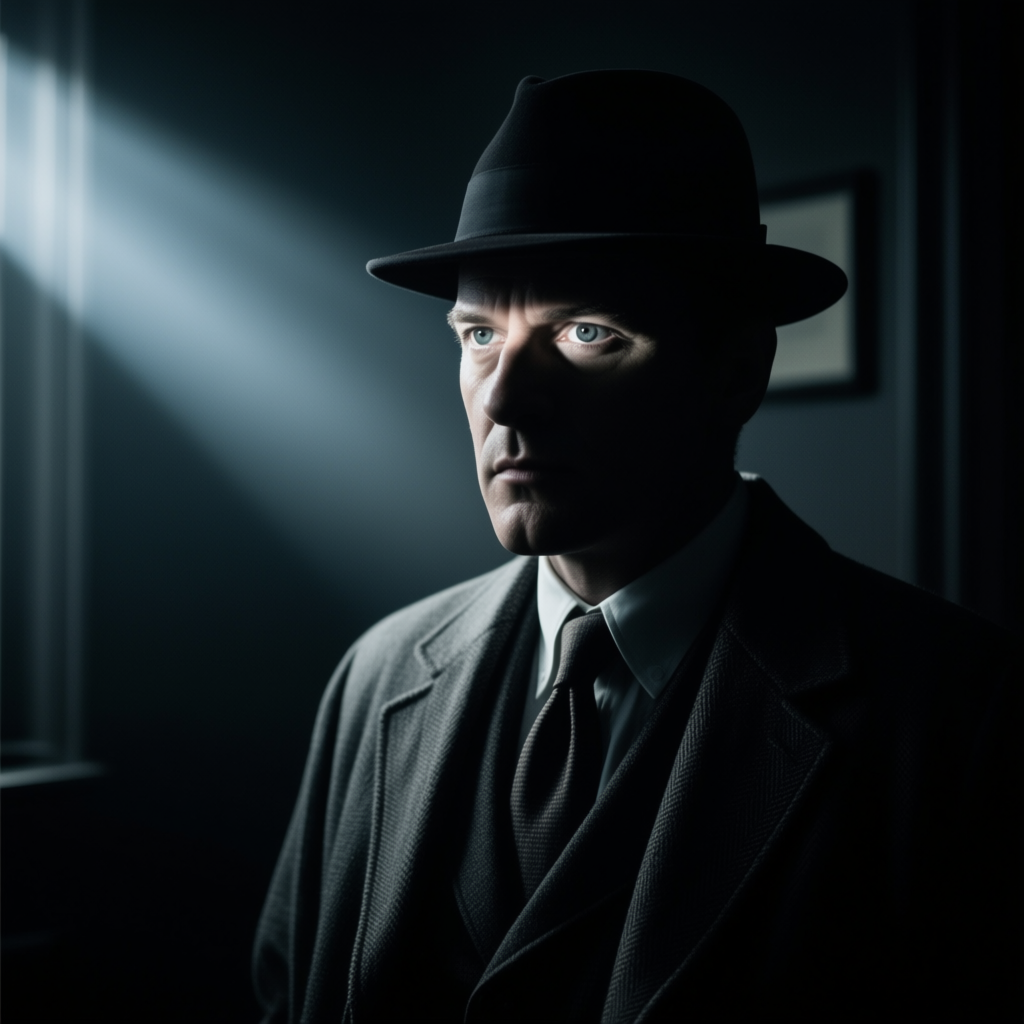
Low-Key Lighting: Low-key lighting means an image lit mostly by shadows and darkness, with just a few highlights. It uses minimal fill light, resulting in high contrast, deep blacks, and a very dark overall scene[5]. Visually, low-key images have strong highlights next to shadow, similar to chiaroscuro. The mood is mysterious, tense, or somber – this style is common in thrillers, film noir, horror, or any scene needing drama[5]. It adds instant tension and gravity to a scene. Use low-key lighting for anything from a suspenseful character half-hidden in darkness to a gritty dramatic moment. Prompt example: “a low-key photograph of a detective in a dark room, hard shadows and one ray of light illuminating his eyes, very high contrast and suspenseful mood”.
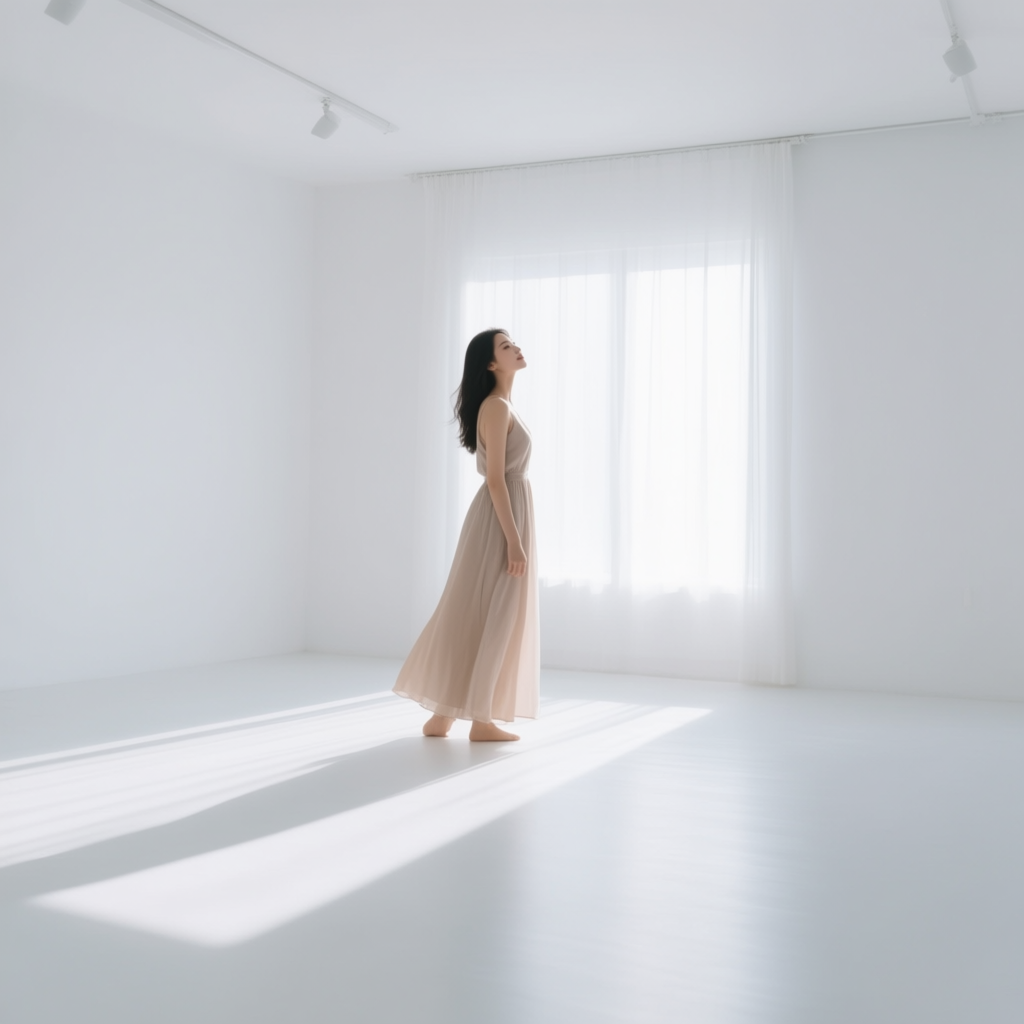
High-Key Lighting: High-key lighting is the opposite of low-key – bright, even lighting with minimal shadows. The scene is well-lit from many angles (or with lots of fill light), so the contrast is low and everything looks soft and bright[6]. The effect is a cheerful, airy, or innocent mood – often used in upbeat commercials, fashion, or wedding photography to convey positivity[7]. High-key images feel lighthearted and clean, as if there’s “nothing to hide.” Use high-key lighting when you want a soft, optimistic, or friendly feel in your image, like a dreamy fantasy or a vibrant product shot. Prompt example: “a high-key scene of a woman in a white room, bright even lighting with almost no shadows, very soft and uplifting mood”.
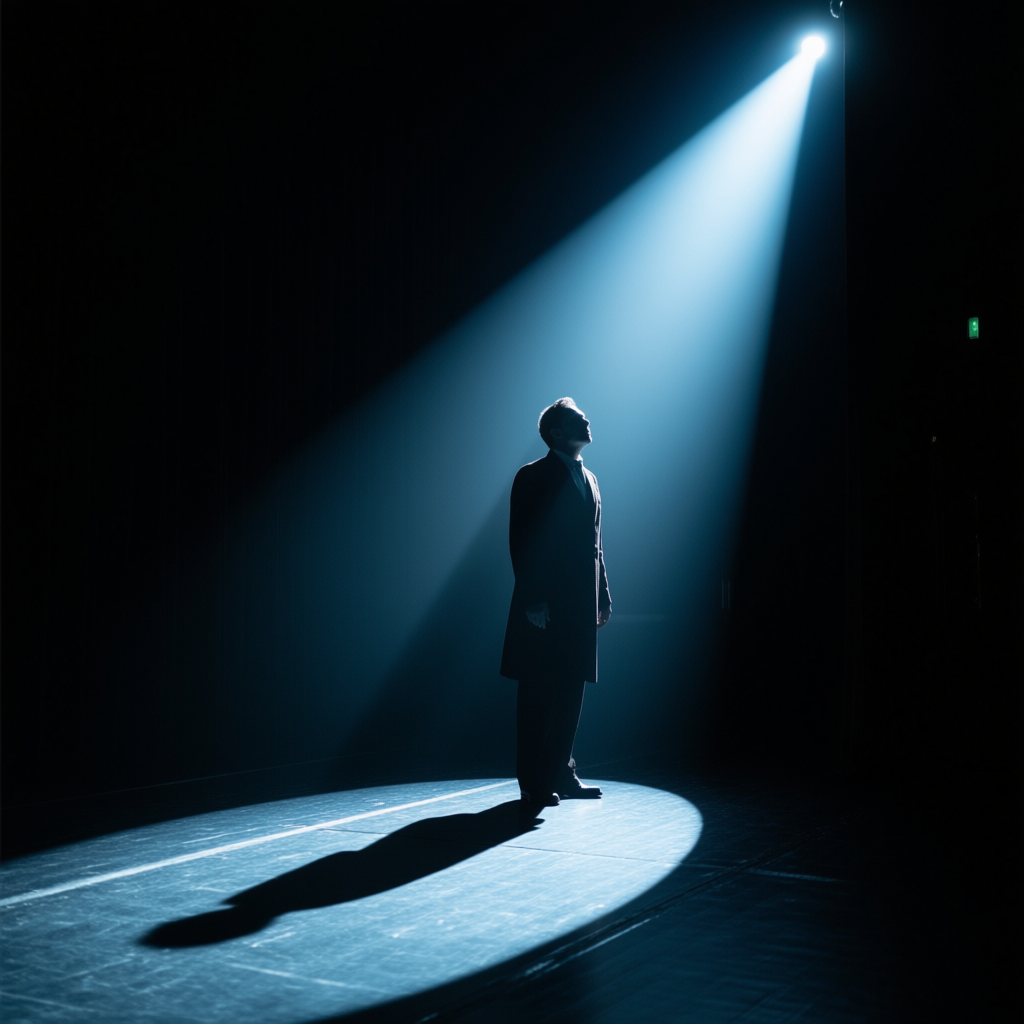
Theatrical/Stage Lighting: This style mimics the look of a dramatic theater stage. Imagine a scene with a harsh spotlight on the subject and darkness all around – that’s theatrical lighting. It typically involves one or two strong lights from specific directions (like a spotlight from above or below), creating stark contrast and often visible light beams. The emotional effect is intense and stylized – it can feel like the subject is literally under the spotlight, with an epic or larger-than-life vibe. Use theatrical lighting prompts to give your image a sense of performance or drama, or to isolate a character against a dark background for emphasis[8]. Prompt example: “a lone actor on a dark stage under a harsh spotlight, theatrical lighting with sharp shadows, very dramatic focus on the subject”.
Directional Light & Glow
Where your light comes from has a huge impact on the look and story of an image. Directional lighting means light hitting the subject from a specific side or angle, often creating special effects like glows or silhouettes. Here are key directional lighting tricks:
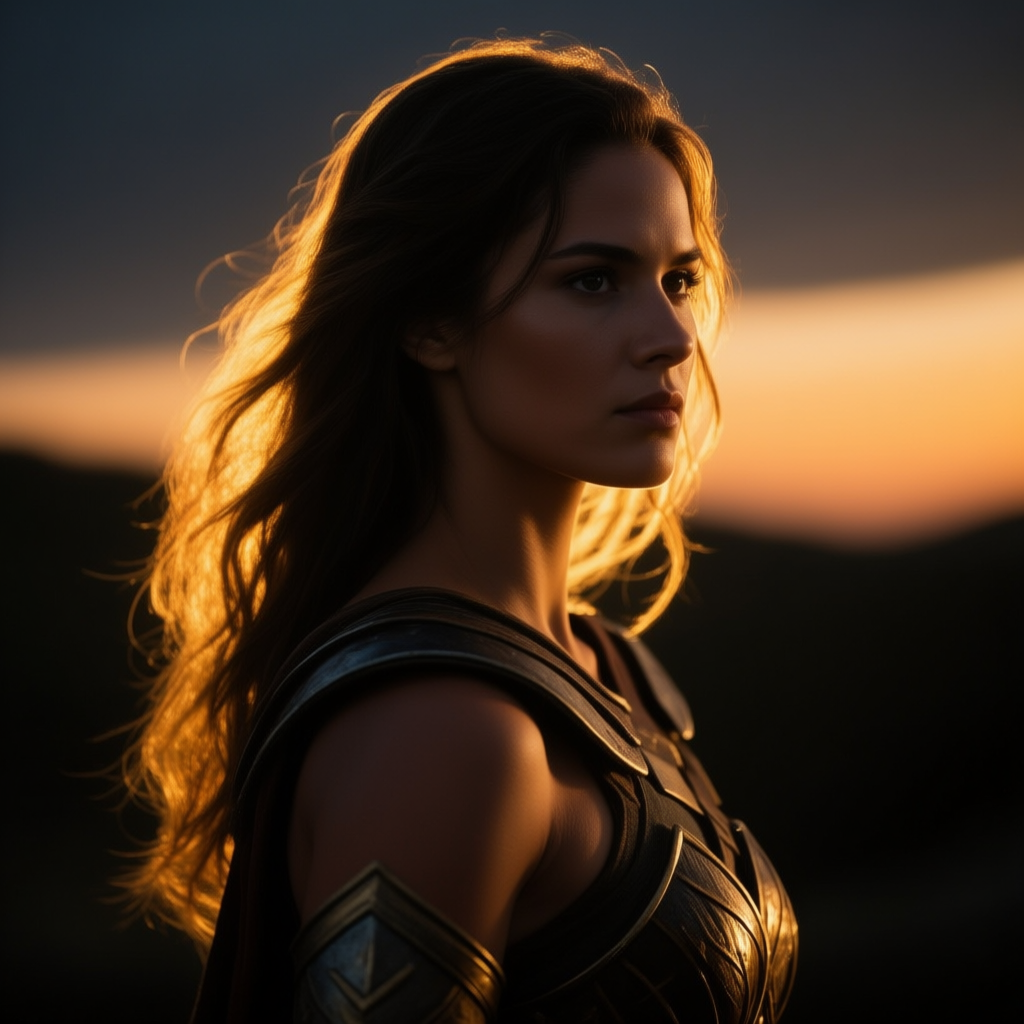
Rim Lighting (Edge Light): Rim lighting places a light behind or at a sharp angle to the subject, so that it just catches the edges of the subject. This produces a glowing outline or halo of light along the subject’s rim[9]. Rim lighting emphasizes the subject’s shape and separates them from the background, often giving a dramatic or mysterious appearance[10]. It’s great for showing a silhouette with a silver lining or making a portrait pop out from darkness. Emotionally, a rim-lit subject can feel heroic or magical (think of a backlit silhouette with sunlight outlining them). Use rim lighting when you want to highlight form and add a bit of mystery without fully lighting the subject. Prompt example: “cinematic portrait of a warrior backlit at dusk, rim lighting outlines her hair and shoulders in a golden glow, background in shadow”**.
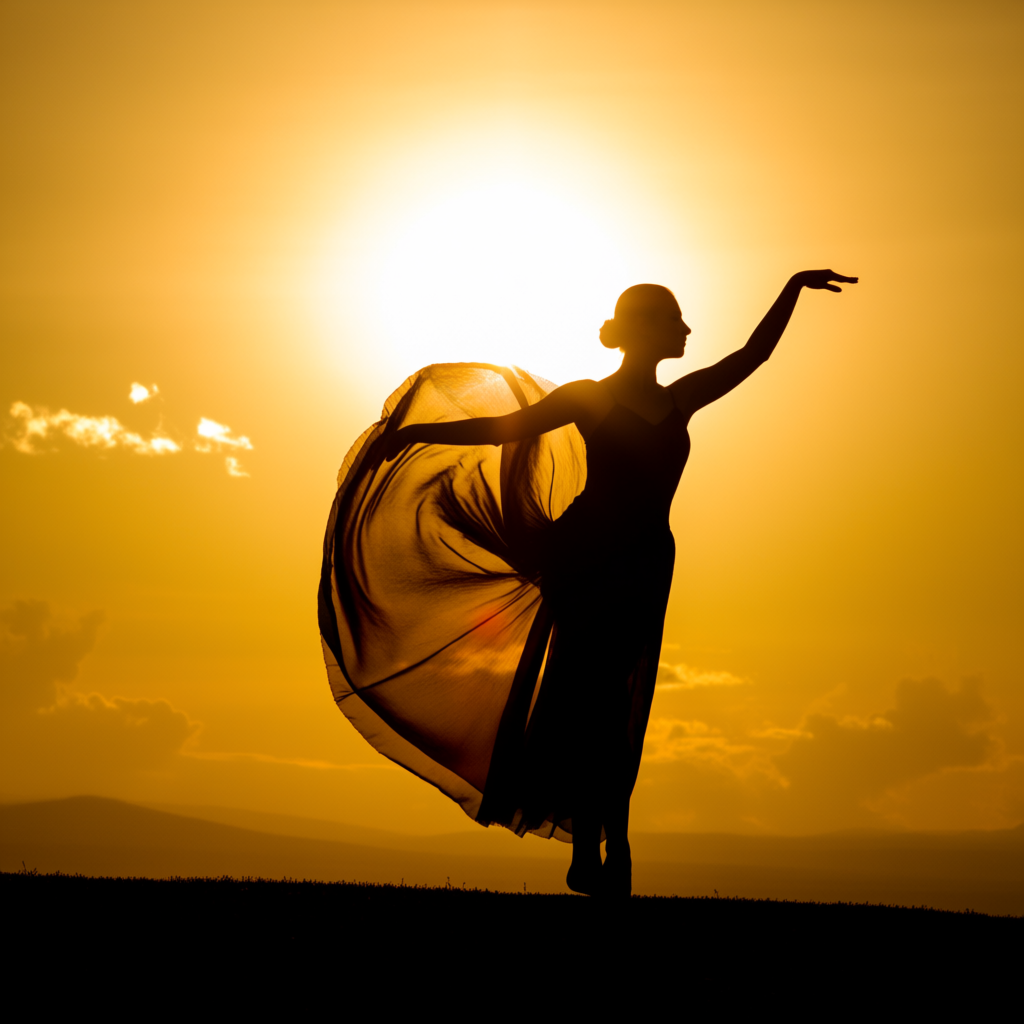
Backlighting: Backlighting means the main light source is behind the subject, facing toward the camera. This often turns the subject dark (if exposed for the background) – basically creating a silhouette or semi-silhouette – and can produce a captivating glow around them[11]. Backlighting is perfect for dramatic effects like sunsets, where a person or tree is blacked out against a bright sky. It can also create lens flares or dreamy haze if the light is strong. The mood from backlighting is often romantic or mysterious: it hides details and focuses on outline and atmosphere[12]. Use backlighting for scenes at sunrise/sunset, or any time you want a subject’s shape to stand out (for instance, “a couple in silhouette against a setting sun”). Prompt example: “a silhouette of a dancer against a bright sunrise, strong backlighting making her form dark against the golden sky, with a glowing aura around her”.
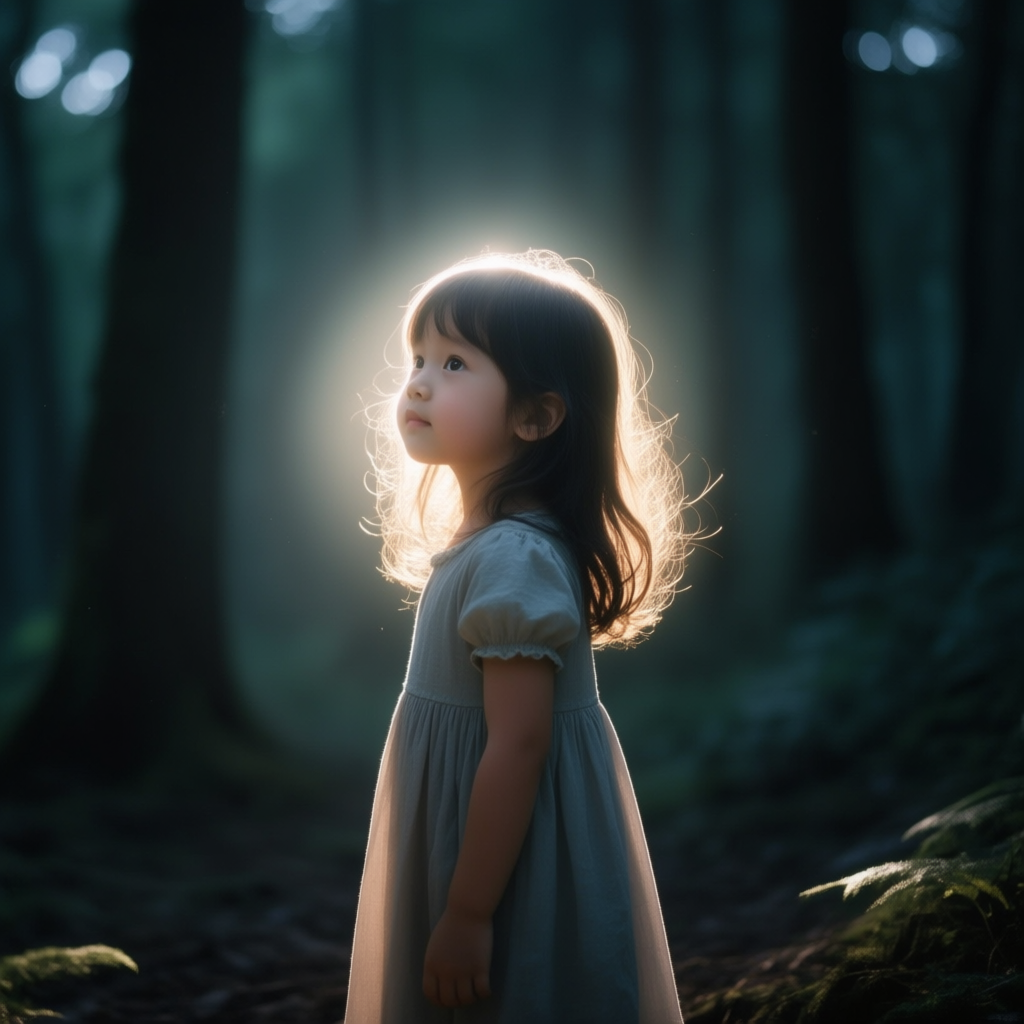
Halo Glow (Hair Light): A halo light is essentially a specific kind of back/rim light aimed to create a halo effect around the subject’s head or body. For example, in portrait photography a small light above and behind a person’s head creates a glowing outline (often on their hair) that looks like an angelic halo[13][14]. This halo glow gives the subject a divine or ethereal quality – great for conveying innocence, spirituality, or fantasy. It can make a character look literally “enlightened” or just add a touch of magic. Use halo lighting in prompts when you want your subject to have a soft glow that separates them from the background in a gentle way. Prompt example: “photograph of a child in a dark forest, soft halo of light around her hair as if lit from behind, magical and innocent atmosphere”.
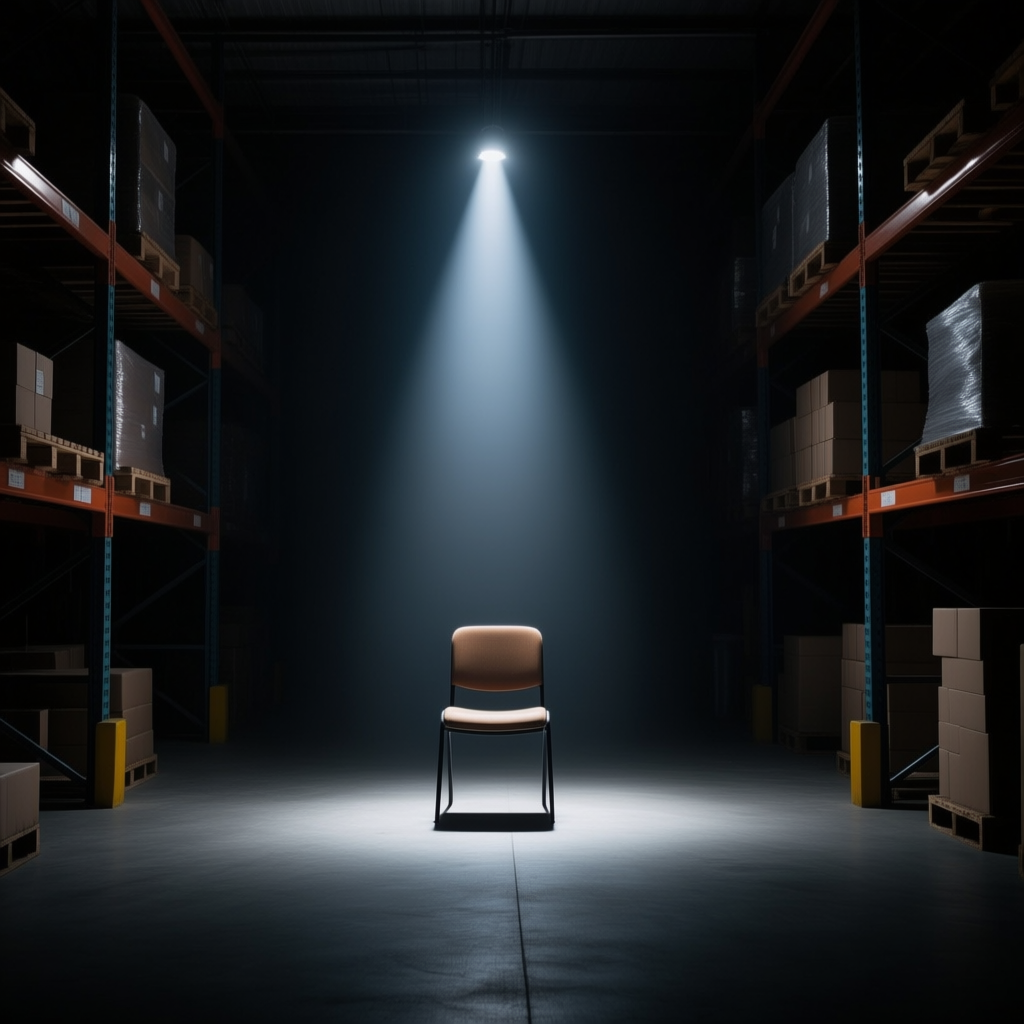
Spotlight: A spotlight is a focused beam of light shining on a particular spot or person, leaving the rest of the scene dark or in deep shadow. In an image, using a spotlight effect will make one area very bright and the surroundings much darker, instantly drawing the viewer’s eye[8]. The emotional effect is intense focus and drama – it highlights something important or creates a sense of isolation (as if saying “look here!”). Spotlights can feel like interrogation lights (harsh and tense) or like a performer’s spotlight (dramatic and exciting). Use a spotlight prompt to single out your subject in darkness or to give a scene a theatrical, high-contrast look. Prompt example: “a dark warehouse with a single spotlight illuminating a chair in the center, everything else in shadow, dramatic focus”.
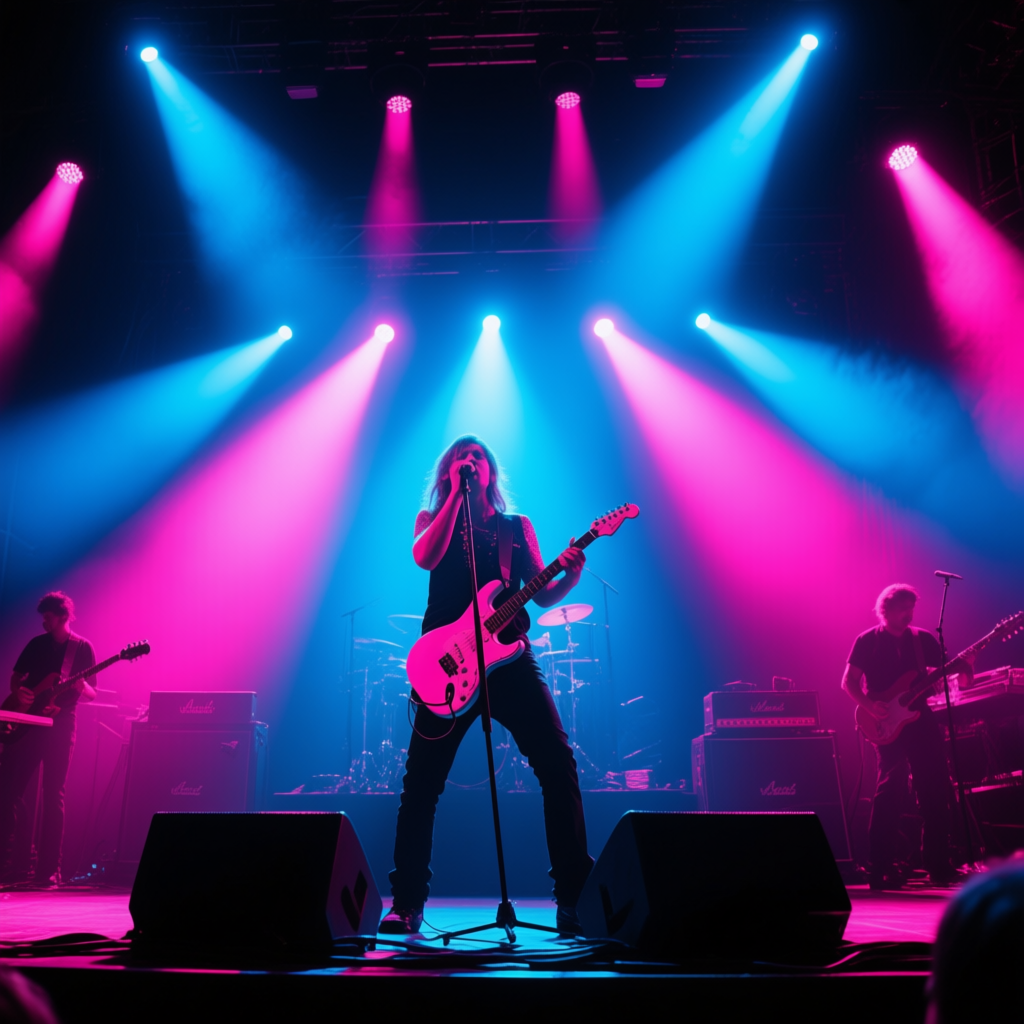
Stage Lighting: Stage lighting refers to using multiple directional lights with color or effect, similar to a concert or theater stage. This might mean a mix of spotlights, backlights, and colored gels lighting the scene. The result is a very dynamic, often colorful and contrasty image with visible lighting effects (like beams of light or colored glows on the subject). Stage lighting in a prompt can create an energetic, theatrical mood – think of a singer on stage lit by purple and blue lights, or a character in a story with vivid colored lighting as if they’re in a play. It conveys a sense of performance or spectacle. Use “stage lighting” when you want your image to feel like a live event, with dramatic lighting coming from obvious directions. Prompt example: “rock concert scene, singer on stage under bold stage lighting (neon blue and pink spotlights), dramatic shadows and colorful glow effects”.
Soft vs. Hard Light
Beyond direction, the quality of light can be soft or hard, drastically changing the mood of your image. This comes down to how diffused or direct the light is:
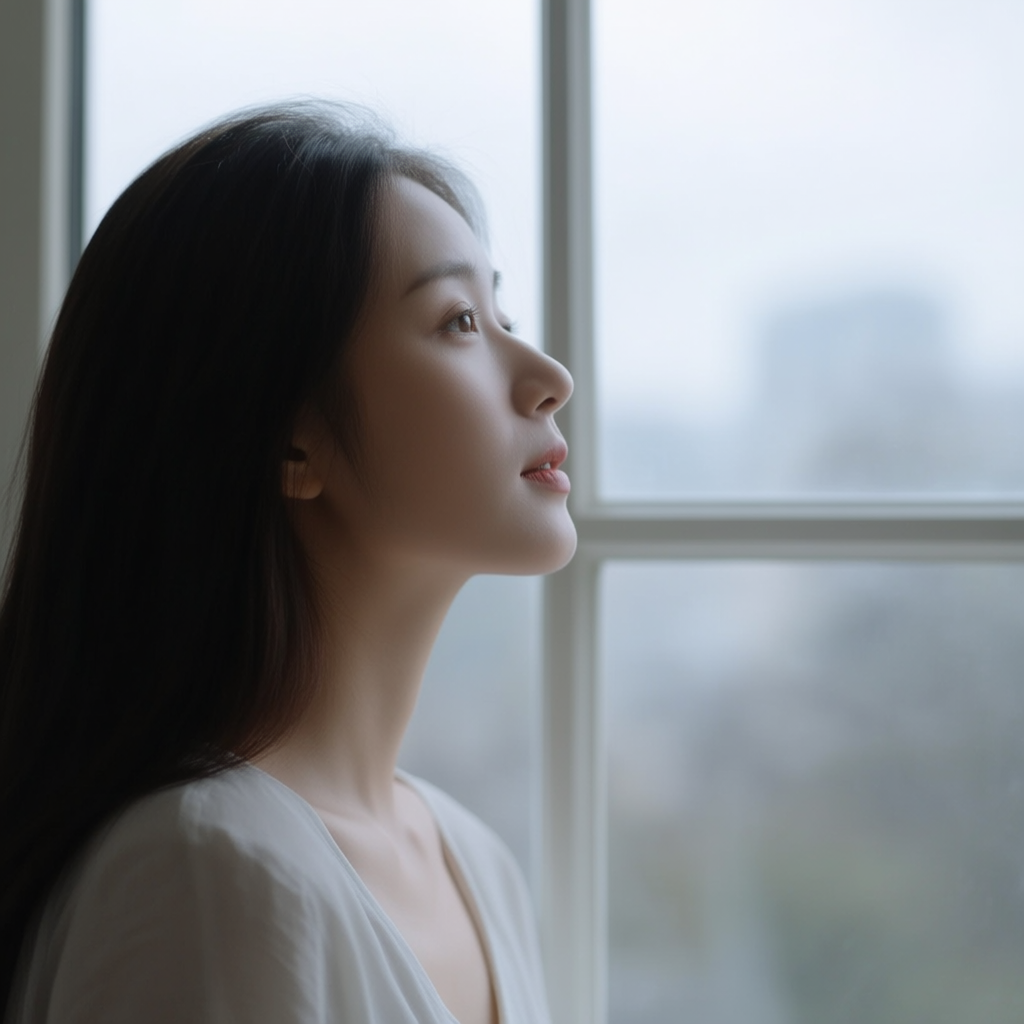
Soft (Diffused) Light: Soft light is gentle, diffused lighting that wraps around the subject and avoids harsh shadows[15]. It usually comes from a large or scattered light source – think overcast sky, light through a white curtain, or the shade of a tree. In soft light, any shadows are blurry and light transitions are gradual. The effect is very forgiving and flattering: details aren’t overly sharp, and faces look smooth since imperfections are less pronounced[16]. The emotional tone of soft light is calm, warm, or romantic – it creates a serene, welcoming atmosphere[17]. Use soft lighting in prompts for scenes that need a gentle touch: a peaceful morning, a tender portrait, or a dreamy pastel-colored scenario. For example, you might specify “soft diffused light” or “gentle window light”. Prompt example: “portrait of a woman by a window on a cloudy day, soft diffused light on her face, very gentle and serene mood”.
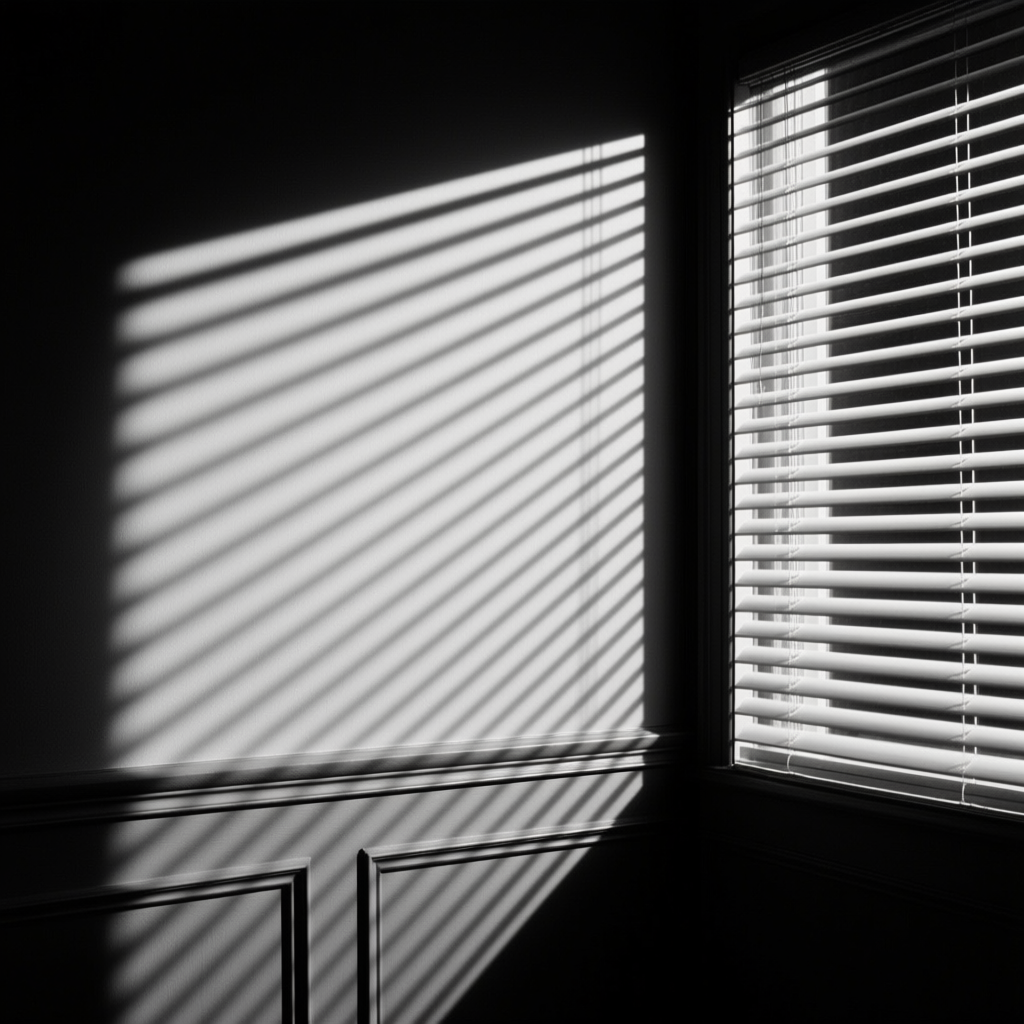
Hard Light: Hard light is the opposite – a bright, direct light from a small or undiffused source (like noon sun or a bare bulb) that casts sharp, well-defined shadows[18]. You can tell hard light by the crisp shadow edges and high contrast between light and dark. This lighting emphasizes textures and details (every wrinkle or bump will stand out), which can be either striking or unflattering. The mood from hard light is bold, intense, and often dramatic – it adds tension or grit to an image[19]. For example, film noir scenes use hard light to create dramatic striped shadows, and mid-day desert scenes use it for a stark, harsh feel. Use hard lighting in prompts when you want strong contrast and edge: a tense scene with sharp shadows, a clear silhouette, or to highlight texture (like a rough stone face in harsh sun). Prompt example: “black-and-white film noir style scene, hard lighting from one side creating sharp shadows through Venetian blinds, dramatic and high-contrast”.
(Tip: If you want soft light in your prompt, use words like “diffused light,” “soft shadows,” “overcast lighting,” or “glowing.” For hard light, use terms like “harsh lighting,” “sharp shadows,” “bright sunlight,” or “high contrast lighting.”)
Atmospheric & Environmental Light
Different times of day and light sources in the environment give very distinctive looks. These lighting conditions often come with built-in moods that can enhance your story. Here are several to try:
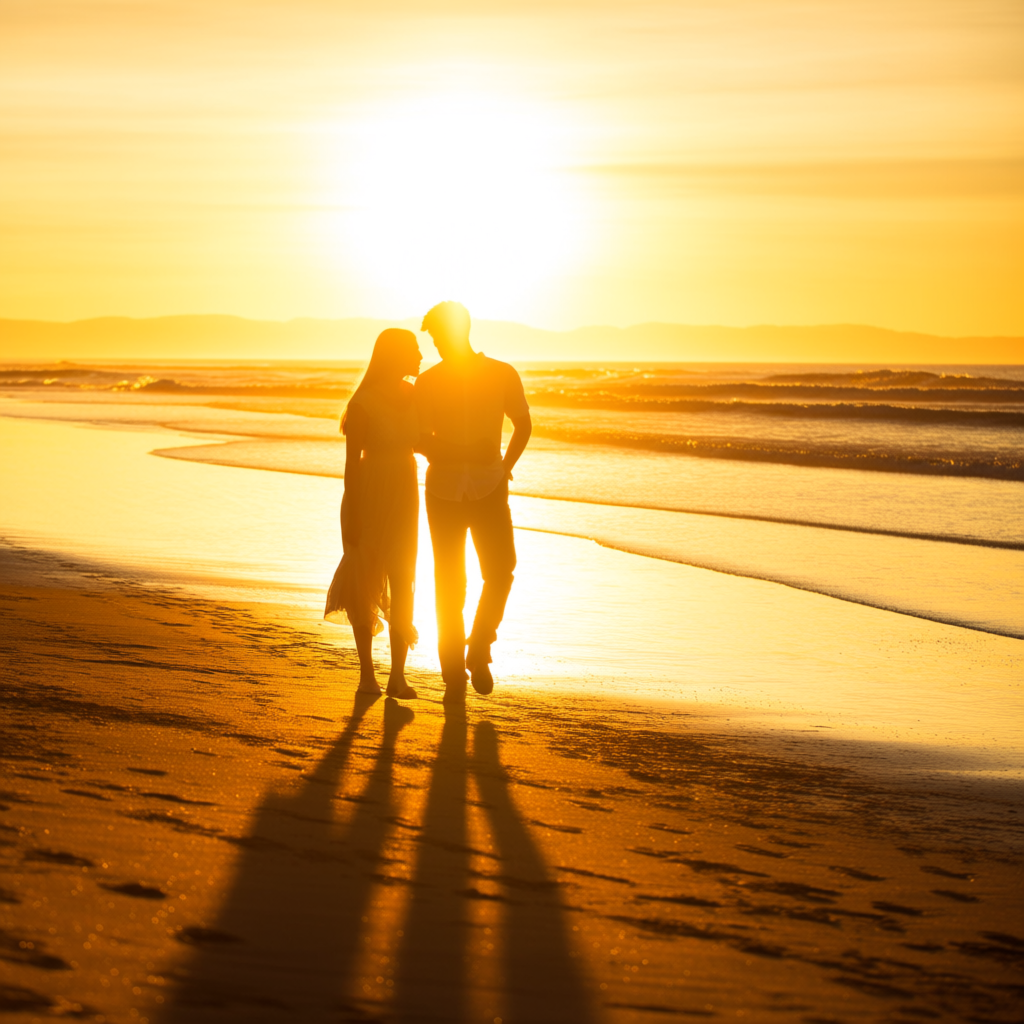
Golden Hour: The golden hour is the period just after sunrise or before sunset. The sun is low on the horizon, bathing everything in warm, golden light. This light is soft and directional (long shadows, but gentle), often considered the most beautiful natural light for photography. Images shot in golden hour feel warm, romantic, and nostalgic[20]. Colors like orange, yellow, and red dominate, evoking feelings of comfort or bygone evenings. Use “golden hour” in your prompt for any scene that you want to have that sunset glow – it works great for landscapes, portraits, or even city scenes to add a magical, wistful quality. Prompt example: “a couple walking on the beach at golden hour, warm golden sunlight and long soft shadows, romantic and dreamy atmosphere”.
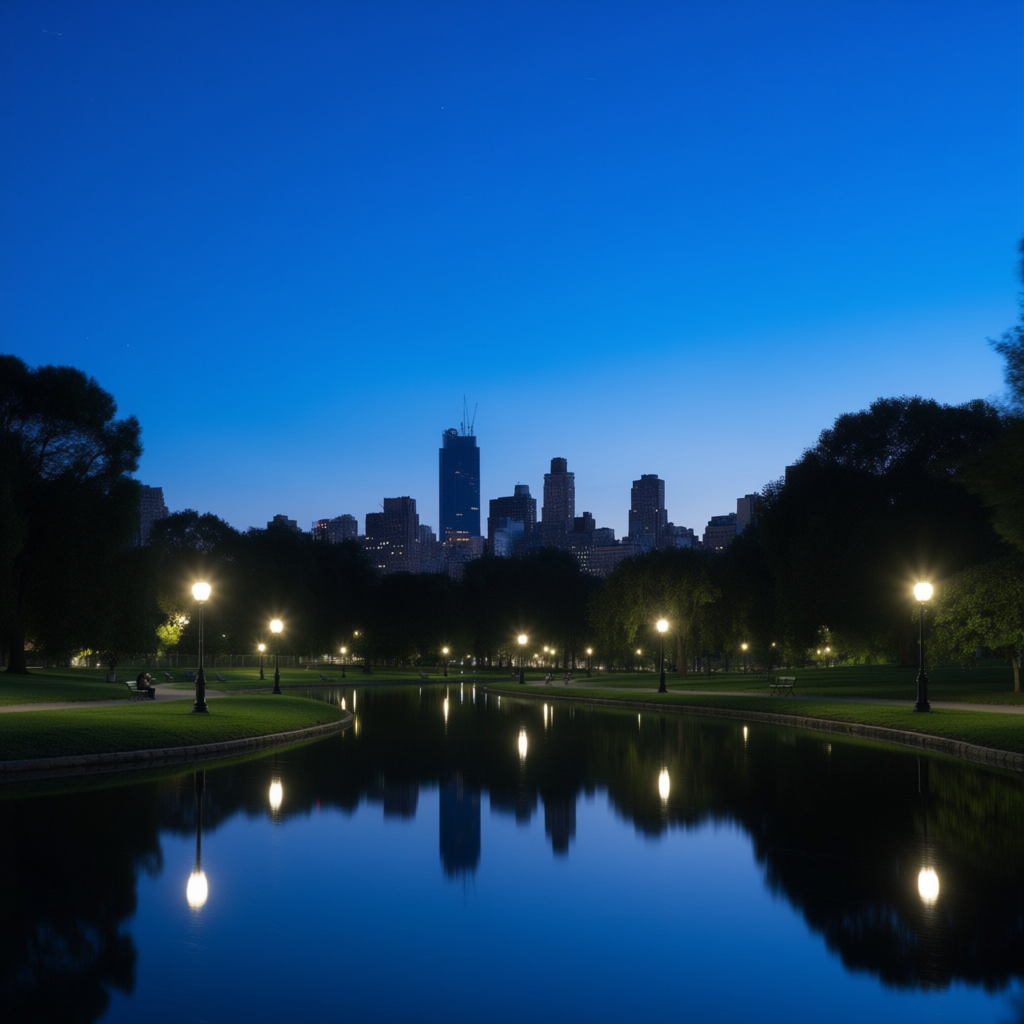
Blue Hour: Blue hour is the time of twilight just after the sun sets (or before it rises) when the sky turns a rich blue. The world is lit in cool, bluish tones and the light is quite soft. Blue hour scenes tend to feel calm, quiet, or melancholic[21]. There’s often still enough light to see details, but no direct sun – so it’s like a gentle wash of blue over everything, sometimes mixed with early city lights or stars. Use “blue hour” for scenes that need a peaceful, introspective mood – like a city skyline at dusk, a silhouette of mountains against a cobalt sky, or a lone figure after sunset. Prompt example: “a city park during blue hour, deep blue sky and soft dim light, lamps just starting to glow, tranquil and reflective mood”.
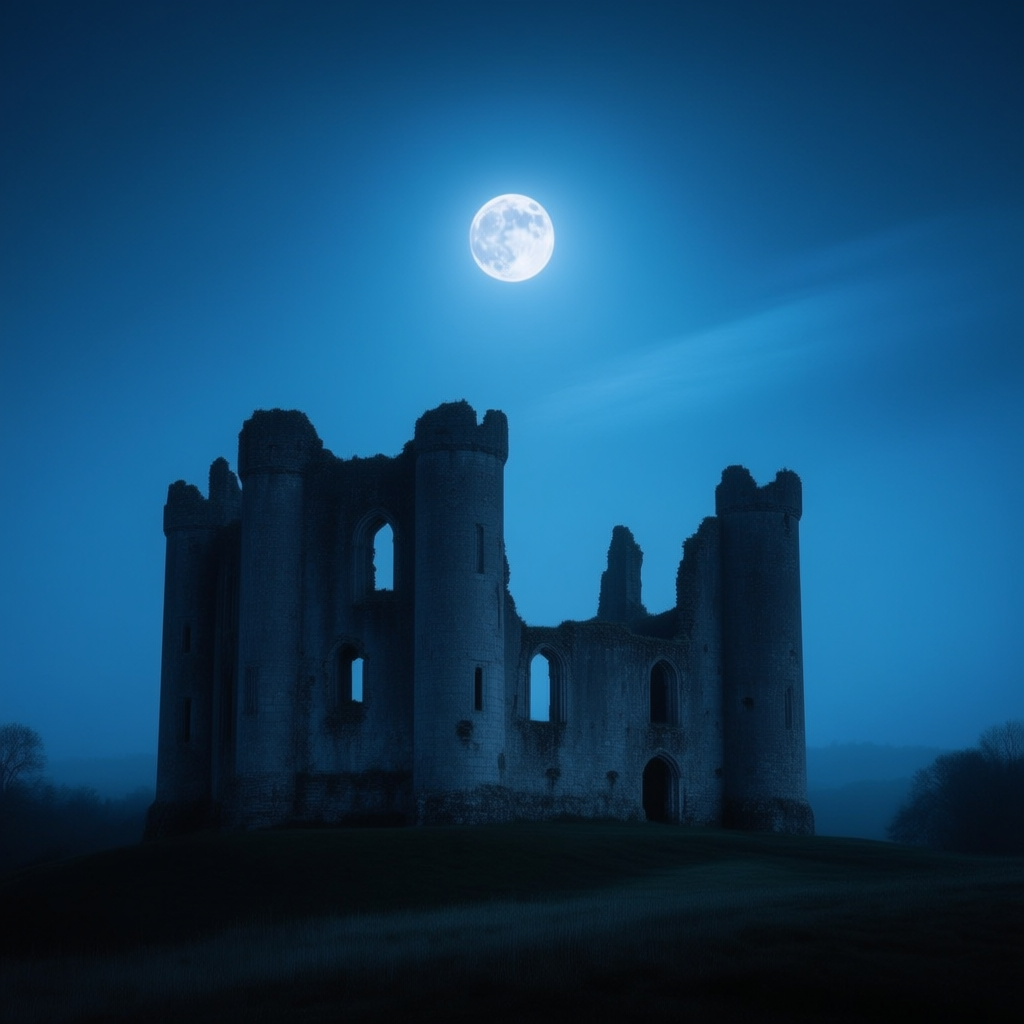
Moonlight: Moonlight is essentially sunlight reflected off the moon, and it’s much dimmer – so night scenes lit by a full moon have a soft, silvery-blue light with deep shadows. Moonlight often makes a scene look pale and quiet, sometimes even a bit otherworldly. It can create serene or spooky atmospheres depending on context. For example, a landscape in moonlight can feel peaceful and introspective[22], while a person’s face lit by moonlight might feel ghostly. Use “moonlight” in prompts when crafting night scenes that are visible but dark: it will bathe the scene in a gentle blue glow and dark shadows. Story-wise, moonlight suits calm midnight moments or eerie, mysterious vibes. Prompt example: “an ancient castle ruins under full moonlight, soft blue illumination and long dark shadows, quiet and mysterious atmosphere”.
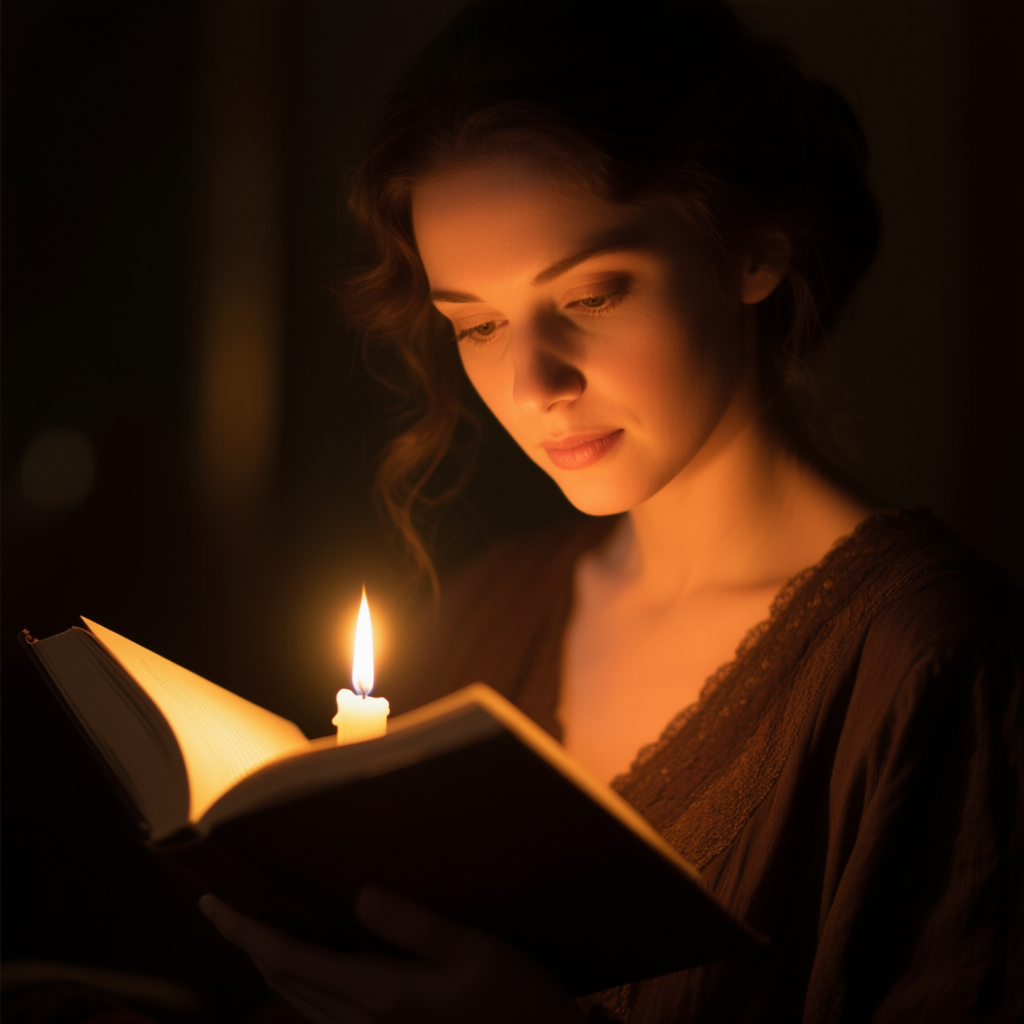
Candlelight: Candlelight is a small, warm light source. A candle (or flame) gives off a flickering orange glow that illuminates faces or objects nearby while casting deep shadows beyond. Images lit by candles feel moody, intimate, and a bit unpredictable[23]. The flicker can create a sense of alive light. Candlelight often evokes romance (think cozy dinner) or mystery (think ghost stories by candlelight) – it’s very flexible depending on context[23]. Use “candlelight” in prompts for scenes in dark settings where you want just a warm glow on the subject: e.g. a portrait by candlelight will have a soft warm light on one side of the face and dramatic shadows. Prompt example: “a portrait of a woman reading by candlelight, warm flickering glow on her face, background dissolving into darkness, intimate and timeless mood”.
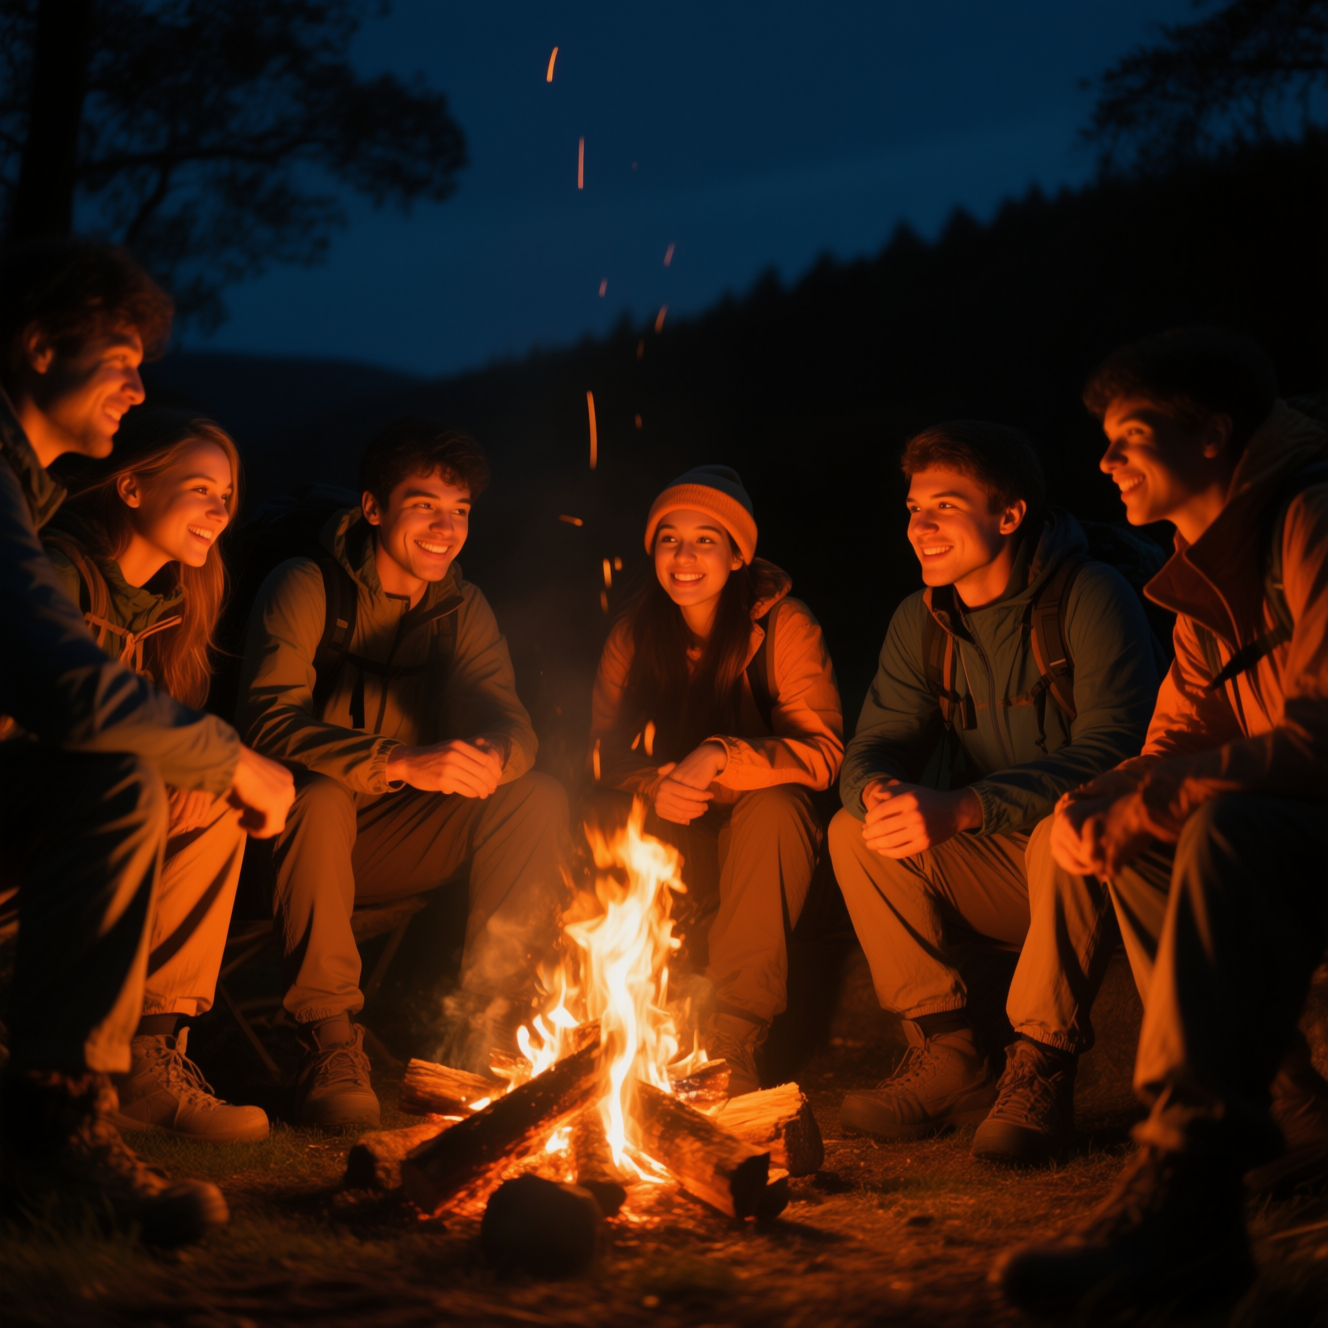
Firelight: Firelight is similar to candlelight but usually brighter and from a larger source (a bonfire, fireplace, torch, etc.). Firelight casts dancing, warm light that can reach further, throwing bold flickering shadows. The mood can be cozy (around a campfire with friends) or dramatic (the fire of a burning building casting an ominous glow). It carries a sense of primal comfort and danger at the same time. Use firelight to give your scene a dynamic warm lighting with moving shadows – great for camp scenes, medieval taverns, or any setting lit by flames. Prompt example: “a group of travelers around a campfire at night, faces lit by the warm firelight, orange glow reflecting in their eyes and shadows dancing behind them”.
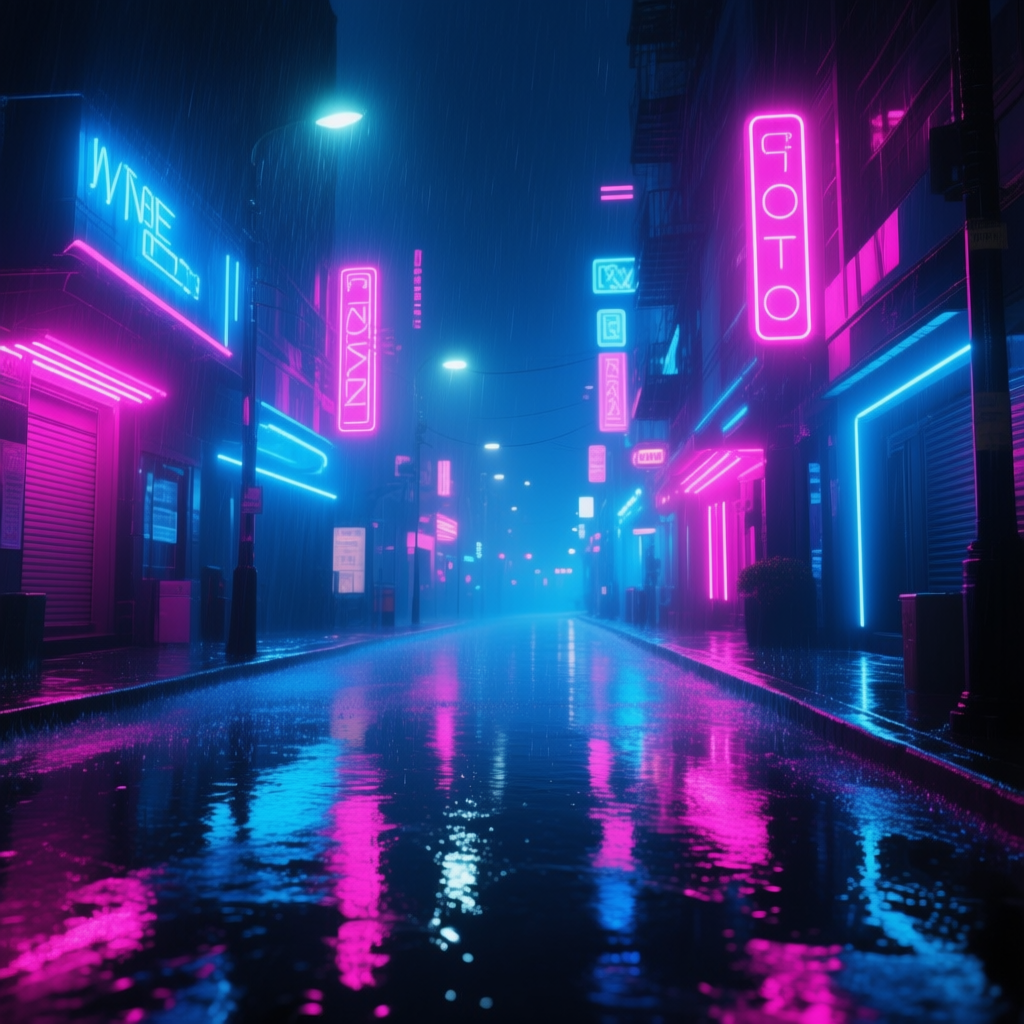
Neon Glow: Neon lights – like those bright neon signs in cities – produce a colored glow (often pink, blue, green, red) that can bathe a scene in vivid color. A neon glow prompt will fill your image with saturated, unnatural lighting, usually from the sides or background (e.g., the glow of a neon sign on a person’s face). This lighting gives an urban, futuristic, or edgy mood[24]. Think of cyberpunk city streets with neon signs reflecting on wet pavement, or a retro 1980s vibe with neon pink and blue lights. Emotionally, neon lighting can feel exciting but slightly alien – it’s not gentle, it screams color. Use it when you want a futuristic nightlife atmosphere or a stylish pop of color. Prompt example: “a rainy street at night illuminated by neon glow, vivid blue and pink neon lights reflecting off the wet ground, futuristic and energetic mood”.
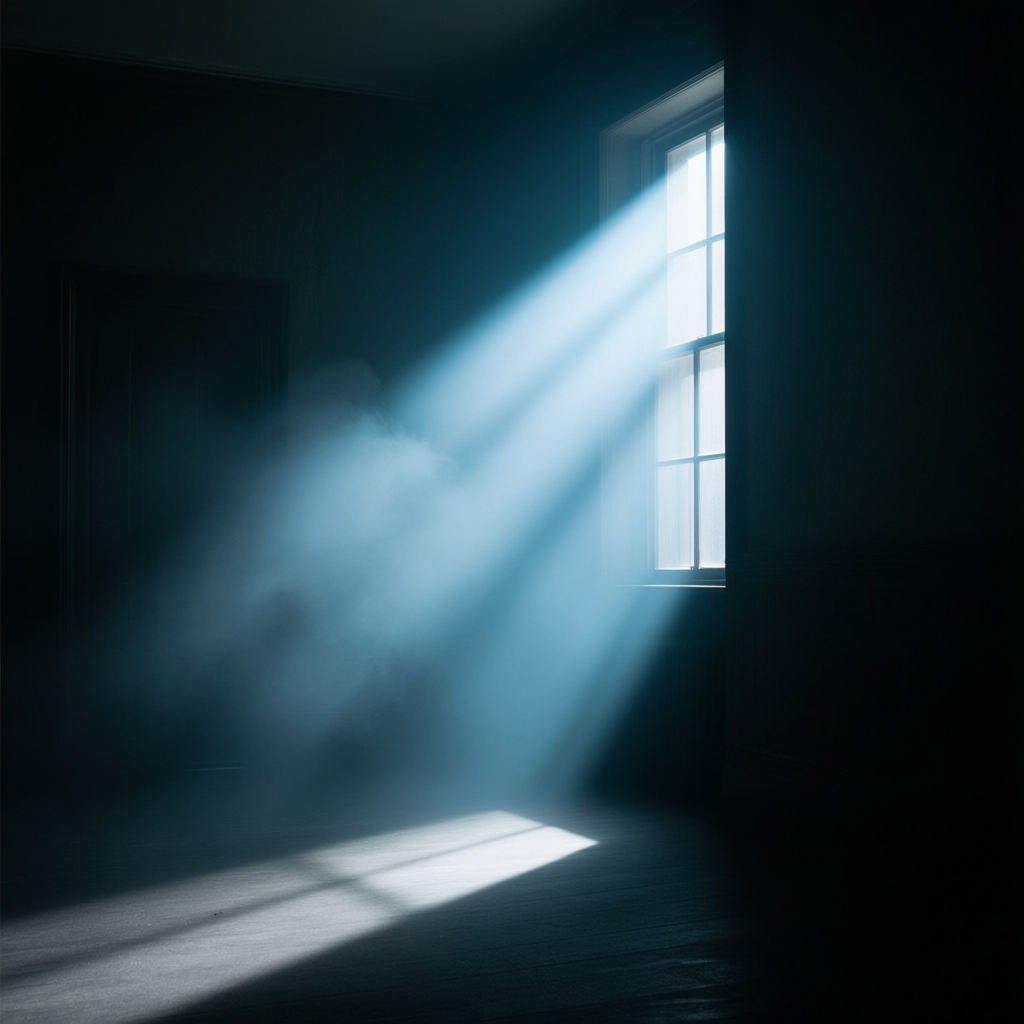
Cinematic Lighting/Color Grading: Describing something as “cinematic lighting” in your prompt suggests a movie-style, artfully crafted light setup[25]. Cinematic lighting often means there’s a strong mood – either dramatic contrasts (like Hollywood film noir or chiaroscuro lighting) or a specific color tint (like the famous teal-and-orange look). Including this term can encourage the AI to mimic the look of a film still: well-placed highlights, rich shadows, maybe even lens flares or atmospheric haze. It pairs with cinematic color grading, which is about the overall color tone of the image (for instance, a cold blue “grade” for a thriller, or warm golden for a nostalgic drama). In simple terms, light and color come together in a cinematic style. Use these terms when you want your image to look like a frame from a movie – polished and dramatic. Prompt example: “cinematic lighting, an intense shaft of light cutting through a dark smoky room, dramatic shadows – scene looks like a still from a movie”.
(Note: You can mention specific cinematic looks too, like “film noir lighting” for black-and-white high contrast, or “teal and orange cinematic color grade” for that Hollywood blockbuster look. Just avoid using actual film names.)
Shadow Techniques & Effects
Shadows aren’t just the absence of light – they can be powerful storytelling elements on their own. Using shadows creatively can add depth, interest, or even hidden meaning to your images. Consider these shadow techniques:
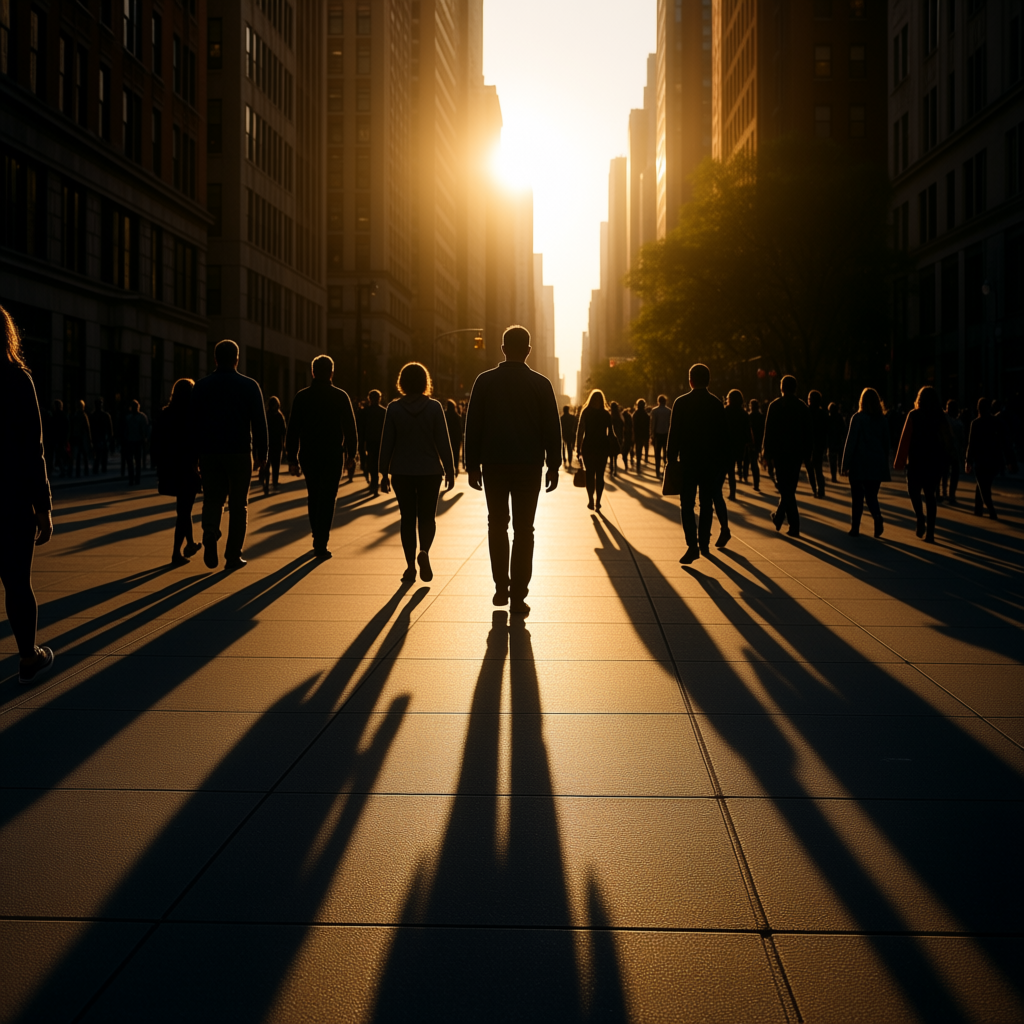
Cast Shadows: A cast shadow is the dark shape thrown by an object blocking the light (for example, your body’s shadow on the ground). Cast shadows add a lot of realism and depth – they show the scene has dimensional light. But you can also use them artistically: a strong cast shadow can frame your subject or add layers to the composition[26]. For instance, the shadow of tree branches across a character’s face can create an interesting pattern, or the long shadow of a person can lead the eye toward them. Cast shadows can evoke mood too: soft faint shadows feel gentle, while stark long shadows feel dramatic. Use cast shadows in prompts by mentioning them directly (e.g. “long shadows from the trees”) to emphasize time of day or to add visual interest. Prompt example: “late afternoon sun in a city, people walking with long cast shadows stretching on the pavement, dynamic and realistic composition”.
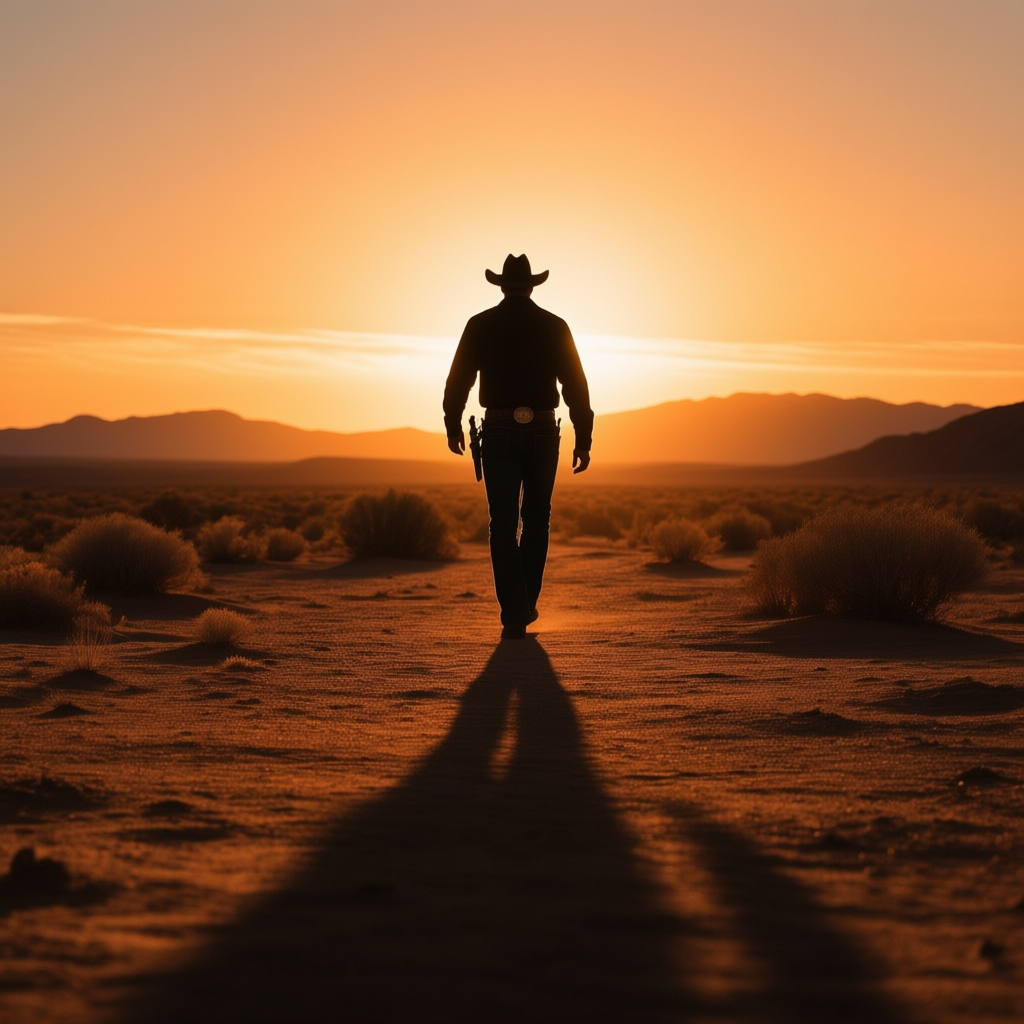
Long Shadows: When the light source is low (morning or evening sun, for example), shadows get long and stretched out. Long shadows can be very dramatic – they exaggerate shapes and create leading lines in your image. A low, sideways light casts elongated, theatrical shadows[27], which can give a mundane scene a cinematic flair. Emotionally, long shadows often appear in scenes that feel either peaceful (sunset) or ominous (looming shadows). They also instantly tell the viewer it’s either early or late in the day. Use “long shadows” in your prompt for artistic effect – for example, a character’s shadow long behind them can symbolize their journey or loneliness. Prompt example: “a cowboy walking at sunset, long shadows trailing behind him on the desert ground, dramatic and epic silhouette effect”.
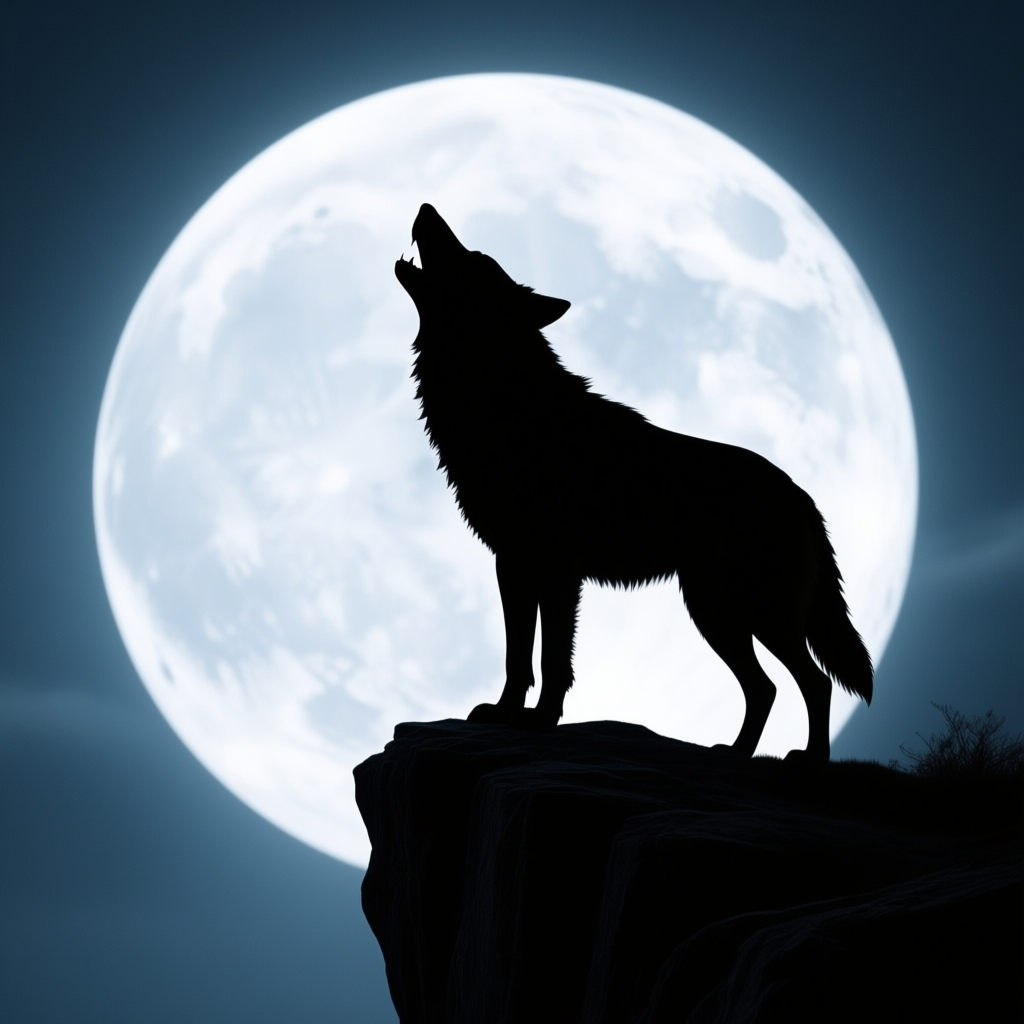
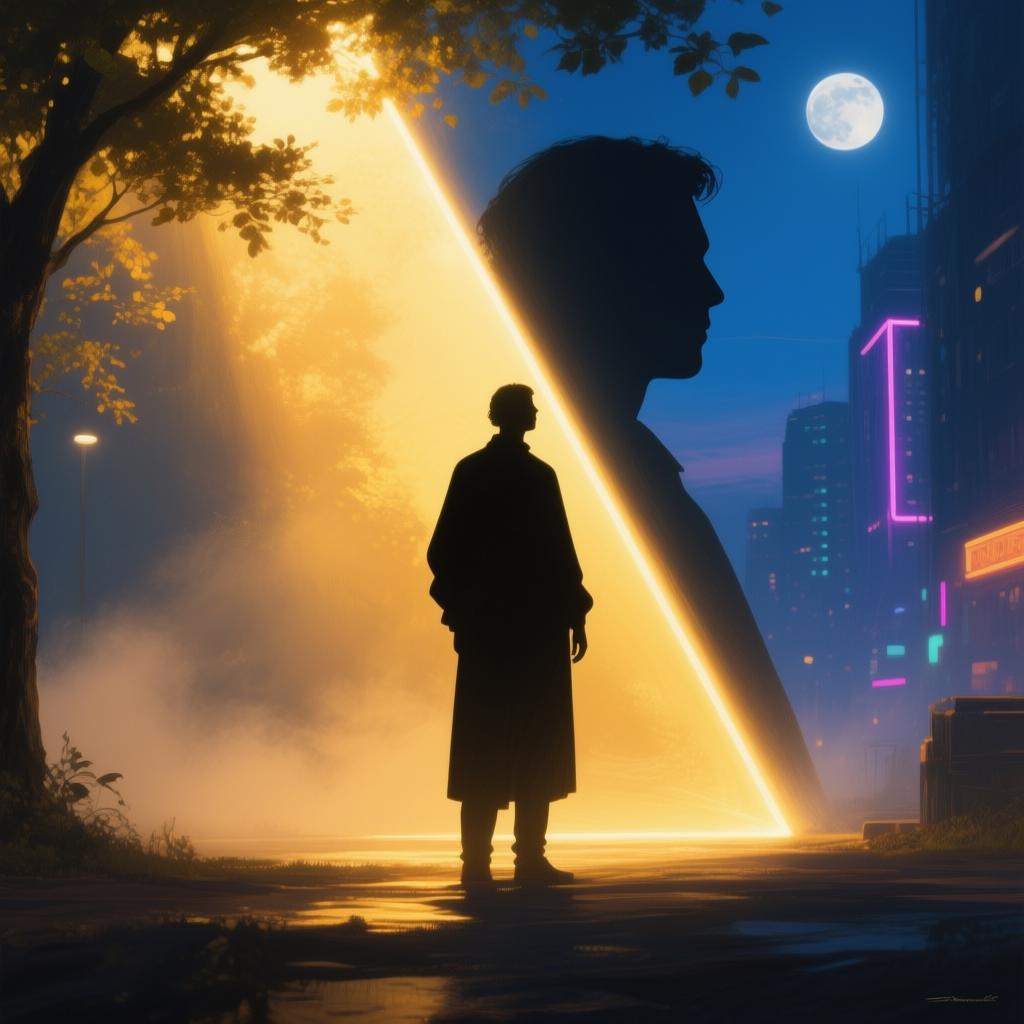
Silhouette: A silhouette is when your subject is entirely dark (no detail, just a black shape) against a brighter background. This happens naturally with strong backlighting – the subject is underexposed. Silhouettes are all about shape: they reduce the scene to outlines. This can be very dramatic and storytelling because the viewer fills in the details with imagination. Silhouettes convey mystery and anonymity – we see what something is (by shape) but not who or the details. They often evoke feelings of introspection or suspense[28]. Use silhouettes when you want to emphasize form or have a bold, simple statement. Common silhouette prompts: “silhouette of a couple kissing at sunset” (romantic), “silhouette of a lone tree on the hill with twilight sky” (poetic), “silhouette of a dragon against the moon” (fantastical). Prompt example: “silhouette of a wolf howling on a cliff against a full moon, only the outline visible, dramatic and mysterious scene”.
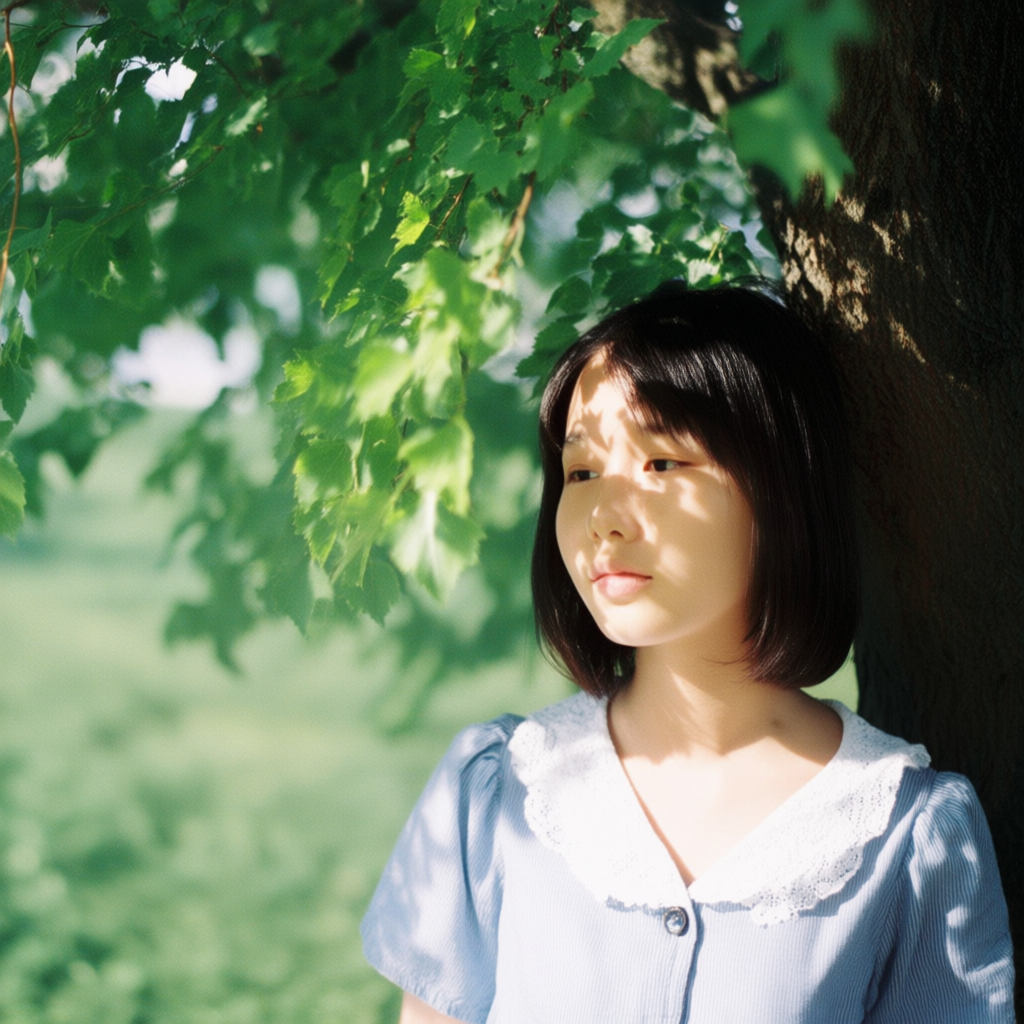
Dappled/Patterned Shadows: Dappled light is when the light source is partially blocked by something, creating patchy shadows. For example, sunlight through leaves produces dancing spots of light and shadow on the ground or a person’s face. Patterned shadows can also come from man-made objects like window blinds (casting striped shadows) or lace fabric (casting lace patterns). These add visual texture and interest to a scene. Depending on the pattern, the mood can vary: light through tree leaves feels peaceful and natural, while shadows of window blinds across a face feel mysterious or film-noir-like. Using props to create patterns “adds a layer of complexity” and can even contribute to the story (imagine church window shadows giving a holy pattern on a character)[29]. In prompts, you might say “dappled sunlight” or “patterned shadows” to get this effect. Prompt example: “a portrait of a girl under a tree with dappled shadows on her face from sunlight through the leaves, artistic and serene effect”.
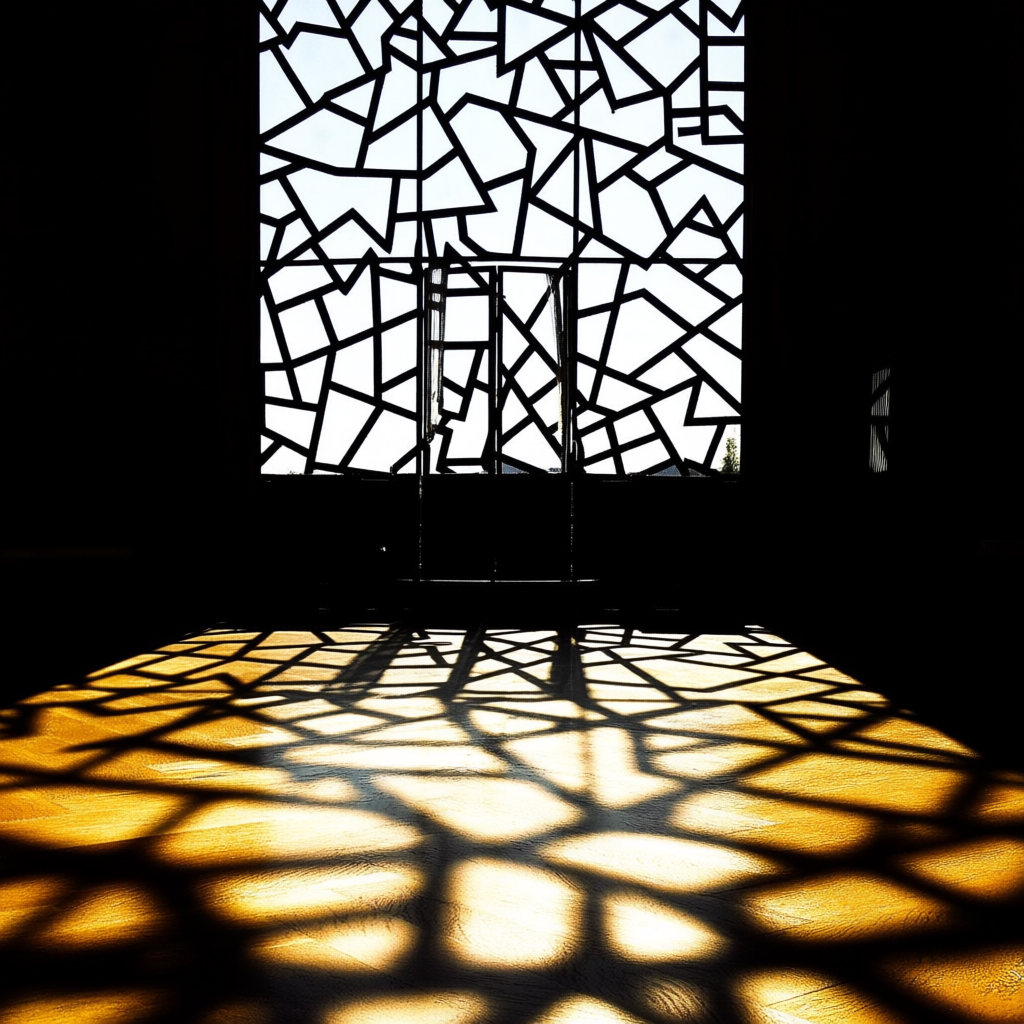
Overlapping Shadows: In scenes with multiple light sources or lots of objects, you can get overlapping shadows – shadows layered on top of each other. This can create a complex, abstract pattern of dark shapes. Overlapping shadows can convey a sense of chaos or richness, making an image feel more dynamic. For instance, imagine the overlapping shadows of a crowd of people at midday – the ground becomes a tapestry of intermingled shapes. Or in a forest, layers of tree shadows overlapping can make the scene feel dense. Composition-wise, overlapping shadows “add layers” to your image[26], giving it depth. You don’t always have to specify this in a prompt, but you could: e.g. “overlapping shadows of iron fence rails on the wall”. Use it when multiple shadows are the subject or when you want to emphasize lots of activity or structure. Prompt example: “sunlight streaming through a geometric window, casting overlapping shadows of intricate shapes onto the floor, complex and abstract pattern of light and dark”.
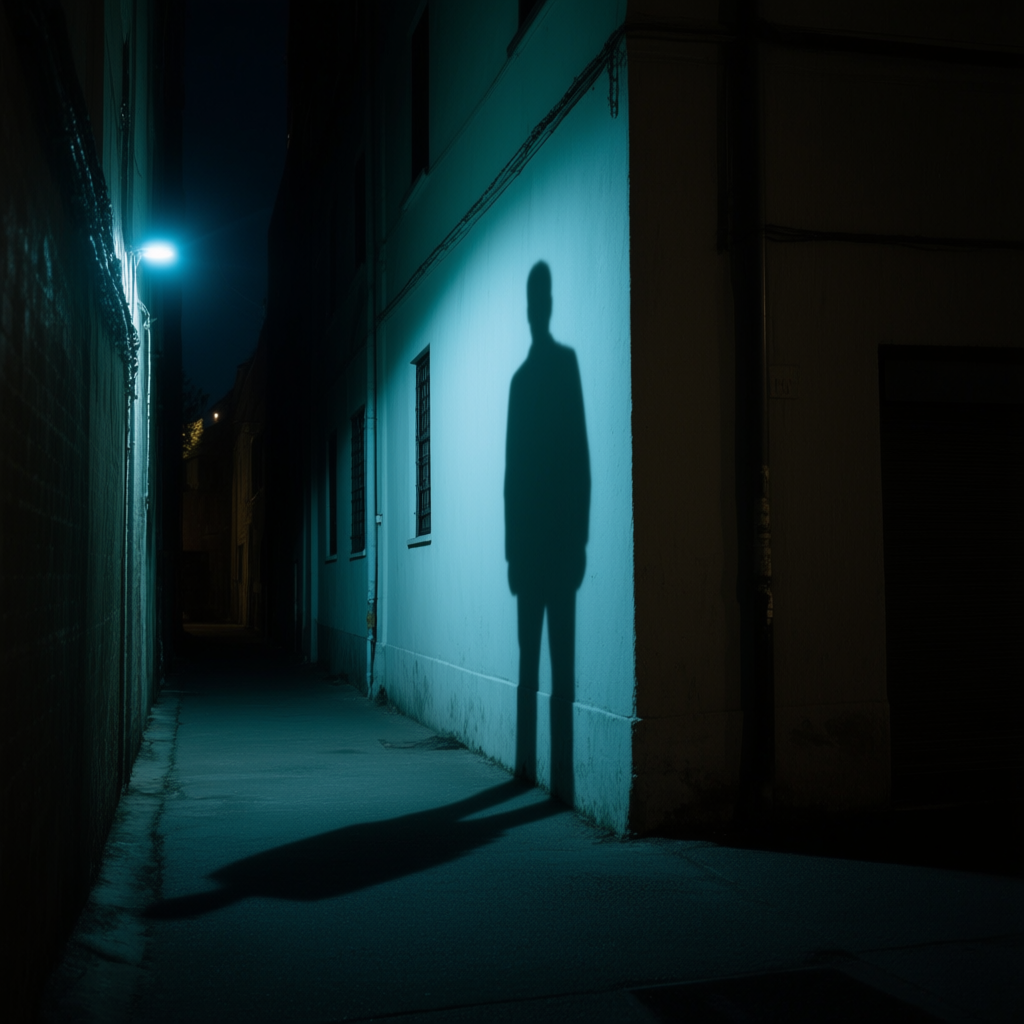
Shadow Storytelling: Sometimes the shadow tells more of the story than the subject itself. This technique uses shadows as narrative elements – for example, showing the shadow of something off-frame to hint at its presence. A classic example: you see the shadow of an approaching person or creature before you see them, instantly adding suspense. Shadows can also represent hidden truths or duality (a person’s shadow might look like a monster, hinting at their inner nature). In photography and art, it’s said that a person’s shadow can be more telling than the person, suggesting something ominous or secretive[30]. Use shadow storytelling in prompts by focusing on the shadow: e.g. “the shadow of a cat stretching on the wall” or “two silhouettes holding hands reflected as shadows on the ground.” It’s a creative way to imply something without showing it directly. Prompt example: “an alley at night with only the shadow of a tall man cast on the wall at the corner, hinting someone is approaching, suspenseful mood”.
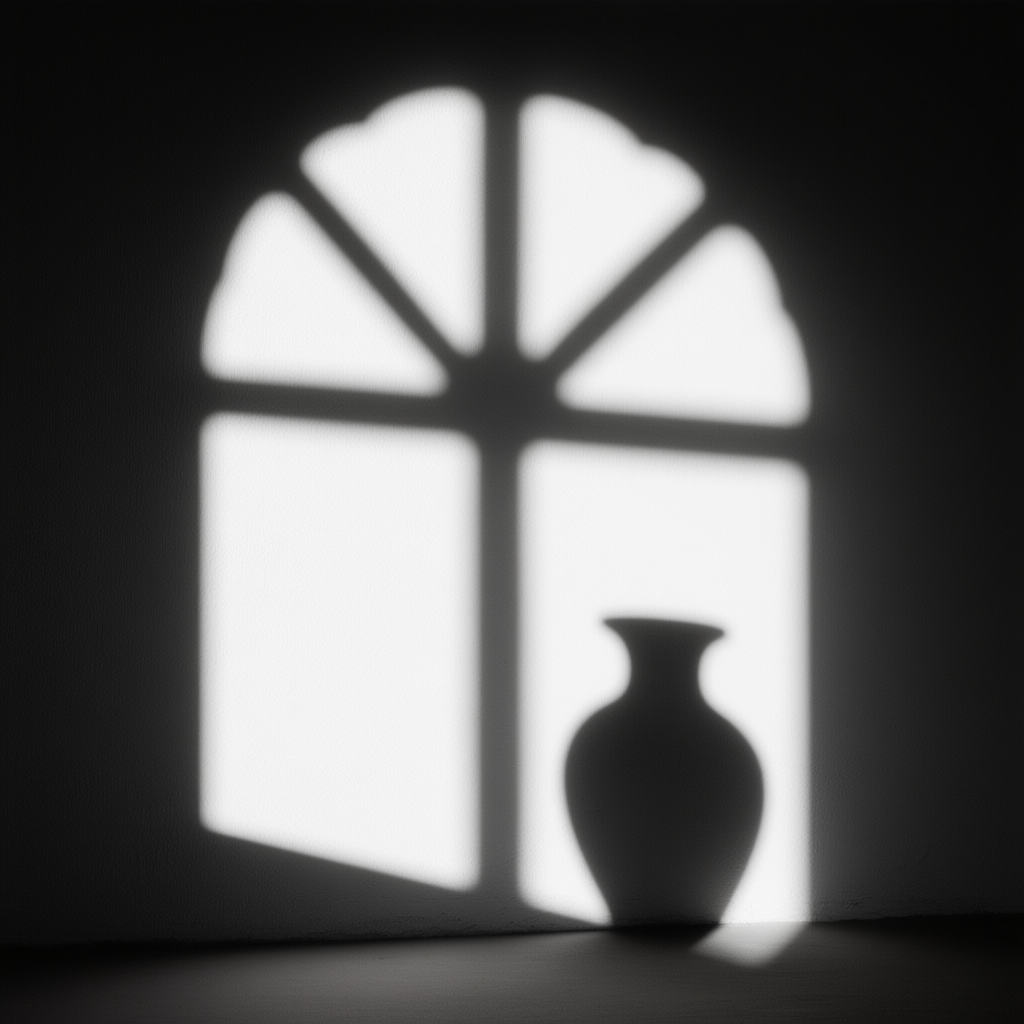
Abstract Shadow Play: You can get really creative and make the shadows themselves the subject. Abstract shadow play might mean arranging objects just to get interesting shadow shapes, or capturing shadows with no context of what’s casting them. This yields images that are more conceptual or artistic, where viewers might have to guess what they’re seeing. Shadows can become abstract patterns or “characters” on their own[31][32]. For instance, a photo of just the shadow of a bicycle against a wall (with the actual bicycle outside the frame) turns the shadow into a piece of art. The mood here depends on the shapes and contrast – it can be intriguing, thought-provoking, or simply aesthetically pleasing. To prompt this, you describe the shadow rather than the object: “shadows of leaves overlapping like a pattern on the ground” or “abstract art of shadows cast by a complex sculpture.” It’s a fun way to add surreal or poetic qualities to your AI images. Prompt example: “abstract shadows on a wall forming the shape of a window and vase, without showing the actual objects, minimalist and intriguing composition”.
Combining Light & Shadow Techniques
Just like a photographer might combine multiple lights and gobos (objects casting patterns) to create a complex scene, you can combine these lighting and shadow keywords in your prompts for rich results. Pairing a lighting style with a shadow effect can add depth and storytelling layers. For example, a rim-lit silhouette gives both a glowing outline and a mysterious dark figure, or chiaroscuro with long shadows creates an ultra-dramatic scene with a sense of time of day. Don’t be afraid to mix and match! Here are a couple of creative combinations to illustrate:
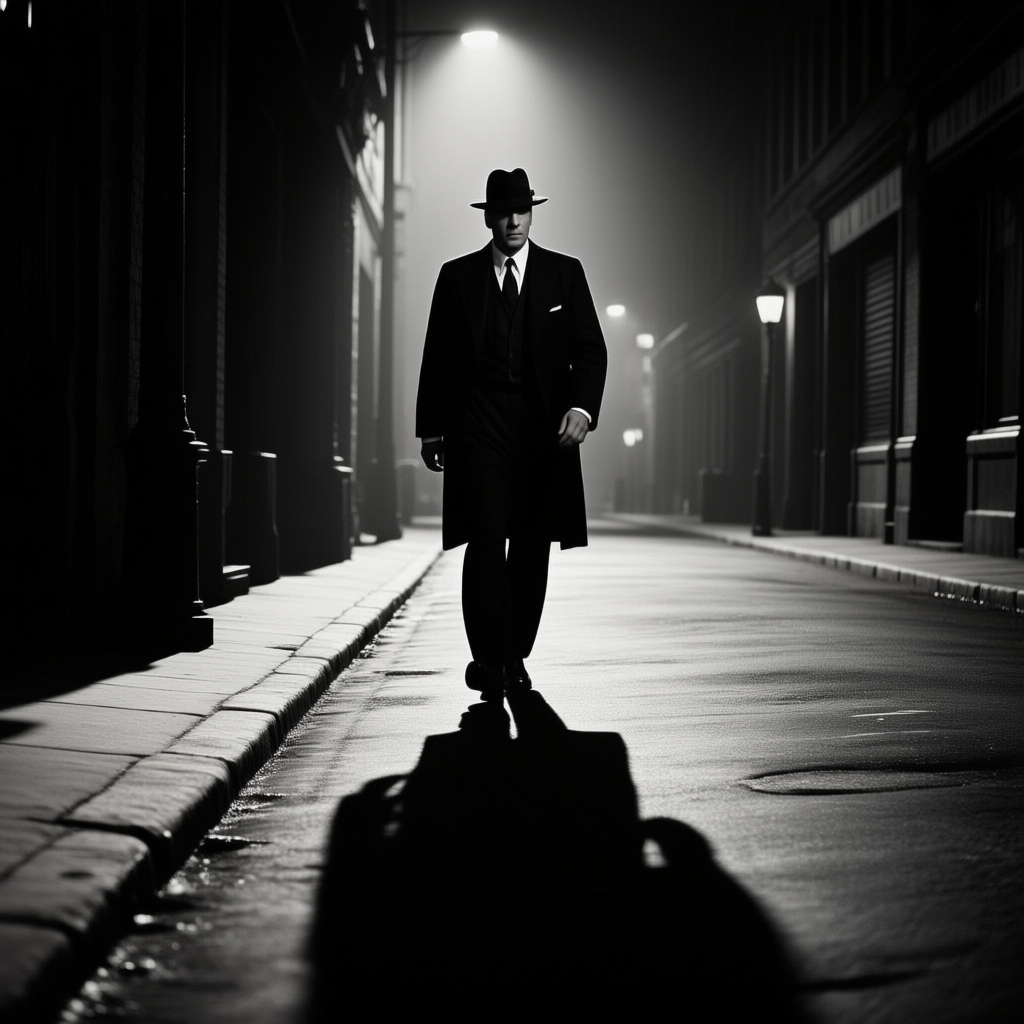
“A film noir detective walking down a dimly lit street, low-key chiaroscuro lighting with long shadows stretching ahead of him.” – (This prompt combines low-key/chiaroscuro style lighting for drama + long, elongated shadows for extra tension and visual interest. The result might be very dramatic, like a 1940s movie still, with the detective’s shadow looming.)
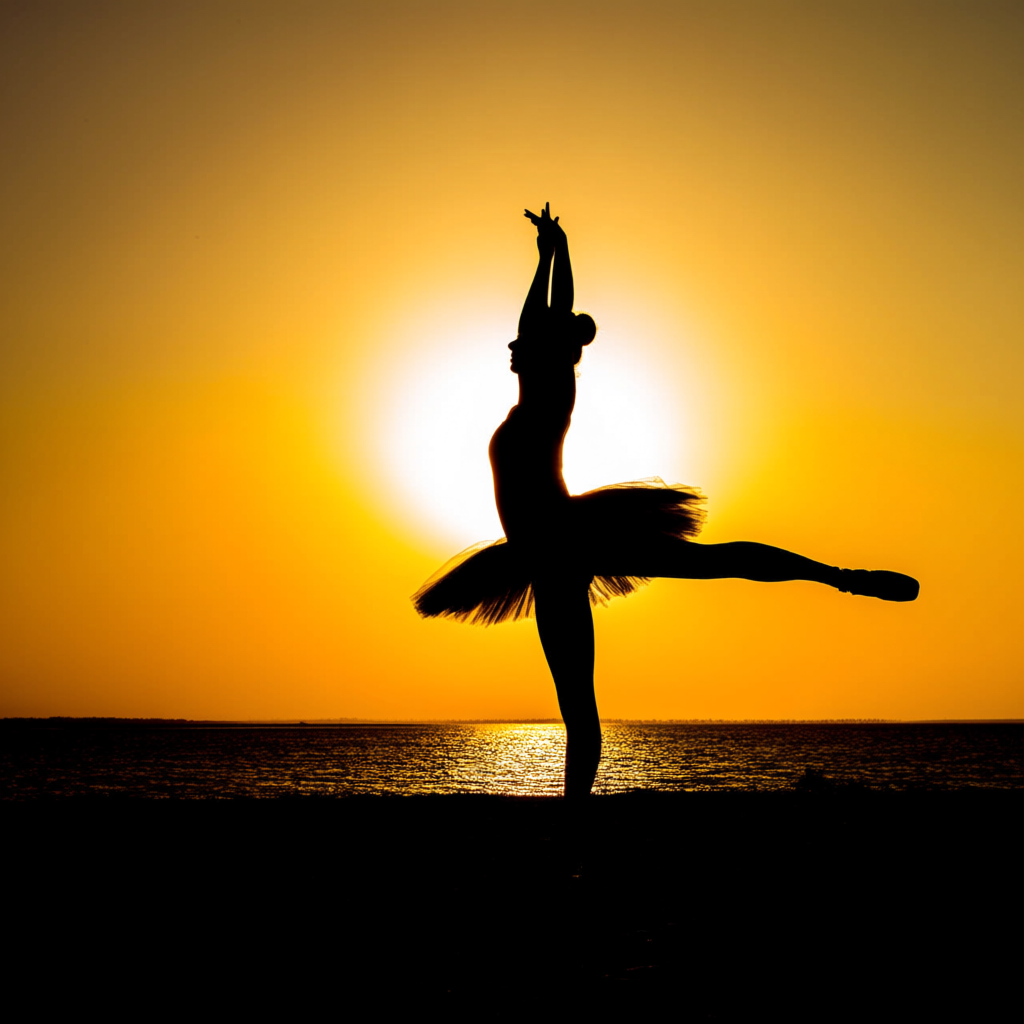
“A ballerina twirling at sunset, backlit into a graceful silhouette with a golden rim of light haloing her form.” – (This uses backlighting to create a silhouette, and also mentions a rim of light for that halo effect. You’d get a beautiful outline of the dancer against the sun, with a soft glow on her edges – combining elegance with dramatic contrast.)
By combining lighting directions (like backlight or spotlight) with shadow descriptors (like silhouettes, patterns, long shadows), you add complexity to the scene. For instance, soft diffused morning light + dappled shadows could give you a gentle, peaceful forest scene with sunlight through leaves. Or high-key lighting + a faint silhouette could yield an ethereal image where a figure is almost washed out in light. Experimentation is key – these terms are like ingredients you can mix to get the perfect look for your story.
Light & Shadow vs. Color & Mood
It’s worth noting the difference between lighting/shadow and color/mood in your prompts. Think of it like this: light and shadow define the scene’s form and depth, while color and mood define its emotional tone. Light and shadow are what make an image feel three-dimensional – they give objects weight and volume[33], carving out the “shape” of your picture much like chiseling a statue. Color and mood, on the other hand, are like painting that statue – layering on emotional flavor with hues and tones.
In practice, you might first decide on the lighting (bright and soft? dark and contrasty? directional? diffused?) to set up the visibility and drama of the scene. That’s the “black-and-white” structure of your image. Then you think about color mood (warm and golden? cool and bluish? neon colors? sepia tint?). The color mood is like a filter on top that can amplify the feeling – for example, a scene with strong shadows (light/shadow choice) can feel scary or intense, but if you cast it in red light versus blue light (color choice), the emotional vibe will shift (red might feel aggressive or dangerous, blue more cold or mysterious).
Both aspects work together for a compelling image. As mentioned in the Color & Mood Edition, composition is what’s in the scene, light and shadow sculpt it, and color & mood infuse it with emotion. A well-composed image with poor lighting can feel flat, and a well-lit scene with clashing colors can feel off. So, use these light and shadow tricks to get a solid, dimensional image, then enhance it with color choices to perfectly fit the story you want to tell. In short: light and shadow build the stage; color sets the mood on that stage. (Or in our earlier analogy: light and shadow carve the statue, and color paints it.)
Quick-Reference Summary of Light & Shadow Terms
To wrap up, here’s a handy list of lighting and shadow keywords you can mix into your prompts. These terms (many covered above) can instantly change the look and depth of your AI-generated images. Feel free to copy-paste or tweak them as needed:
· Chiaroscuro – strong light-dark contrast, dramatic shadows (for intense, moody scenes)
· Rembrandt lighting – one side lit, other in shadow with triangle of light on cheek (classic moody portrait style)
· Low-key lighting – predominantly dark, deep shadows, one small light source (adds tension, mystery)
· High-key lighting – very bright, even lighting, minimal shadows (upbeat, airy, soft mood)
· Rim lighting – back/edge light highlighting the subject’s outline (makes subject pop, adds a halo glow)
· Backlighting – light from behind the subject, often causing silhouettes or glows (mysterious, dramatic effect)
· Spotlight – a focused beam lighting one area, rest dark (draws attention, theatrical focus)
· Stage lighting – theatrical multi-directional lights, often colored or high-contrast (performance vibe, dynamic look)
· Soft diffused light – gentle, scattered light, soft shadows (flattering, calm atmosphere)
· Hard light – direct harsh light, sharp shadows (bold, emphasizes texture and drama)
· Golden hour light – warm, golden sunlight just after sunrise or before sunset (romantic, nostalgic feeling)[20]
· Blue hour – cool, blue-tinted twilight after sunset (quiet, melancholic mood)[21]
· Moonlight – faint silvery-blue night light from the moon (serene, calm or subtly eerie)
· Candlelight – warm, flickering light from candles or flame (intimate, moody, old-fashioned ambiance)
· Firelight – stronger flame light from fire/torches, dancing shadows (cozy or dramatic, primal mood)
· Neon glow – colorful neon lighting (e.g. neon red glow, neon blue light) – (futuristic, urban, edgy mood)[24]
· Silhouette – subject in dark shadow against bright background (emphasizes shape, adds mystery)[34]
· Long shadows – extended shadows from low angle light (indicates sunrise/sunset time, adds drama)
· Dappled shadows – patterned patches of light and shadow (through leaves, lattice, etc., for artistic texture)
· Cast shadows – explicitly mention shadows cast by objects (adds realism and depth, e.g. “shadow of the fence across the ground”)
· High contrast lighting – very bright highlights and dark shadows (bold and intense look)
· Low contrast lighting – soft, close-together tones, gentle shadows (muted, dreamy or flat look)
· Cinematic lighting – movie-like lighting setup (well-crafted light and shadow, often dramatic)[25]
· Cinematic color grading – film-style color tones (e.g. teal and orange, black-and-white noir, etc., to give a cinematic mood)
Mix and match these lighting and shadow terms with your subject and setting. For example, “a portrait of a woman, soft diffused light, Rembrandt lighting on her face, bokeh background” or “futuristic city at night, neon glow, high contrast, backlit silhouette figures”. By choosing the right light and shadow words, you’ll guide the AI to create images that not only look visually striking, but also have the depth and atmosphere that make them truly engaging. Happy prompting, and enjoy lighting your worlds creatively!
[1] [2] Chiaroscuro Lighting 101: The Basics of Chiaroscuro in Photography - Canon Central and North Africa
[3] [4] What Is Rembrandt Lighting and How To Use It in Your Portrait Photography
https://www.format.com/magazine/resources/photography/rembrandt-lighting
[5] What is Low Key Lighting — Definition, Examples in Photo & Film
https://www.studiobinder.com/blog/what-is-low-key-lighting-definition/
[6] [7] [33] What is low-key lighting & high-key lighting in film | Adobe
https://www.adobe.com/uk/creativecloud/video/discover/low-key-vs-high-key-lighting.html
[8] [12] [17] [30] Harnessing Light and Shadow to Enhance Your Storytelling - 500px
https://iso.500px.com/harnessing-light-and-shadow-to-enhance-your-storytelling/
[9] [10] [13] [14] Rim Light - Everything You Need to Know - NFI
https://www.nfi.edu/rim-light/
[11] What Is Backlighting in Photography? | The Complete Guide
[15] [16] [19] What is Soft Light Photography — Examples and Techniques
https://www.studiobinder.com/blog/what-is-soft-light/
[18] [26] Light, Shadows, and Contrast: A Beginner’s Guide to Photography – ZHIYUN OFFICIAL STORE
[20] [21] [22] [24] [25] [34] Simple Composition Tricks to Instantly Improve AI Images with Prompts – Color & Mood Edition.pdf
file://file-Ja9mUbezKNfatWE2f4CBVc
[23] Tips For Amazing Candlelight Photography - Home | Orion Photo Group
https://www.orionphotogroup.com/blogs/tips-for-amazing-candlelight-photography/
[27] [28] [29] Using shadows and silhouettes in your photography: A guide
[31] [32] 35 Shadow Masterpieces That Play with Light Like Magic – Stelava
https://www.stelava.com/blogs/wall-art/35-shadow-masterpieces-that-play-with-light-like-magic


